When you click on links to various merchants on this site and make a purchase, this can result in this site earning a commission. Affiliate programs and affiliations include, but are not limited to, the eBay Partner Network.
They can spell it however they like
Just so nice to have one for my own rig. Appreciate your help with that, Ward.
Gonna wait a month or so for a little cooler weather to do this install.
Doing the Harrop elocker AND the RCV shafts is a tremendous upgrade for the FJ front end.
They can spell it however they like
Just so nice to have one for my own rig. Appreciate your help with that, Ward.
I was referring to a 60 axle / locker in a Taco.
Truly our pleasure, Ken. Just trying to share the fun. There's something about a front locker that makes me smile.
Here's Georg's Hundy at Pismo with a Harrop in front - smiling all the way
I was referring to a 60 axle / locker in a Taco.
Truly our pleasure, Ken. Just trying to share the fun. There's something about a front locker that makes me smile.
Here's Georg's Hundy at Pismo with a Harrop in front - smiling all the way
A front locker that can be switched back to open mode when it's not needed
I love the sand dunes....loved camping out at the Yuma dunes years ago ...back when there was no fee or pass needed to drive on them (1989ish)
Looks like the Harrop is working....with an open diff, the passenger wheel would just sit there doing nothing.
A 60 axle and locker in the front of a Taco....... and it's FLIPPED for driver's side output My drain plug is ON TOP still.
I confess I don't know anything about having the shackle in front and now you have me thinking about it. I have an 87 4Runner with an imminent SAS, I was going to do the Trailgear 3 SAS. Do you have any ZUKy thoughts on customizing the kit, going with something else, or just using the TG kit?
http://www.trail-gear.com/category/1...xle-conversion they offer 3 kits and all 3 have the shackle on the back end....jeeez. I had briefly looked at the TG SAS kits before I started mine and decided most of the stuff was not to my liking. Figured I'd piece it together as I went along and that way, I did it my way........Frank Sinatra said that. My SAS works out nicely for the modest 35" tires....not so sure if I had 38" or 40"....then everything has to be upgraded in strength. This way I get to keep my factory power steering setup and 4 bolt knuckles. No weld on knuckle braces needed. I get to drive it on the road and highway with no issues. I get to slam on the brakes for those yellow lights that kick in at just the wrong time and my front suspension doesn't do a nosedive.
What are you doing for a front axle? 79 to 85 or FJ60?
My plan is 79-85 front, 4.88, 35s, etcetera. Future plans of 3.4 swap. I have done tons of repair/replace, but this will be my first custom work. I may go with the TG kit just for ease and then break it or modify it later.
Can I just flip the front spring hanger with the fixed point? Does anyone have a copy of the install instructions? I would love to see them before I order the kit. I have it priced from Jegs, Summit and Trailgear themselves. Shipping to Alaska is the kicker.
Can I just flip the front spring hanger with the fixed point? Does anyone have a copy of the install instructions? I would love to see them before I order the kit. I have it priced from Jegs, Summit and Trailgear themselves. Shipping to Alaska is the kicker.
The end that has the double military wrap has to be on the rear fixed end. The double mil wrap plus the long leaf #3 should be close clamped as close as possible to the double wrap. That gives tremendous strength against bending when pushed up hard against a boulder.
If it does not have a double wrap then the pack should not be used in a frontal shackle configuration.
And yes....logically, much like my FJ60 axle flip there is nothing stopping you from doing "reverse shackle flip" with the TG kit.... but those shackles are way too long and won't look very pretty up front. Mine are the factory shackles with 3.5" between centers which means they stay a long ways away from the rocks. You can buy those fixed mounts for the leafpacks cheap on many sites....mine were from ebay. And you can get the front 3.5 or 4.5" shackles also for cheap on ebay.
Take notice that ALL coil-over fronts have the fixed end at the rear too. They don't put them on the front end of the frame horns.....for those that still have some frame horns left.....
Thanks for the concern but the wheel studs are not seeing any real additional forces acting on them. And, the way they machined those studs into the wheel spacer is very strong also.
Here's a shot down the side with no wheel spacers......imagine the outside with another 2 inches of rubber sticking out.
The plan is to remove the 2" spacers from the front and use those in the rear. Then the new 3" in the front.
One mod leads to another....and now I need wider longer mudflaps. I was having some tire rub on the frame when
flexing and I'm pretty sure these 2" spacers will cure that.
Making sure the surface "irregularities" don't effect things in a negative way.....
The Ebay "extended thread lug nuts" are placed in the hole and they are recessed as they should be.
Verified that they are not too long on the other side and all is good.
They are acorn style but I still cinched them up almost snug before I tightened them. Anti-seize of course. 80 plus plus ft/lbs.
Looks good. And more anti-seize on these wheel studs.
Snugged up each one and backed off 1/8 turn..... after all were this way, then I tightened them up......
.,.....and final tightened them.
Final thought....the way everything bolted up and felt well centered, I have a good feeling that I
will be vibration free..........addendum---4-11-2016---Yes, verified vibration free. Ken
Note that everybody else with a 1st gen rear e-lockered Tacoma that has switched to steel wheels and
no spacers has basically exactly the same forces acting on their wheel studs as I do with my
combo of 5.5" back spacing and 2 inch spacers.(and the same exact overall width)
UPDATE>>>>
Almost 5 months later and decided to check the rear 2" spacers while the tires are being rebalanced and all is good....no loosening up issue....still clicks at 80 ft/lb...and I used gobs and gobs of anti-seize on the threads. I have put about 5000 miles on them so far. Tires rotated once.
May check the front 3" spacers in a couple hours........
The brake caliper is off now and although it's not wobbly or anything, it is free wheeling easy
enough where I think I'm going to tear into it from this end. The reason is the bearings are
brand new and looks like I need to put more preload into them. I guess with new bearings and
that can be expected....but this 2nd time I shouldn't have to check it for years.
Bearing nuts removed and hub slid right off. These 8 bolts will remove the spindle....
the cryo treated birf came out nice and easy.
I only pack the trunion bearing. That's a Marlin eco seal....best seal ever. Why is it the best? Do you
see any gear oil mixed with the tiny grease puddles? The Marlin seal kept all the gear oil out.
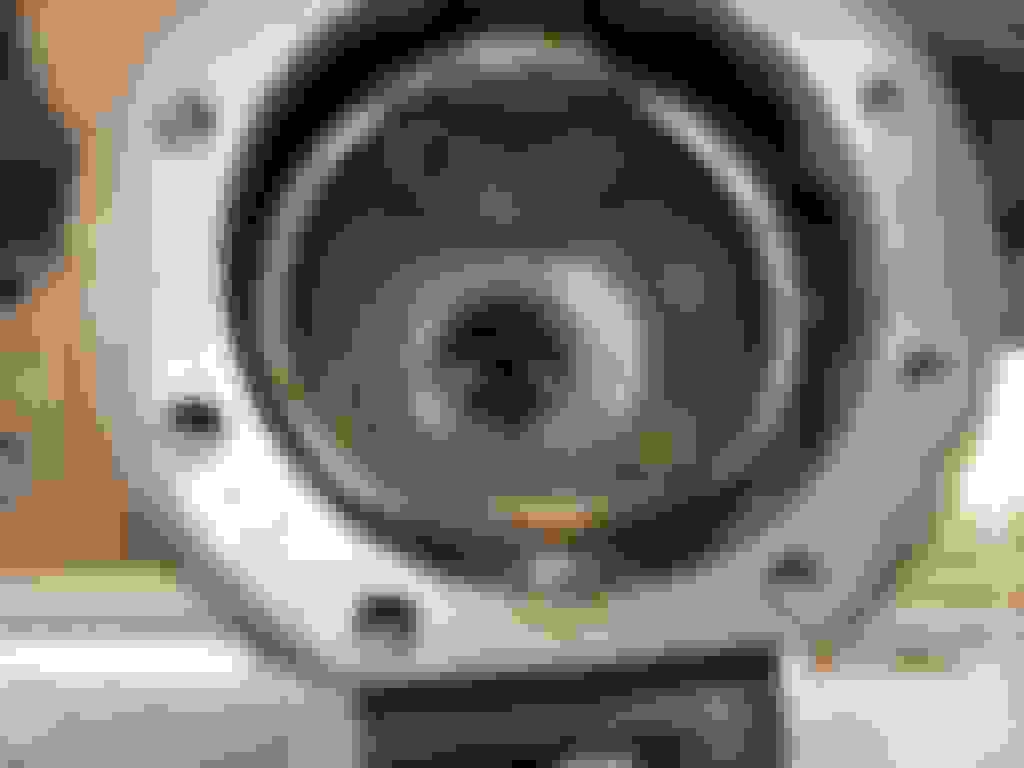
Used the floor jack to break the seal..... The drain plug is on top for some reason. Guess if I roll it......
This is an easy mess to clean out with paper towels.
These oem CV's are for sale as far as I'm concerned At least the birfs have had a pro cryo job.
Front FJ60 3rd is cleaned up and secured to the bench. 9378 Harrop in the background
will be installed.
.................................
New carrier bearings are included in the box. 32010X is a popular conversion bearing
to fit the larger 50mm journals to the smaller O.D. "4cyl bearing"(80mm).
This diff was set up about 1 year ago and checking the backlash shows that it's very
close to .007" so all is good.
Bearing caps removed. Carrier/ring gear to be placed on bench.
Ring gear is to be swapped over to the Harrop case.
The fit of the ring gear onto the machined Harrop case was perfect.
No press or lead filled plastic hammer needed. Nice slip fit.
New carrier bearings are pressed on. The 12 ring gear bolts were also verified to be 82 ft/lb
The 29/64 inch hole was drilled as shown in the top.
The free play was checked....only .020"(.5mm) and should be closer to.080"(2mm).
Adjustments were made and 2mm was met.
.007" backlash was dialed in while a good amount of preload was measured. (10 in/lb)
The 4 bearing cap bolts were set to 70 ft/lb.
Not shown but the 2 lock tab bolts were set to 10+ ft/lb
So all bolts were tightened to spec
Never hurts to put a date on it.
As soon as 12v was applied, the pins started to ramp into the case.
Amperage was measured under 3 amps. (typical)
The rubber grommet was pushed thru the hole.
Ready to install back into the 01 Tacoma in the morning
Jeez....I must be getting older or something....seemed to take a lot of effort to load
that Harrop equipped 3rd in place. No paper gasket....I'm an rtv guy.
The RCV awesome shafts are loaded in place....this is the long side. Same length as the pickup axles.
Bingo. Slid in pretty easy.
This is the driver side. Minimal grease needed. As long as the upper and lower
trunion bearings are greased and some grease is on the Marlin eco seal
then everything is in sync with the universe.
RCV birfs are pre-packed with grease. That's a special "CV grease" that is extra
sticky.
They were kind enough to include a large tube of it in the box
so the zerk at the birf end can be greased with minimal effort.
Not shown but I did use extra grease for the brass bushing
surface(backside of spindle area)...the above picture shows
it squeaky clean but that was not the case when the spindle
was pushed on
Spindle tightened down exactly this much...
I know the drill for tightening both the inner and outer locknut.
Tighten to 60 ft/lb while turning the rotor back and forth numerous times.
Then back off....
...and re-tighten to 18 ft/lb
See that large round crater mark in the nut? That's where it used to be at relative to
the center of the groove. And now it's a little tighter (1/4" more tight). Not really
that much wear-in for brand new bearings 1 year ago.
Then thread the outer retainer nut on and tighten to 60 ft/lb and stake it.
In the Harrop box there was also these 4 paper gaskets that they kindly included
with the bearings....guess I will use them right now.
The clips went on with no trouble.
I'll spray some lithium based garage door spray in here. Never pack these with
thick axle grease...if you do, the outer hub gears will never slide in the outside
grooves shown above. They MIGHT slide on a hot day but on a cold one they
will remain frozen in place and you will be stuck with 2wd.
I put these 3 inch spacers on as shown on the date above. Used anti-seize on the
threads and tightened to 80 ft/lb. Drove up to Moab(400 miles each way), wheeled
and bashed around on the trails, drove back, drove it on the road every
day (daily driver) and I experienced no loosening effect at all.
As shown above, they are again re-tightened to the same 80 ft/lb.
Thanks CB-
Bleeding the front brakes just in case and putting the tires on afterwards. Done.
Well, except for mounting the switch and running a wire pair. The "old grease" was perfect....
no discoloration or debri.
The wheel bearings were re-tightened a small amount to get the preload back but
I expect that with new bearings and 1 year of service. 1/4" tighter on the left and
1/2" on the right side. I bet that is not enough to notice ever anyways...
I'll tell you this....it's a good feeling having a BIG 9.5" ring gear and RCV's and the
chromoly inner hub gears. Coupled with my 488 gears and liquid cushioning
transmission, it's a good feeling knowing that the dependability factor is off the charts.
And per the dependability.....no 90 psi to deal with
Shot from front bottom drivers side....lower radiator hose goes to the thermostat housing.
Those 3 engine belts are factory original......2001.
Not too bad to get to the thermostat(left of alternator).
Can even access it from the top or the bottom.
The stud came out with the nut on one of them.
That's ok....works out the same.
Good to have a camera that can do "macro mode" well
Notice the hole is at the top (12 o'clock)
The FSM says 6 o'clock.
Looks kinda grungy. Not too bad for 16 years.
The new one went in with no trouble.
1 gallon of new anti-freeze and 1 gallon of water.
Well, now that I have the Harrop elocker installed in the front 9.5" figure I should run power
to it to make it work. Not going to use the main harrop harness....just the 17' twin wire
harness shown near the switch above.
17 feet. going to clip the black connector off....too bulky looking and I feel better with
crimp connectors.
Used a drill and spun the wires together....the crimps shown are for the diff end.
Harborfreight to the rescue....ohmed it out and know which 2 to use.
The rear factory e-locker engages here. I suppose I had the option of using the
ECT switch.
I could have used the Hazard switch too. But, just seems like a good thing to
use the clock cut-out instead. Toyota put the clock in the worst place....can't
see it most of the time anyways.


 08-10-2016, 05:21 PM