88_Red_Runner's Tired Of IFS...

 12-26-2013, 04:51 AM
#42
Registered User
Thread Starter
Join Date: Dec 2012
Location: Montana
Posts: 223
Likes: 0
Received 0 Likes
on
0 Posts
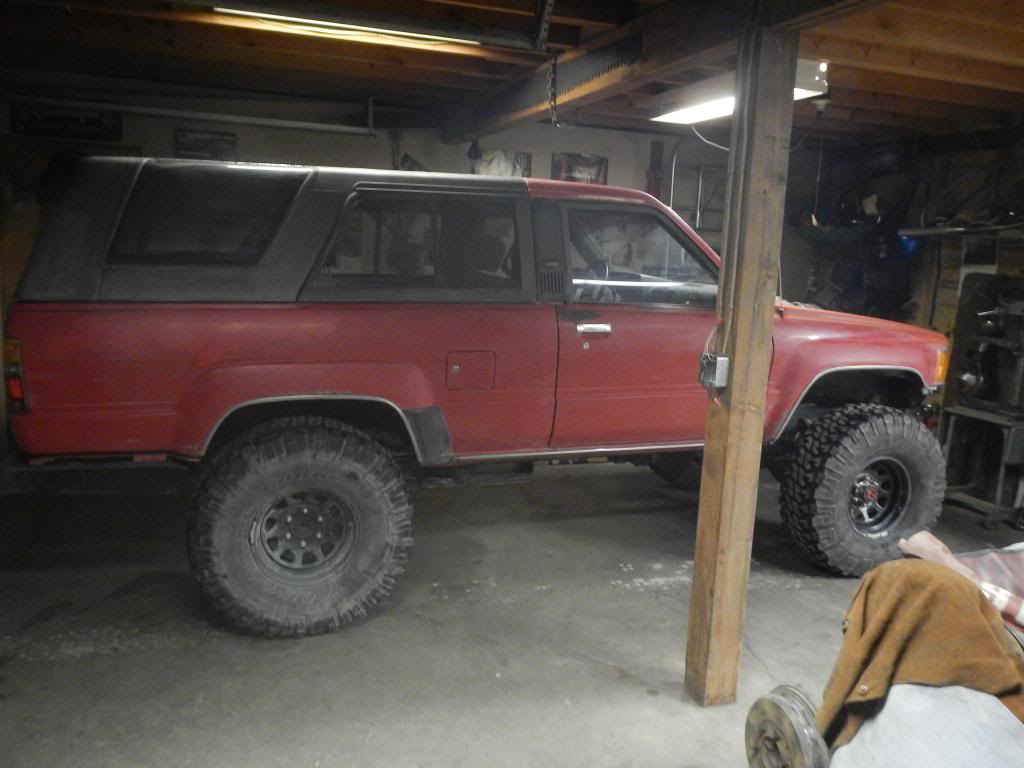
I noticed before I pulled out of the shop that there was anti-freeze on the ground. When I looked under the engine it seems to be coming out of the water pump. Looks like it is time to do a timing belt water pump job on her. I figure it is do considering that it has 200,000 miles on the engine. By the looks of the previous owner of the donor truck he did nothing to the engine. Maybe changed the oil. Just goes to show how awesome the 3.4 liter is. If the water pump did not start to leak, I would have just let the timing belt go until she snapped. Since they are a non interference engine, to see how long that factory belt would last. I will be replacing the belt and the pump myself with all factory parts, as well as doing a new oil pan on her.
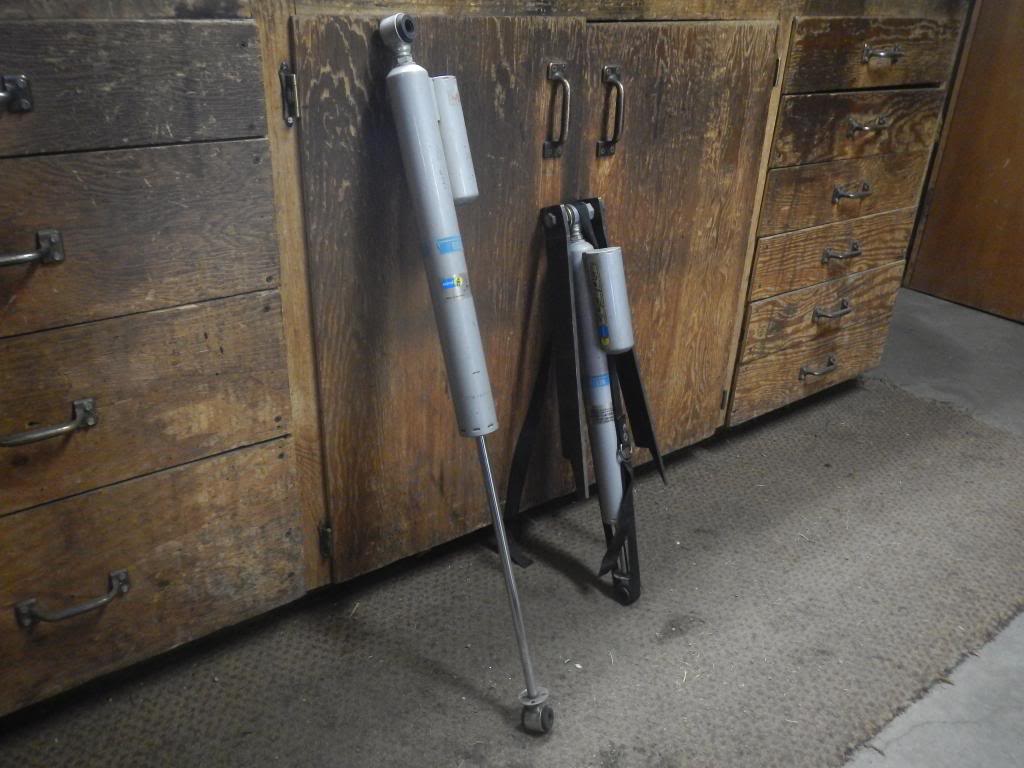
I think before I start the timing job, I will finish the shock mounting. Just to keep you all tuned in. Wish me luck.
I think before I start the timing job, I will finish the shock mounting. Just to keep you all tuned in. Wish me luck.
12-26-2013, 05:07 AM
#43
Registered User
Thread Starter
Join Date: Dec 2012
Location: Montana
Posts: 223
Likes: 0
Received 0 Likes
on
0 Posts
I'll try to take some flex shots for you guys with the engine crane in the shop to show off how well the suspension works. I could not be more pleased. Like I said earlier in the forum, I still need to move the shackle hanger back, for the rear springs. There will be more weight back there with the spare tire mount.
I have an old school All-Pro in cab cage that I will be modifying to fit in the 4Runner. I will post some pictures of the install for you all.
I have an old school All-Pro in cab cage that I will be modifying to fit in the 4Runner. I will post some pictures of the install for you all.
12-26-2013, 05:30 AM
#44
Registered User
Thread Starter
Join Date: Dec 2012
Location: Montana
Posts: 223
Likes: 0
Received 0 Likes
on
0 Posts
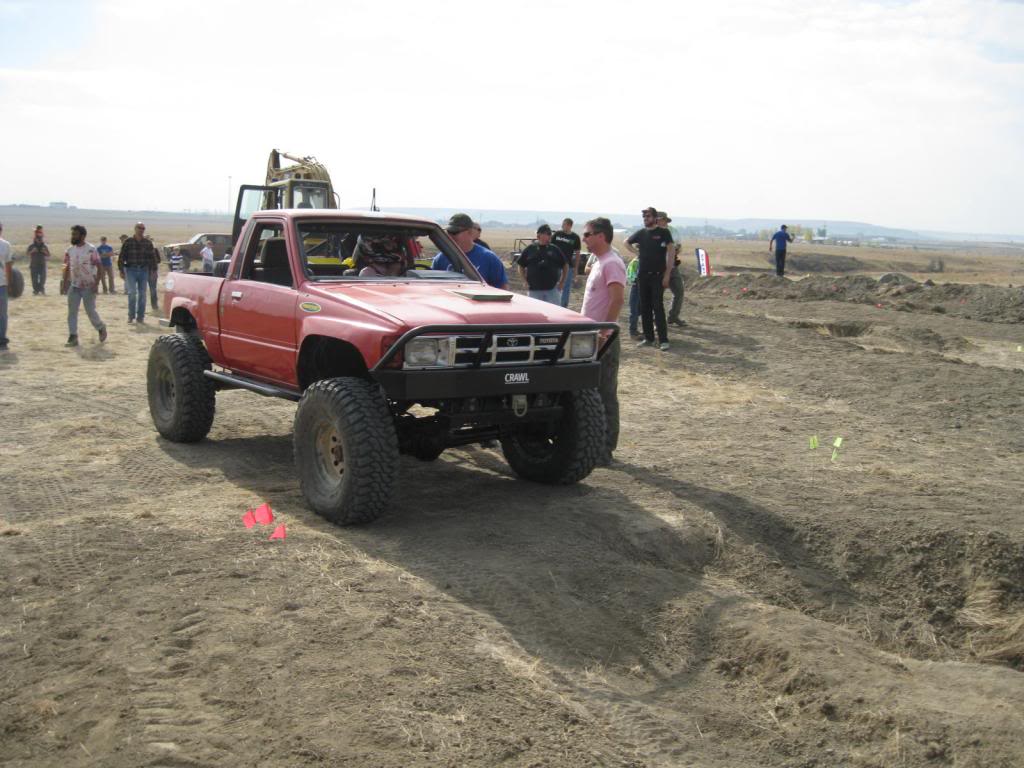
Photo of my old truck. A.K.A. the donor. I only had her for a short while. Built from the frame up. No nonsense, strictly racing and 4x4. I hit a hole on an obstacle 2nd gear normal low, skinny pedal to the floor. Bent the tie rod, and the drag link, because the bump stop ripped off the frame. The tie rod and drag link bent the frame pretty bad on the passenger side. Ended up scrapping the frame.

 12-30-2013, 04:41 AM
#49
Registered User
Thread Starter
Join Date: Dec 2012
Location: Montana
Posts: 223
Likes: 0
Received 0 Likes
on
0 Posts
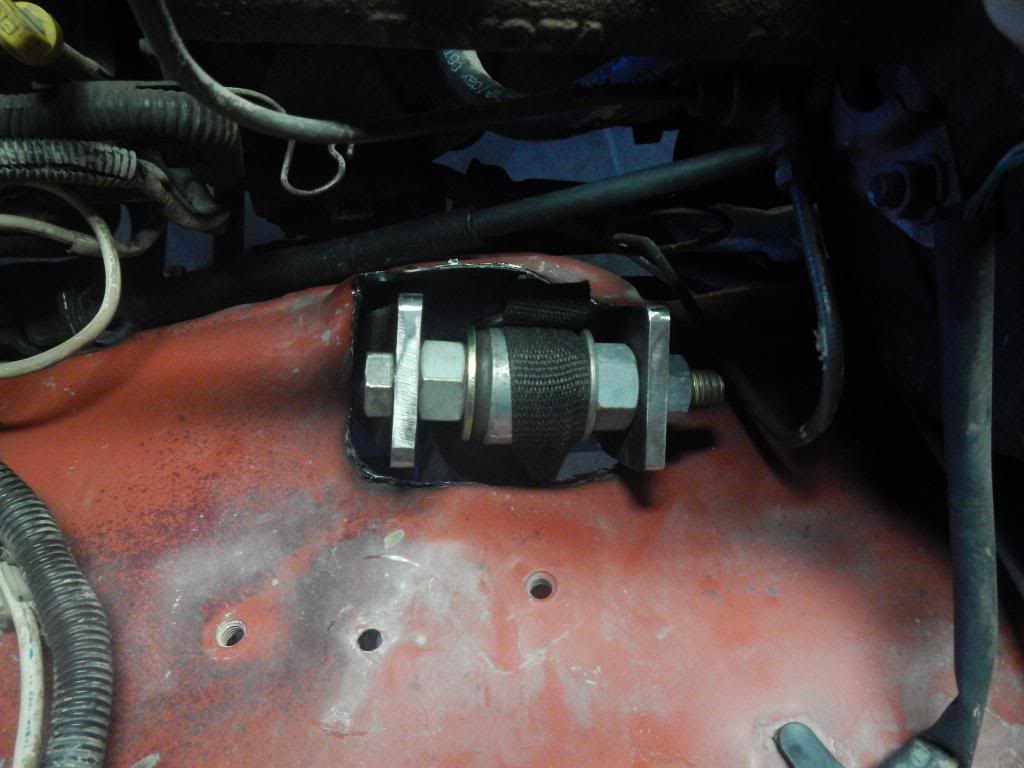
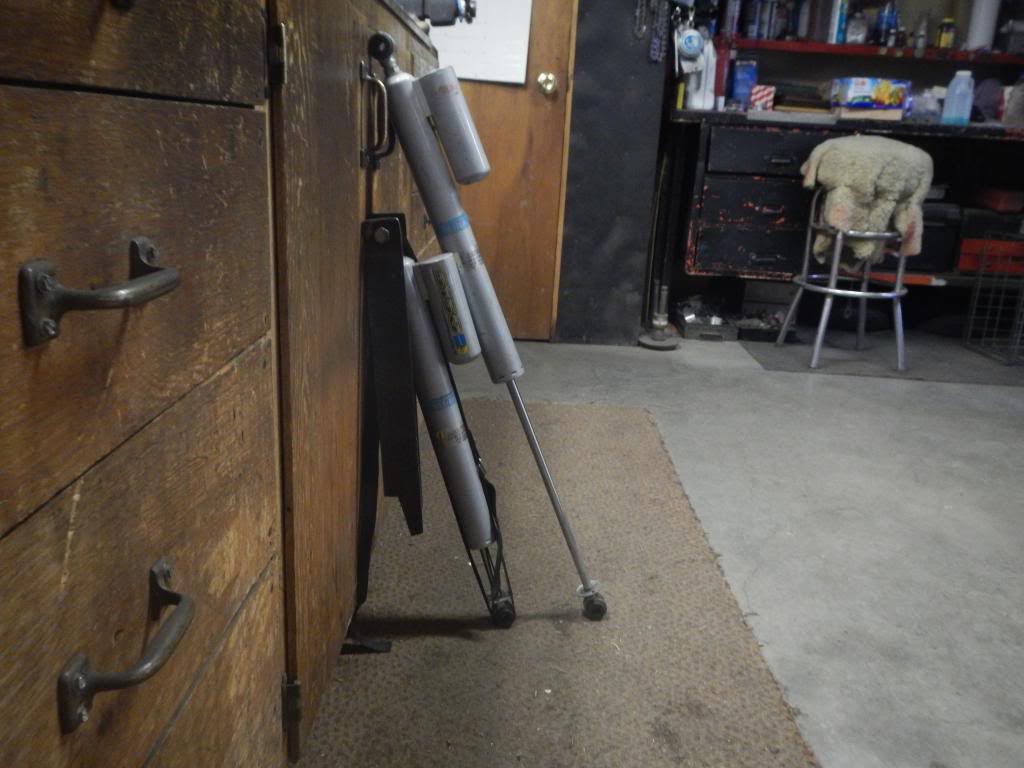
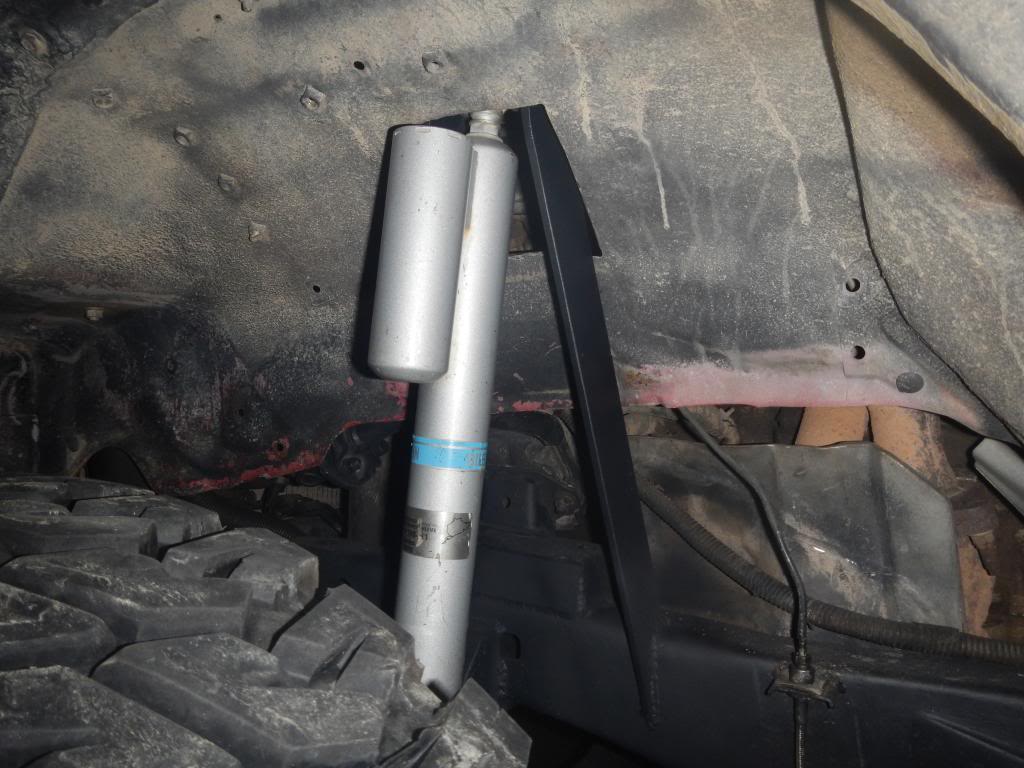
The top of the shock and the mount poking through the inner fender. I have not cleaned the sharp edge off of the inner fender yet, because it still needs a little fine tuning.
12-30-2013, 04:47 AM
#50
Registered User
Thread Starter
Join Date: Dec 2012
Location: Montana
Posts: 223
Likes: 0
Received 0 Likes
on
0 Posts
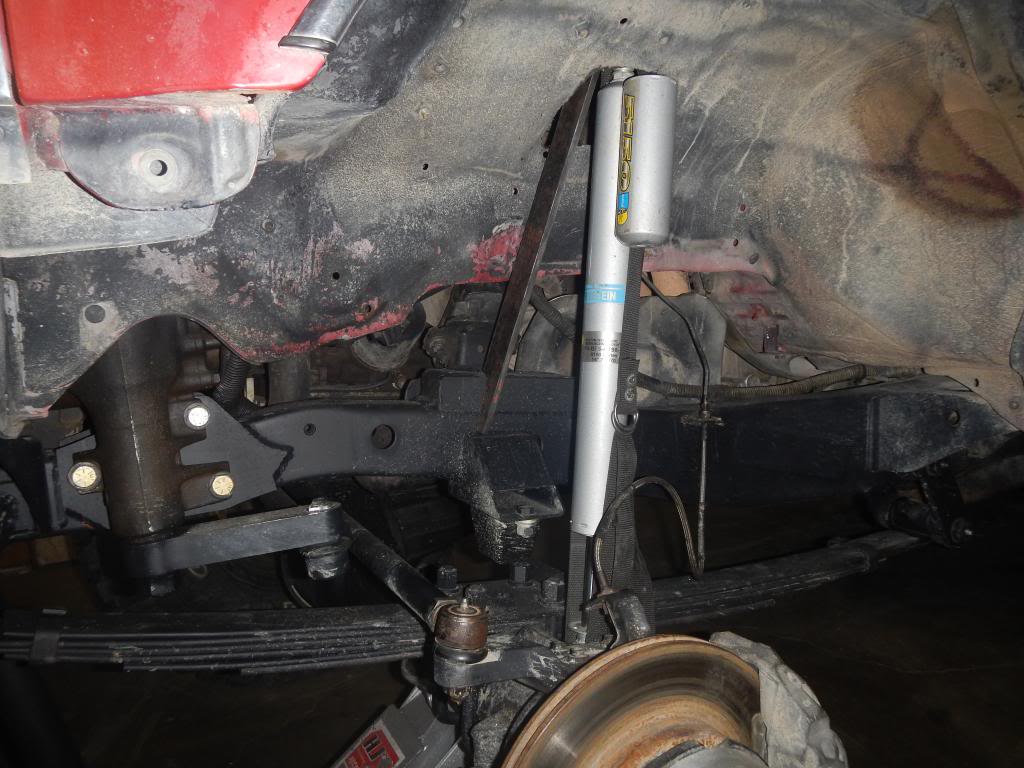
This is what it will look like on the truck. I will be adding a plate across the back side of the towers to connect them, and possibly a plate on the top. The over sized nuts in the picture are temporary. I will be drilling the holes out to 3/4" and sleeving a piece of 3/4"x1/8" DOM to slide a long bolt through. When I have more time I'll post up some more pictures. Hope everyone enjoys.
12-30-2013, 04:54 AM
#51
Registered User
Thread Starter
Join Date: Dec 2012
Location: Montana
Posts: 223
Likes: 0
Received 0 Likes
on
0 Posts
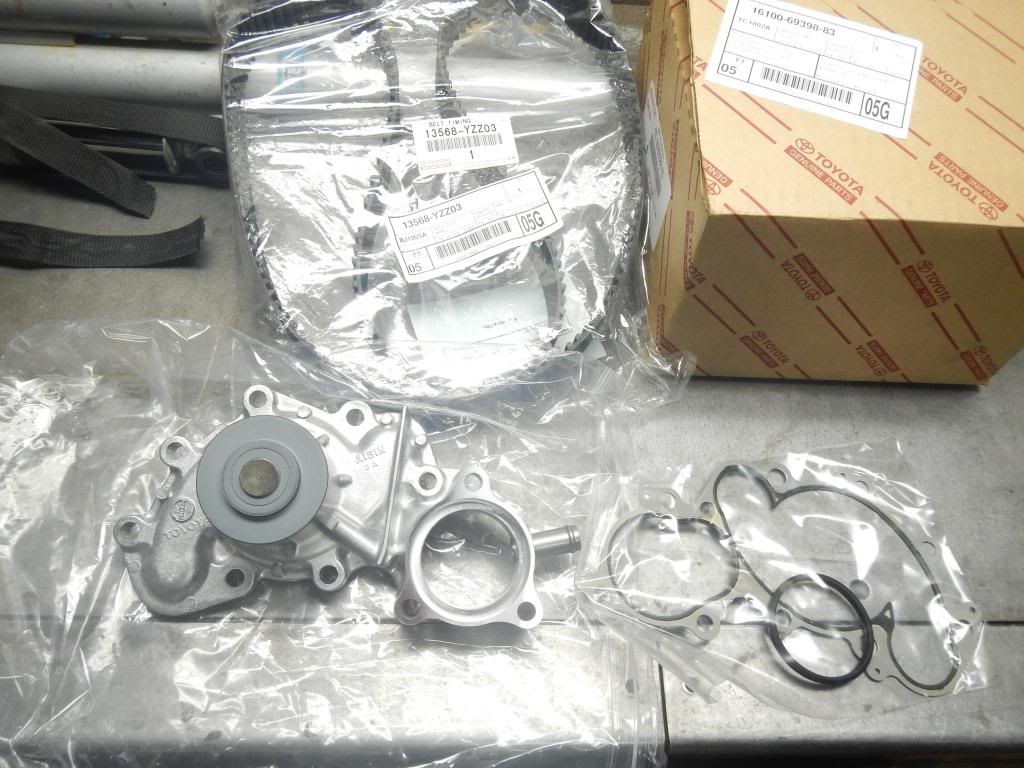
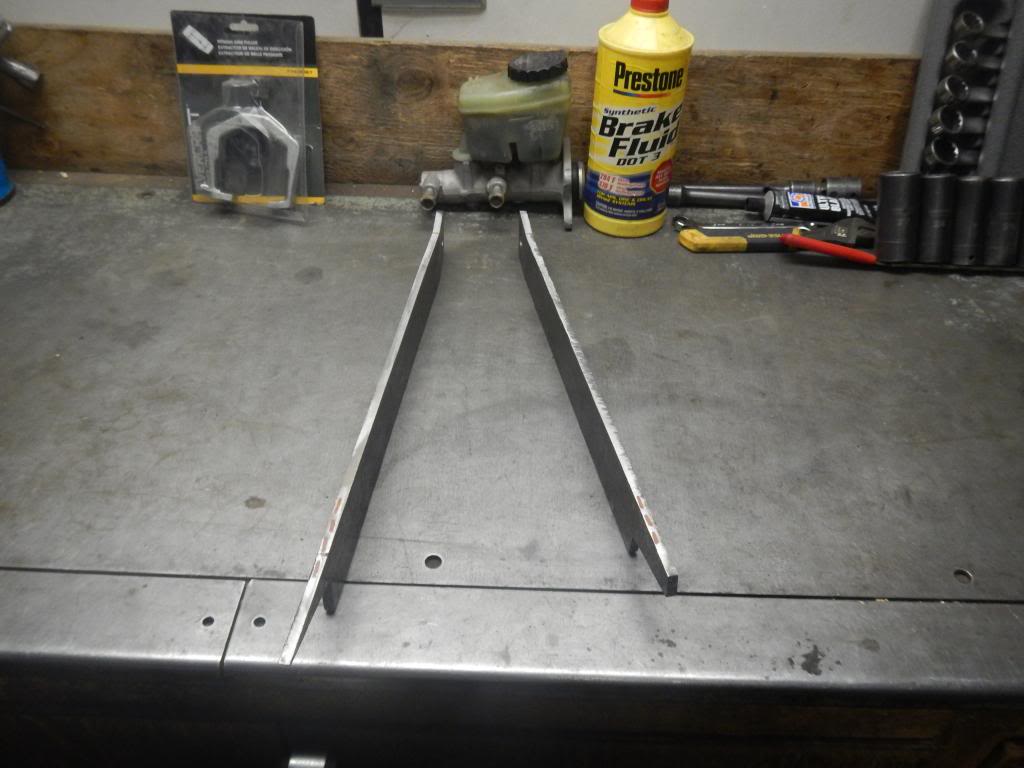
Also got these parts. Just wanted everyone to know I don't skimp. I never buy anything but factory, when it comes to the guts of the engine. Dang stealership is proud of these parts. Came out to $237.00 for the both of them.
01-02-2014, 05:04 PM
#52
Registered User
Thread Starter
Join Date: Dec 2012
Location: Montana
Posts: 223
Likes: 0
Received 0 Likes
on
0 Posts

Thinking about lowering the engine mounts so the hood does not have to be cut for a scoop. Or possibly making my own mounts. I believe it is only 1.5 inches it has to be lowered to clear the hood. This would also make the center of gravity better. I might do this before I glue on the shock towers.
Has any one done this before? I would be curious to see some pictures of lowering the 3.4 engine in an IFS frame with some specs. Or even some custom engine mounts that people have made. Thank you.
01-02-2014, 05:07 PM
#53
Registered User
Thread Starter
Join Date: Dec 2012
Location: Montana
Posts: 223
Likes: 0
Received 0 Likes
on
0 Posts
On the same note with the engine mounts. It would be nice to stiffen up the drive train. I will also be installing an aftermarket t-case mount as well. Thanks again.
01-03-2014, 05:12 PM
#54
Registered User
Thread Starter
Join Date: Dec 2012
Location: Montana
Posts: 223
Likes: 0
Received 0 Likes
on
0 Posts
I have seen the TG engine mounts. I was wondering what type of bushing is used? Could a spring bushing be used in that same application? If so, making that mount would be very easy. And to lower the engine I could make something like an old chevy 350 mount and do away with the factory mounting plate on the frame side . This might work. Any input would be helpful...
Last edited by 88_Red_Runner; 01-03-2014 at 05:13 PM.
01-04-2014, 05:37 PM
#55
Registered User

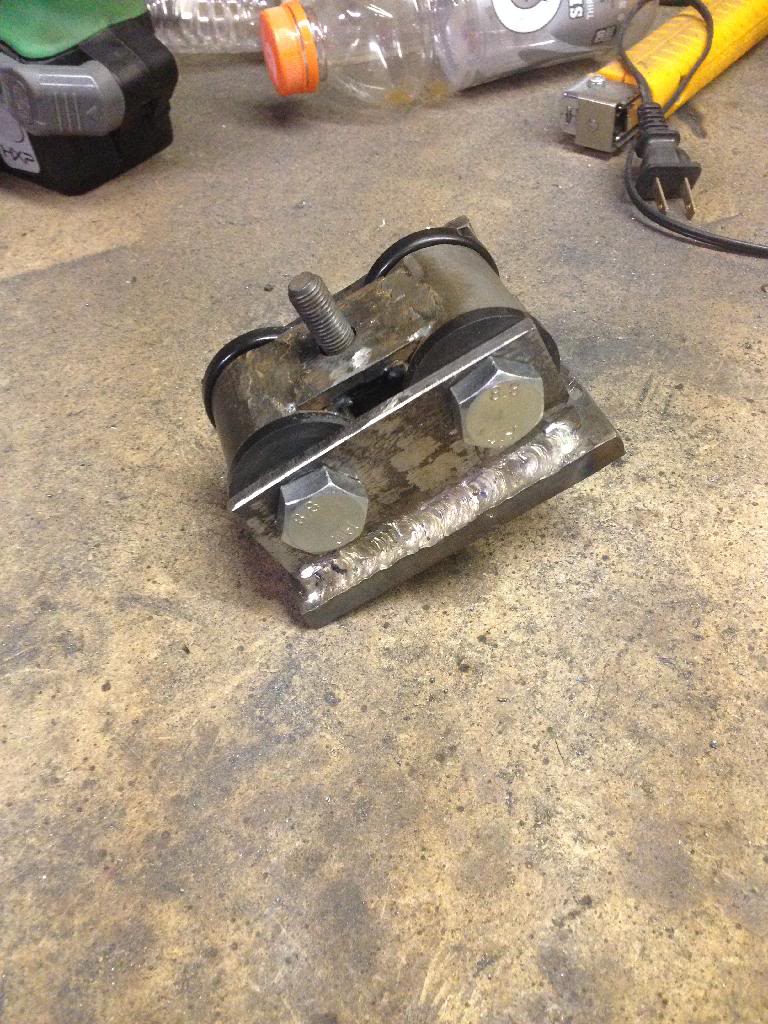
My thinking is that you're on the right on the old Chevy style mounts. Not that this is how I think you should do it, especially since it's for a subaru, but you get the idea. The bushing is a "pivot link bushing" from zpartswarehouse on eBay, I think. Prothane brand.
01-05-2014, 04:22 AM
#56
Registered User
Thread Starter
Join Date: Dec 2012
Location: Montana
Posts: 223
Likes: 0
Received 0 Likes
on
0 Posts
Thanks. I like the dual bushing idea to share the amount of load. In that case a guy could use a softer compound and end up with a lower vibration.
 01-05-2014, 09:01 PM
#57
Registered User
Doing the dual bushing was necessary on the Subie mount, at first I tried to do just 1, but the mount came out 3/8-1/2" taller than OEM. Guess the dual bushing could also help keep yours lower, too. Curious how your gonna deal with oil pan clearance to the tie rod, though, and keep it as low as you have. Whatever you come up with, I may have to copy to keep mine low, too.
01-07-2014, 03:46 AM
#58
Registered User
Thread Starter
Join Date: Dec 2012
Location: Montana
Posts: 223
Likes: 0
Received 0 Likes
on
0 Posts
Doing the dual bushing was necessary on the Subie mount, at first I tried to do just 1, but the mount came out 3/8-1/2" taller than OEM. Guess the dual bushing could also help keep yours lower, too. Curious how your gonna deal with oil pan clearance to the tie rod, though, and keep it as low as you have. Whatever you come up with, I may have to copy to keep mine low, too.
 01-08-2014, 04:53 PM
#60
Registered User
Thread Starter
Join Date: Dec 2012
Location: Montana
Posts: 223
Likes: 0
Received 0 Likes
on
0 Posts
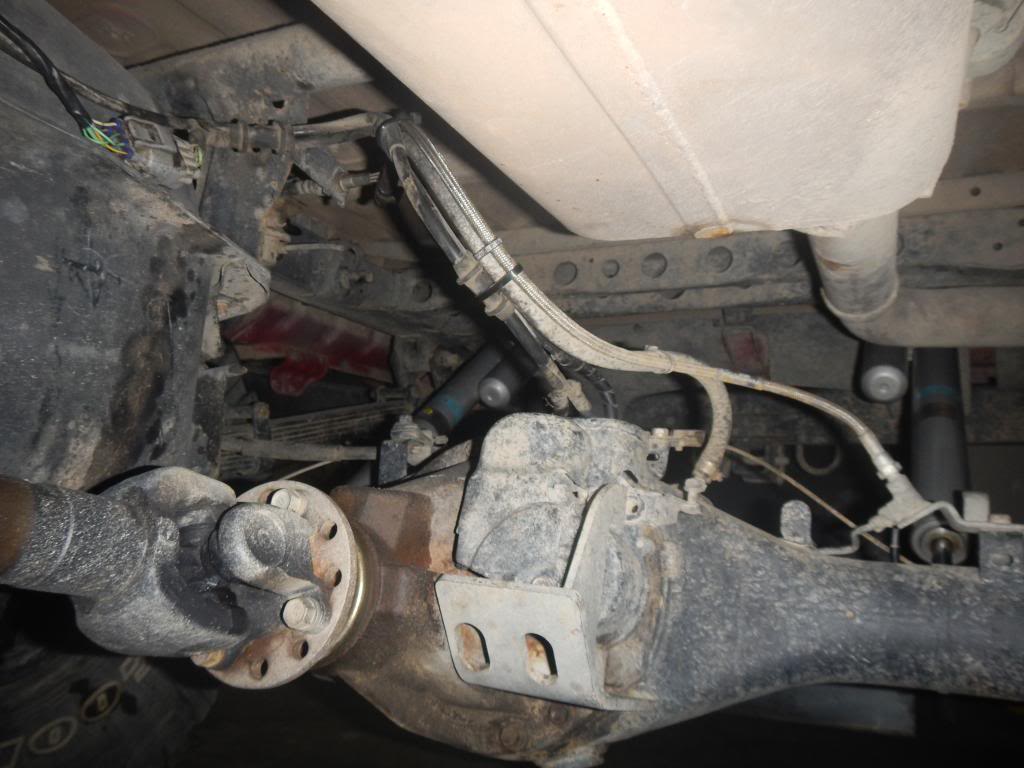
Also wired up the E-Locker. Routed it along the brake line to the frame, above the driveline, and through the rear heater hole. It goes under my custom center console and to the dash.


