Rear Axle Seals/Bearings Write-up
 02-28-2012, 09:16 AM
#1
Registered User
Thread Starter
Rear Axle Seals/Bearings Write-up
**Warning: Lots of Pictures**
This is on a 1991 4WD Toyota Pickup...
The Story: One day I noticed my backing plate covered in gear oil. I looked at the breather plug, it was clogged bad. Hoping I caught it before the gear oil didn't do too much damage to the bearing I ran it for a while.
It still leaked a little after that, and when I went to add fluid, it had lost 1 quart. After that, I knew I had to fix this.
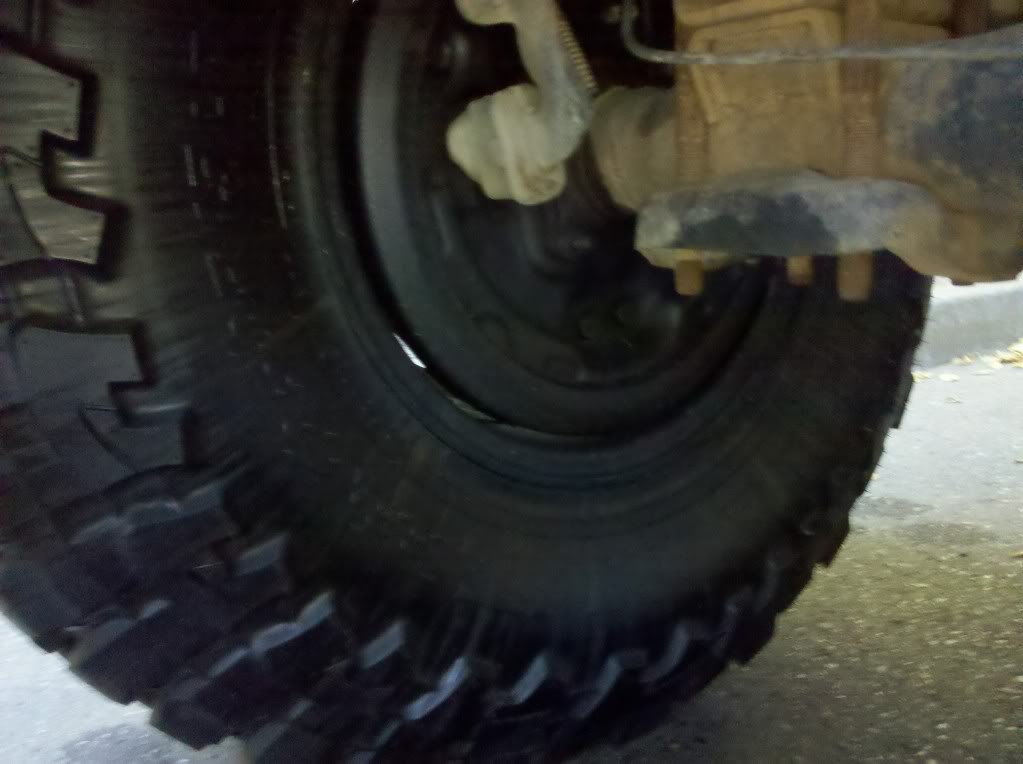
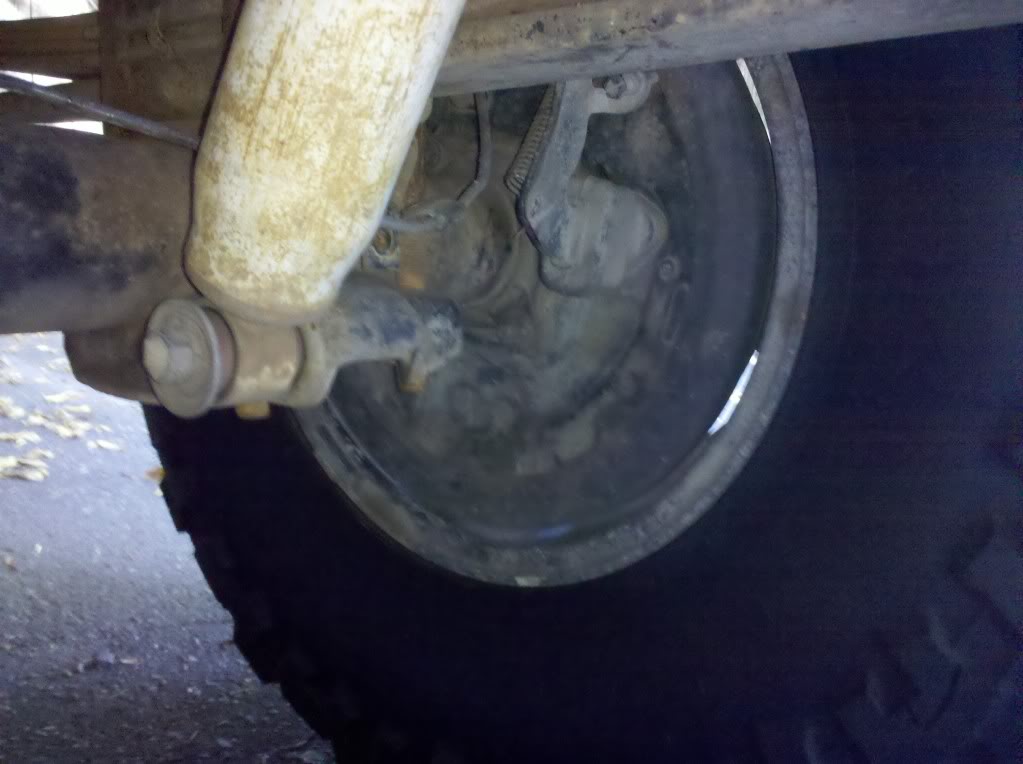
Backing plate covered in gear oil:
What it should look like:
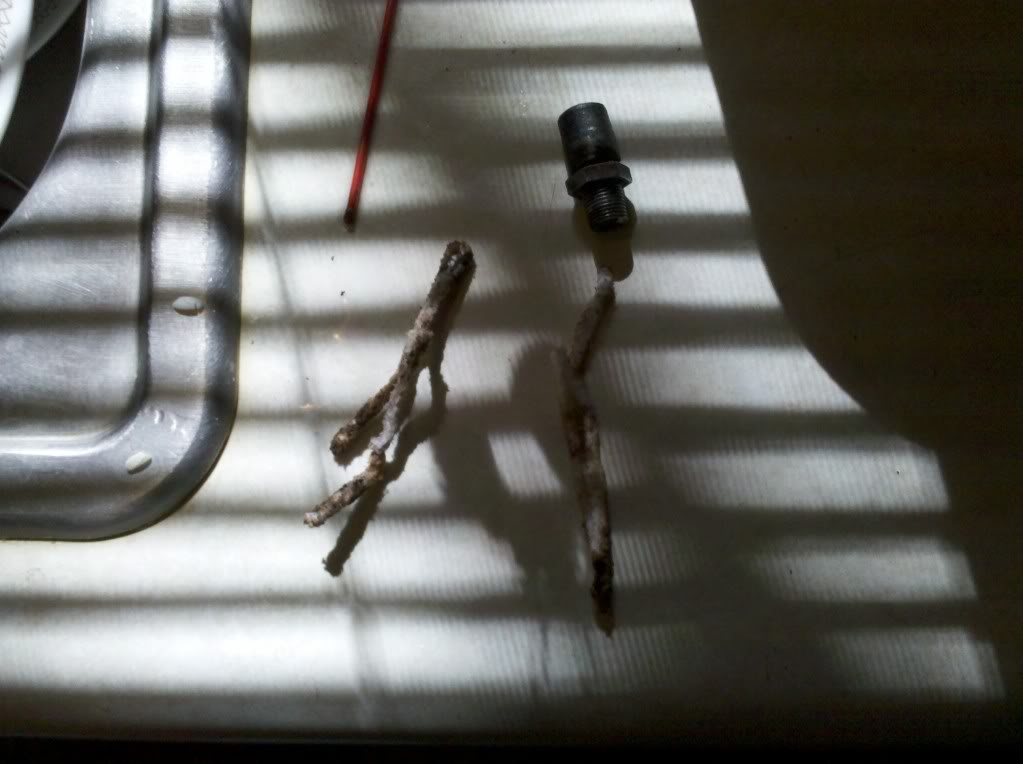
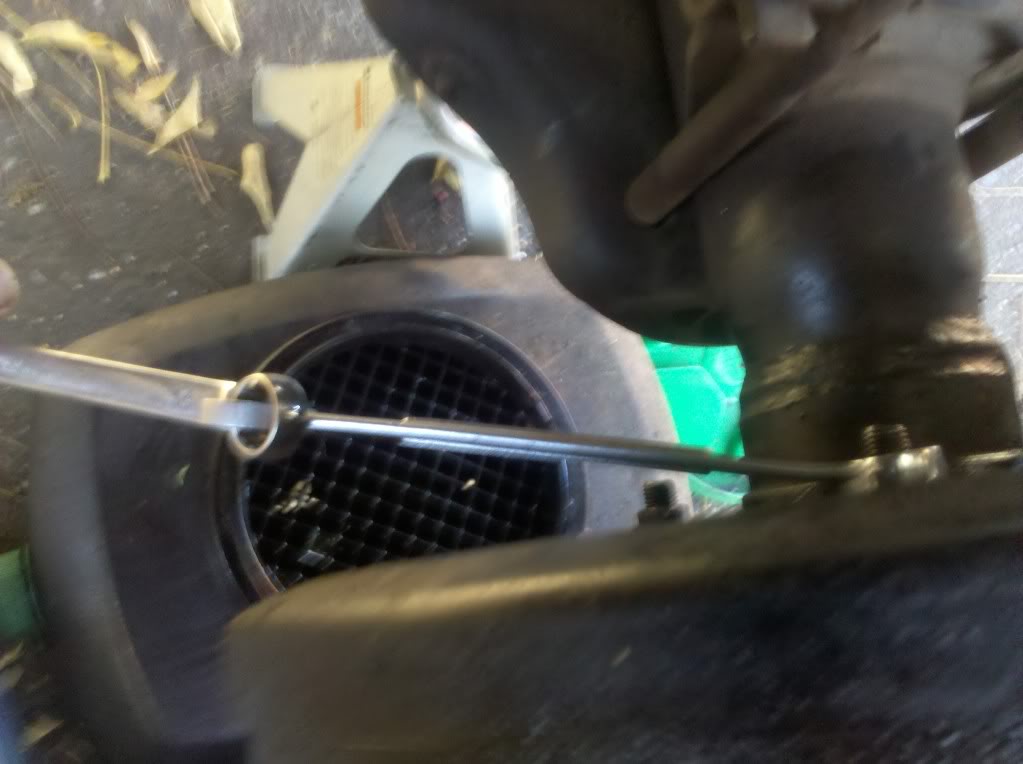
Cleaning Diff Breather:
Anyways on with the Write-up...
1) Setting up
Park on level ground and block front wheels. Loosen Lug nuts, raise rear axle off the ground and support on jack stands. Remove tire.
2) Brake Lines
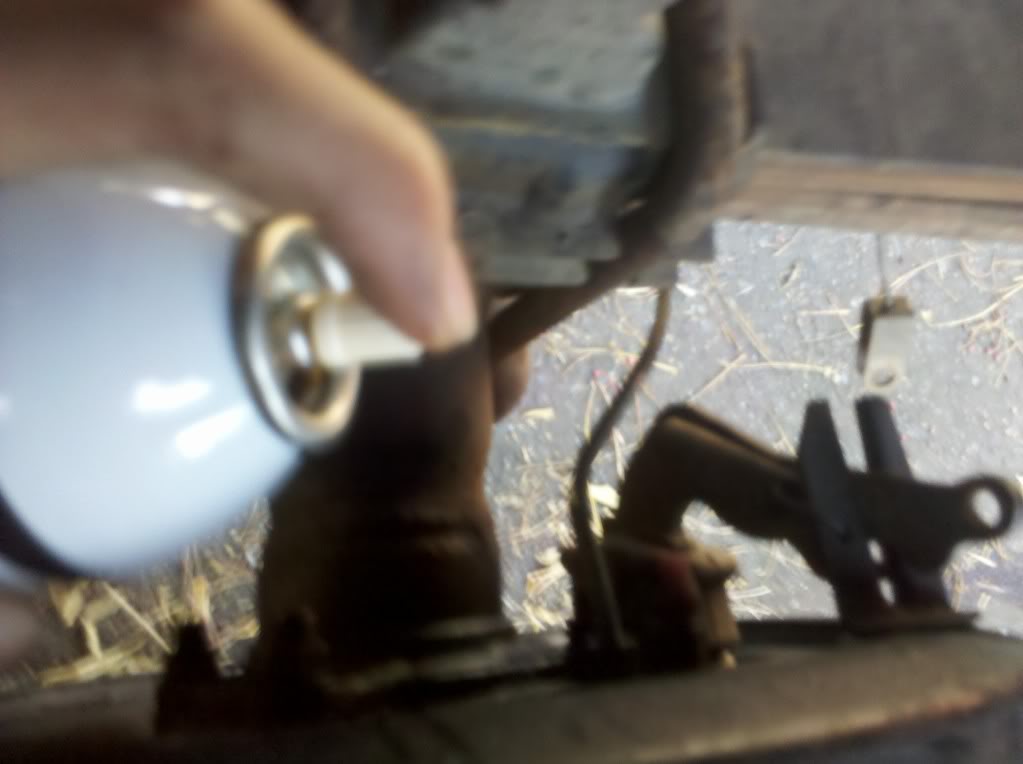
I start with removing brake lines because if you can't get them off, the axle's not coming out. Spray brake line fitting with PB Blaster and give it 5 minutes or more to soak.
I love these crow's feet flare wrenches, and would highly recommend them. I set it up with a 1/2" drive Ratchet with 1/2"-3/8" Converter. You need a 10mm to fit the brake line fitting.
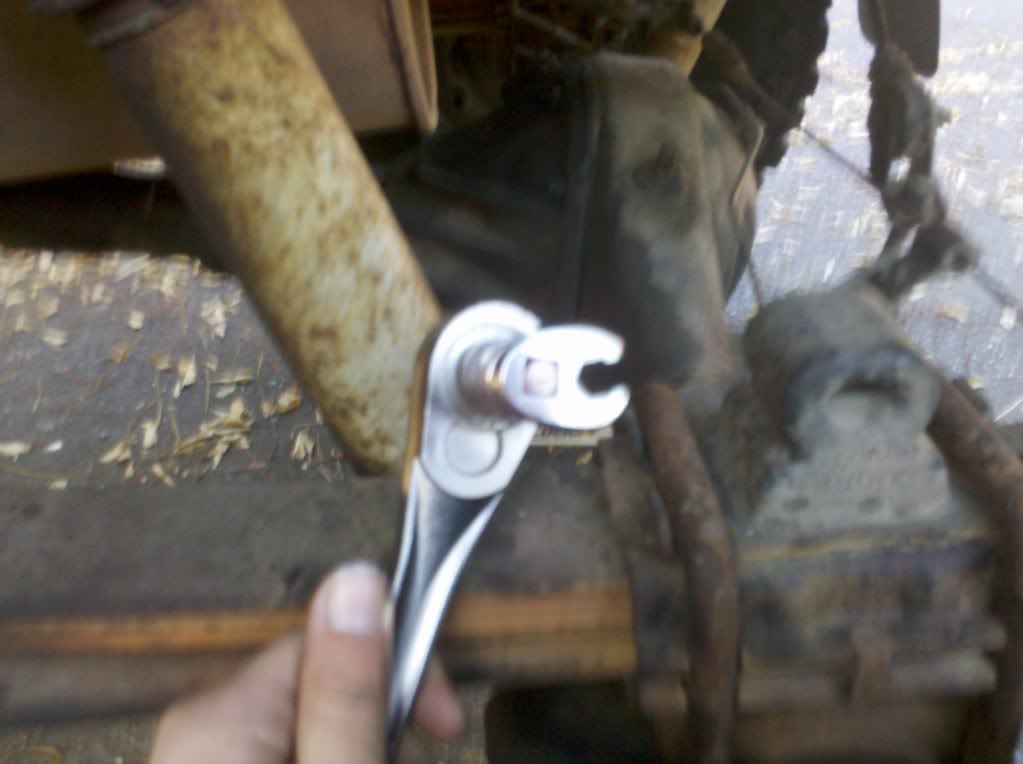
Go slow and be patient, mine managed to come off even though it had been slightly rounded off by my previous experience. It doesn't take much to round them.
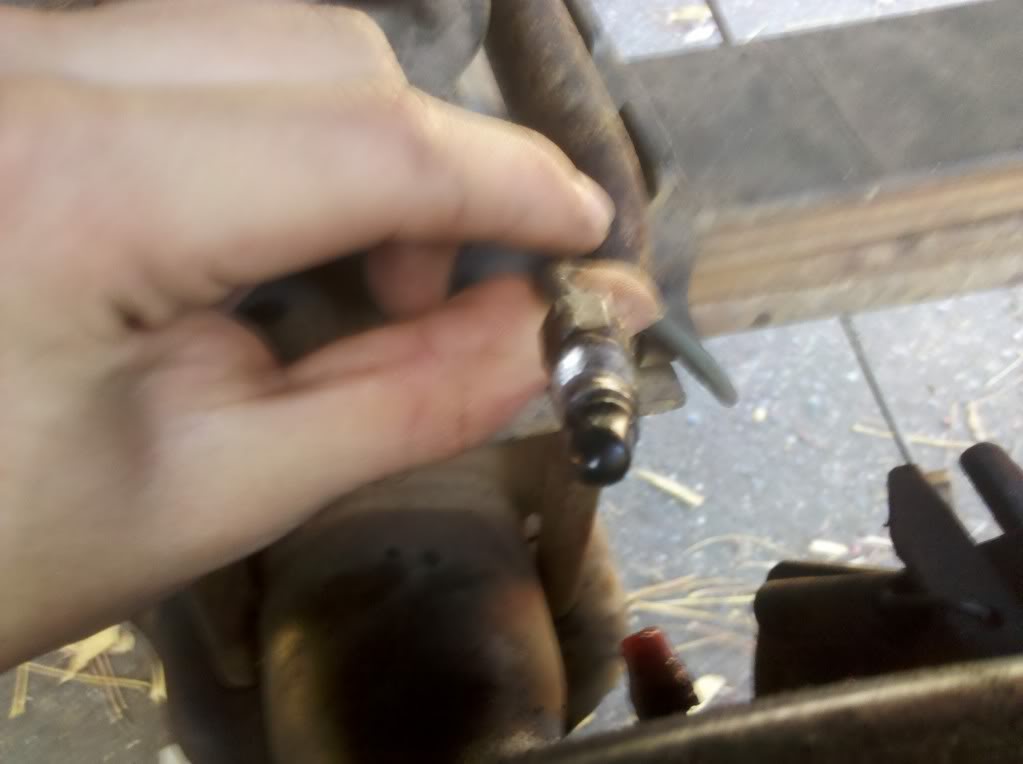
After you get the line off, you wanna cap it to prevent brake fluid from leaking. I like to use these rubber caps that just stretch over the fitting.
3) Remove Parking Brake
Pretty straight forward....

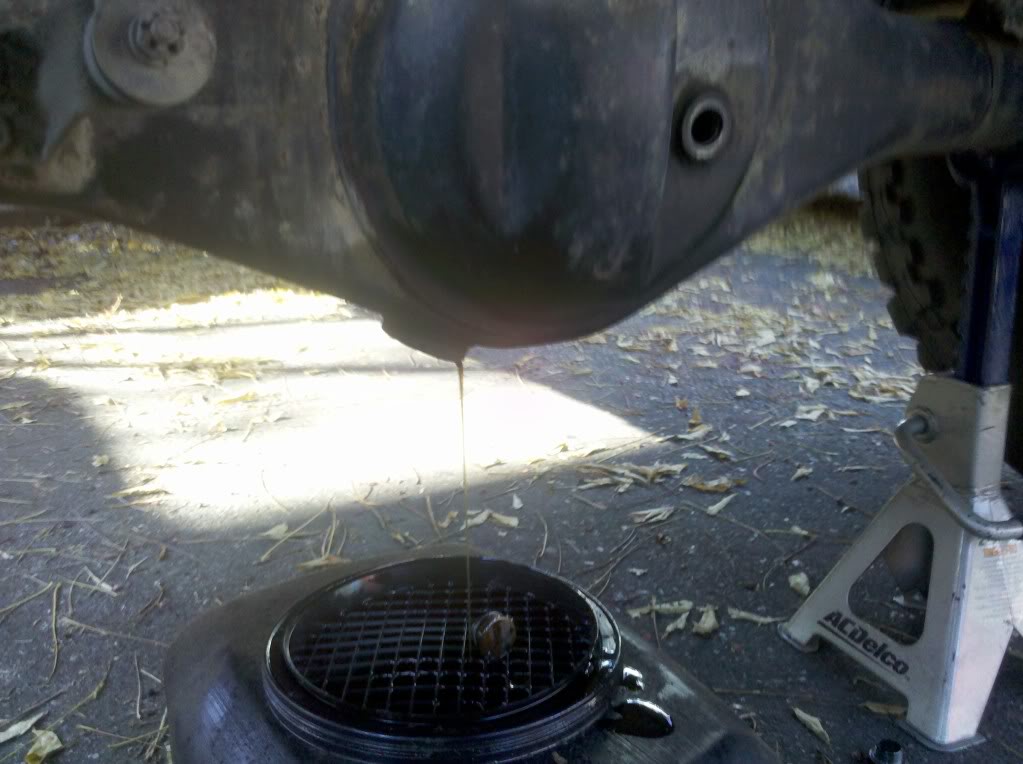
4) Drain Gear Oil
Now that you got the brake lines off, you can go ahead and drain the gear oil from the axle housing. Remember to remove the fill-plug before removing the drain-plug.
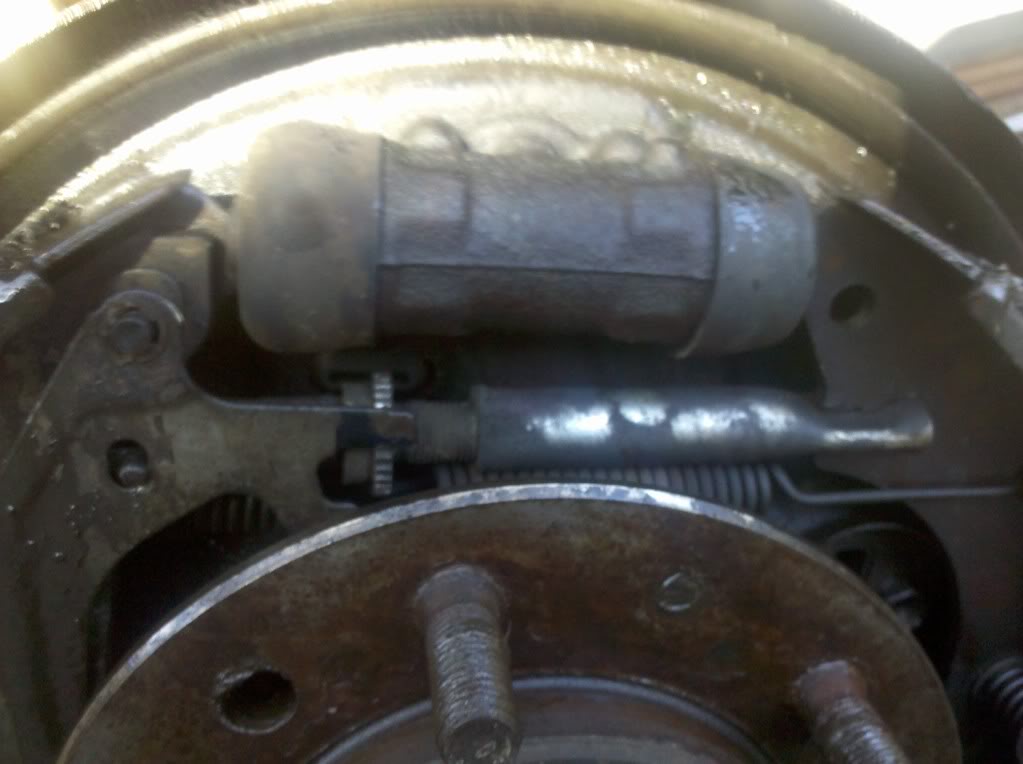
5) Remove Drum
Remove the drum if possible, mine slid right off even though my drum brakes are worn. Most likely because everything is covered in gear oil.
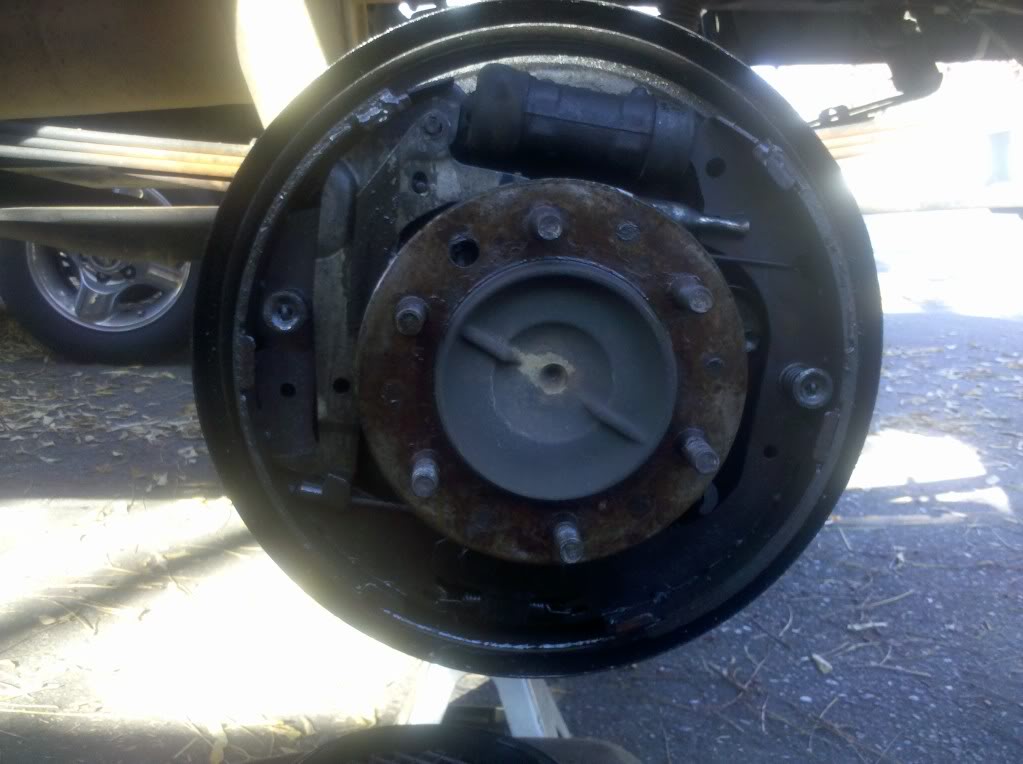
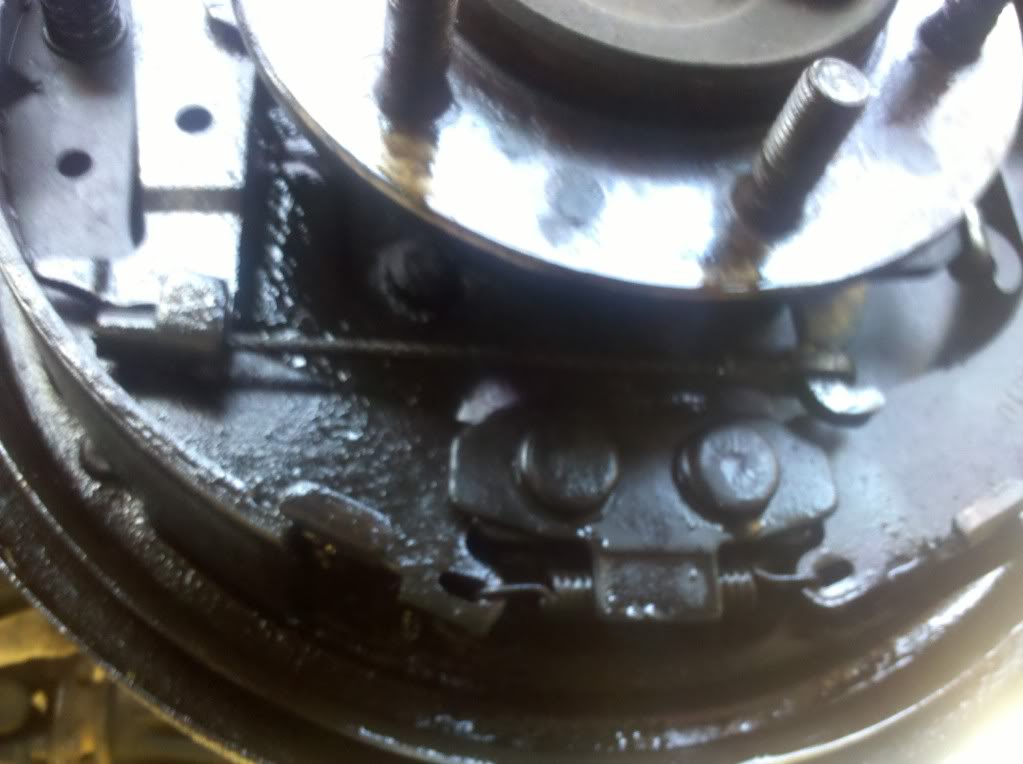
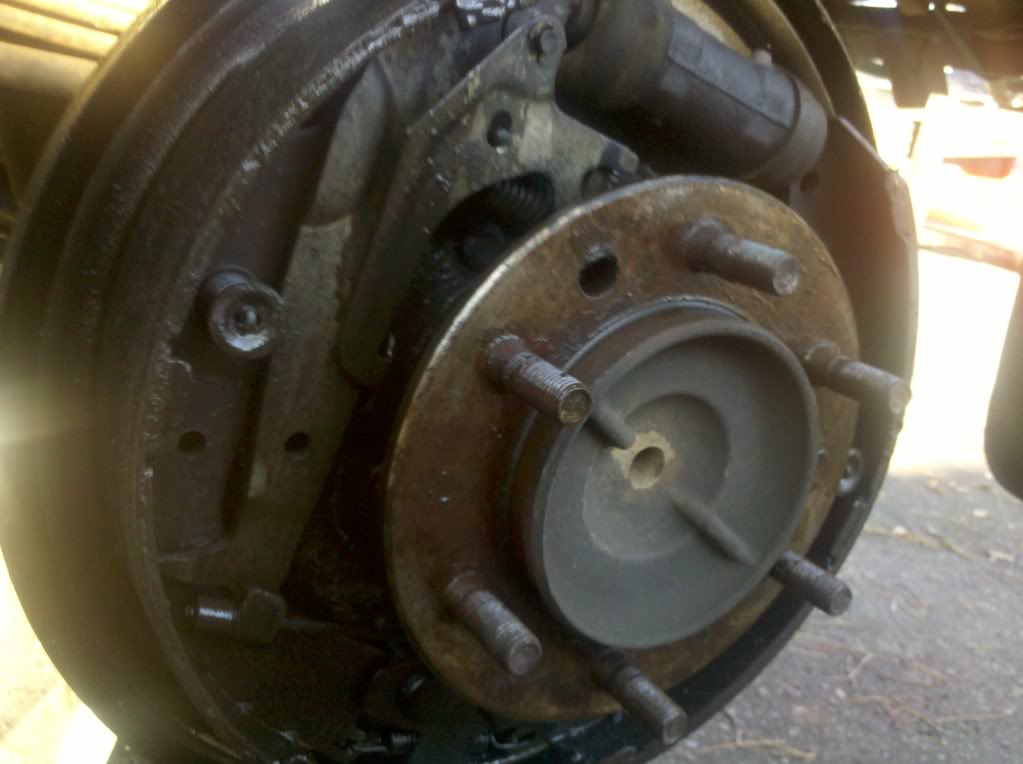
Here's more pics if anyone is thinking about replacing their drum brakes:

6) Remove Axle from Housing
Use PB Blaster on the 4 nuts holding the backing plate to the housing. Again, wait 5 minutes or more, even better take a break. After that, I take my 14mm wrench and "double-up" with another wrench for leverage just to break the nuts loose.
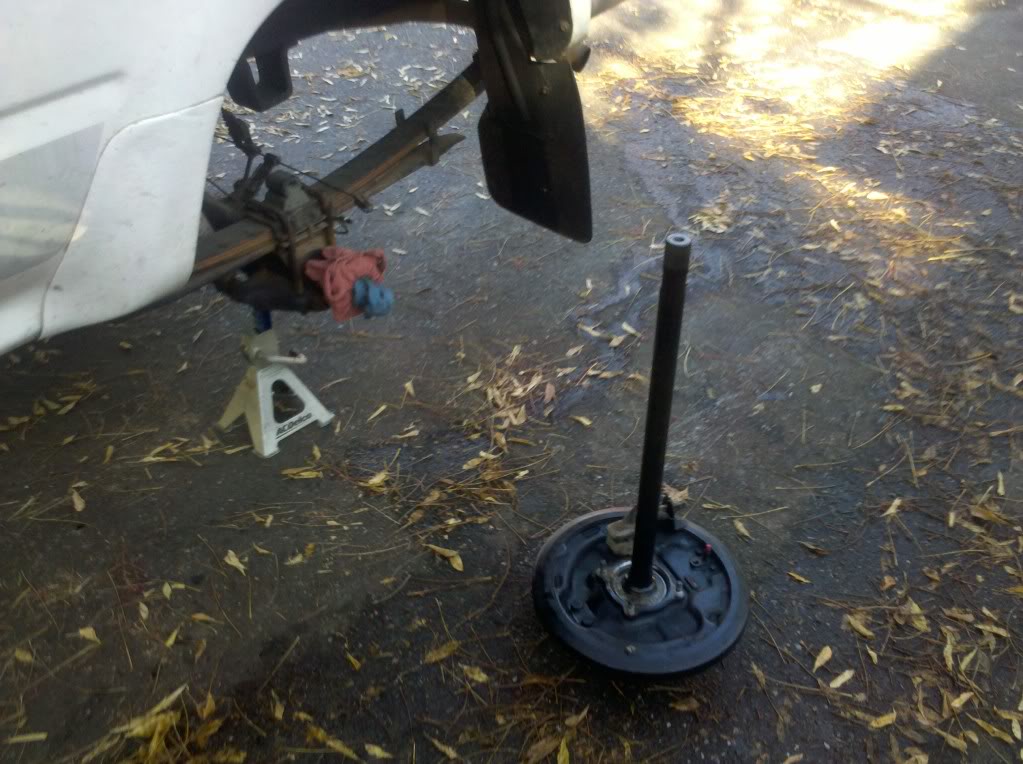
Afterwards slide the axle out carefully and set it upright on the ground.
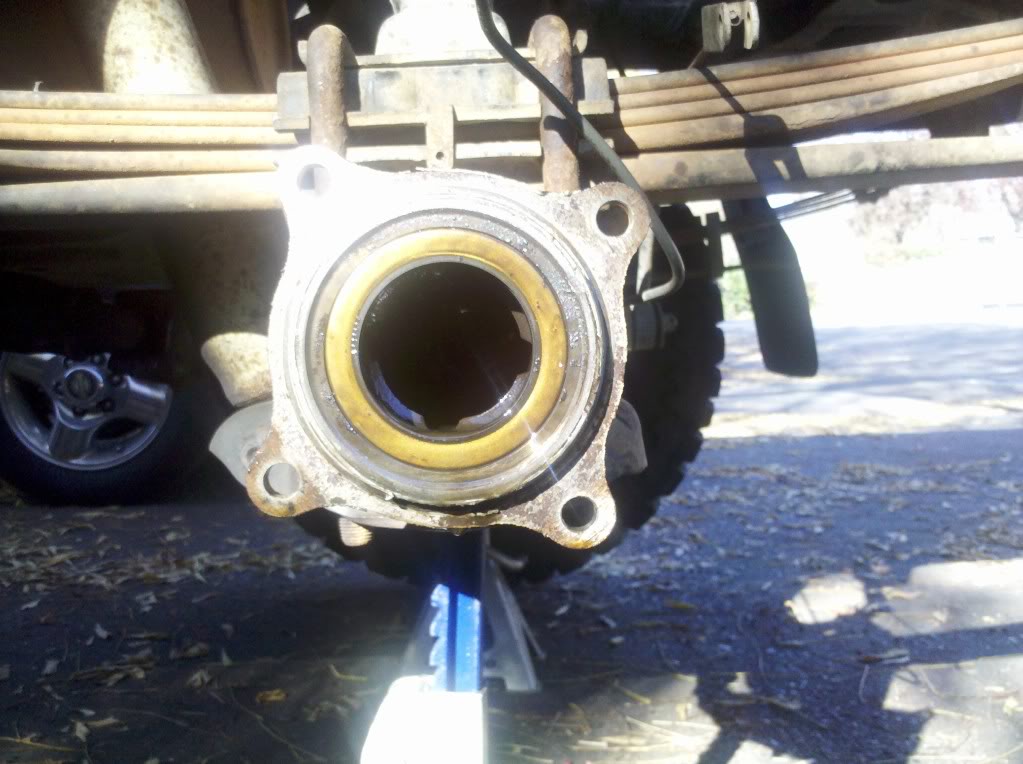
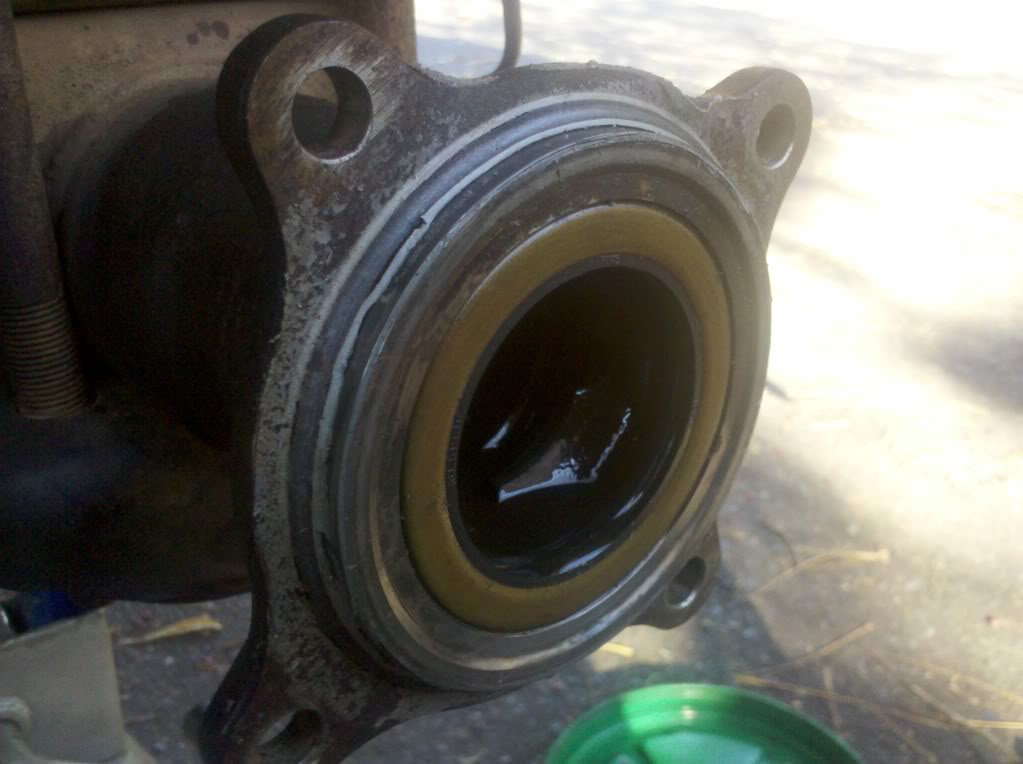
7) Observe Damage
My seal doesn't look too bad, but I will replace it anyways. As for my bearing, it's pretty much toast. It has a lot of play .

Here's a video of how much play it had.
http://s737.photobucket.com/albums/x...208_115131.mp4
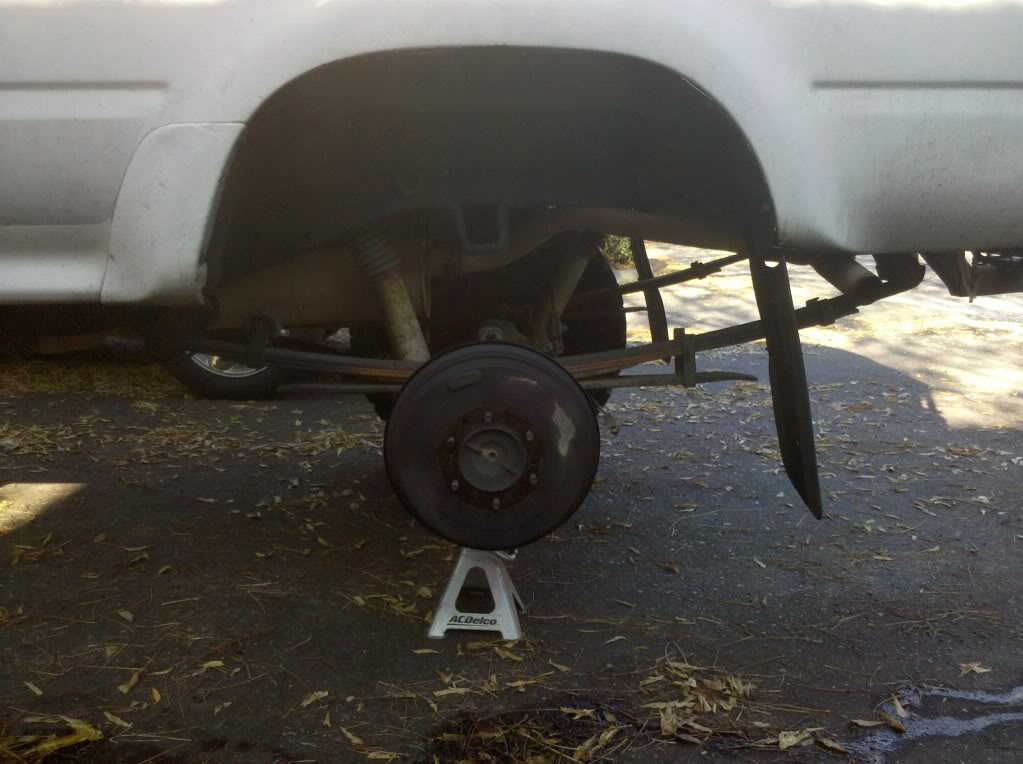
Here's how it sat for a day, while the axle was getting worked on. I should mention that make sure you can get a ride to a shop that can press out and install the new bearings for you.
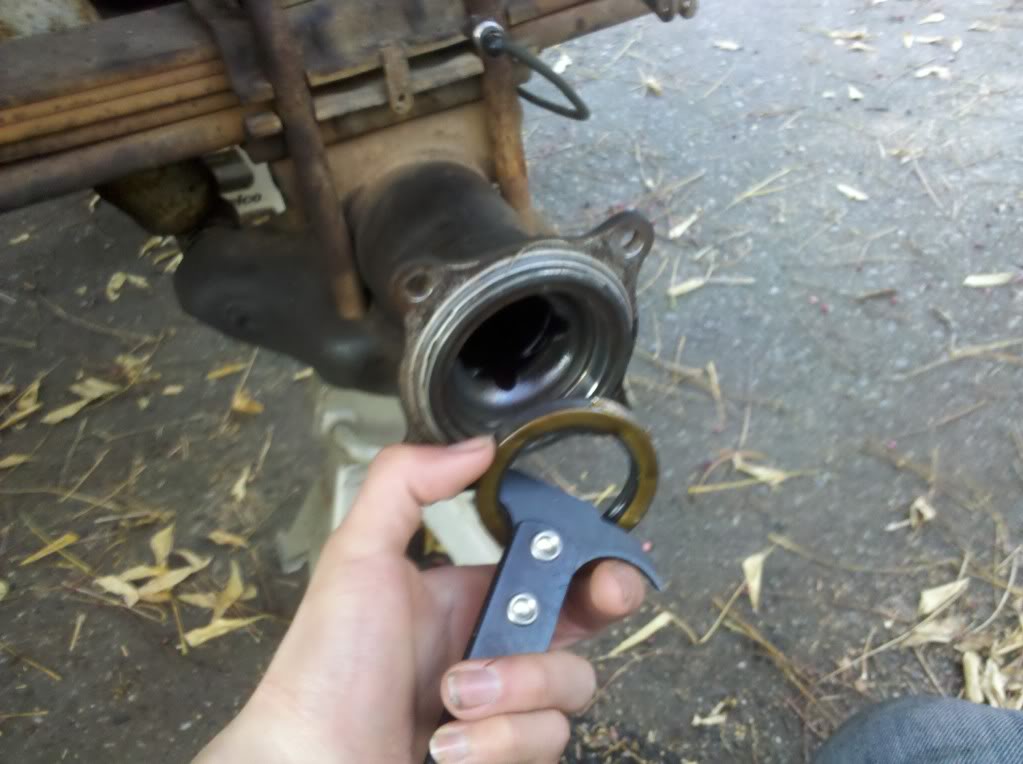
8) Remove Inner Seal
I pried out the old seal using a seal puller I got at an auto parts store. A flat head might have worked too though, just be carefully not to damage anything.
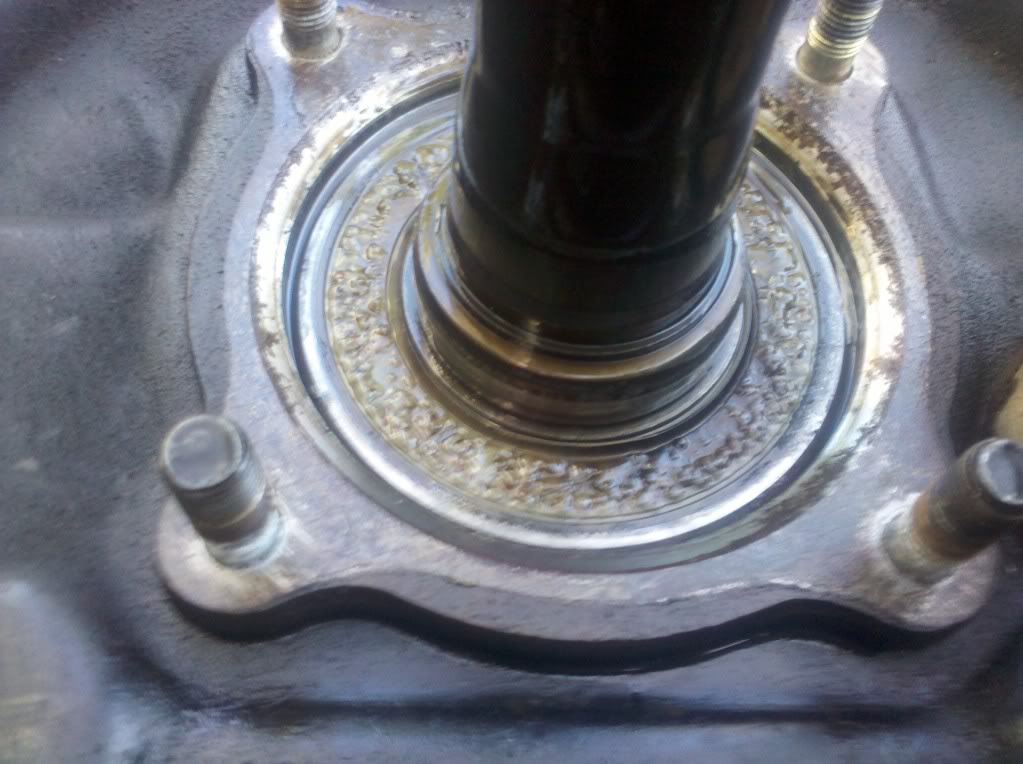
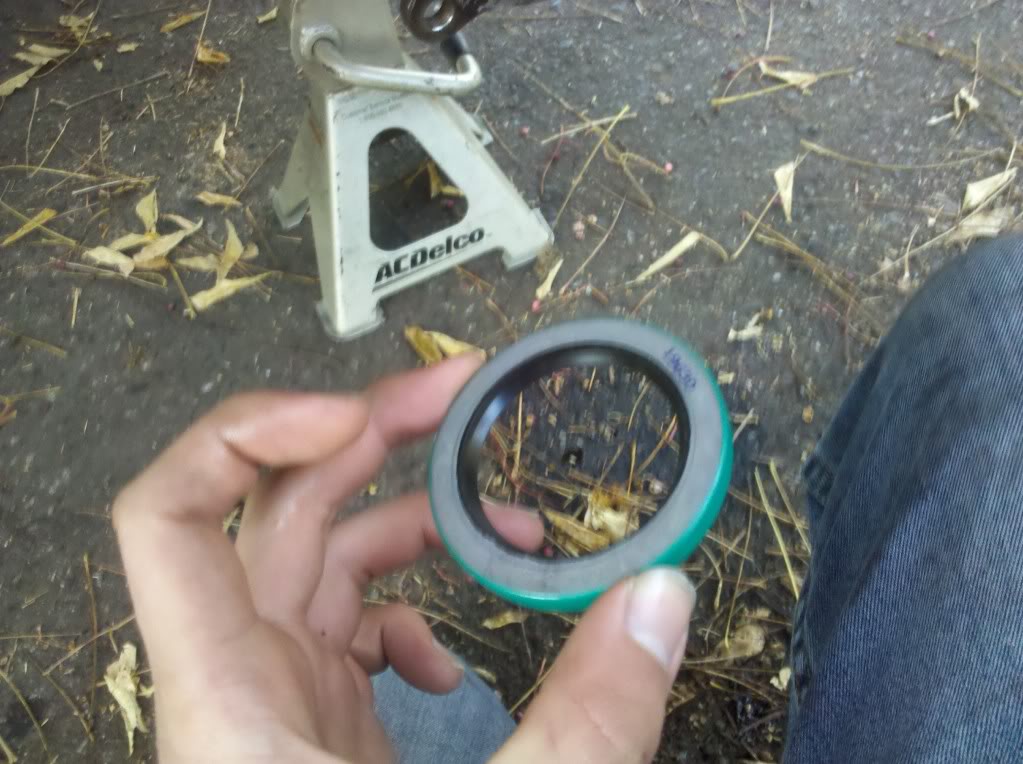
9) Install new Seal
I pressed in the new seal using a school text book and a hammer, an idea that my roommate came up with when the auto parts store didn't have a seal driver. It worked well and went in flush with the end of the housing.
New Seal:
10) Replace O-Ring (Thanks to MudHippy for mentioning it)
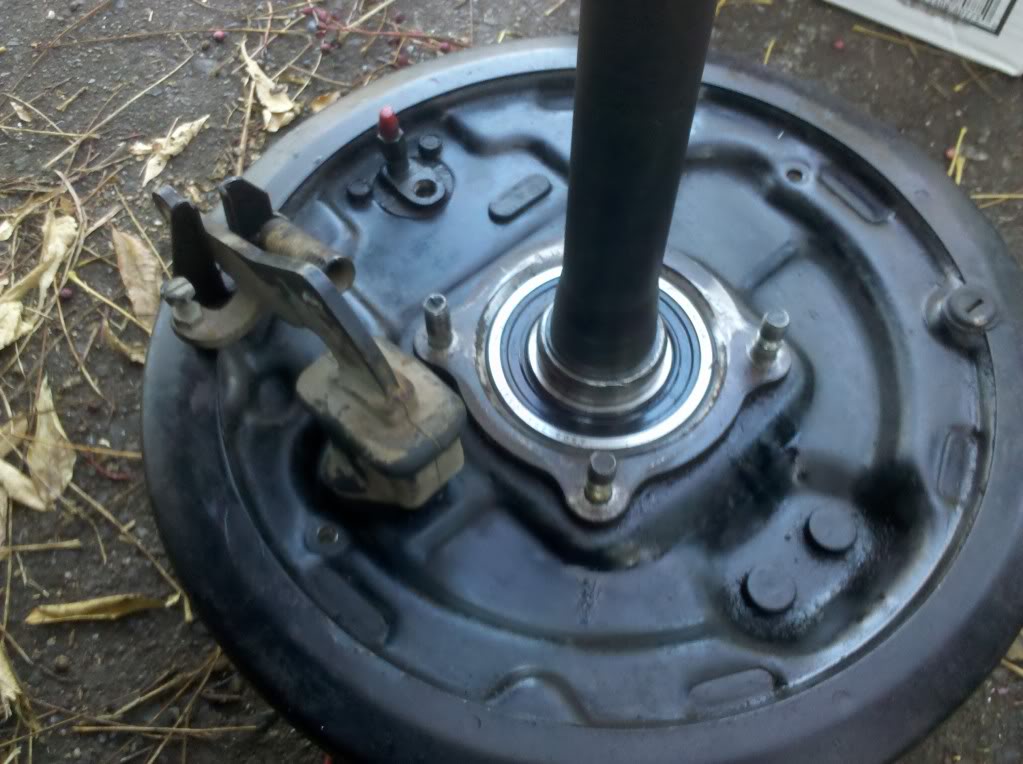
11) Install Axle
Everything from here out is now the reverse of installation.
The new Axle with new pressed in bearings and outer seal:
12) Bleed the Brakes
Total Price: (from an awesome auto parts guy)
Bearing-----------------------------$90.00
Oil Seal-----------------------------$11.39
Wheel Seal (Outer Seal)---------$13.35
Labor (Press in Bearing/Seal)--$37.50
Gear Oil----------------------------$25.58
Total--------------------------------$180.74
This is on a 1991 4WD Toyota Pickup...
The Story: One day I noticed my backing plate covered in gear oil. I looked at the breather plug, it was clogged bad. Hoping I caught it before the gear oil didn't do too much damage to the bearing I ran it for a while.
It still leaked a little after that, and when I went to add fluid, it had lost 1 quart. After that, I knew I had to fix this.
Backing plate covered in gear oil:
What it should look like:
Cleaning Diff Breather:
Anyways on with the Write-up...
1) Setting up
Park on level ground and block front wheels. Loosen Lug nuts, raise rear axle off the ground and support on jack stands. Remove tire.
2) Brake Lines
I start with removing brake lines because if you can't get them off, the axle's not coming out. Spray brake line fitting with PB Blaster and give it 5 minutes or more to soak.
I love these crow's feet flare wrenches, and would highly recommend them. I set it up with a 1/2" drive Ratchet with 1/2"-3/8" Converter. You need a 10mm to fit the brake line fitting.
Go slow and be patient, mine managed to come off even though it had been slightly rounded off by my previous experience. It doesn't take much to round them.
After you get the line off, you wanna cap it to prevent brake fluid from leaking. I like to use these rubber caps that just stretch over the fitting.
3) Remove Parking Brake
Pretty straight forward....
4) Drain Gear Oil
Now that you got the brake lines off, you can go ahead and drain the gear oil from the axle housing. Remember to remove the fill-plug before removing the drain-plug.
5) Remove Drum
Remove the drum if possible, mine slid right off even though my drum brakes are worn. Most likely because everything is covered in gear oil.
Here's more pics if anyone is thinking about replacing their drum brakes:
6) Remove Axle from Housing
Use PB Blaster on the 4 nuts holding the backing plate to the housing. Again, wait 5 minutes or more, even better take a break. After that, I take my 14mm wrench and "double-up" with another wrench for leverage just to break the nuts loose.
Afterwards slide the axle out carefully and set it upright on the ground.
7) Observe Damage
My seal doesn't look too bad, but I will replace it anyways. As for my bearing, it's pretty much toast. It has a lot of play .
Here's a video of how much play it had.
http://s737.photobucket.com/albums/x...208_115131.mp4
Here's how it sat for a day, while the axle was getting worked on. I should mention that make sure you can get a ride to a shop that can press out and install the new bearings for you.
8) Remove Inner Seal
I pried out the old seal using a seal puller I got at an auto parts store. A flat head might have worked too though, just be carefully not to damage anything.
9) Install new Seal
I pressed in the new seal using a school text book and a hammer, an idea that my roommate came up with when the auto parts store didn't have a seal driver. It worked well and went in flush with the end of the housing.
New Seal:
10) Replace O-Ring (Thanks to MudHippy for mentioning it)
11) Install Axle
Everything from here out is now the reverse of installation.
The new Axle with new pressed in bearings and outer seal:
12) Bleed the Brakes
Total Price: (from an awesome auto parts guy)
Bearing-----------------------------$90.00
Oil Seal-----------------------------$11.39
Wheel Seal (Outer Seal)---------$13.35
Labor (Press in Bearing/Seal)--$37.50
Gear Oil----------------------------$25.58
Total--------------------------------$180.74
Last edited by cr@ves4wheelin; 02-28-2012 at 09:30 PM.
 02-28-2012, 09:56 AM
#3
Registered User
Thread Starter
Didn't have enough money, it's on the to-do list. I'm planning on getting new drums too, they are most likely worn to the max.
Otherwise, yes, I would have replaced them.
Otherwise, yes, I would have replaced them.
 02-28-2012, 09:27 PM
#6
Registered User
Thread Starter
I thought it was peeling paint or something and didn't think too much of it.
You're right though, I just looked at the diagram in the FSM. There is an o-ring that I never knew about. Luckily, I did this about almost 3 months ago and there hasn't been a leak.
I'll add it to the write-up, thanks for the info.
You're right though, I just looked at the diagram in the FSM. There is an o-ring that I never knew about. Luckily, I did this about almost 3 months ago and there hasn't been a leak.
I'll add it to the write-up, thanks for the info.

Thread
Thread Starter
Forum
Replies
Last Post
FS[PacSouthWest]: 2- 8"3rd members:4.88 ratchet lockers,new setup kit, rear axle rebuild kit,diff armor
jerusry
Axles - Suspensions - Tires - Wheels
1
10-19-2015 05:28 PM
FS[GreatLakes]: Toyota collection part out
88sasturbotoy
Axles - Suspensions - Tires - Wheels
2
08-11-2015 01:56 AM


