
Motocrossaddict's complete auto to manual swap
 03-28-2012, 06:51 AM
#1
Registered User
Thread Starter
Join Date: Dec 2010
Location: merritt island, FL
Posts: 592
Likes: 0
Received 0 Likes
on
0 Posts
Motocrossaddict's complete auto to manual swap
well the time has come to swap out that awful automatic on my 88 4runner 3vze for a 5speed. I picked up a 5spd, xcase, fly wheel, new clutch, master cylinder, slave cylinder, pedal assembly, rear d shaft, and a few other misc parts. I probably wont start dropping the auto till next weekend most likely but ill work on little things with manual until then.
 03-28-2012, 06:53 AM
#2
Registered User
Thread Starter
Join Date: Dec 2010
Location: merritt island, FL
Posts: 592
Likes: 0
Received 0 Likes
on
0 Posts
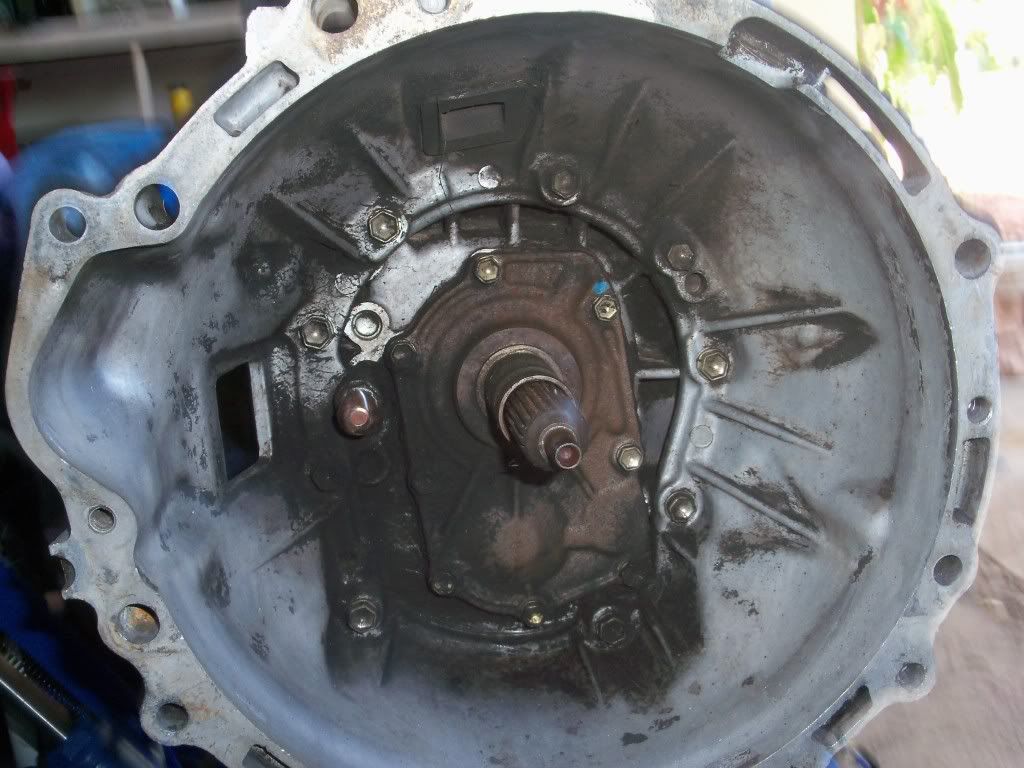
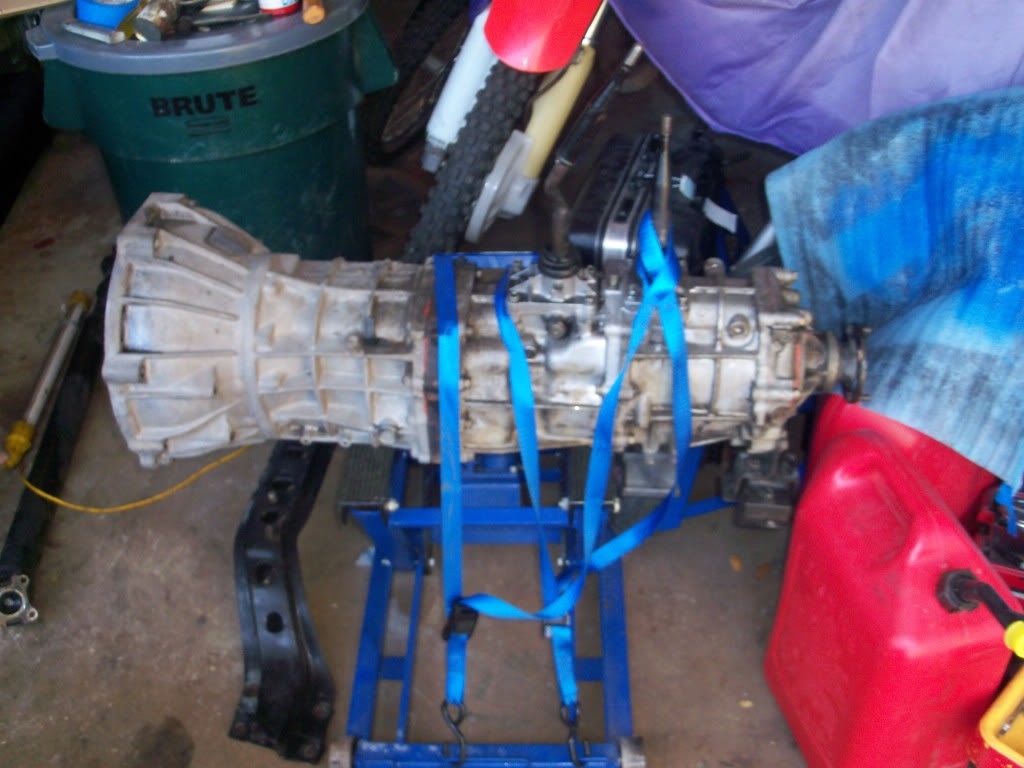
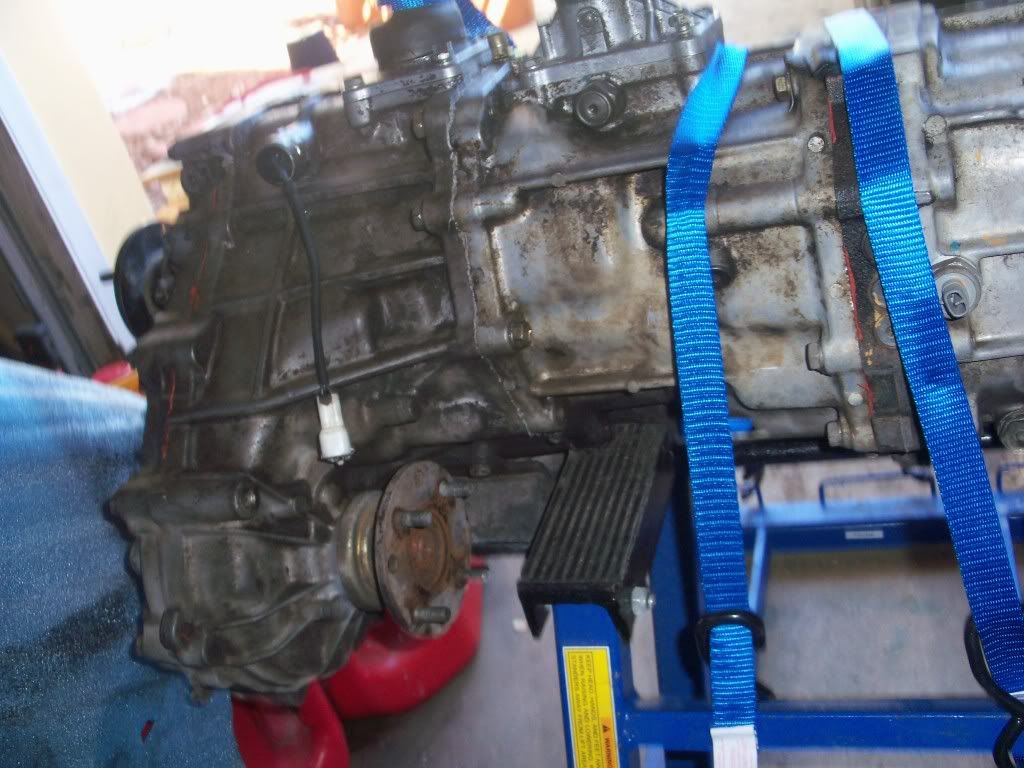
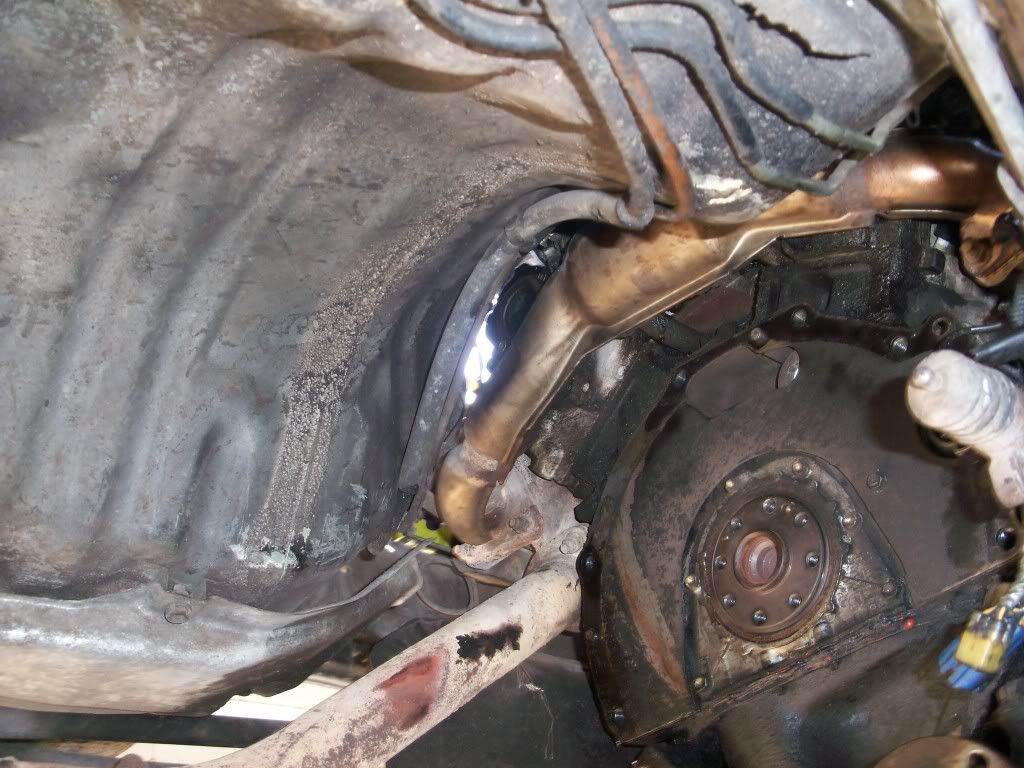
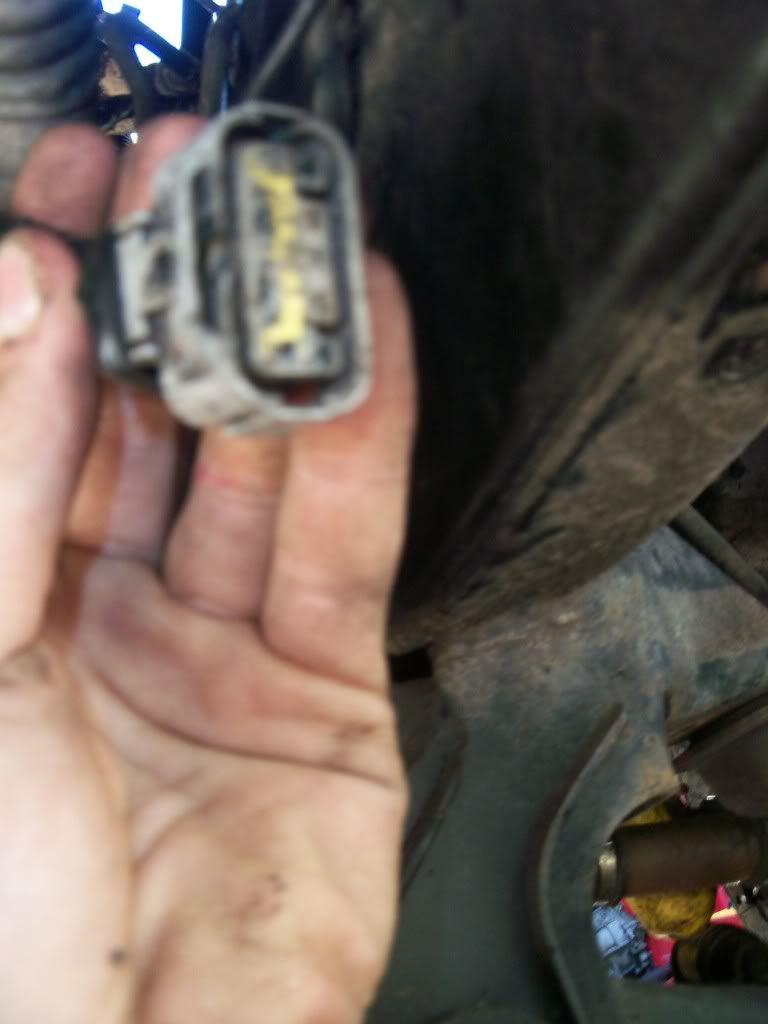
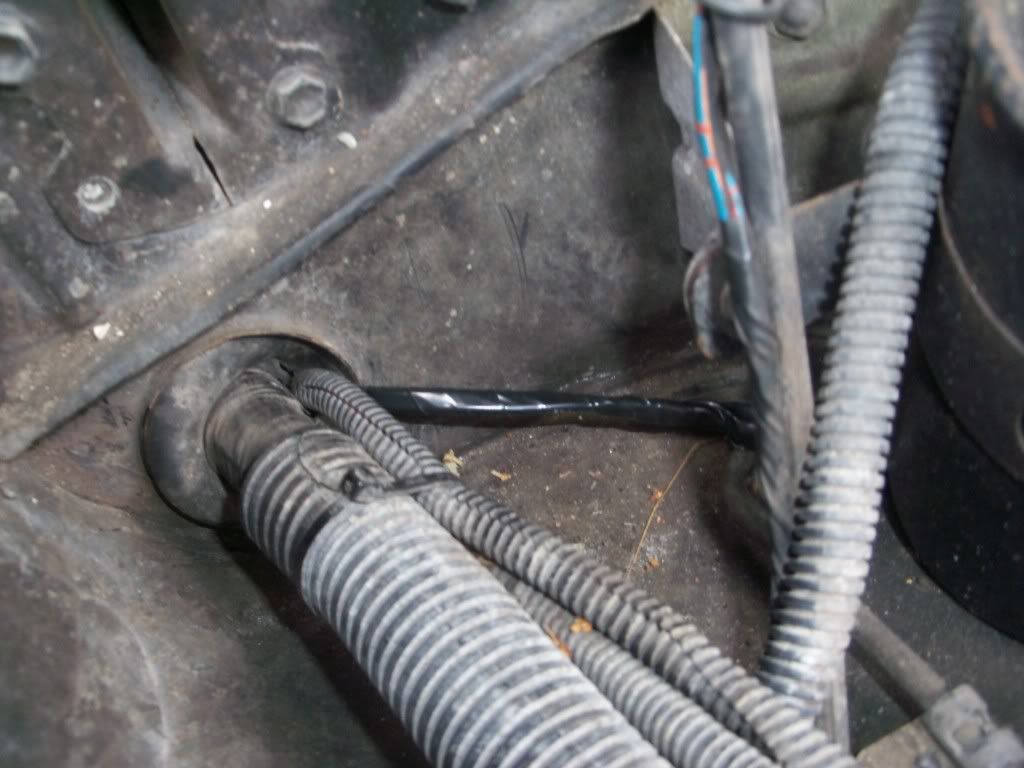
right off the bat i've got a few questions, there are these two sensor things on the passenger side of the tranny, what are they? Also where does the speedo cable go?
heres the first unknown sensor thing
and the second
heres the first unknown sensor thing
and the second
03-28-2012, 07:16 AM
#3
Registered User

the first plug I think is for the 4wd, not totally sure on what it does hopefully some one else will chime in on its purpose. The second is your back up/reverse light switch.
03-28-2012, 09:33 AM
#4
The one on the transmission is the reverse light switch.
The speedo cable goes in the bottom of the extension housing, below the rear companion flange, on the transfer case.
 03-29-2012, 05:16 PM
#6
Registered User
Thread Starter
Join Date: Dec 2010
Location: merritt island, FL
Posts: 592
Likes: 0
Received 0 Likes
on
0 Posts
 thanks mudhippy youve been a lot of help in my last few issues, really appreciate it. The last thing i need i think before i can start is a pic of where the master cylinder mounts in the engine bay if someone could post one up i'd greatly appreciate it.
04-06-2012, 03:26 PM
thanks mudhippy youve been a lot of help in my last few issues, really appreciate it. The last thing i need i think before i can start is a pic of where the master cylinder mounts in the engine bay if someone could post one up i'd greatly appreciate it.
04-06-2012, 03:26 PM
#7
Registered User
Thread Starter
Join Date: Dec 2010
Location: merritt island, FL
Posts: 592
Likes: 0
Received 0 Likes
on
0 Posts
ok so after cracking my coolant passage i had to track down a new one and fix that then i had some vacuum issues but now thats all over and i got to take the interior stuff out and get ready for the wiring work. So maybe tomorrow ill drop this pos auto out. Fingers crossed!
Trending Topics
04-07-2012, 05:51 PM
#8
Registered User
Thread Starter
Join Date: Dec 2010
Location: merritt island, FL
Posts: 592
Likes: 0
Received 0 Likes
on
0 Posts
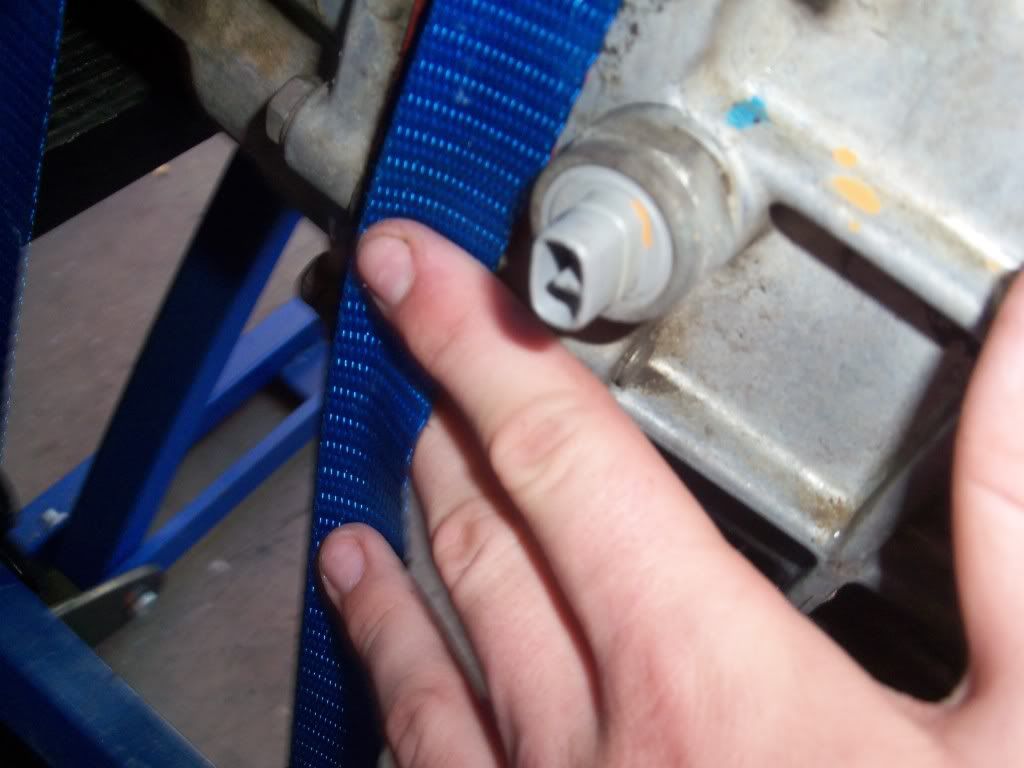
ok so ive officially started the tear down of the tranny area. I started by taking off the drive shafts, make sure you dont drop them if youre re-using them because if you mess up that alignment flange youre sol. The front if a little more difficult because i belive the transfercase u-joint side uses a cv joint? correct if i'm wrong but thats what i believe it is. Space there is tight and i took the crossmember off to access the bolts. Next i drained the tranny cooler and removed it. I reccommend starting from the fittings at the rad first the take off the cooler. the last thing i got to was spraying off everything with pb blaster so later this week i can drop it. Wish me luck!
04-13-2012, 11:07 AM
#9
Registered User
Thread Starter
Join Date: Dec 2010
Location: merritt island, FL
Posts: 592
Likes: 0
Received 0 Likes
on
0 Posts
ok guys tomorrow is the day! All ive got left to do is pull out the starter which is in itself one hell of a project, ive just got the bottom bolt tomorrow to take off in the am so by 2-3 the manual should be in or ready to be in. any heads up advice or last minute warnings?
04-15-2012, 08:17 AM
#10
Registered User

Join Date: Jan 2010
Location: Ridgway Colorado San Juan Mountains
Posts: 8
Likes: 0
Received 0 Likes
on
0 Posts
I am currently in the middle of the same project 88 4runner auto to 5 spd swap. The first link is a great write up of a second generation swap. Lots of great info, a lot of it is the same, some different. You will need different bell housing bolts as the top bolts for the auto are longer than the bolts for the W56. Before you pull the auto pedal assembly use it to make the holes for the clutch master cylinder it is a perfect template. Putting in the long hard line between the master/slave cylinder isn't that bad on the first gens. Don't forget to disconect the bottom throttle cable and double check to make sure everything is disconected before lowering the transmission. Before I disconected the starter I figured out which contacts are for the park/neutral which will alow you to start the engine once the automatic is disconected. I can share that with you since yours is also an 88. My transmission and T case are in the shop having all new bearrings seals and syncronizers put in so I have everything done and am waiting to get it back.
Good luck!
http://sites.google.com/site/wastedf...nsmission-swap
https://www.yotatech.com/forums/f116...n-swap-249188/
Good luck!
http://sites.google.com/site/wastedf...nsmission-swap
https://www.yotatech.com/forums/f116...n-swap-249188/
04-15-2012, 05:37 PM
#11
Registered User
Thread Starter
Join Date: Dec 2010
Location: merritt island, FL
Posts: 592
Likes: 0
Received 0 Likes
on
0 Posts
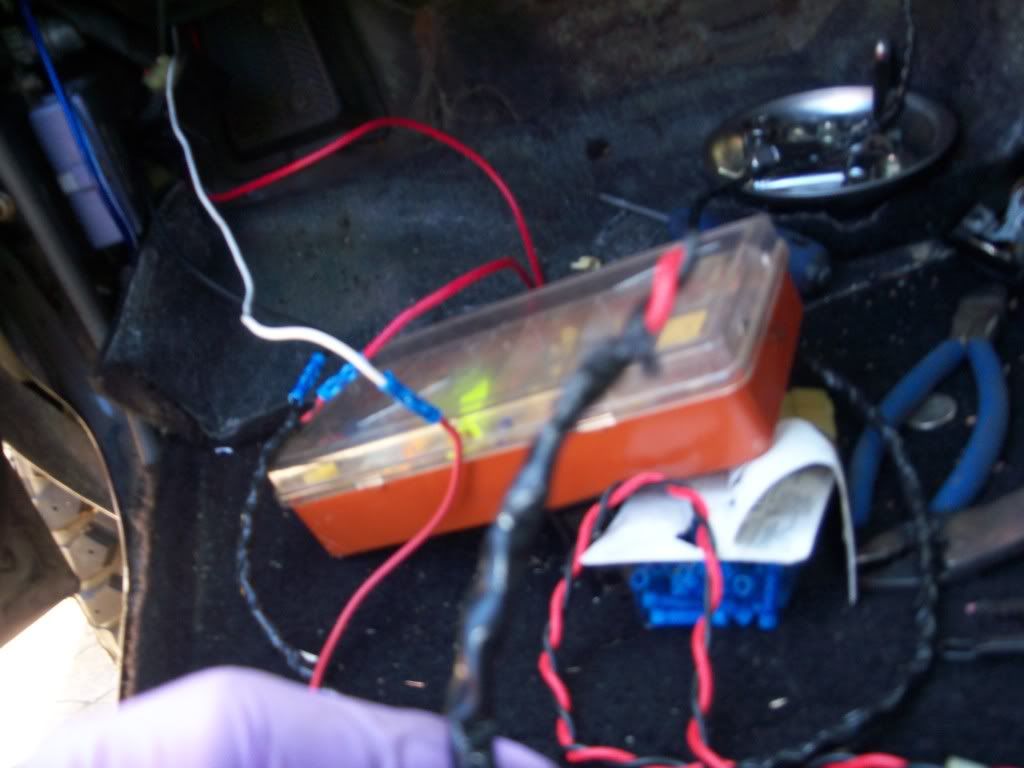
hey thanks for the info. ive got the auto out then ran into some issues. The pedal assembly i got with the tranny was from an 89 so doesnt fit. Now its just a matter of figuring out the wiring , i think ive got the neutral start thing figured out. But now i know i need new bolts on the top of the tranny so ill do some measuring and then go to ace. Now the pics
auto out(look at all the space)
the connector with the neutral start, i used the two big black wires then wired them to the lowest sensor on the clutch pedal.
these are my leftover wires, i believe that black one on top will be my reverse light plug but i dont have the tranny in yet to try.
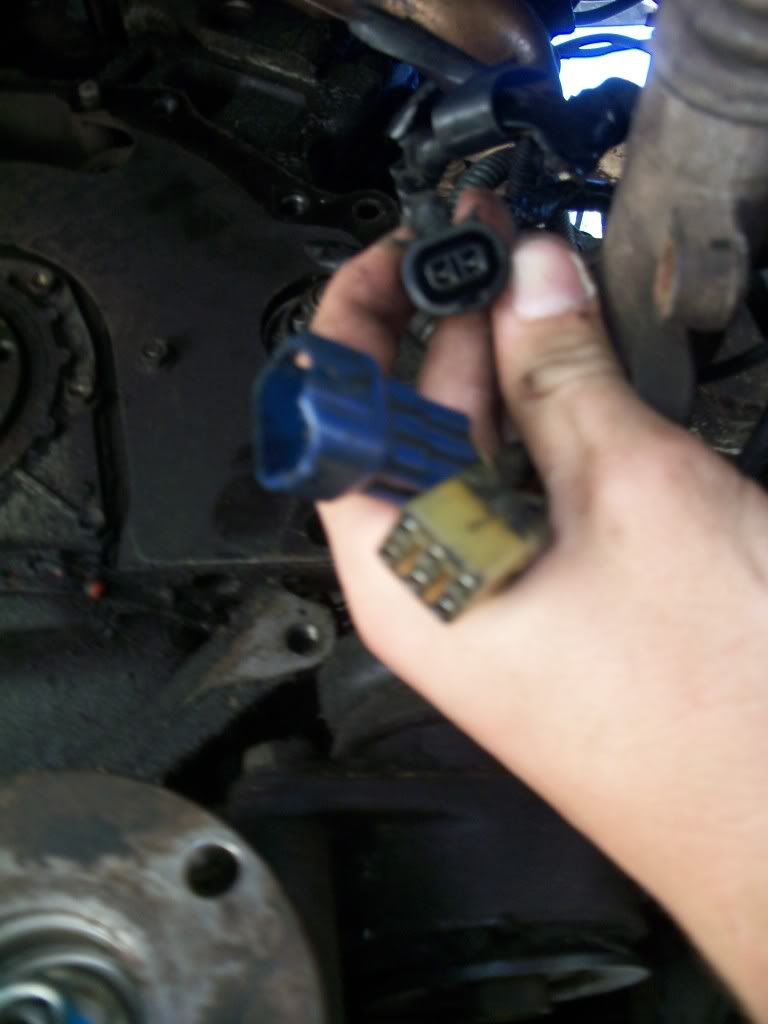
heres my neutral start switch wires going into the truck
then chilling in my hand awaiting the pedals.
auto out(look at all the space
)the connector with the neutral start, i used the two big black wires then wired them to the lowest sensor on the clutch pedal.
these are my leftover wires, i believe that black one on top will be my reverse light plug but i dont have the tranny in yet to try.
heres my neutral start switch wires going into the truck
then chilling in my hand awaiting the pedals.
04-16-2012, 10:20 AM
#12
Registered User
Join Date: Jan 2010
Location: Ridgway Colorado San Juan Mountains
Posts: 8
Likes: 0
Received 0 Likes
on
0 Posts
Hey, looking good! It feels good to get that pig out of there doesn't it. A couple of other things; I wasn't thinking I guess, I have an 86 not an 88, OOPS! So things could be different. The bell housing bolts that you need are the same length as the shorter 17mm one. Also I read that you need longer flywheel bolts because the drive plate for the auto is thinner. They were the same length for me because there was a spacer plate behind the drive plate, so the bolts are exactly the same. Might not be the case for you since you have the 3vze. Also the steel plate on the back of the engine for the auto is the same as for the 5spd except it has the oval hole on the bottom to access the drive plate bolts. It probably isn't a big deal but I had the other plate so I used it instead. It could let water/mud in there since it is on the bottom of the engine.
04-16-2012, 11:04 AM
#13
Registered User
Thread Starter
Join Date: Dec 2010
Location: merritt island, FL
Posts: 592
Likes: 0
Received 0 Likes
on
0 Posts
yea i thought my tanny bolts were the same but i hadnt looked. The guy i bought it from gave me flywheel bolts so im good there all i need now is my new pedal assembly and pop the tranny in and its off on the road.
04-16-2012, 11:16 AM
#14
Registered User
Thread Starter
Join Date: Dec 2010
Location: merritt island, FL
Posts: 592
Likes: 0
Received 0 Likes
on
0 Posts
can someone chime in and tell me if that one black 2 pin plug is my reverse light plug or not? I'm fine with cutting into the wiring but if i dont have to this plug sure would be easy
04-18-2012, 04:59 PM
#15
Registered User
Thread Starter
Join Date: Dec 2010
Location: merritt island, FL
Posts: 592
Likes: 0
Received 0 Likes
on
0 Posts
ok the tranny is torqued and all installed just gotta get those damn little four bolts in the crossmemeber/tranny mount then need my pedals and we're on the road.
04-19-2012, 04:34 PM
#16
Registered User
Thread Starter
Join Date: Dec 2010
Location: merritt island, FL
Posts: 592
Likes: 0
Received 0 Likes
on
0 Posts
ook so my newest issuse is my shifter. the guy i bought it from had an extension welded in so it doesnt clear my radio....After working soo hard and even taking the day off of work and school i had it all ready to drive and my shifter wont get into 1st 3rd or 5th. Oh and my clutch pedal doesnt hit the neutral start switch. So if anyones got any ideas id appreciate them.
04-20-2012, 07:35 PM
#17
Registered User
Join Date: Apr 2012
Location: California
Posts: 37
Likes: 0
Received 0 Likes
on
0 Posts
I got a question I'm lookin to buy this manual trans for my 94 4runner also but idk wat else I need exactly...I got the trans pedal setup and clutch slave what else do I need to convert my auto 3.slow
04-21-2012, 01:46 PM
#18
Registered User
Thread Starter
Join Date: Dec 2010
Location: merritt island, FL
Posts: 592
Likes: 0
Received 0 Likes
on
0 Posts
lets see you youre also going to need the shifters, the metal boot underneath, the master cylinder the line for the master/slave cylinder, the flywheel,the flywheel bolts, the crossmember, the rear manual drive shaft if you want, im using the auto one and its fine but ive got no lift. I think thats it, if you've got any questions id be more than happy to help
04-21-2012, 02:06 PM
#19
Registered User
Join Date: Apr 2012
Location: California
Posts: 37
Likes: 0
Received 0 Likes
on
0 Posts
Alrite thanks! I appreciate the help I'll get back to ya on that butbu got a question I found manual locking hubs transmission with transfer case shifters pedals lines And computer and front drive shaft for 400 is it worth it? What should I look for on the tranny to see If it's good or not
Last edited by Oldscooltoys; 04-21-2012 at 03:12 PM.


