Manual hubs repainted
 10-10-2009, 04:56 PM
#1
Contributing Member
Thread Starter
Manual hubs repainted
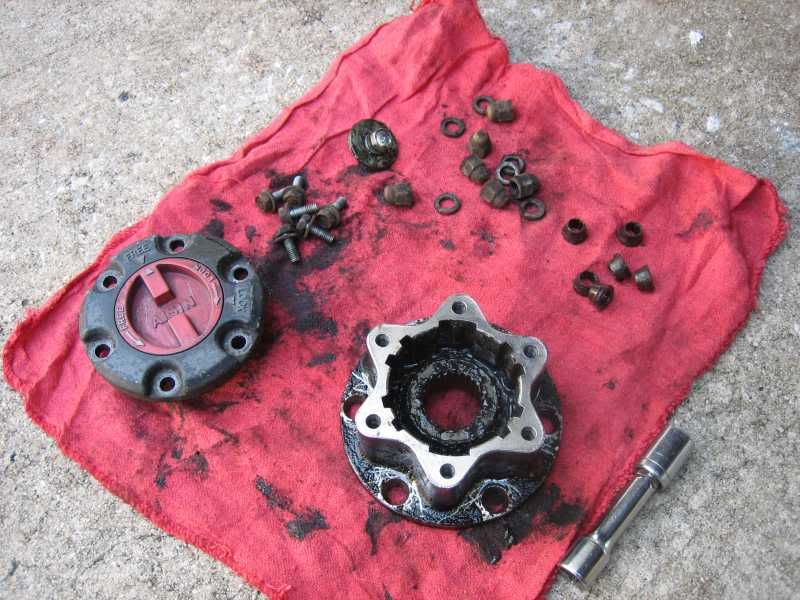
Thought I would clean up rebuild and repaint the hubs things were going OK till the clear coat went on,the clear coat was mislabeled it was supposed to be clear according to the label turns out it is satin clear so now I have to do them over but it was at least a learning experience I now know how to rebuild them and it is surprisingly easy
Primed and ready for some paint

painted up looking ready to put back together

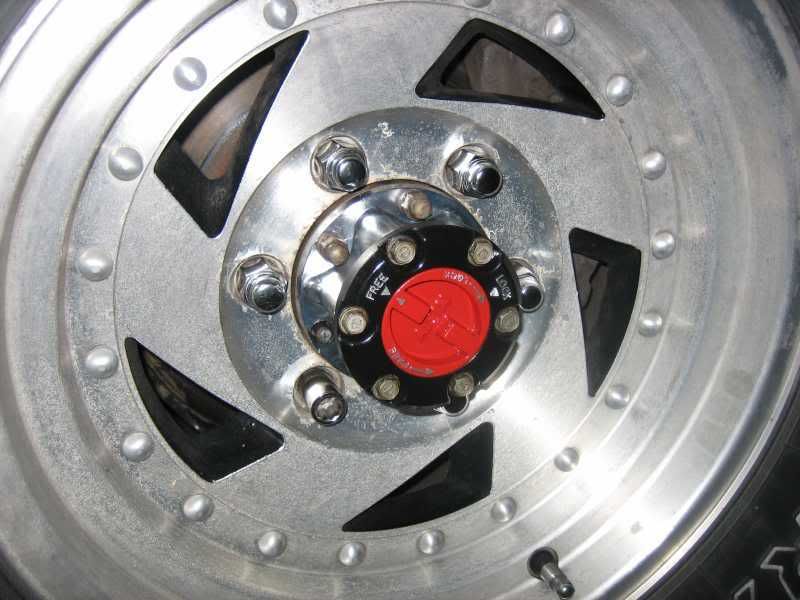
reassembled with the satin clear not so cool looking but I will redo them Monday with clear,

Then again the wrinkle looks different maybe it will grow on me before Monday


Primed and ready for some paint
painted up looking ready to put back together
reassembled with the satin clear not so cool looking but I will redo them Monday with clear,
Then again the wrinkle looks different maybe it will grow on me before Monday
 10-11-2009, 04:10 PM
#4
Contributing Member
you know olharley, I think if you're rig was white, and you had the same wheels as me, we'd have almost the same looking vehicles 
I did the same thing a while back, lmao. between our motors and this, are vehicles are like brothers
I did the same thing a while back, lmao. between our motors and this, are vehicles are like brothers
10-11-2009, 04:45 PM
#6
Registered User

Join Date: Jul 2009
Posts: 335
Likes: 0
Received 0 Likes
on
0 Posts
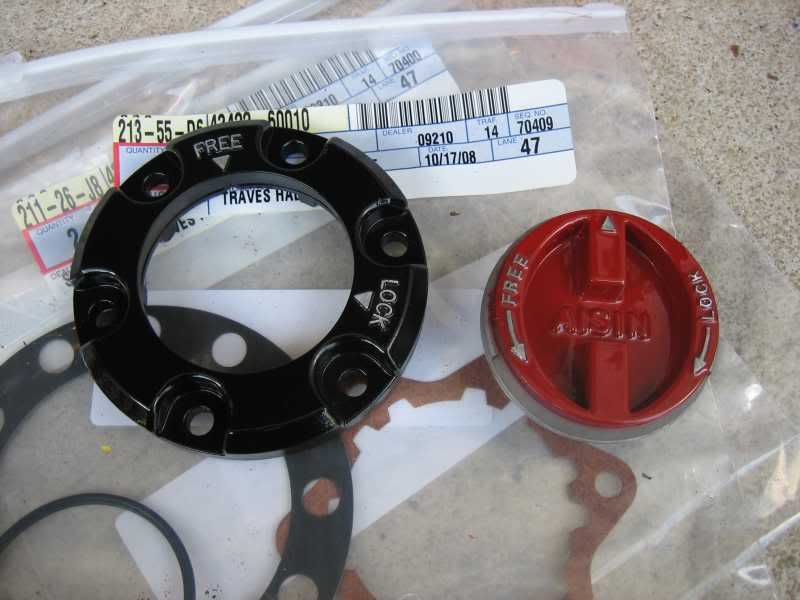
Dealer 09210... looks like you get your parts from courtesy toyota
 That's ok, you're about an hour from me, I can't hold it against ya for the $4.00 in gaskets...
However it looks like you're short a couple nuts and cone washers. Do you need any of these? I have some extras if you do... If you wanna come out and get 'em you can have what you need.
To the original poster... I'm really not tryin to be mean or anything, but if it were my mad painting skillz, I don't think I would have put up pictures looking like that. Your best bet it to strip all that crap off, and try again. Shake up the can real good. Hold it back away from the object to be painted about 12 to 18 inches. Do many light coats until it's completely covered, and let it dry between coats. It should take 4 or 5 coats for a good thick coat. Then do the same with the clear. This will elimintae all those runs and goopy spots that you have goin on there.
Just my .02.
Last edited by pb4ugotobed; 10-11-2009 at 04:48 PM.
10-11-2009, 07:04 PM
#7
Contributing Member
Dealer 09210... looks like you get your parts from courtesy toyota That's ok, you're about an hour from me, I can't hold it against ya for the $4.00 in gaskets...
However it looks like you're short a couple nuts and cone washers. Do you need any of these? I have some extras if you do... If you wanna come out and get 'em you can have what you need.
To the original poster... I'm really not tryin to be mean or anything, but if it were my mad painting skillz, I don't think I would have put up pictures looking like that. Your best bet it to strip all that crap off, and try again. Shake up the can real good. Hold it back away from the object to be painted about 12 to 18 inches. Do many light coats until it's completely covered, and let it dry between coats. It should take 4 or 5 coats for a good thick coat. Then do the same with the clear. This will elimintae all those runs and goopy spots that you have goin on there.
Just my .02.
That's ok, you're about an hour from me, I can't hold it against ya for the $4.00 in gaskets...However it looks like you're short a couple nuts and cone washers. Do you need any of these? I have some extras if you do... If you wanna come out and get 'em you can have what you need.
To the original poster... I'm really not tryin to be mean or anything, but if it were my mad painting skillz, I don't think I would have put up pictures looking like that. Your best bet it to strip all that crap off, and try again. Shake up the can real good. Hold it back away from the object to be painted about 12 to 18 inches. Do many light coats until it's completely covered, and let it dry between coats. It should take 4 or 5 coats for a good thick coat. Then do the same with the clear. This will elimintae all those runs and goopy spots that you have goin on there.
Just my .02.
lol, yep, that's where I got 'em from
where are you at in the Sunshine State?
oh and that paint he used was that wrinkle finish stuff. it goes on THICK, and is suppose to look like that

Trending Topics
 LMAO!!!
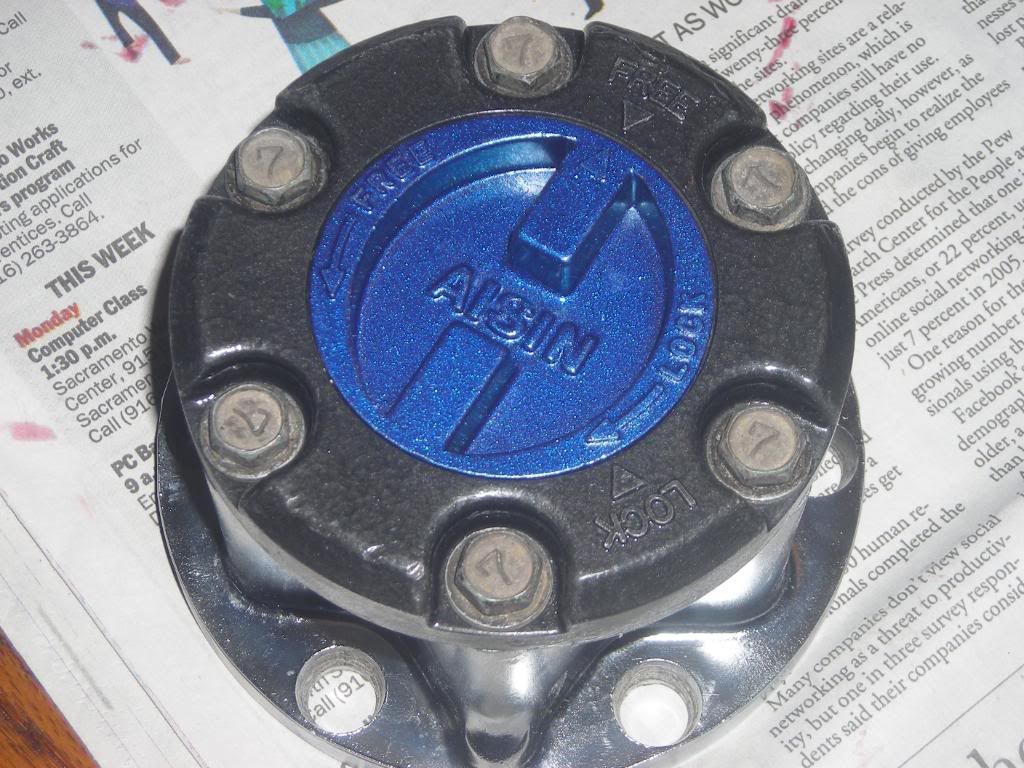

 10-12-2009, 08:55 AM
#11
Contributing Member
Thread Starter

Dealer 09210... looks like you get your parts from courtesy toyota That's ok, you're about an hour from me, I can't hold it against ya for the $4.00 in gaskets...
However it looks like you're short a couple nuts and cone washers. Do you need any of these? I have some extras if you do... If you wanna come out and get 'em you can have what you need.
To the original poster... I'm really not tryin to be mean or anything, but if it were my mad painting skillz, I don't think I would have put up pictures looking like that. Your best bet it to strip all that crap off, and try again. Shake up the can real good. Hold it back away from the object to be painted about 12 to 18 inches. Do many light coats until it's completely covered, and let it dry between coats. It should take 4 or 5 coats for a good thick coat. Then do the same with the clear. This will elimintae all those runs and goopy spots that you have goin on there.
Just my .02.
That's ok, you're about an hour from me, I can't hold it against ya for the $4.00 in gaskets...However it looks like you're short a couple nuts and cone washers. Do you need any of these? I have some extras if you do... If you wanna come out and get 'em you can have what you need.
To the original poster... I'm really not tryin to be mean or anything, but if it were my mad painting skillz, I don't think I would have put up pictures looking like that. Your best bet it to strip all that crap off, and try again. Shake up the can real good. Hold it back away from the object to be painted about 12 to 18 inches. Do many light coats until it's completely covered, and let it dry between coats. It should take 4 or 5 coats for a good thick coat. Then do the same with the clear. This will elimintae all those runs and goopy spots that you have goin on there.
Just my .02.
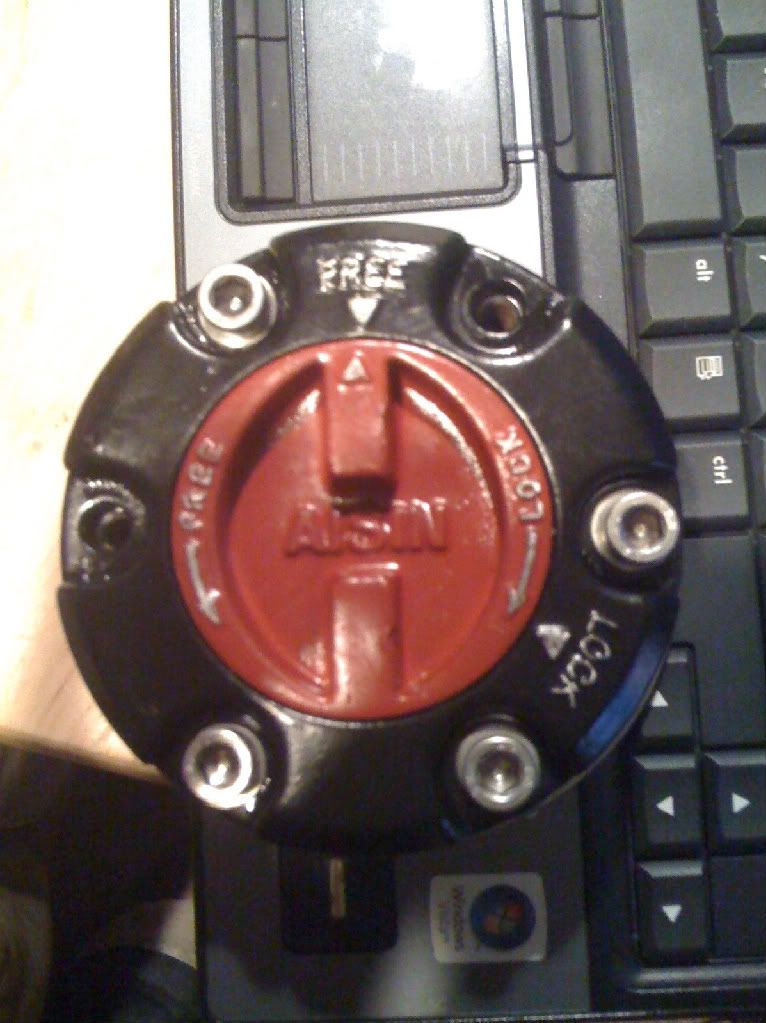
Not sure how everyone else did there's but I let the paint dry and before clearing them I used a razor blade and pulled the paint off the letters and arrows then cleared them over.
10-12-2009, 03:08 PM
#13
Contributing Member
being raised lettering, I just let the color coat dry, then carefully took some 1000 grit sand paper and sanded the tops of the letters and arrows down. then hit it with 2 coats of clear to keep 'em look'n good
10-12-2009, 05:58 PM
#14
Registered User
Join Date: Jul 2009
Posts: 335
Likes: 0
Received 0 Likes
on
0 Posts
Actually, by looking at the cardboard around your painted pieces, it's fairly obvious the paint was laid down way too thick. That isn't clear, or the wrong kind of clear. It's paint laid way too heavy, too quickly. Like I said, I'm not tryin to be mean here, just trying to offer constructive criticism on how you could do it a little more cleanly next time. That's all. No offense intended, just tryin to offer a lil advice.
10-12-2009, 07:01 PM
#15
Registered User
Join Date: Feb 2007
Location: Sierra Nevada's or the Deserts of Las Vegas
Posts: 2,203
Likes: 0
Received 0 Likes
on
0 Posts
Actually, by looking at the cardboard around your painted pieces, it's fairly obvious the paint was laid down way too thick. That isn't clear, or the wrong kind of clear. It's paint laid way too heavy, too quickly. Like I said, I'm not tryin to be mean here, just trying to offer constructive criticism on how you could do it a little more cleanly next time. That's all. No offense intended, just tryin to offer a lil advice.
And in all honesty, its just a hub. Who really care what it looks like? Mine hardly have any paint left on them and they still get the job done
 10-21-2009, 07:21 AM
#17
Registered User
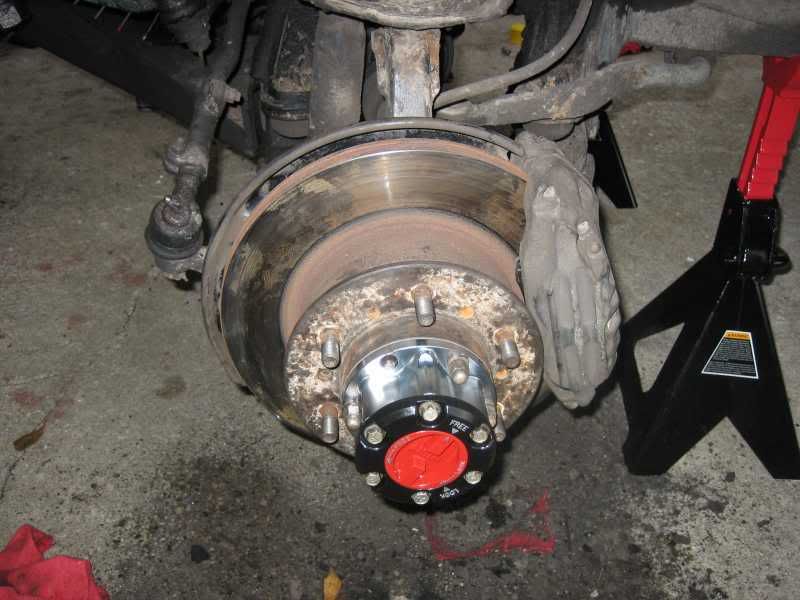
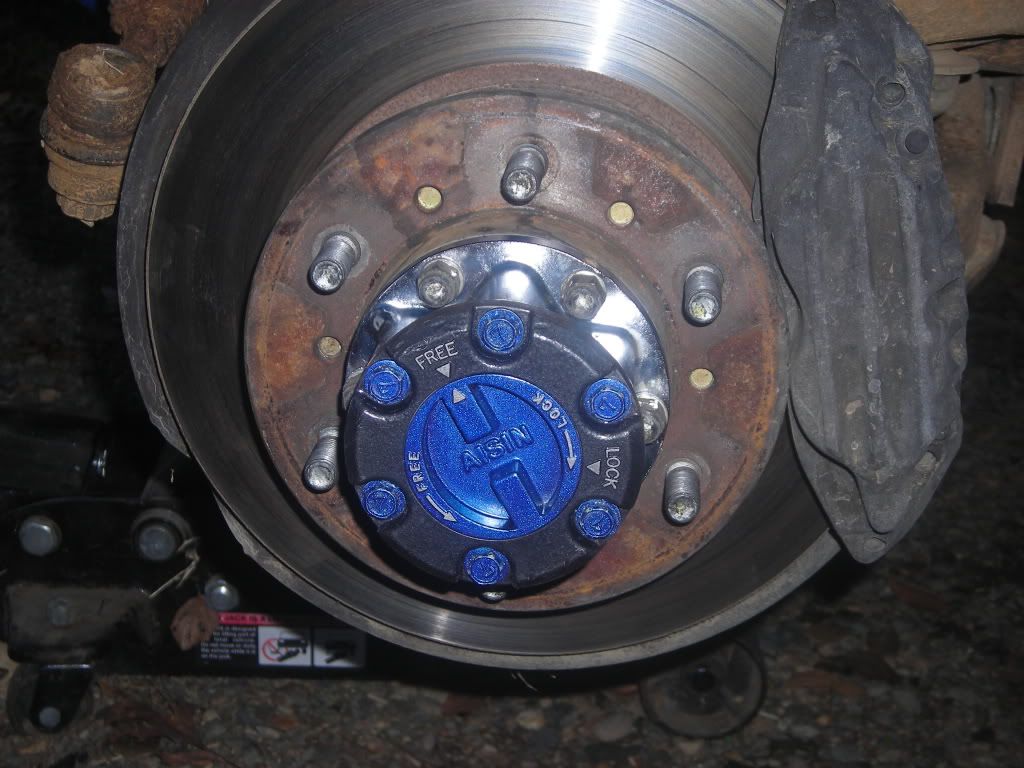
Wanted to post mine too since I just painted/rebuilt mine last night. That razor blade tip sure did work a lot better for me than sanding. I also used stainless steel allen head bolts because I think they look sharp and are different than the regular bolts. Cell phone pic for now until I actually get them installed (teaser!).
Last edited by BoostinChick; 10-21-2009 at 07:22 AM.
 10-21-2009, 04:41 PM
#20
Registered User
They are stainless steel (won't rust), and if you use the proper allen size it won't strip. If I am that worried about it I will put antiseize on them. The hub cover bolts are not torqued down that much.
I had them left over. I bought a bunch to do my valve cover on my project car. I think they are M6x1.0x20
Only cost me like 20 cents/each for the ss allen bolt and washer.
I had them left over. I bought a bunch to do my valve cover on my project car. I think they are M6x1.0x20
Only cost me like 20 cents/each for the ss allen bolt and washer.
Last edited by BoostinChick; 10-21-2009 at 04:47 PM.


