hanger placement 3" trail gear - set back???
 03-29-2009, 10:36 PM
#1
Registered User
Thread Starter
Join Date: Nov 2008
Location: CHICO, CA
Posts: 312
Likes: 0
Received 0 Likes
on
0 Posts
hanger placement 3" trail gear - set back???
i saw addicted offroad on here somewhere advise to put the hanger with the 3" springs set back (i think .25") to get the sweet shackle angle, not flush as TG says. I cant find the post now, but has anyone else done this with the 3" tg kit?
 03-30-2009, 03:25 PM
#3
Registered User
Join Date: Apr 2005
Location: Longmont Colorado
Posts: 876
Likes: 0
Received 0 Likes
on
0 Posts
Try the hanger flush...dont burn it but tac it. It took me 3 times to get the angle i wanted for my 4inch leafs. TG says the shackle should be straight up and down with the weight on it and once the leafs brake in then you will get about 15degrees. I started kicked back about 10-15 so i get a little more of an angle. I was always told 30degrees is about perfect so im shooting for 25-30 all said and done.
When i mounted the hanger for the front i had to burn the shackle tube farther forwad because of how far i pushed the axle forward.
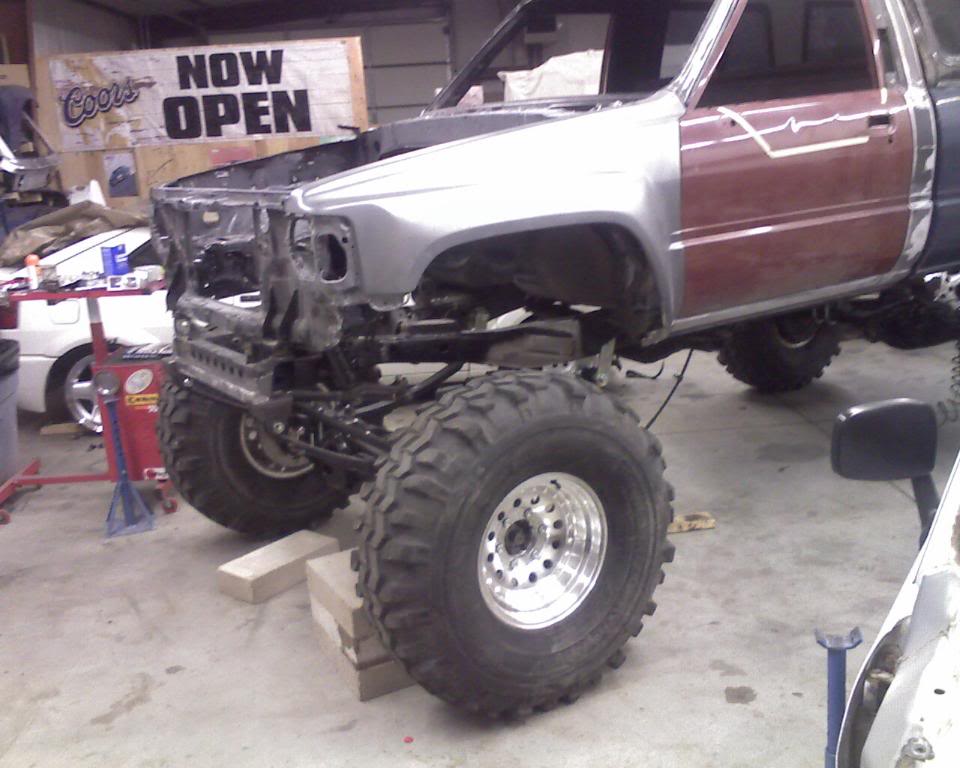
Mine will move back and everything will go back once the motor/interior/body parts all go back on but its a pic for motivation
When i mounted the hanger for the front i had to burn the shackle tube farther forwad because of how far i pushed the axle forward.
Mine will move back and everything will go back once the motor/interior/body parts all go back on but its a pic for motivation
Last edited by vwfastg60; 03-30-2009 at 03:29 PM.
03-30-2009, 03:35 PM
#4
Registered User

Join Date: Sep 2006
Location: South
Posts: 2,094
Likes: 0
Received 0 Likes
on
0 Posts
Ditto on 30 being the sweet spot. I did mine flush the first time, and let the springs settle for about 6months. Gave it some good flex workouts during that 6months and it only drooped to about 10deg weighted. Redid them about a half inch further back (if memory serves...) and it was a perfect 30.
Though that was with a 5" spring, so I don't know if your 3" will settle more/quicker than mine did.
Though that was with a 5" spring, so I don't know if your 3" will settle more/quicker than mine did.
 03-30-2009, 03:57 PM
#6
here is the one your were thinking of:
Front Spring Hanger Placement: (when using longer than stock springs like Trail Gears)
i saved this one just in case...
Front Spring Hanger Placement: (when using longer than stock springs like Trail Gears)
He can't with the 3" springs. In fact, he needs to mount it 1/4" back of the front crossmember for a decent shackle angle and to have the tie rod and draglink clear each other on compression. Otherwise he'll be having to move the steering box forward.
I have all of these lifts down to a science at this point.
3" springs: 1/4" in back of the frame. Push the frame tube jig all the way forward in the body mount.
4" Springs 1/2" in front. Center the frame tube jib in the body mount
5" springs 3/4" in front. Center the frame tube jib in the body mount
03-30-2009, 07:21 PM
#7
Registered User
iTrader: (1)
Join Date: Aug 2006
Location: Ft Collins, CO
Posts: 3,477
Likes: 0
Received 0 Likes
on
0 Posts
Keep in mind that the guy who wrote all of the instructions for the SAS kits is Chris Geiger. He wrote them when he was at All-Pro originally, then copy and pasted them when he was at Marlin, and now at Trail-Gear.
They are outdated and with the slight differences in each spring, the measurements change.
FWIW, the 3" TG springs are much shorter than the 4's and 5's, so in order to get the decent shackle angle you want you need to alter your install.
Here are the rules I follow for what works with my installs on the 3" springs:
On a 86-95 IFS Truck or 4runner:
For 3" springs, mount the new spring hanger 1/4" back of flush with the factory front crossmember. Shackle tube jigs need to slide all the way forward into the body mount. This will allow the steering rods to barely clear and allow for a 30* shackle angle. Trimming at the front of the body mounts may be necessary to allow the front shackles to fully droop and not contact the front of the body mount itself.
On a 84-85 with the new spring hanger it may require moving it further back for a decent shackle angle since the frame tube is centered in the body mount from the factory. This is why I normally always recommend going with the 4" springs instead. Especially considering that the 4's usually settle more than the 3's and IMO work MUCH better overall for both street and offroad driving.
Now, the 4" and 5" springs is a different ball game. The shackle tube jigs get centered in the body mount. On the 4's move the spring hanger 1/2" forward of the front crossmember. And, on the 5's move it 3/4". This will allow the crossover steering to clear, and still give you the desired shackle angle you want.
The rear install is another one that needs updating. The install instructions tell you to move the leaf spring hanger at the frame forward 6" on the early 84-88 trucks and 84-89 4runner. However, from my experience, its wrong. I mount that hanger forward 7" on the 5" rear kits, and 6-1/2" forward on the 4" kits. I do this because as the rear tire compresses and moves back under compression, it will contact rear of the wheel well before its fully stuffed. However, with the new location, it will allow for a 35" tire to complete stuff into the rear wheel well with no rubbing and no trimming required. 37s do require trimming on the 4runners, but the pickups seem to be okay.
******Here is my disclosure on this*********
Do NOT take these measurments as gospel. Even after doing as many of these kits as I have, I don't just burn a hanger on without checking angles. I still tack weld everything and check my angles prior to final welding. So, the "measure twice, cut once" rule of thumb still applies. But, if you follow the measurements I just gave, then you should be able to immediately finish weld the stuff without moving anything.
Also, Russ is a little off on the shackle angle you should have when checking things. 15-20* back is what you want when you have it all tacked and before the springs settle. You do NOT want it vertical at this point. Russ' is vertical because he has no drivetrain, interior, dash or anything else installed into the rig.
Last edited by ScottyC; 03-30-2009 at 07:29 PM.
Trending Topics
04-07-2009, 12:52 PM
#8
Registered User
Thread Starter
Join Date: Nov 2008
Location: CHICO, CA
Posts: 312
Likes: 0
Received 0 Likes
on
0 Posts
awesome, thanks a lot for the help.
I went camping all week, so put off the sas for one last who-ha on the ifs and 31's...have to say i love mashing it stock and will miss the low center of gravity as i got in some places that might not be so friendly when im higher up, but im ready to move on.
to the 35s lockers and chromo axles
thanks again for the help, ill post some pics when she is all done.

Thread
Thread Starter
Forum
Replies
Last Post
FS[SouthCent]: Toyota Trail Gear 5.29 Ring and pinion x2 NEW
YotaLogic
Axles - Suspensions - Tires - Wheels
12
11-17-2015 06:27 AM
duckhead
86-95 Trucks & 4Runners
9
07-17-2015 04:45 AM


