Frame Swap: 1986 Toyota 4Runner (Pictures!)
 03-19-2012, 01:46 PM
#1
Registered User
Thread Starter
iTrader: (2)
Join Date: Mar 2010
Location: Massachusetts
Posts: 133
Likes: 0
Received 0 Likes
on
0 Posts
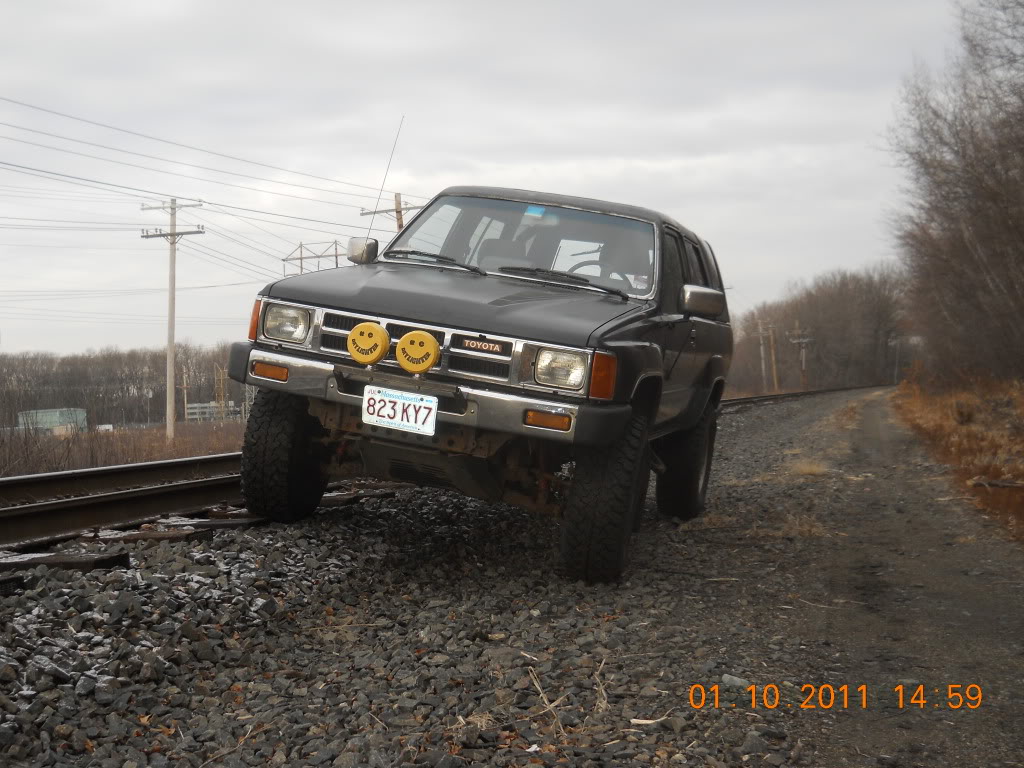
Frame Swap: 1986 Toyota 4Runner (Pictures!)
Way back in the day, when I searched for this topic I found only a few threads asking if it could be done, and if you can swap this frame from a truck onto a 4runner, but no pictures! So I decided to make one, and by make one, I mean frame swap my truck. I have a build thread, but I figured I would post this stuff separately just in case someone out there was lookin for swap pictures etc. Feel free to ask questions, I'd be more than glad to answer them!
The history:
1986 Toyota 4Runner with 167k. Originally from Rhode Island, now permanently resides in Massachusetts and Vermont, so its had its share of rust, cancer and anything and everything that can try and kill this frame.
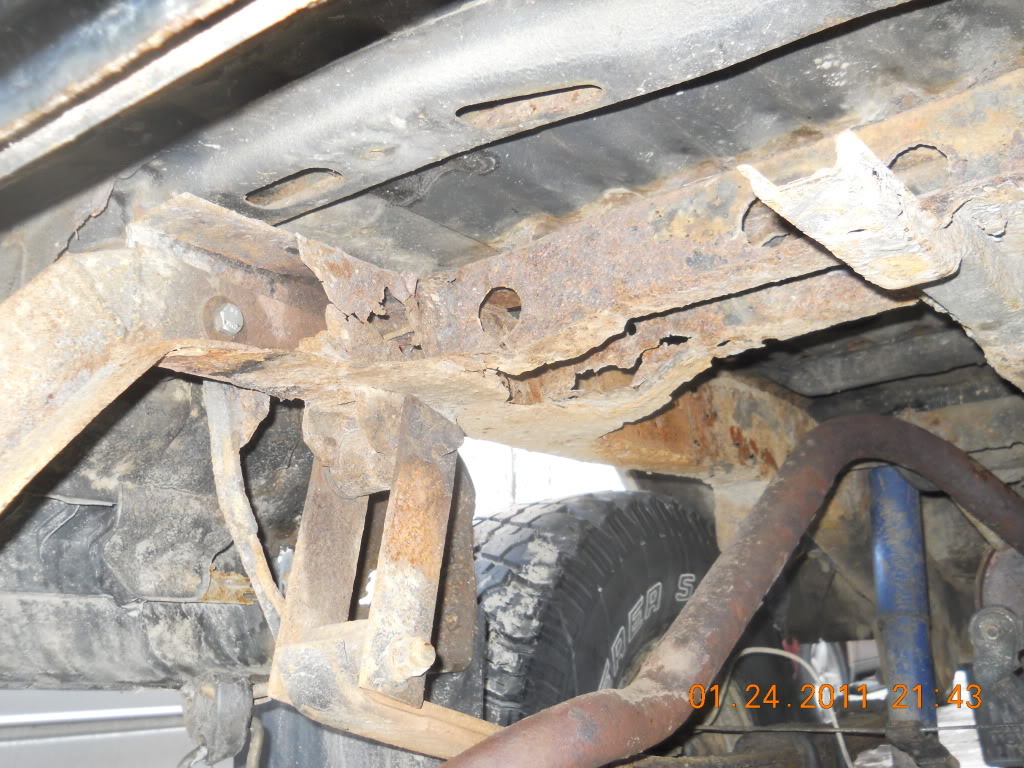
One fine day in February, I was driving down the highway and hit a large pothole (Vermont roads are horrendous) and heard a nice crack and immediately, my application of brakes caused the truck to veer hard left. I pulled over and inspected everything, assuming a stuck brake or something, but to my dissapointment, it was much worse. I had known this frame was going to need replacing, I just wanted to wait till summer so I had some more time.
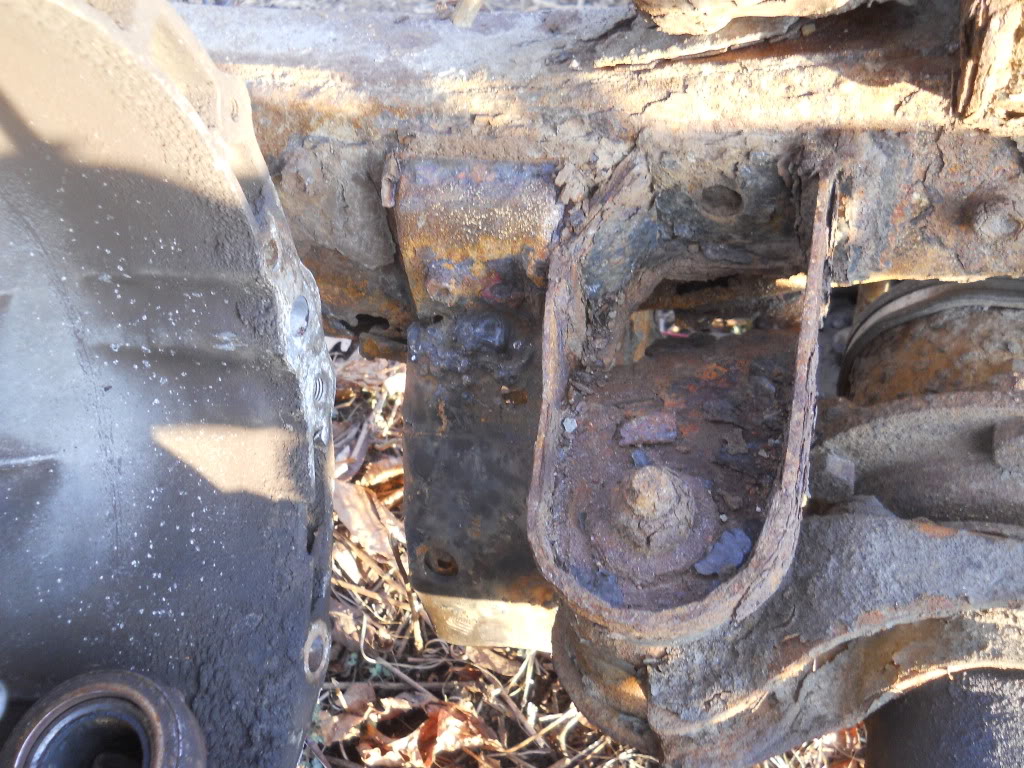
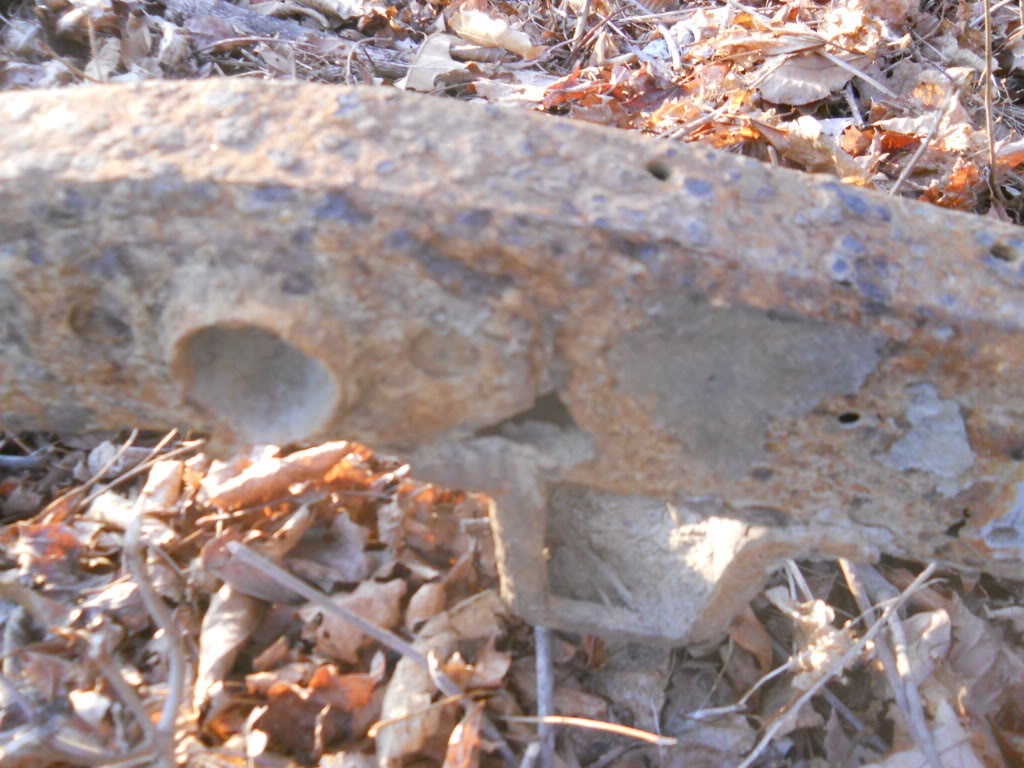
The issue: Rear drivers side lower a arm mount to frame
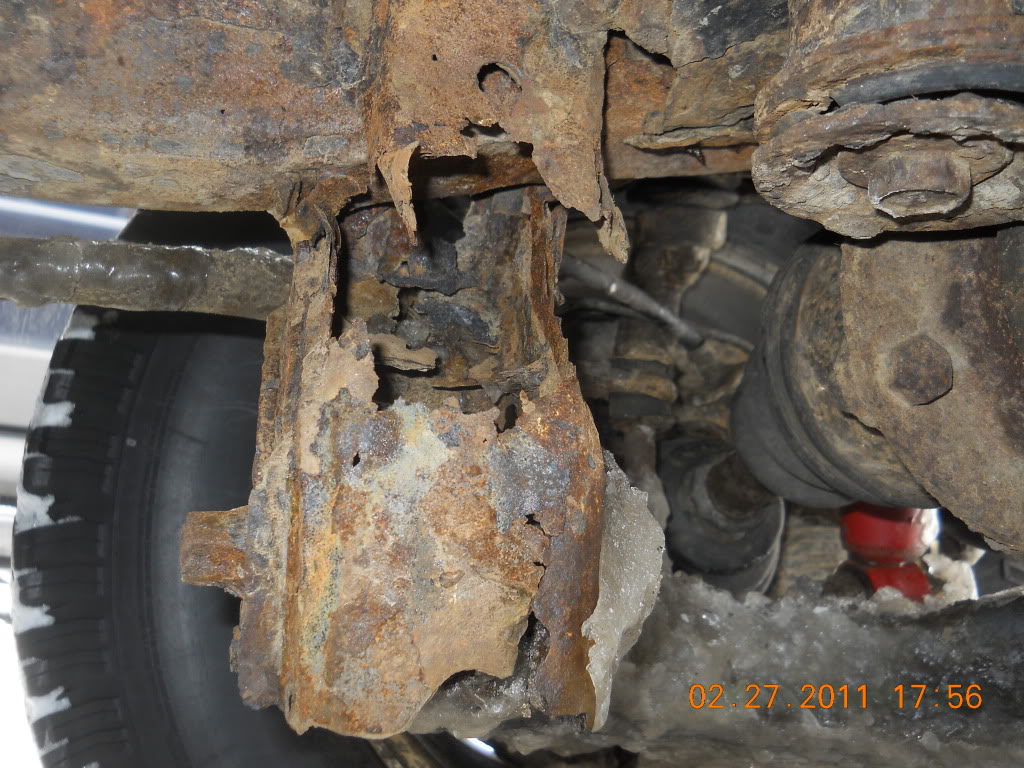
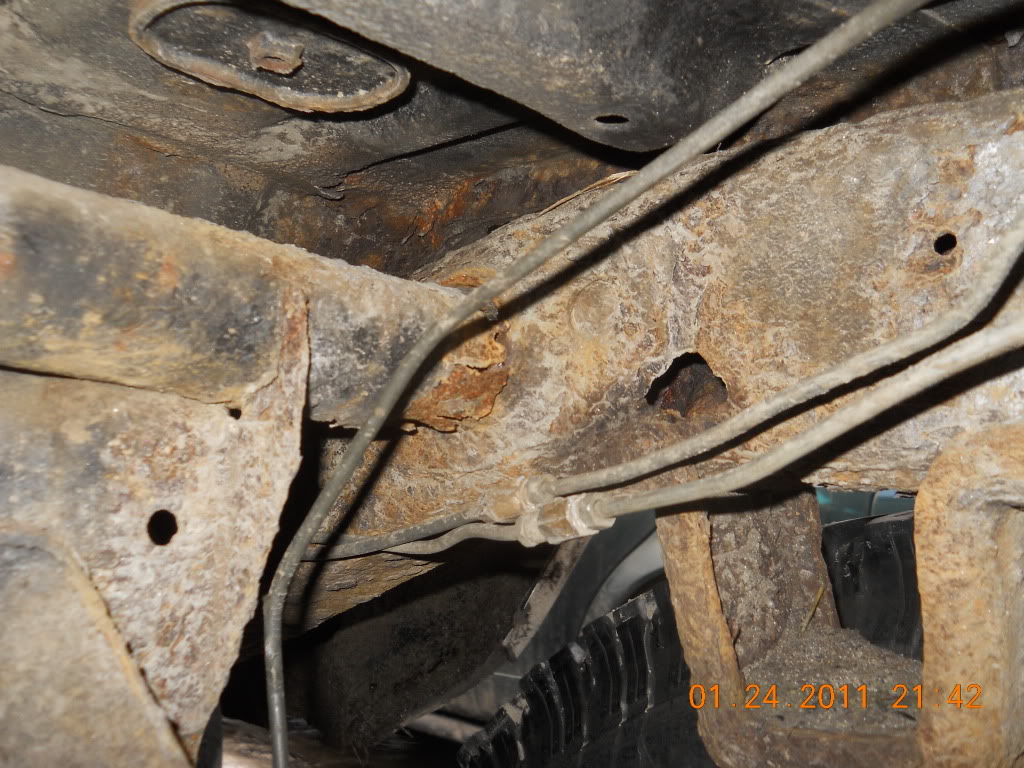
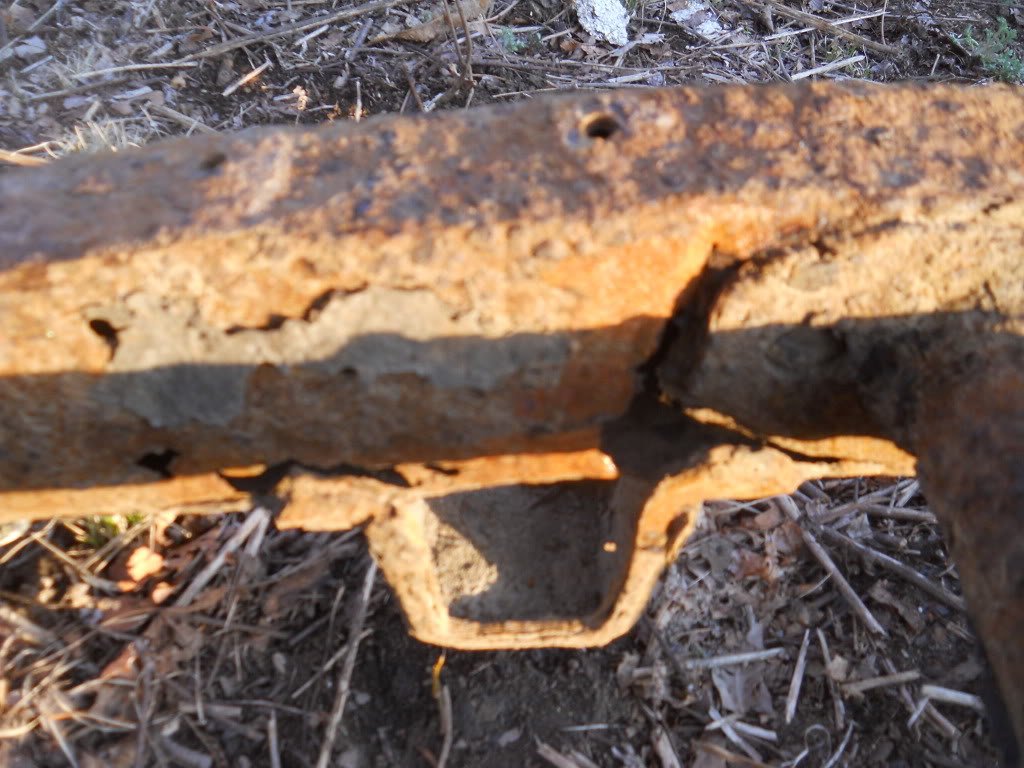
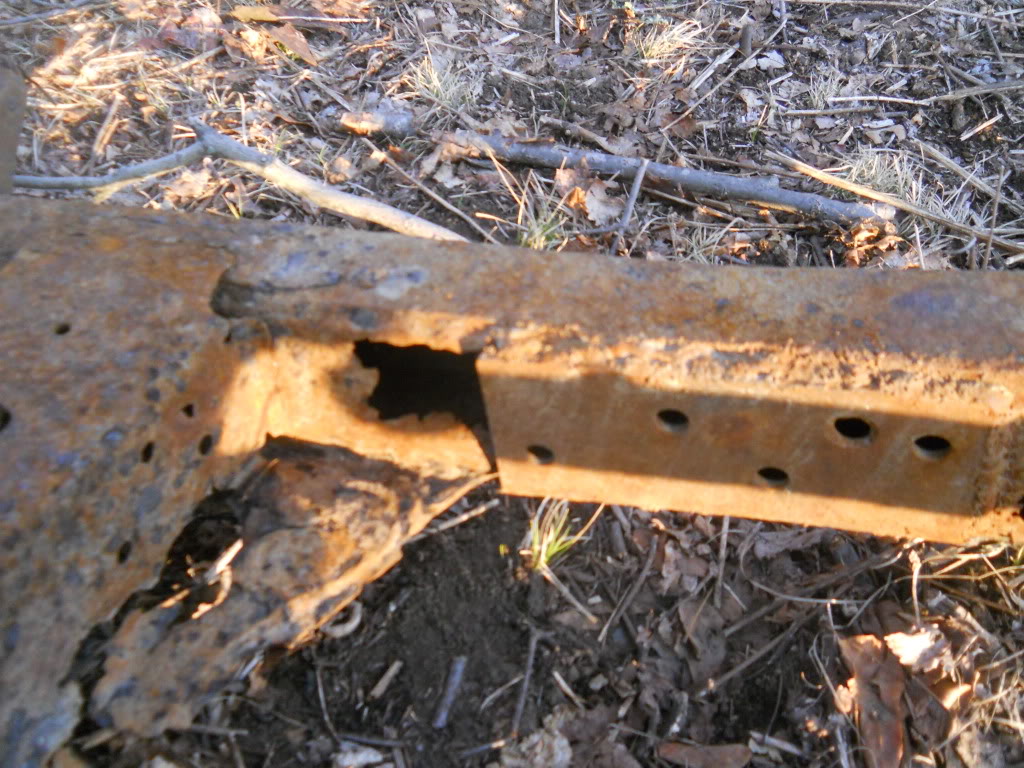
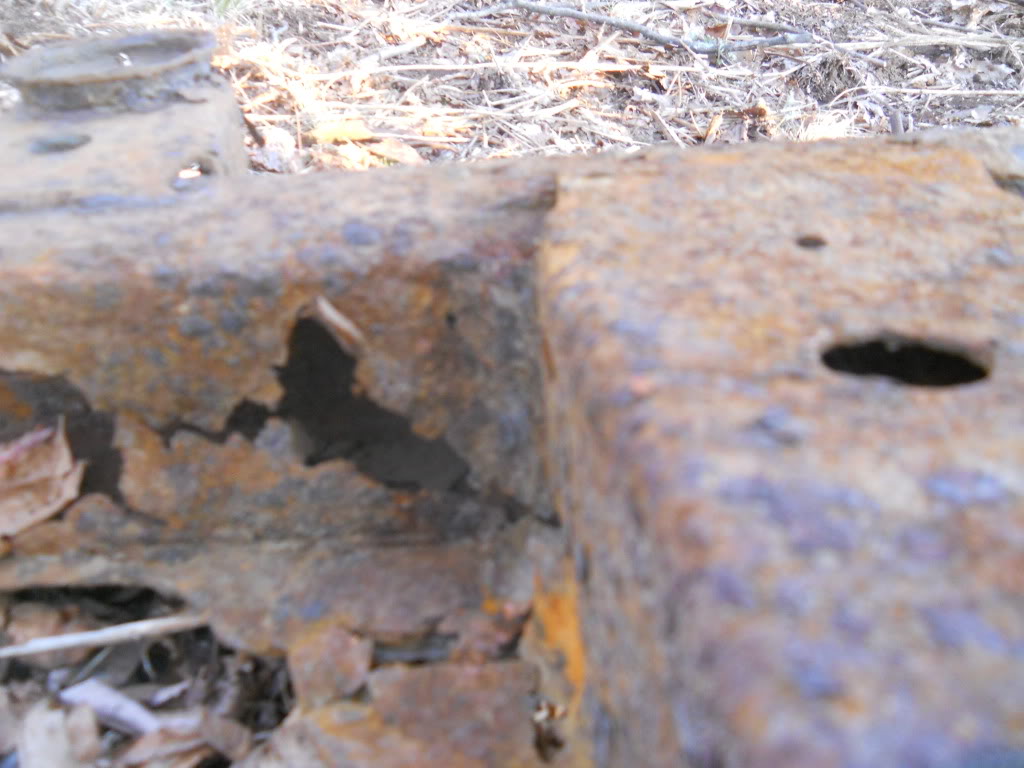
And here are some shots of the rest of the frame:
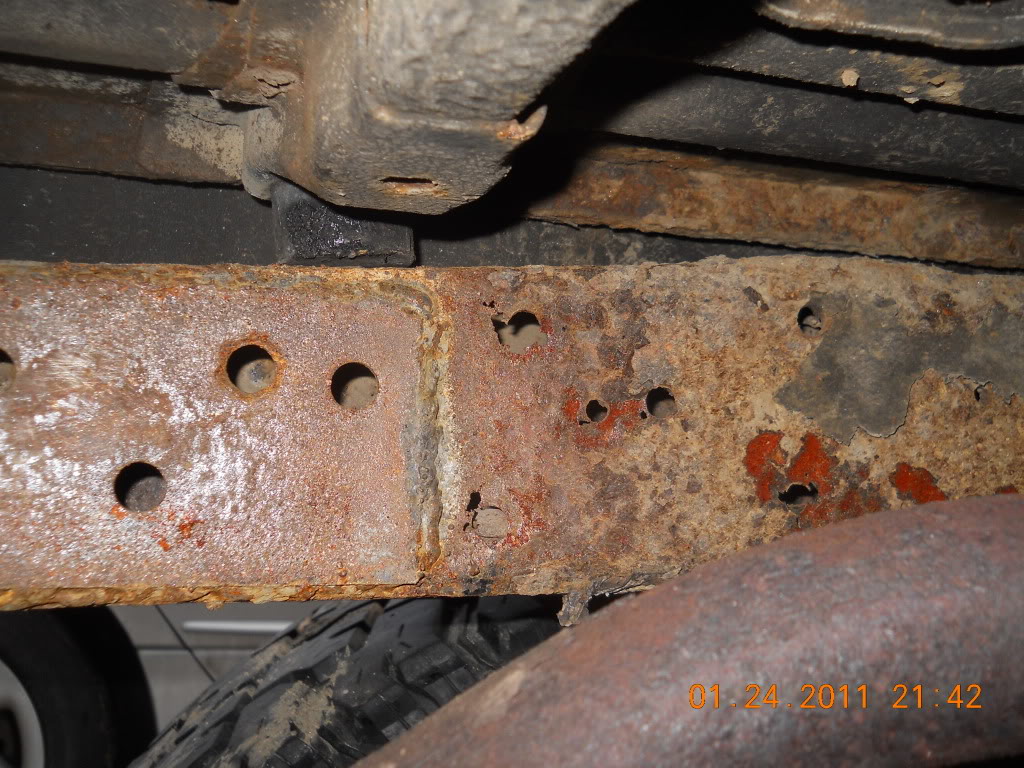
It was definitely unsafe to drive in its condition so I had a few choices:
1. Frame swap
2. Sell it
3. Spend time and try and fix the frame
I decided to combine two of those options and forced the idea of ever getting rid of the truck out of my mind. We spent so much time to get her where she is, I just cant justify selling her! So the decision was made to save the truck and thus it would need a frame swap. I welded up a temporary patch for the front to get me home from vermont and i began planning a frame swap for my spring break. My father said I was crazy, then asked when we were going to start.
Thanks to great weather, my brother, my dad, a few friends and some tractors, we got it done in less than a week. My father estimated the entire thing took at least 150 - 200 hours of labor which did not include painting, prepping or repairing the to-be-swapped frame.
Step 1: Frame Prep
we sliced the body down the center to make life easy for moving it
then i loaded the body up and reluctantly hauled the final remains of my 87 to the scrap yard..
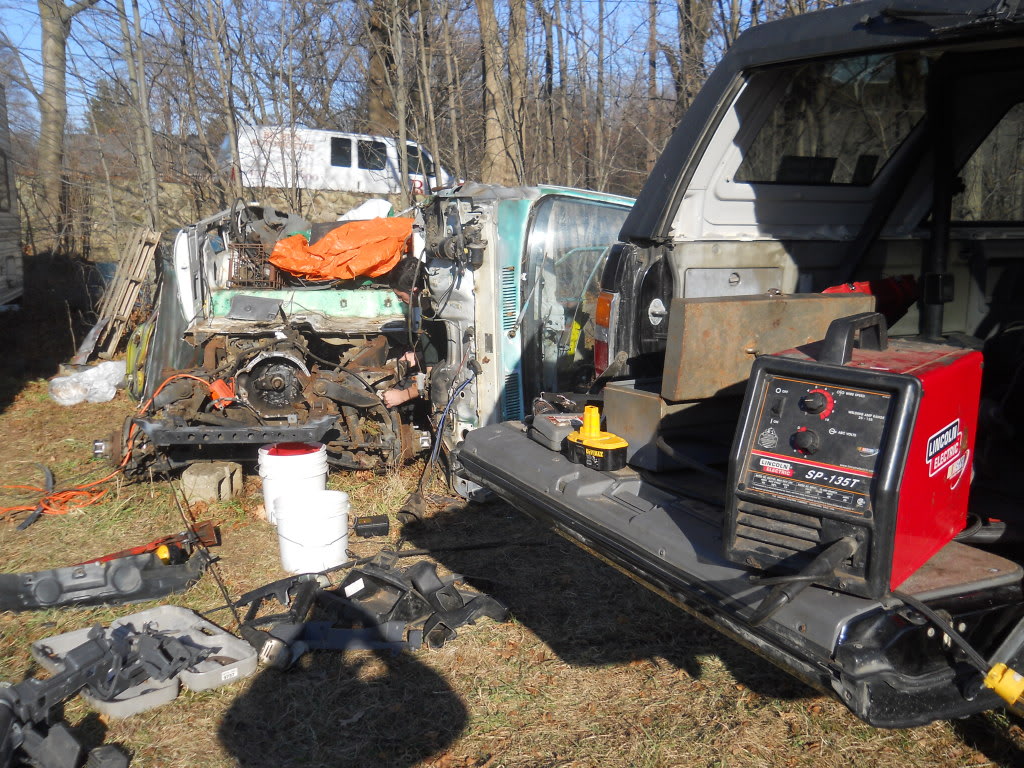
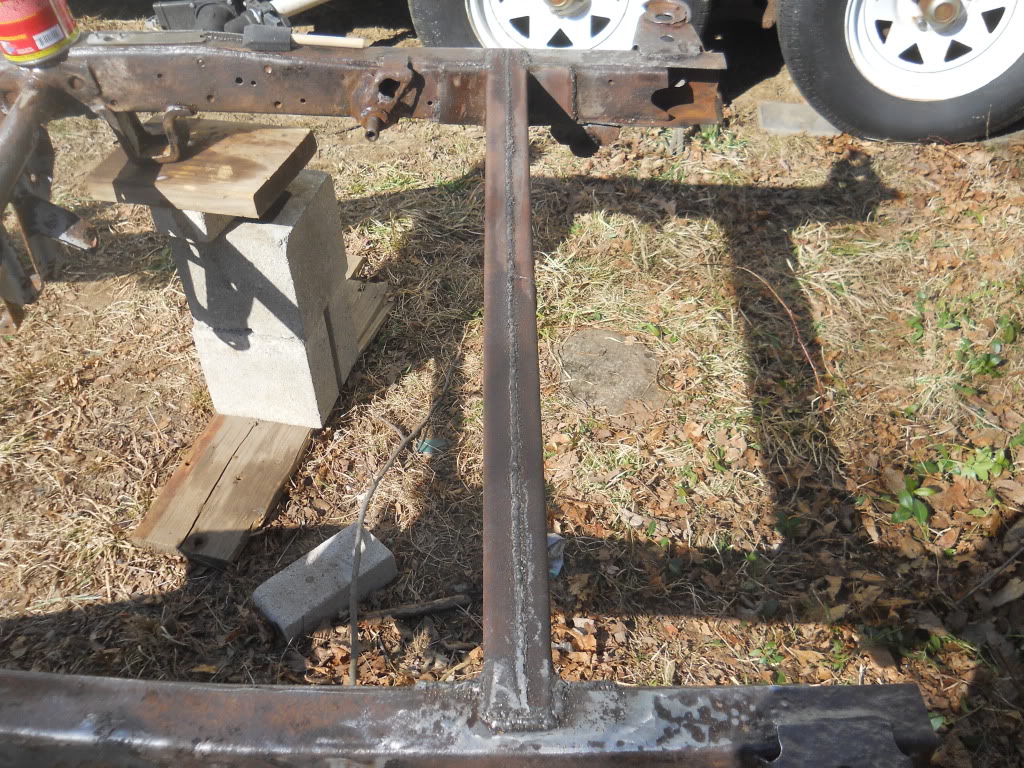
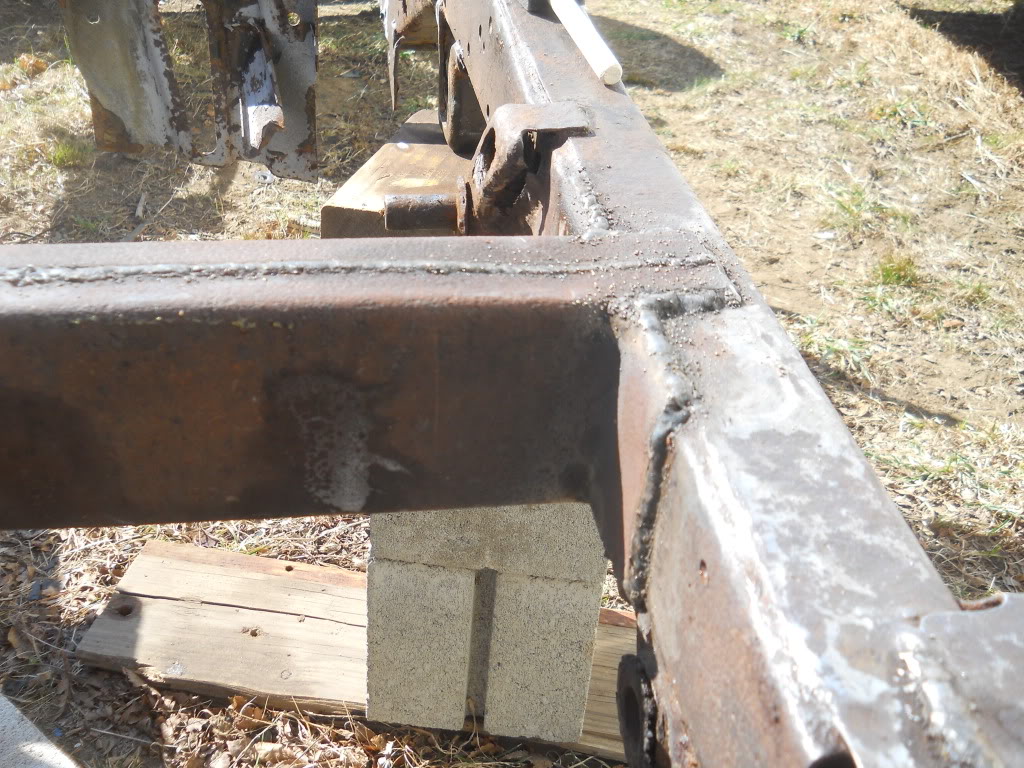
then came wire brushing everything, prepping it, welding in some new metal, cleaning and painting. i chose POR-15 to paint everything because it got awesome reviews and seemed exactly what i needed. I have nothing but good things to say about POR15! I took the opportunity and cut out the old rear crossmember and welded in some nice new (to me) 3/16" steel c channel which i sistered together.
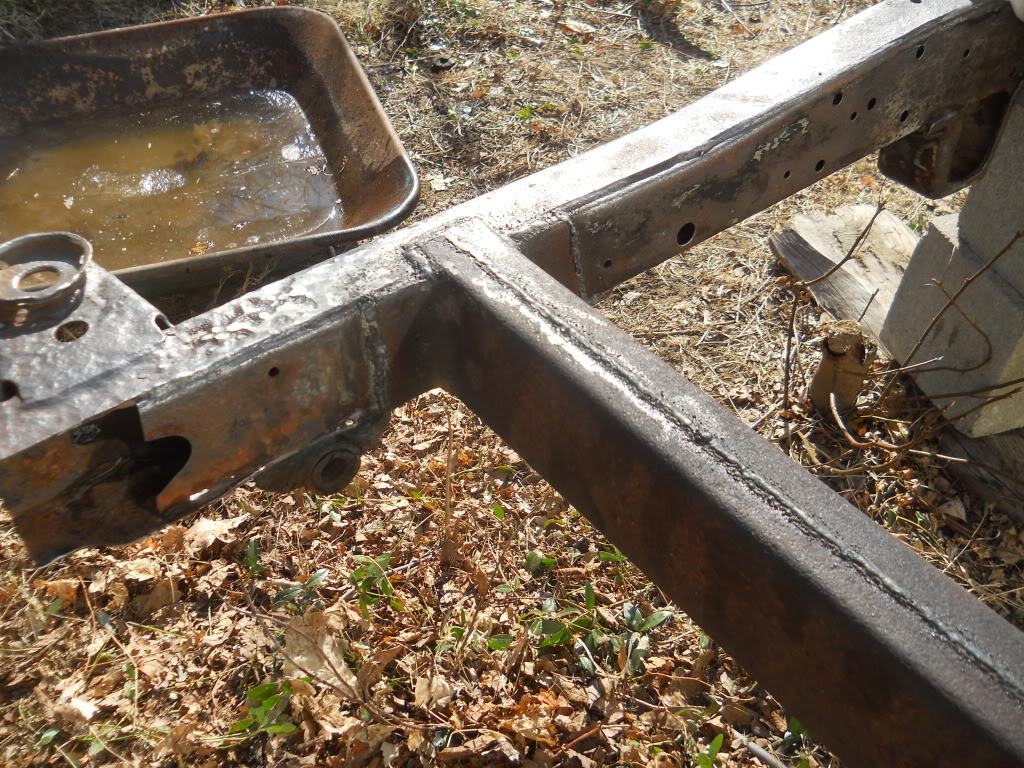
Some pictures of the welds. I taught myself to stick weld when I was 13 and have been doing it off and on for a while now. I'nm no professional, but I can hold a pretty good bead. All the welds were done in C range, wire speed 3-4 with my Lincoln SP 135T and 0.030 lincoln fluxcore mig wire. I was welding outside in the wind so I ditched my gas and went with fluxcore. It's perhaps the best welder I've ever used for anything from body panels to 3/8's steel.
Step 2: Demo/Deconstruction
and then we took it apart...
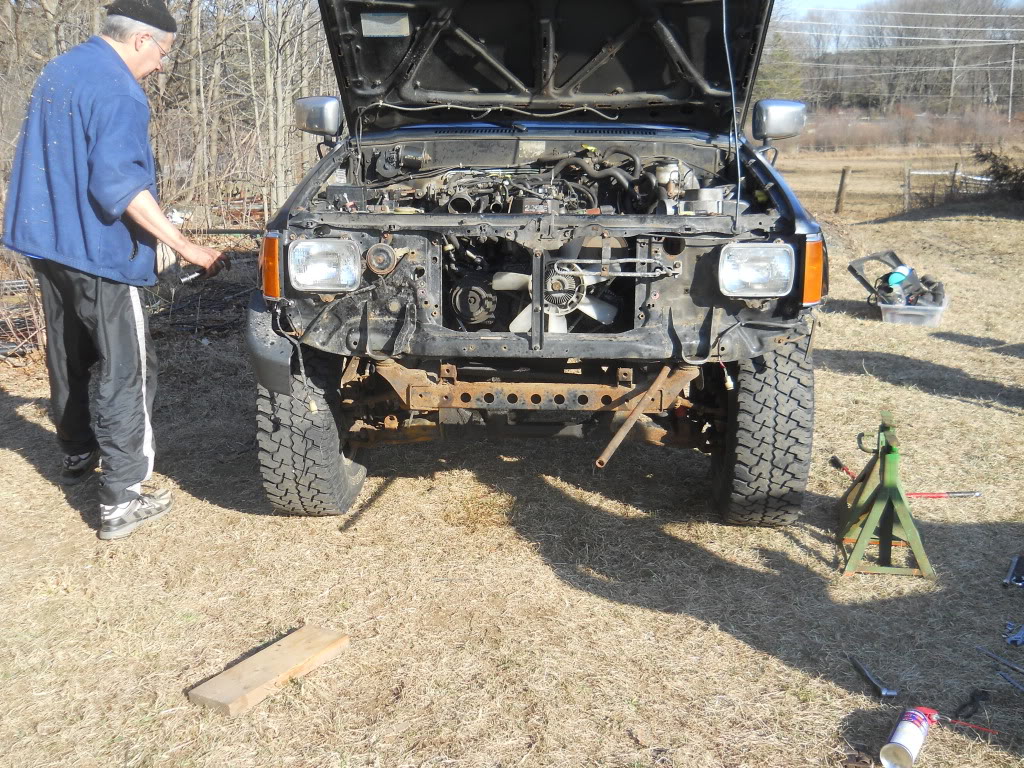
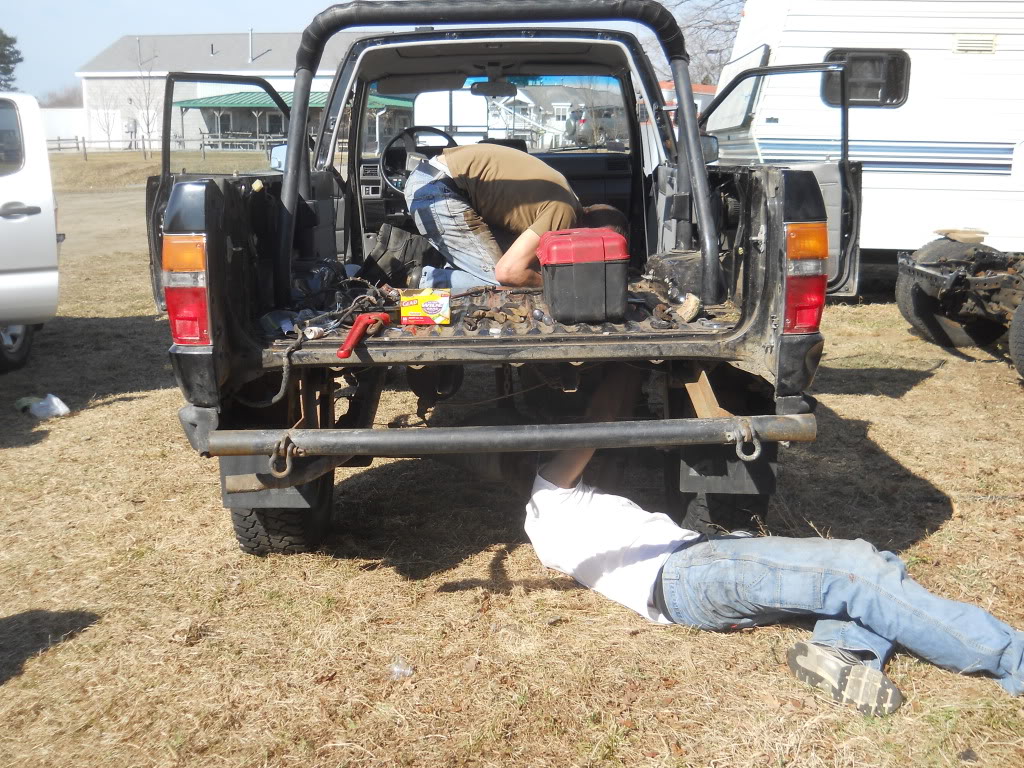

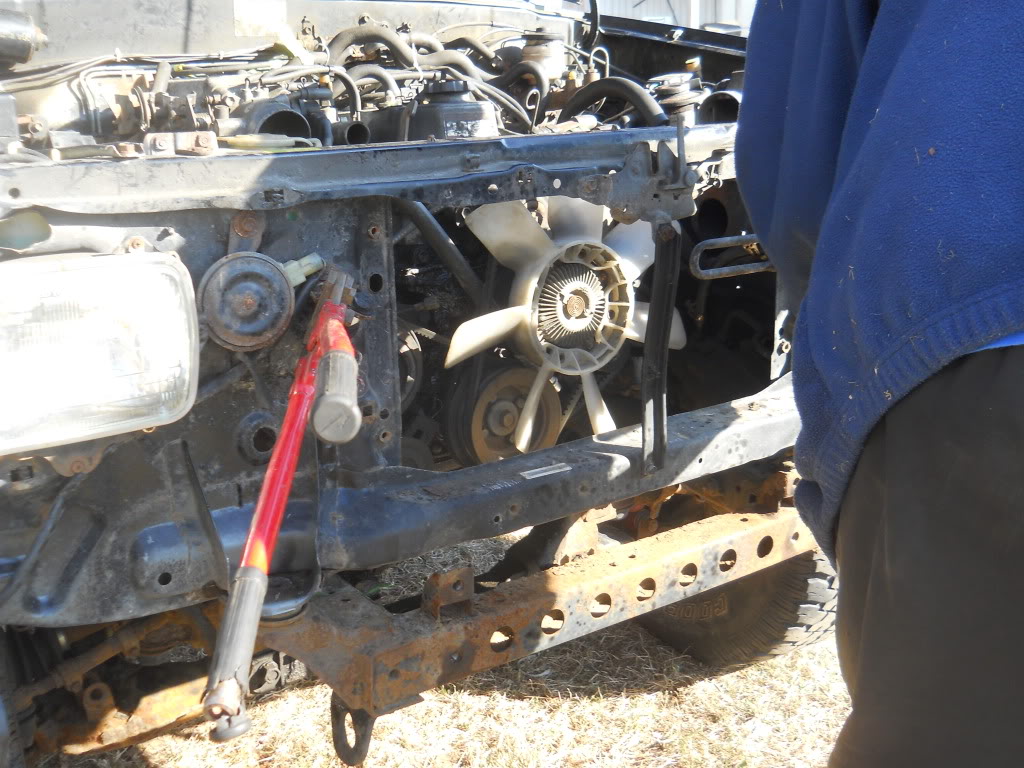
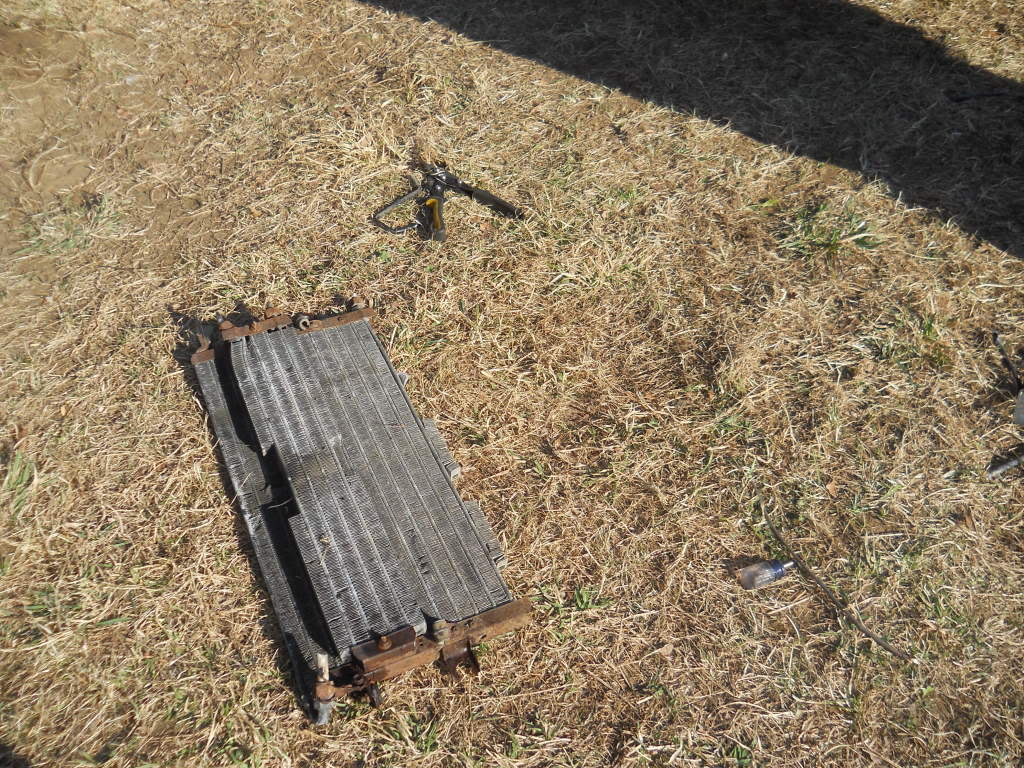
and i snipped out the non functional AC while i was there!
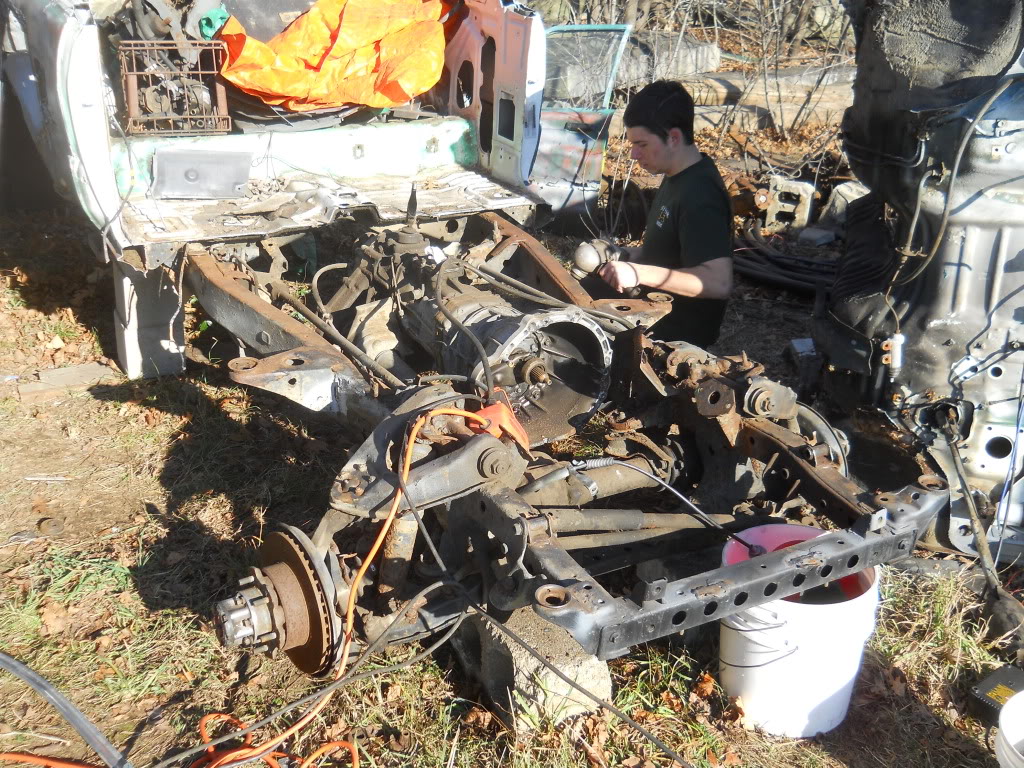
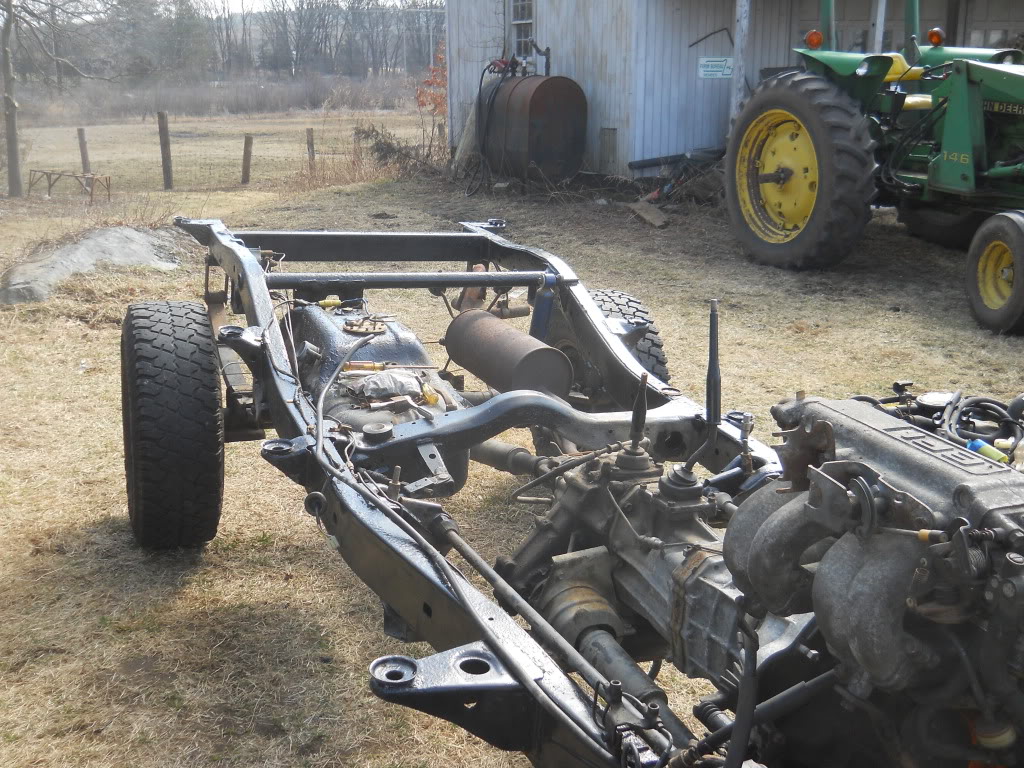
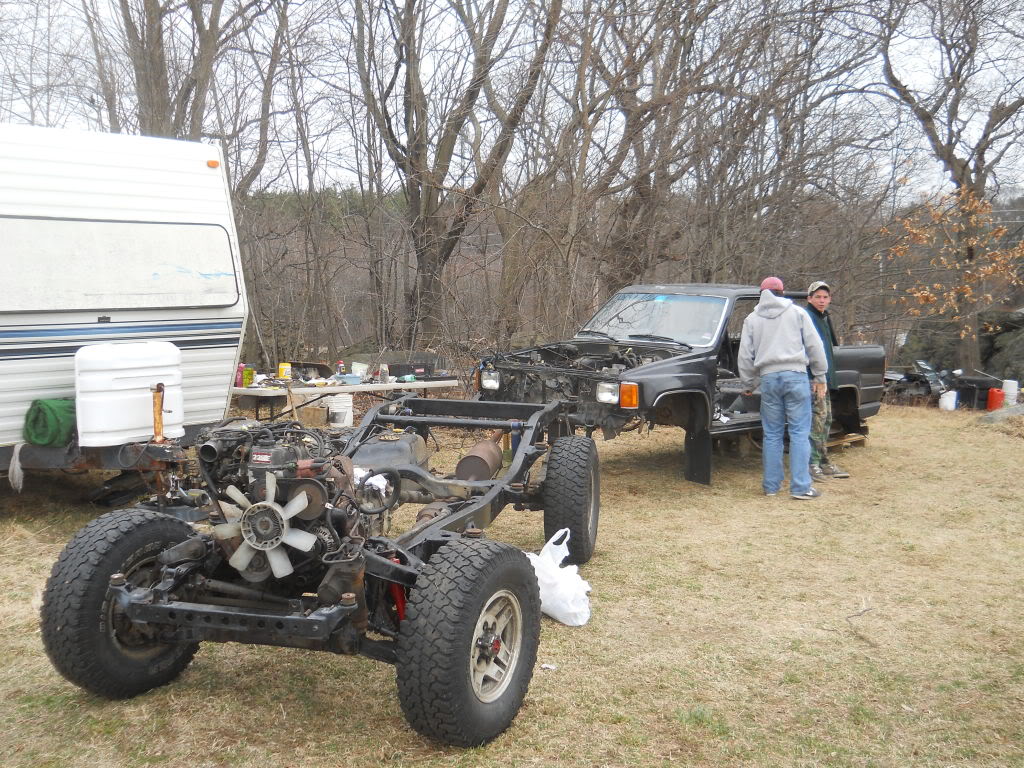
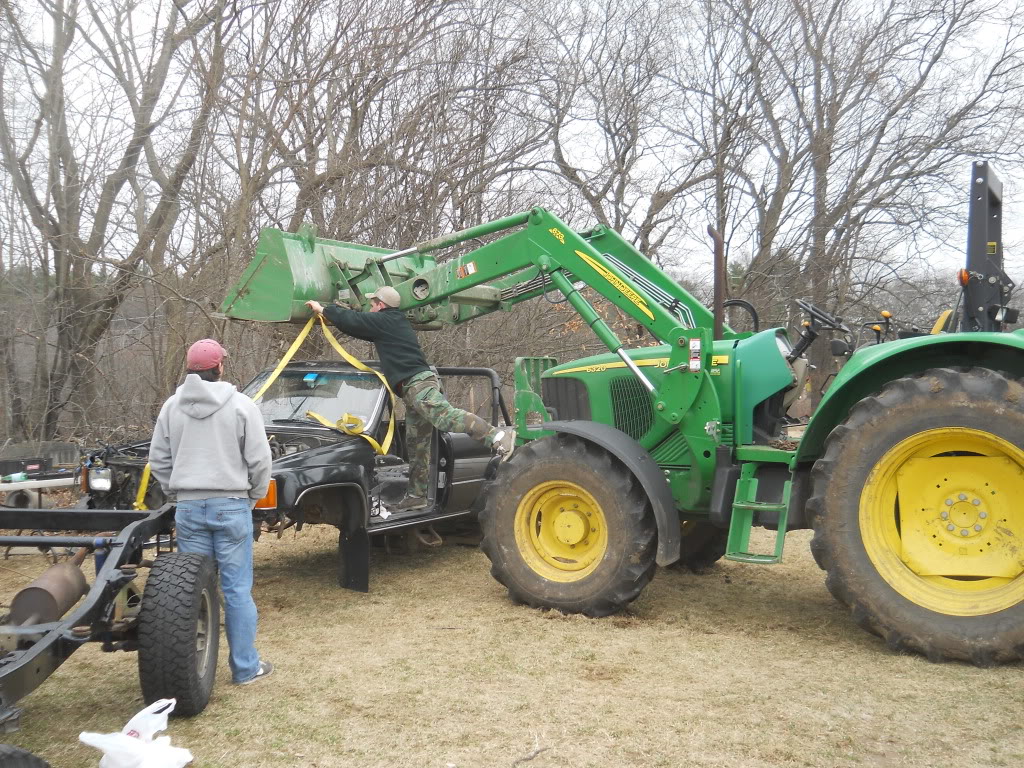
Step 3: Pull the body
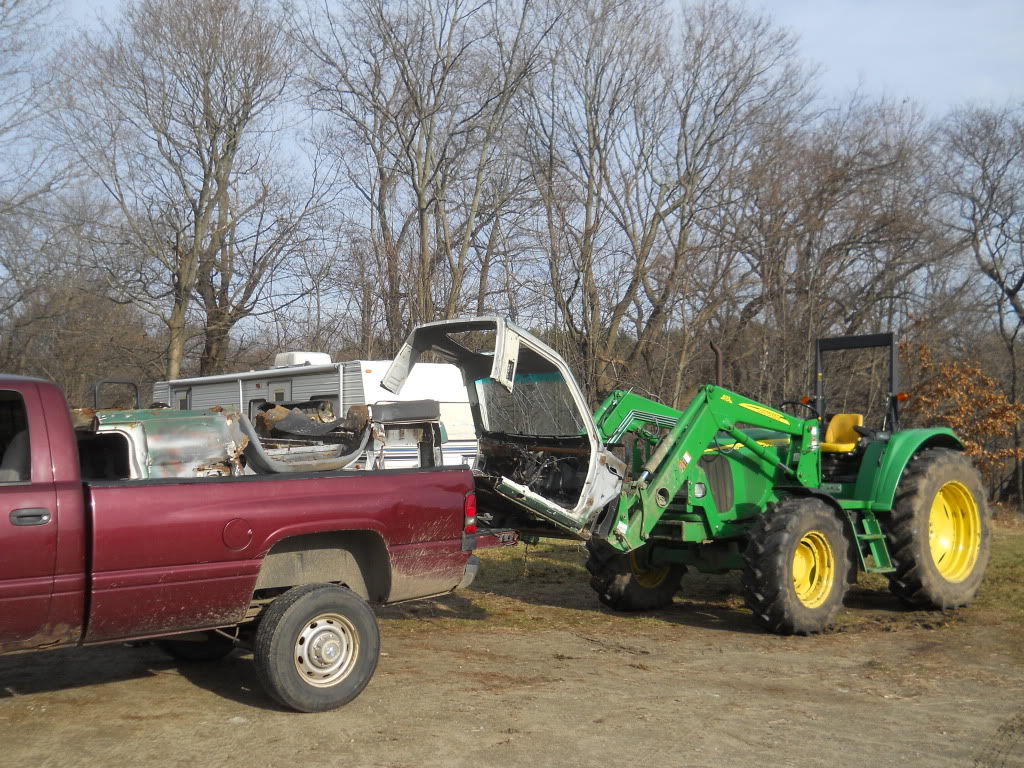
and then, with some deere power, i gave her a lil' bit of lift

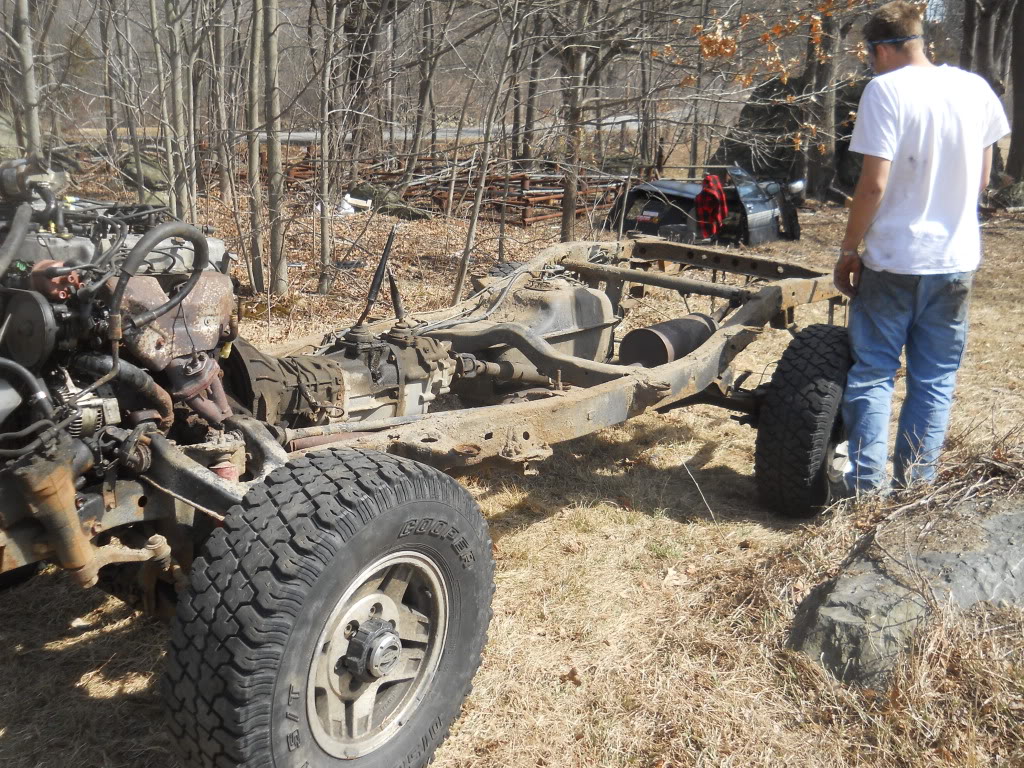
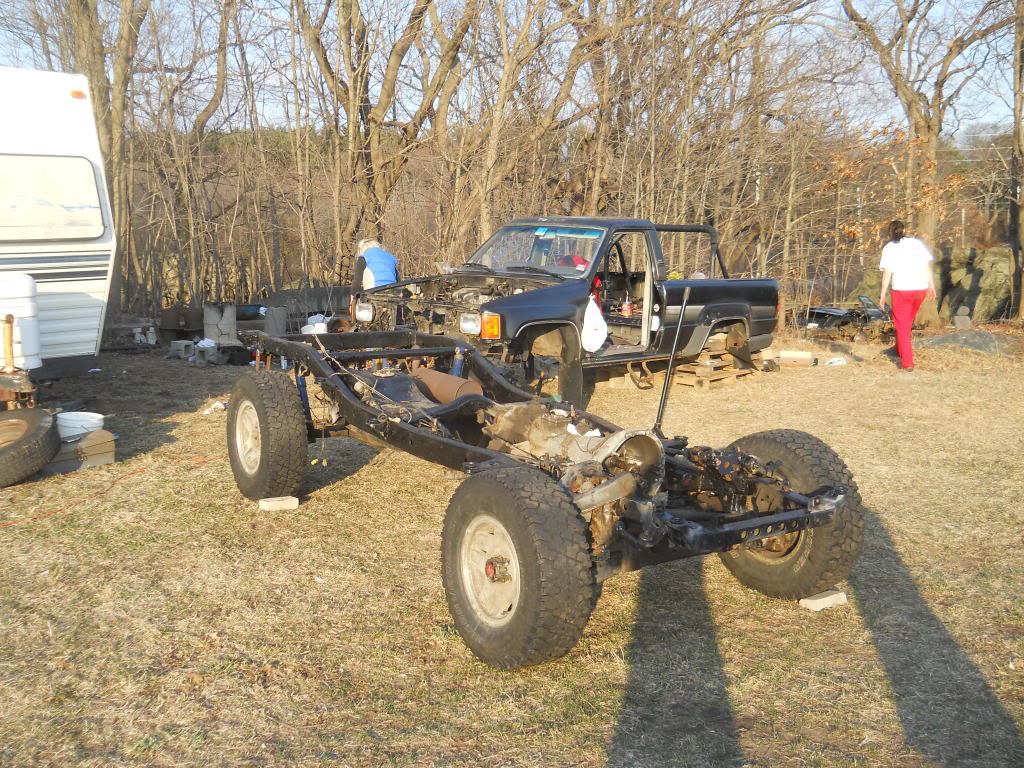
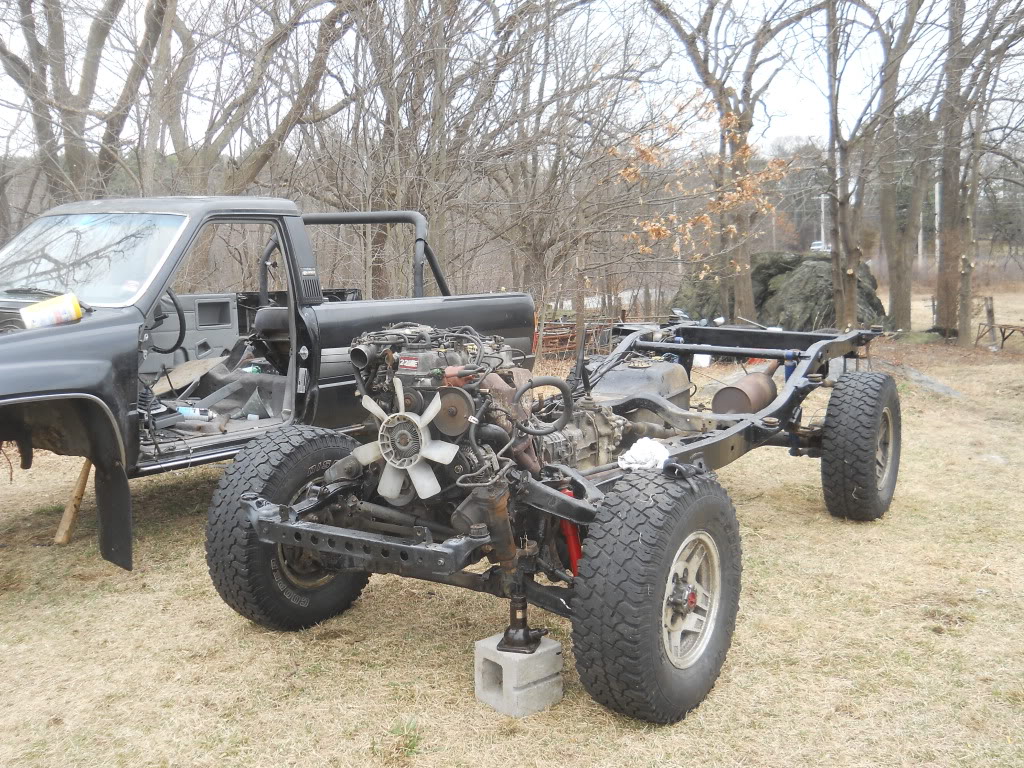
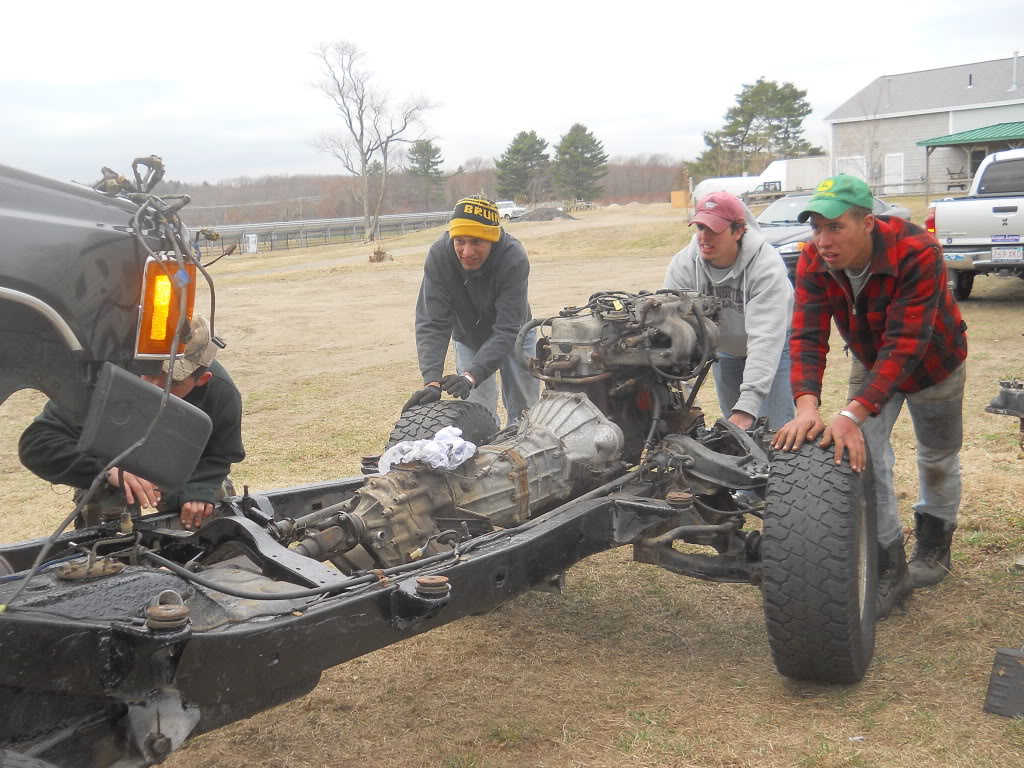
frame and engine
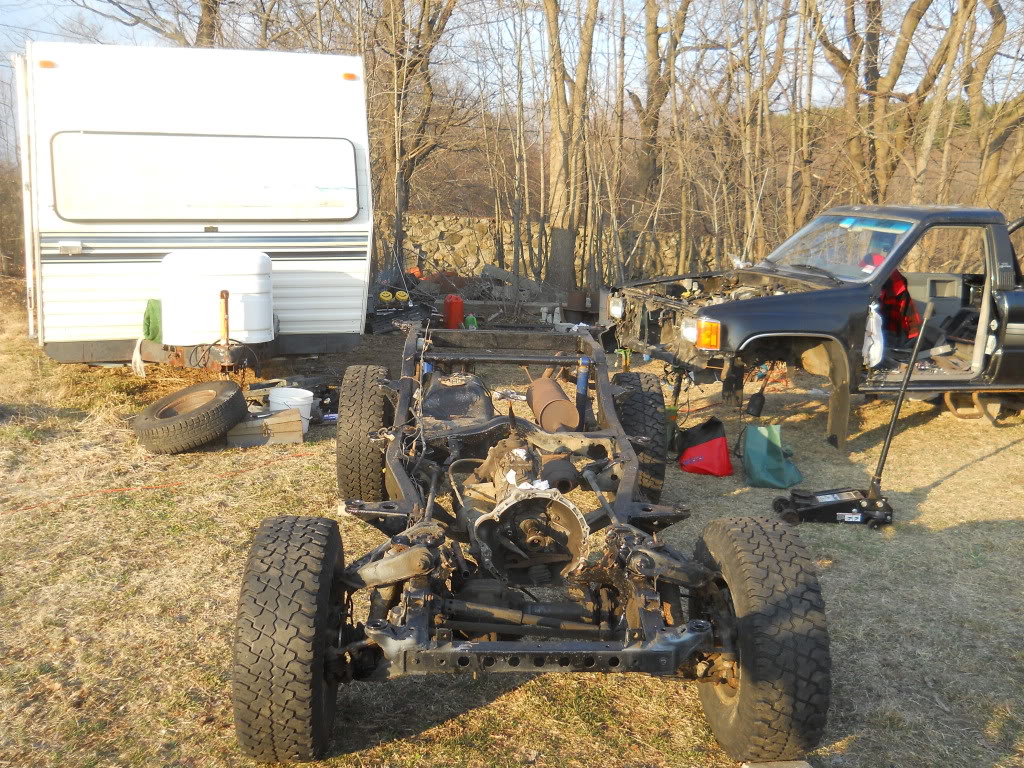
body of the frame. We just used pallets and jack stands. I was a little unsure of where to lift from originally in terms of where to attach chains, straps, etc. We left the rollbar on so the rear was easy, and the front we ran to the front most body crossmember where the body mounts would go. Its pretty self explanatory in the previous picture.

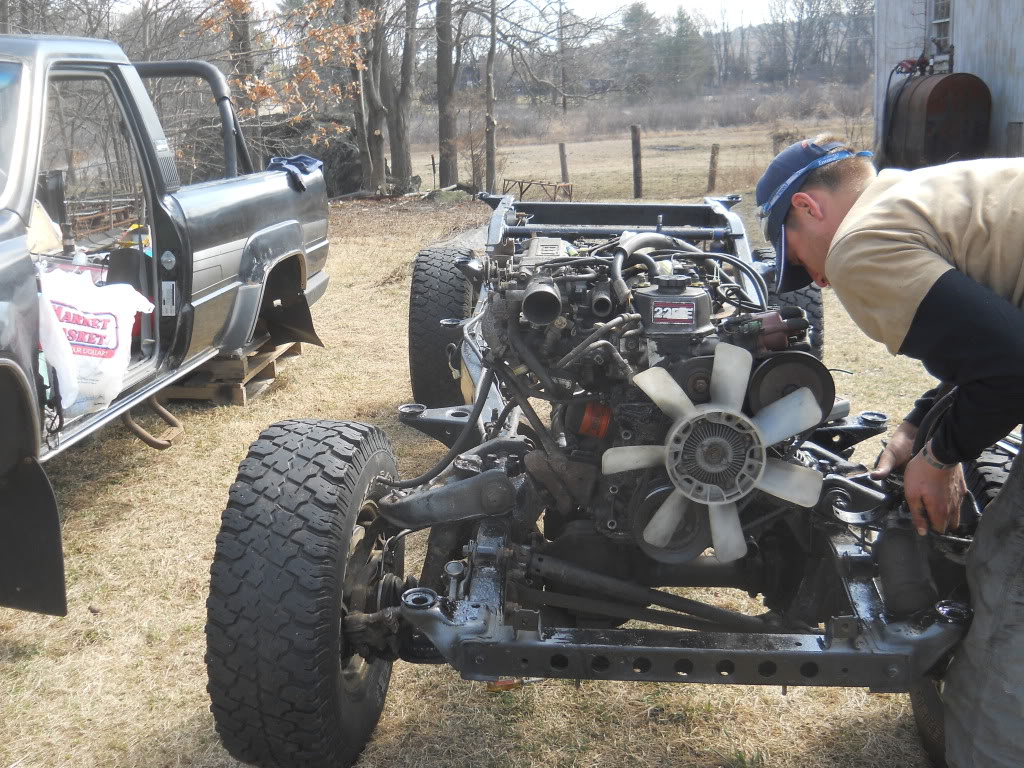
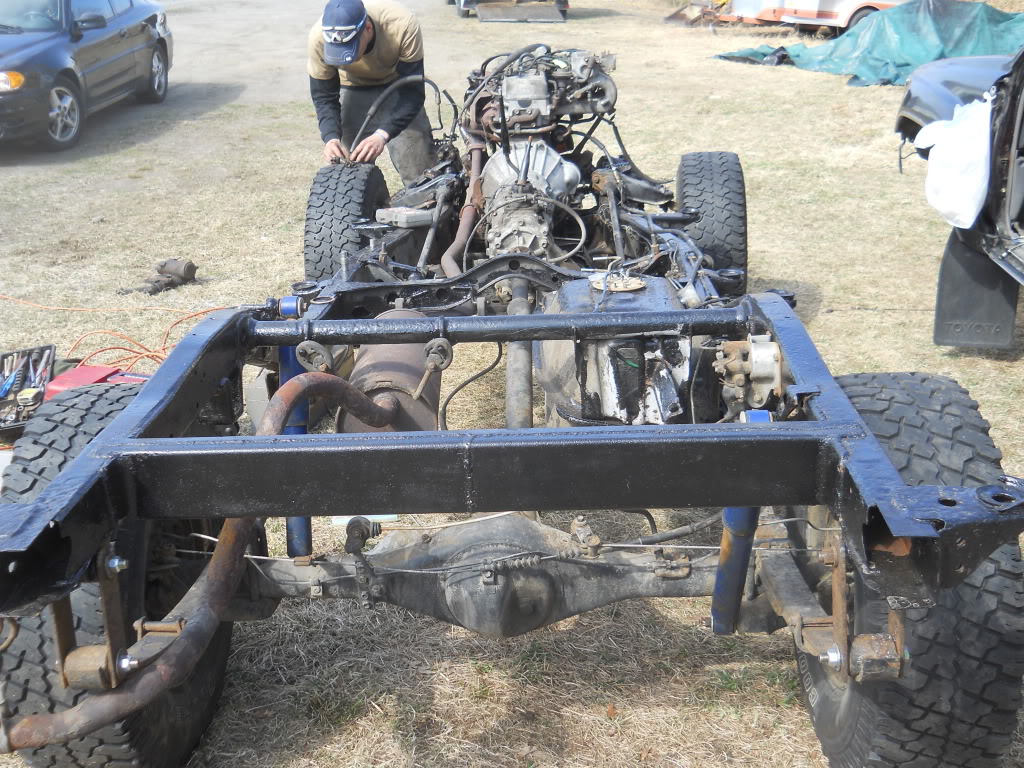
Step 4: Engine Work/Frame Work/Prep for New Body
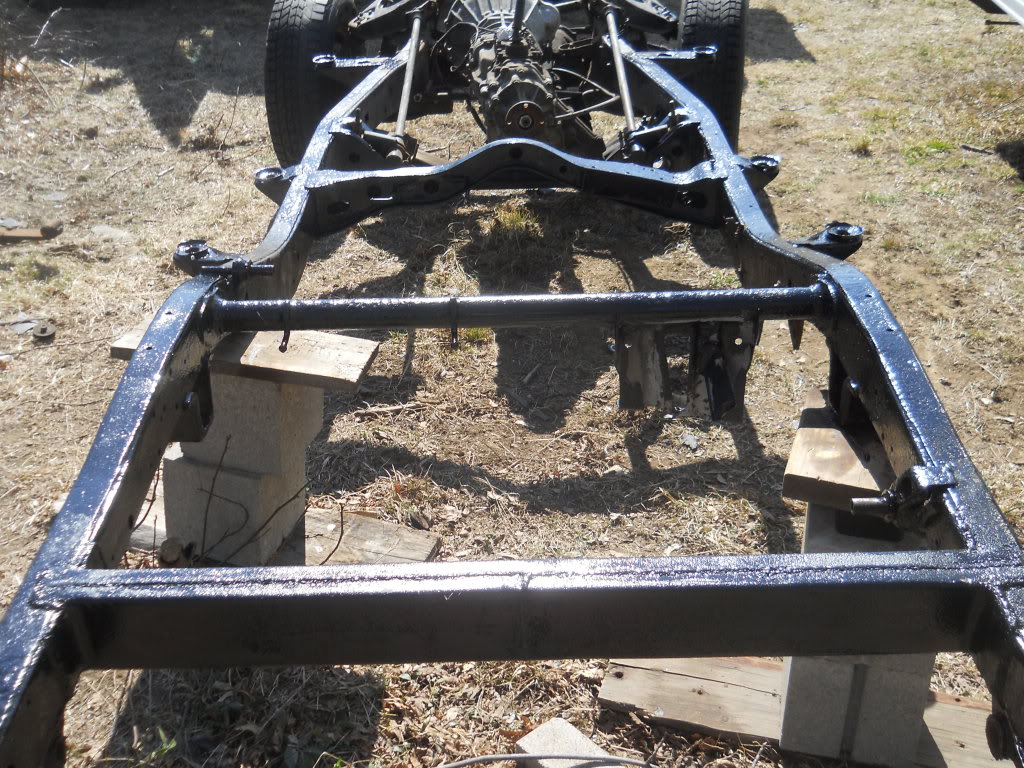
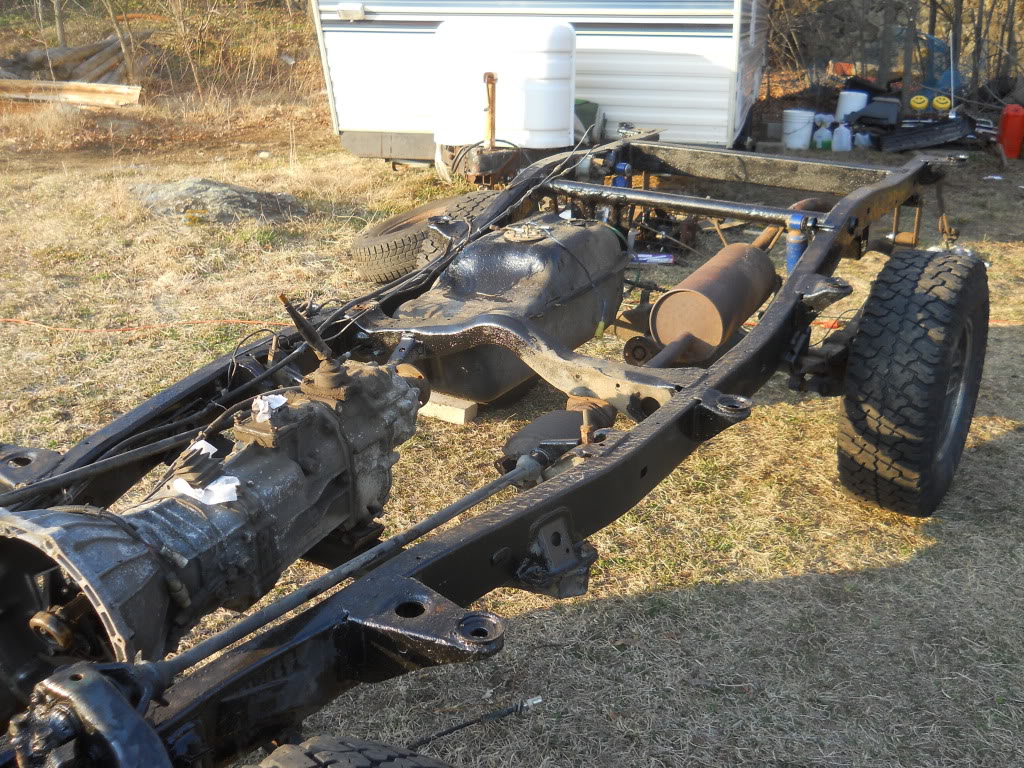
the next day was spent readying the frame for the new body. the gas tank went in, all the brake lines got replaced and/or swapped over. the tires went on, and everything else you can imagine could be done before the body went on to make our lives simple. We used the transmission from the 87 frame which had about 10k less miles. We drained all the fluids and replaced them with brand new. We also swapped over the power steering system. Tranny fluid even got drained and replaced. We did find a tooth in the drained fluid, but i figured one for 152k is not half bad. Toyota rocks!
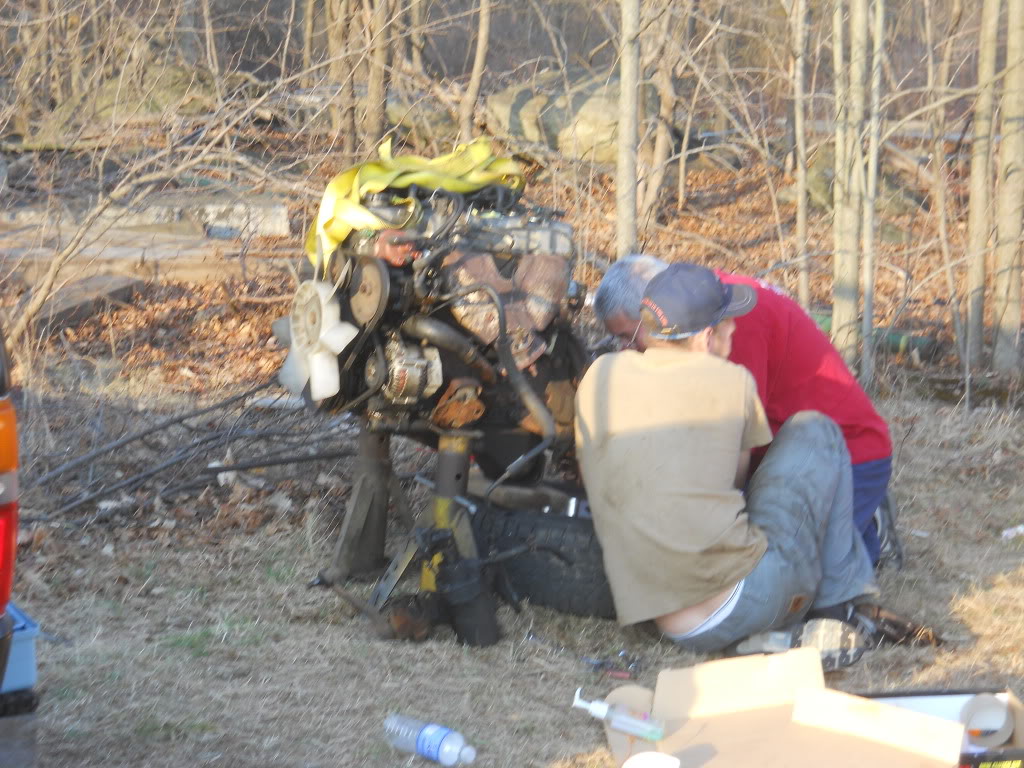
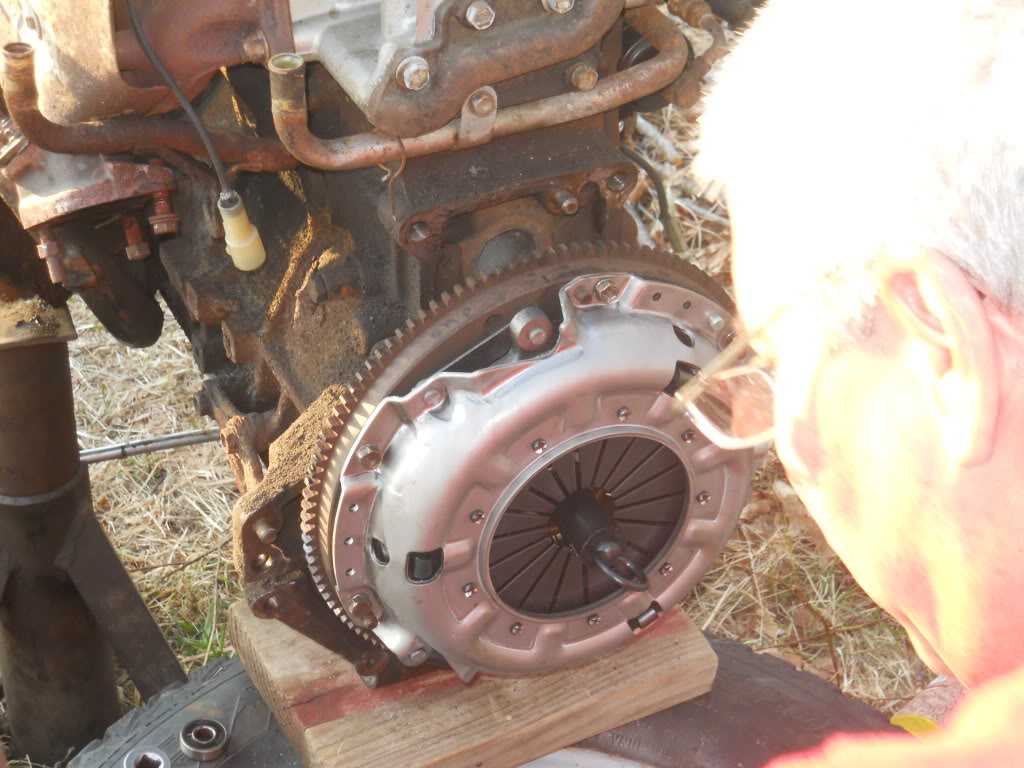
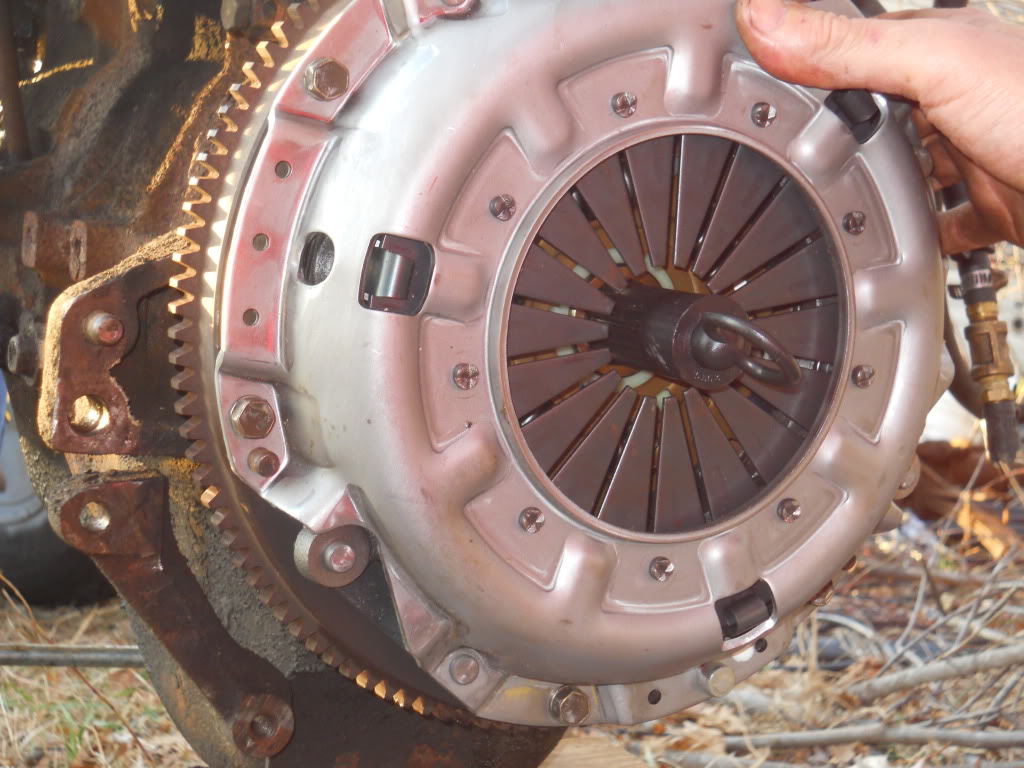
And while I had was doing the frame, my brother and my dad put on the new clutch, pressure plate, throwout/pilot bearings, fork, and fork pivot point. The old clutch looked new and was theoretically (According to paperwork) done in 2005 or something, but it seemed loose. Once we pulled it off, we noticed that the pilot bearing was almost all the way unseated from the flywheel. I figured it was worth the 100$ for something new, and im very glad i did.
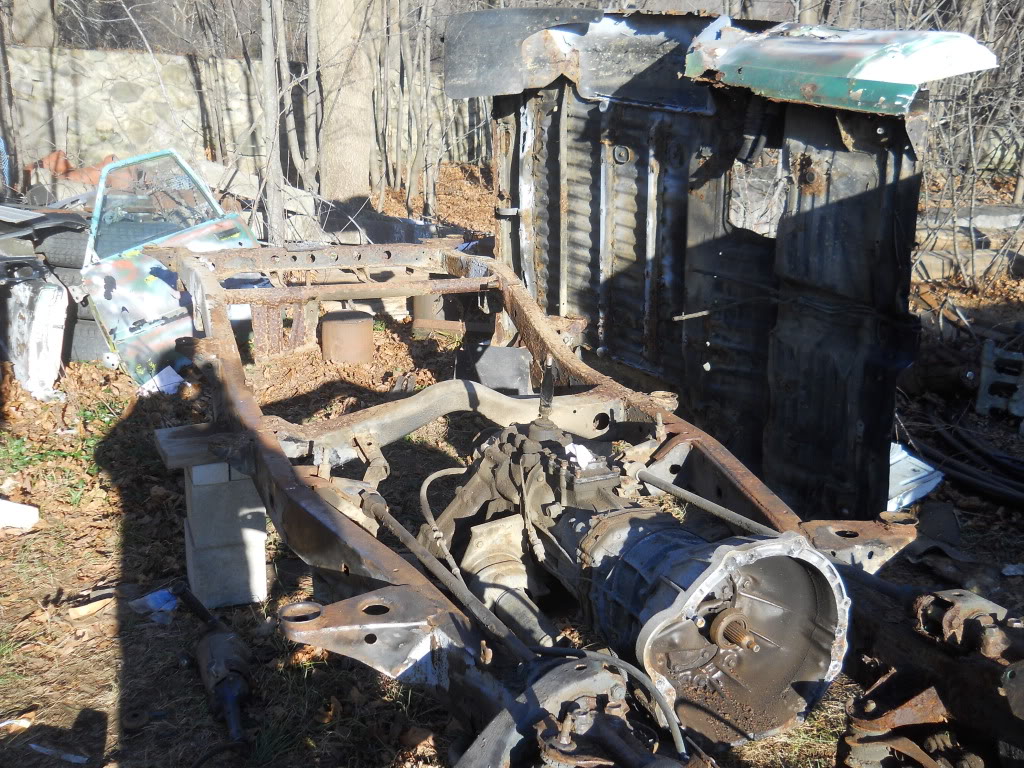
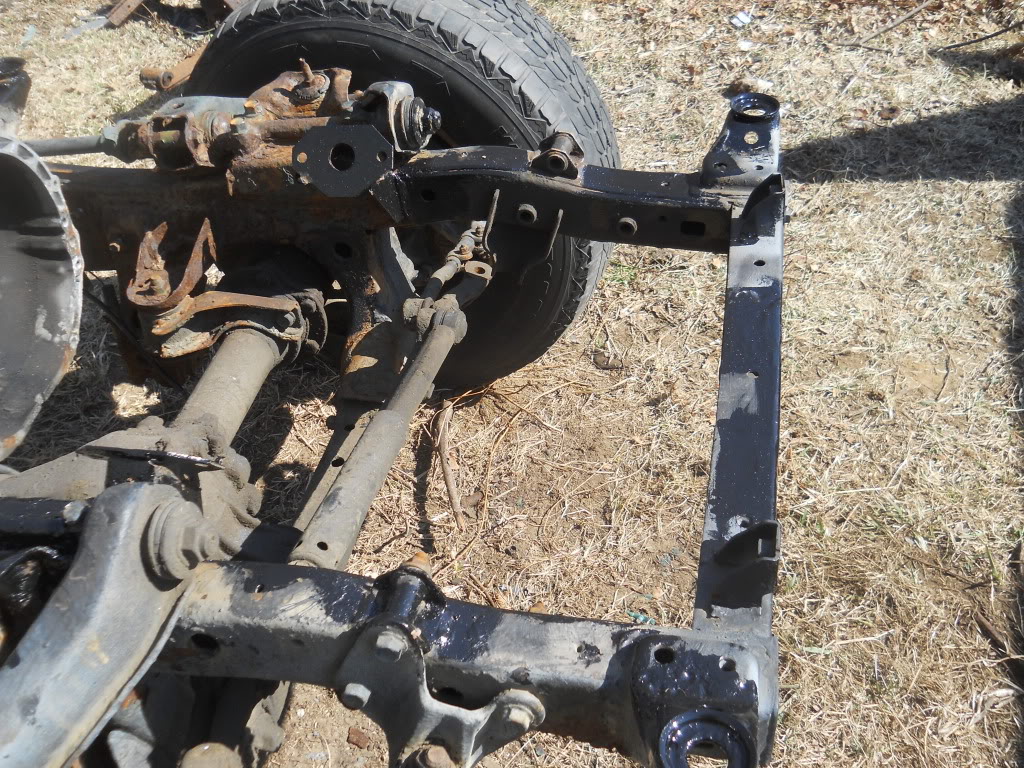
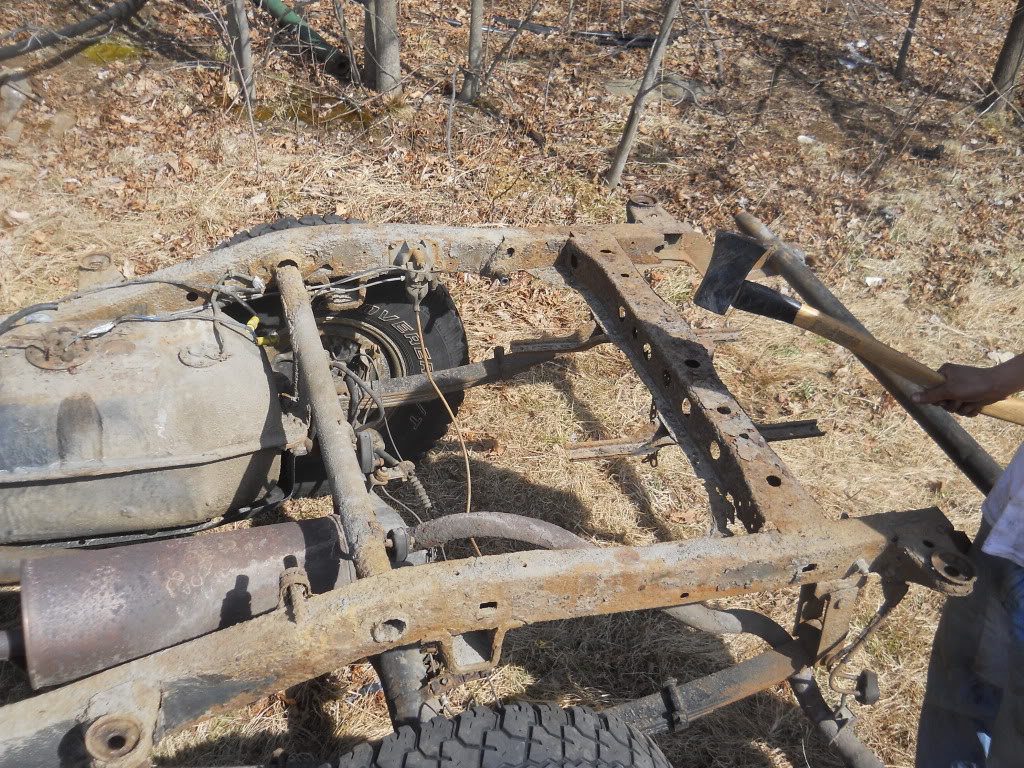
And the old frame, waiting for the scrap yard (unless someone is going to come save this front axle from death!)

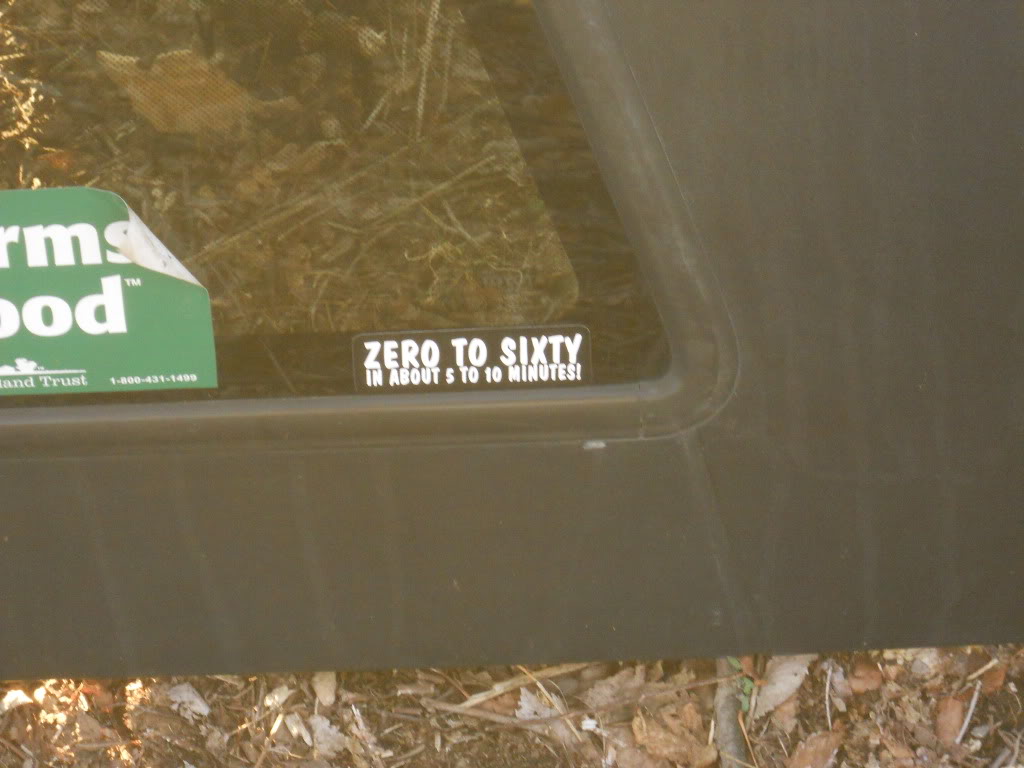
And a new sticker to compliment my 15 HP 22RE
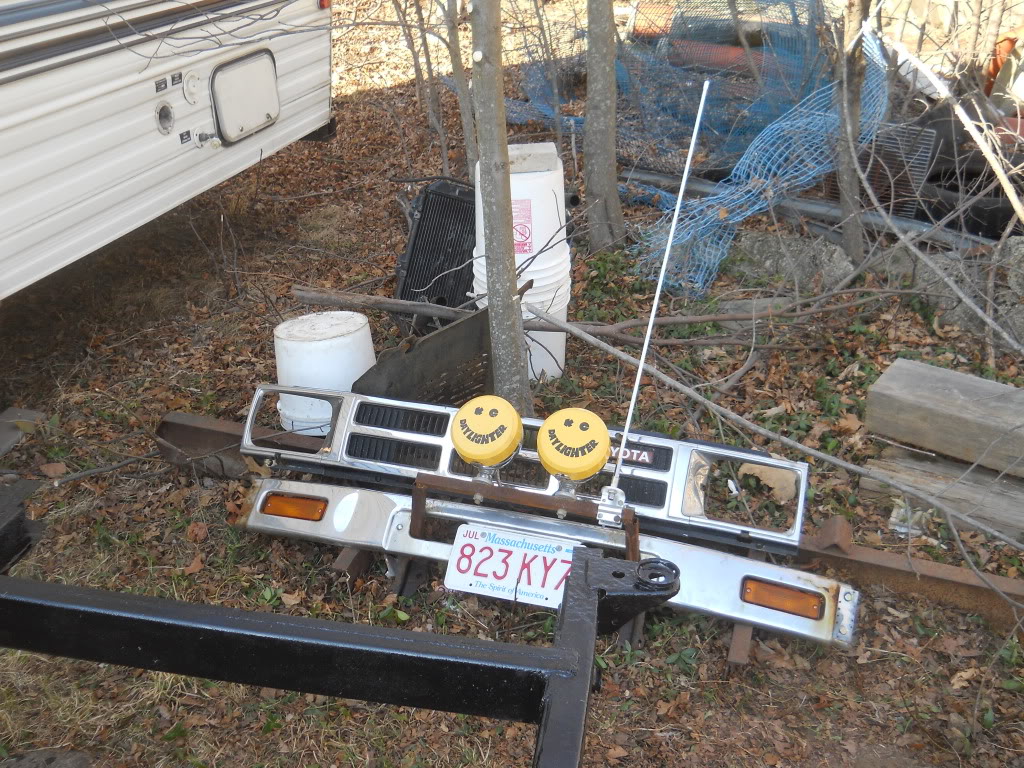
And some more horror shots of the old
Step 5: Back on the Frame
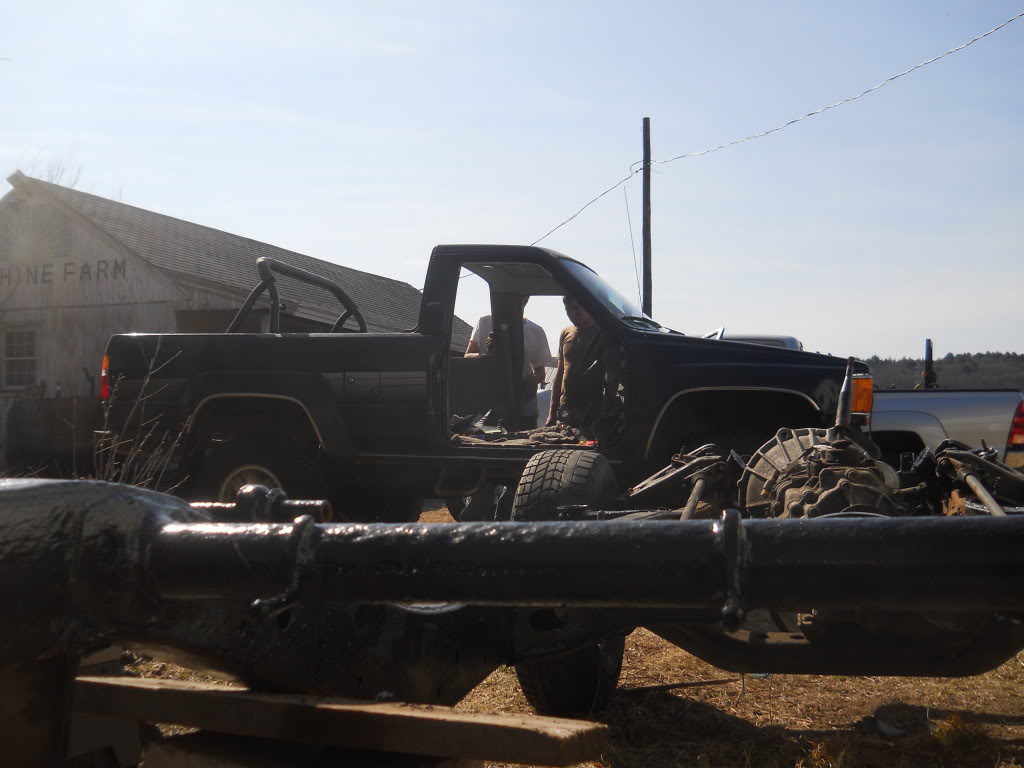
The next day was the day i'd been waiting for: body back on the frame day!
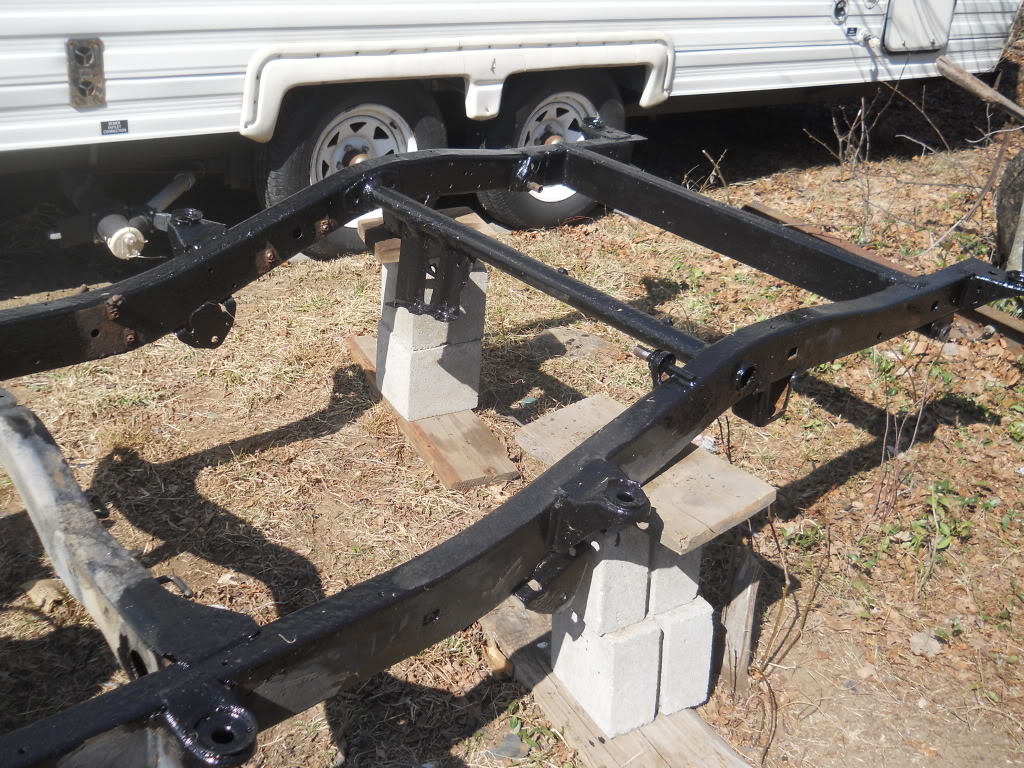
And some closeups of the final frame. Some of the clamps for the brake line were gone and the bolts into the frame were totally junk so i ran them a little differently than factory. My dad had also just run brake lines front to rear, hence the reasons for the couplings in random places.
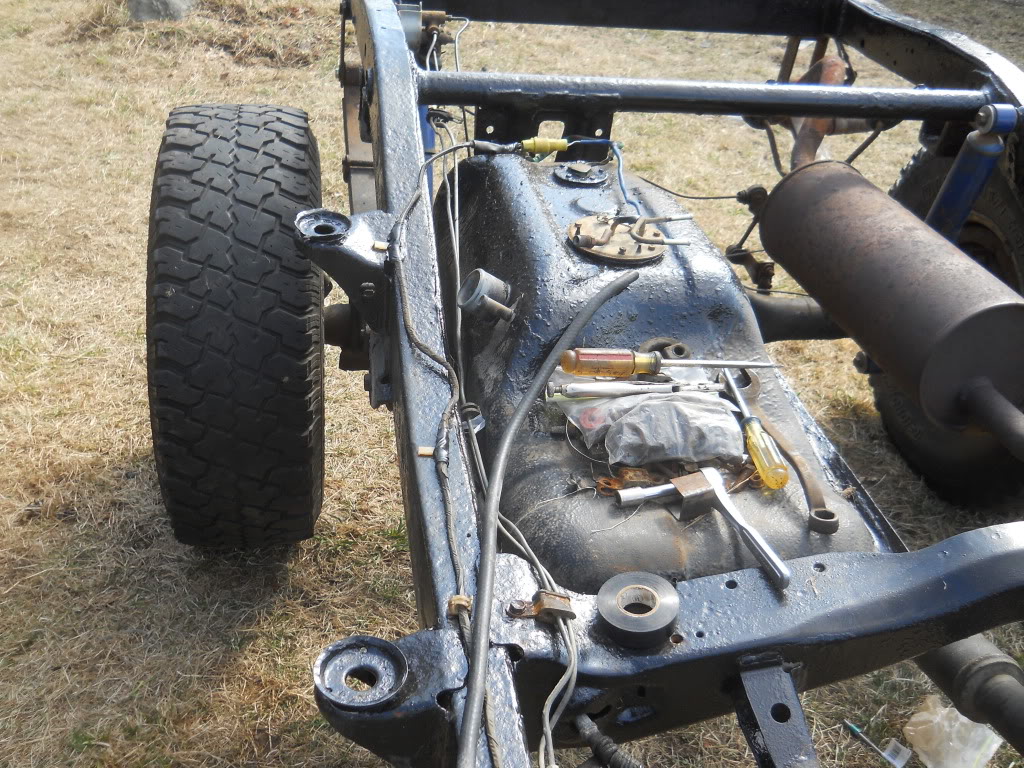
And then the frame got positioned so as to be able to just roll it right under the body once it was lifted. I really was impressed how clean it looked. I made sure to paint the top of the gas tank with POR15. The outsides and such were perfectly fine so i wasn't about to waste time and effort on wire wheeling everything down, but i slapped some paint on the top and then to top it off, put in a mint condition sending unit that was completely intact. Doesnt get much better!
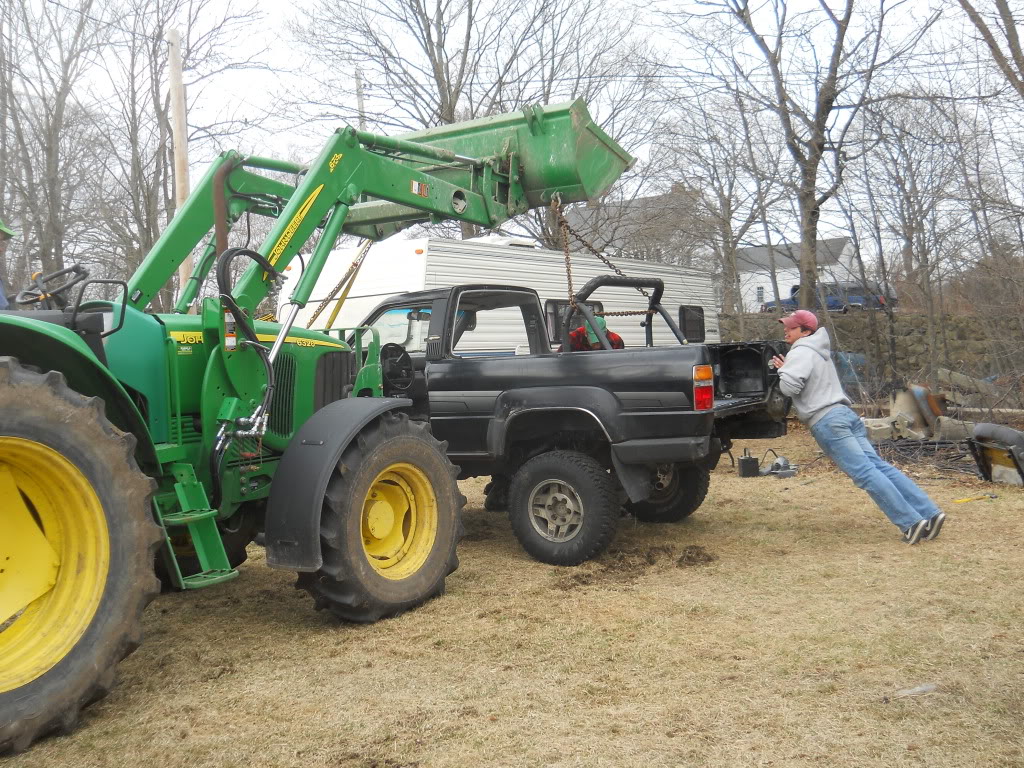
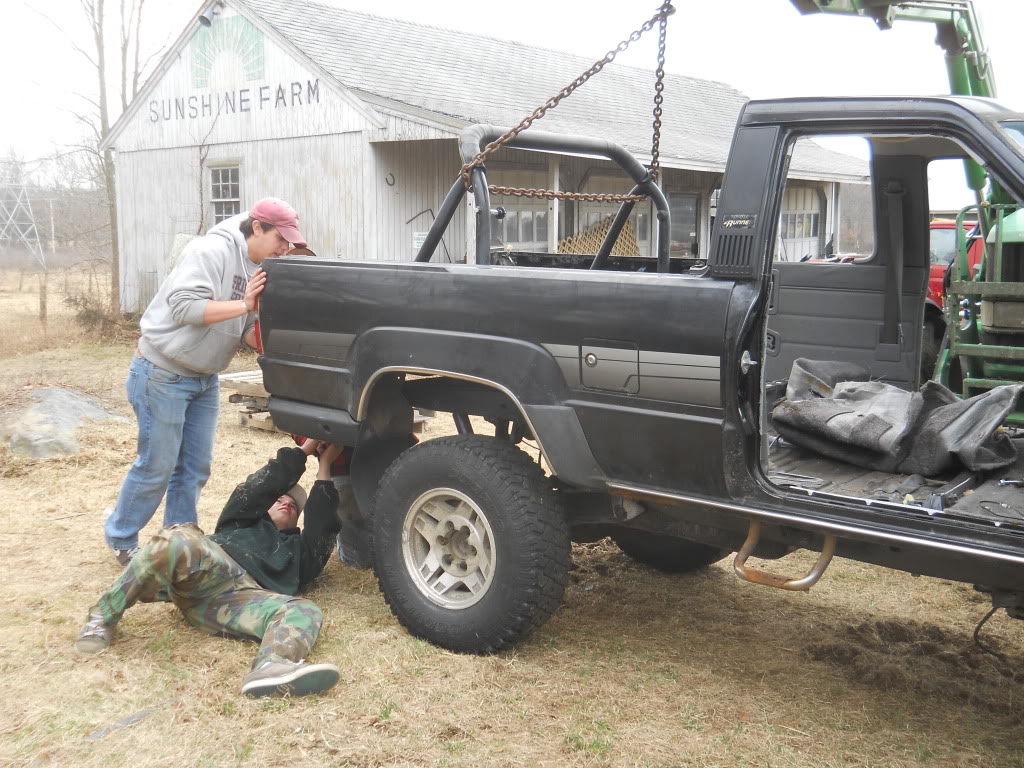
And then... with some more JD power...the body was lifted and placed on the frame!
It took a few ups and downs of the loader to get it JUST right, but we got it one by one. We started with the back mounts because they were the easiest, and then we worked our way to the front. We replaced about half of the body bolts and nuts with brand new hardware and the rest we resused because they still looked great! Unfortunately my body mounts never came so i had to resuse the old ones (i know i know....). I had them from the 87 and some good left from the 86 so i picked the best 10 and paired up good bushings with good washers.
The front alignment was the hardest, just making sure everything went into the engine comparment properly. Hence why we saved the front mounts for last.
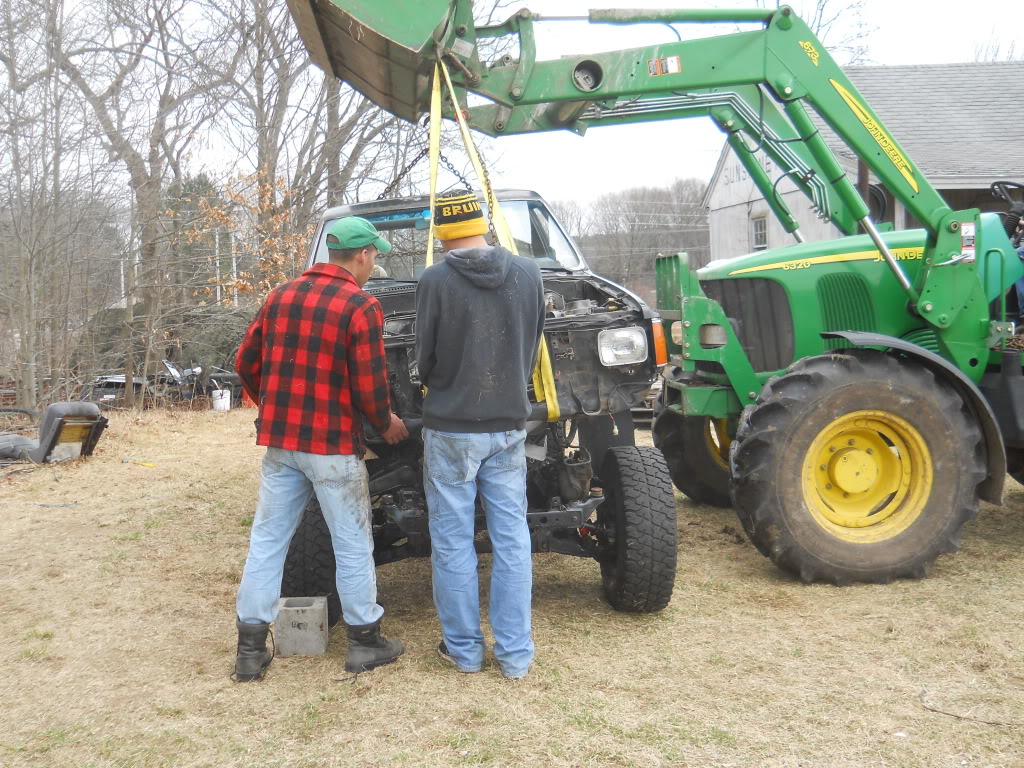
With a little persuasion... the holes eventually lined right up!
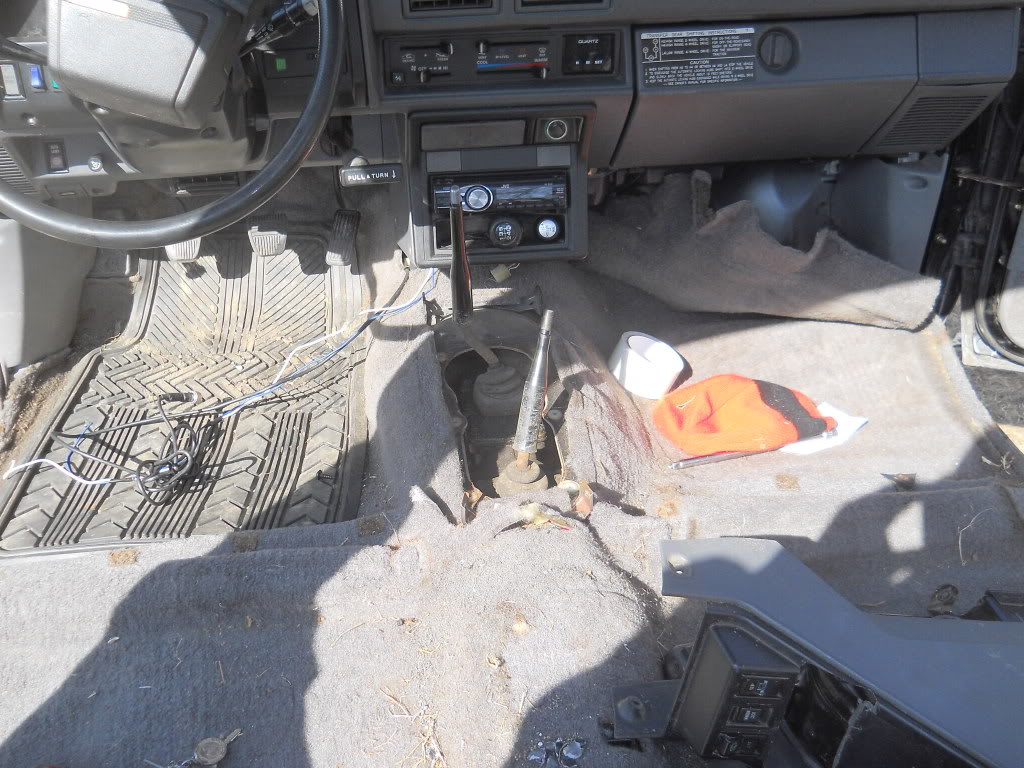
Step 6: Reassembly
Doors, cap and tailgate back one. One small note is that the wiring harnesses for all external assemblies (power doors/tailgate) all have plugs located inside the body side. Dont be stupid like us and pull the whole wiring harness out of the door when you only have to do one single plug! Du-oh!
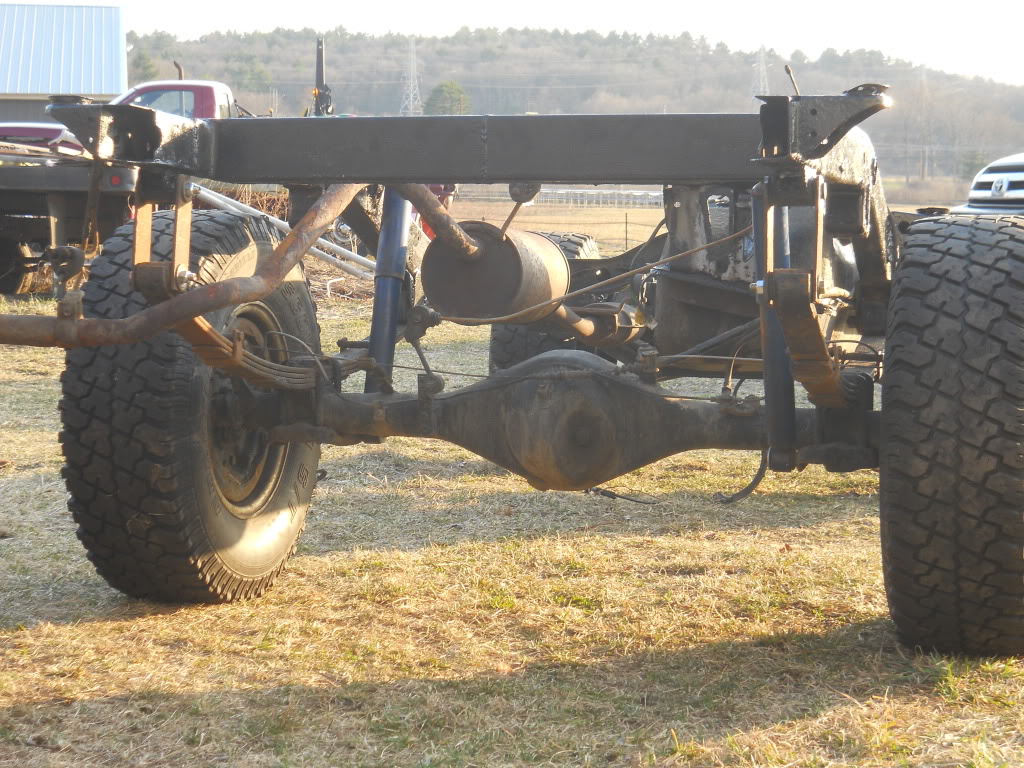
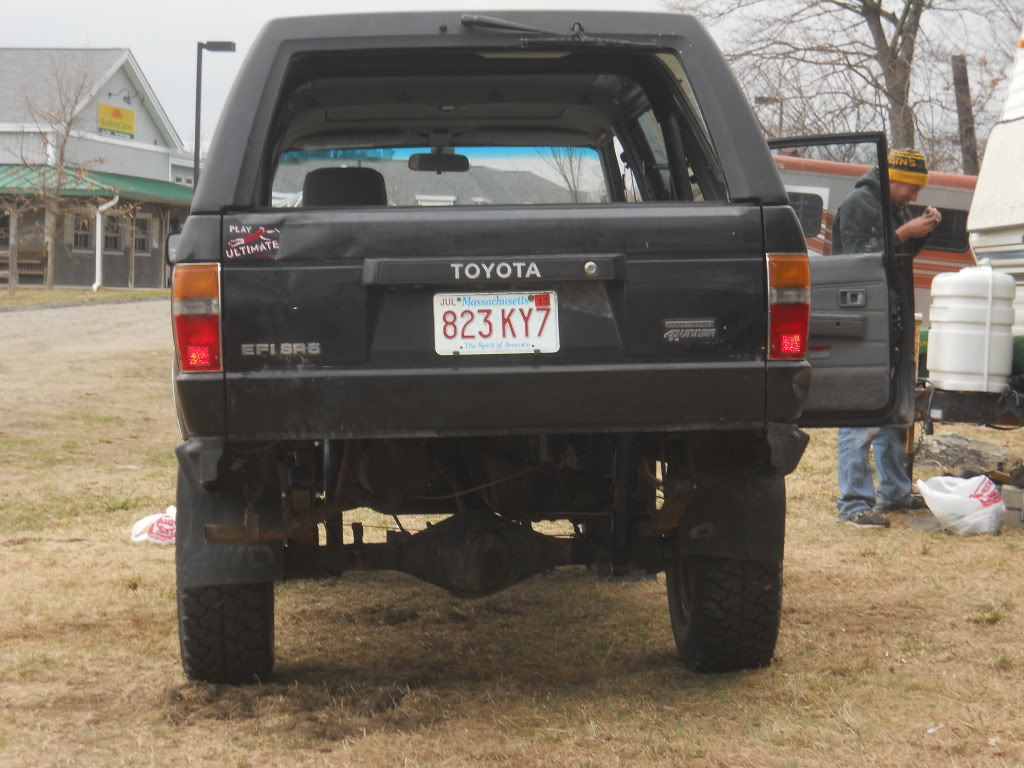
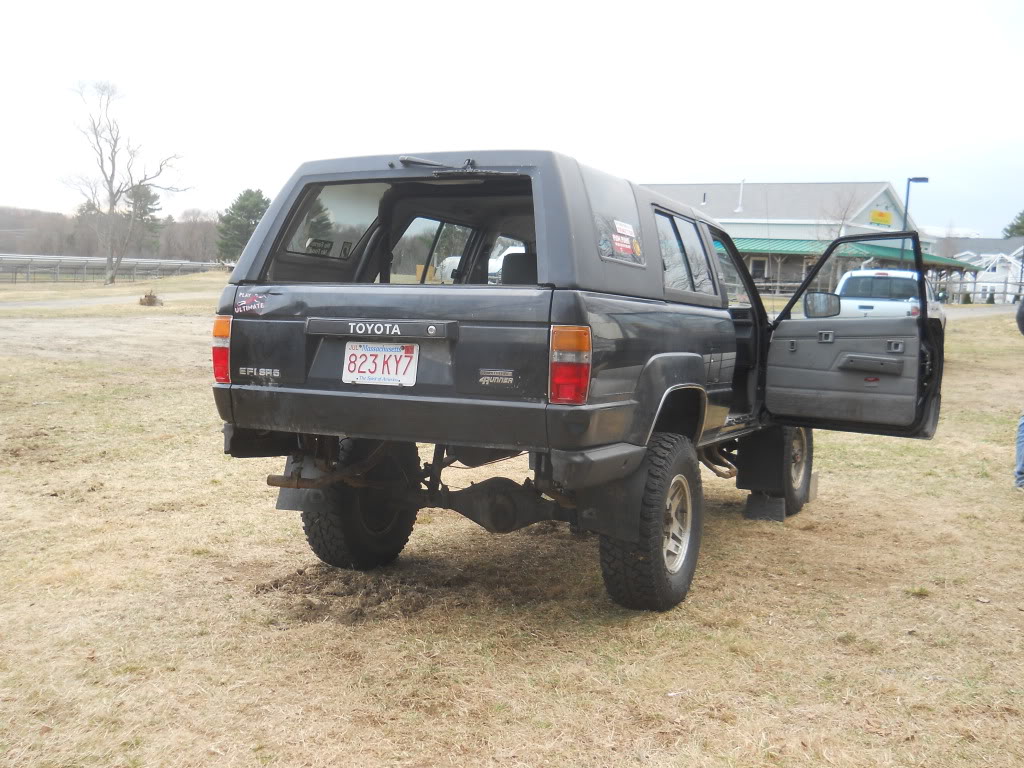
Back shot. She sits about 4 in higher than stock. All shackle hardware was also replaced. New auto-grade bolts.
And finally, after another day of plugging the wiring harness back into the engine, she was successfully driven away. Thanks go out to my brother who flew home to help me get the truck runnin' before I went back for break, my mom for helping with food, motivation and cleaning parts, my buddies who spent some of their own breaks helping out with the painting and labor (paid in food), and my brilliant father (former AF missile tech) who is the most effective troubleshooter/car tech/electrical problem solver i will ever know. Couldn't have done it without ya'll.
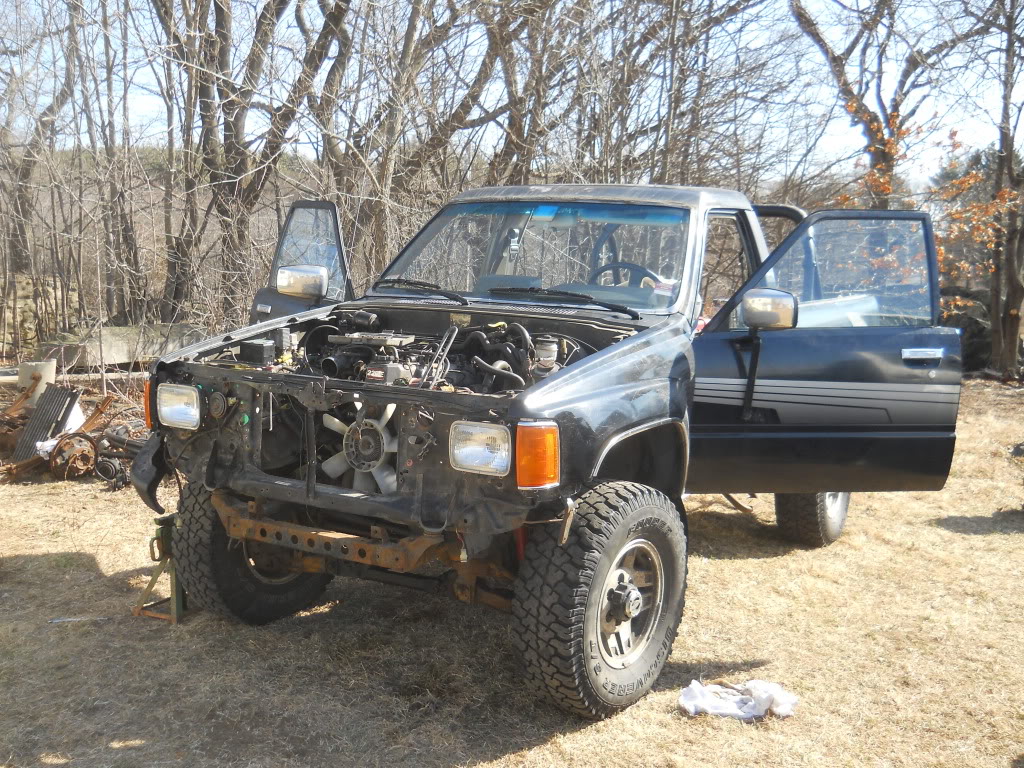
Step 7:Completion
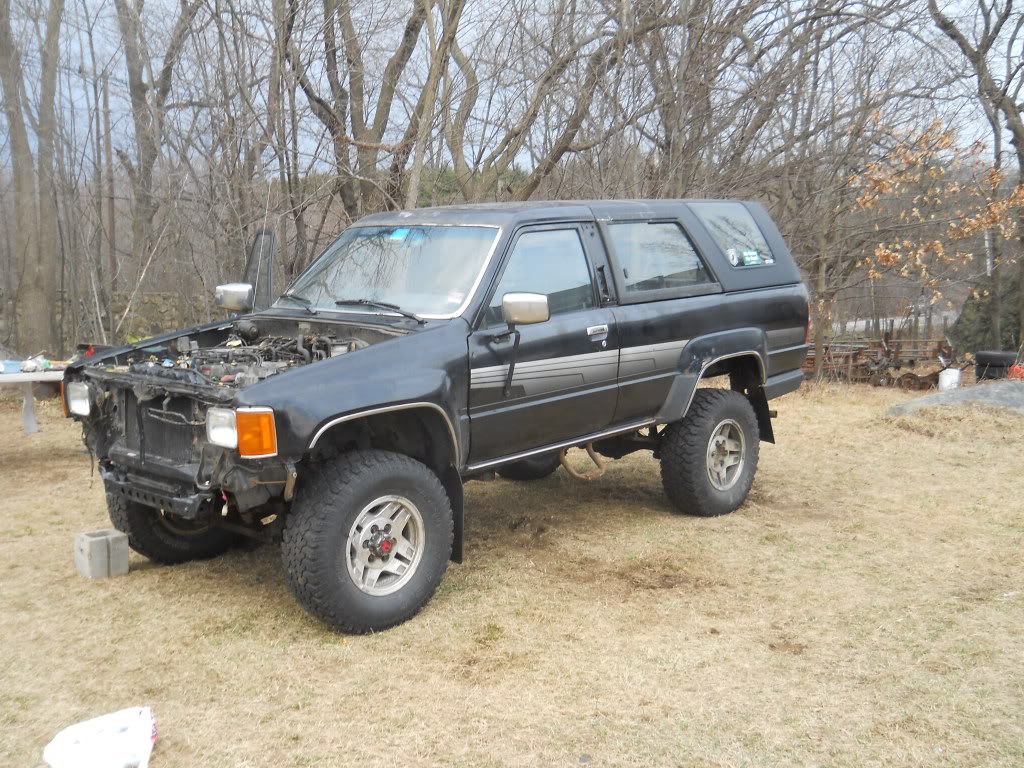
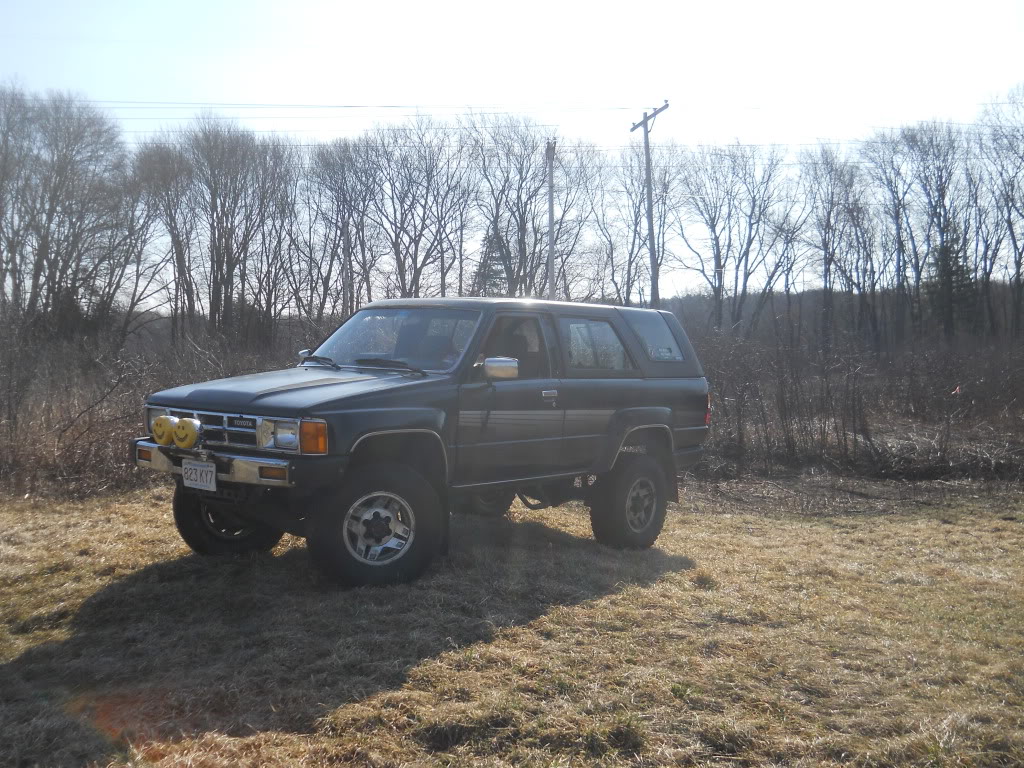
My brand new 1986, who turns 25 this month (tomorrow actually!)
Morals of the Swap:
1. You southern guys with "rust" should come see what REAL frame rot is!
2. Save everything you can.
3. Don't give up, keep your head in the game.
4. Always have friends with tractors.
5. POR15 is fantastic.
6. I spend way too much time on my truck.
Havent decided on a name for the truck besides it being coined "the Batmobile" by my friends, but im thinking "Millie," which means determination in French and German. Seems fitting. I'll keep updating here and there but I hope someone will find this helpful. Thanks for readin!
The history:
1986 Toyota 4Runner with 167k. Originally from Rhode Island, now permanently resides in Massachusetts and Vermont, so its had its share of rust, cancer and anything and everything that can try and kill this frame.
One fine day in February, I was driving down the highway and hit a large pothole (Vermont roads are horrendous) and heard a nice crack and immediately, my application of brakes caused the truck to veer hard left. I pulled over and inspected everything, assuming a stuck brake or something, but to my dissapointment, it was much worse. I had known this frame was going to need replacing, I just wanted to wait till summer so I had some more time.
The issue: Rear drivers side lower a arm mount to frame
And here are some shots of the rest of the frame:
It was definitely unsafe to drive in its condition so I had a few choices:
1. Frame swap
2. Sell it
3. Spend time and try and fix the frame
I decided to combine two of those options and forced the idea of ever getting rid of the truck out of my mind. We spent so much time to get her where she is, I just cant justify selling her! So the decision was made to save the truck and thus it would need a frame swap. I welded up a temporary patch for the front to get me home from vermont and i began planning a frame swap for my spring break. My father said I was crazy, then asked when we were going to start.
Thanks to great weather, my brother, my dad, a few friends and some tractors, we got it done in less than a week. My father estimated the entire thing took at least 150 - 200 hours of labor which did not include painting, prepping or repairing the to-be-swapped frame.
Step 1: Frame Prep
we sliced the body down the center to make life easy for moving it
then i loaded the body up and reluctantly hauled the final remains of my 87 to the scrap yard..
then came wire brushing everything, prepping it, welding in some new metal, cleaning and painting. i chose POR-15 to paint everything because it got awesome reviews and seemed exactly what i needed. I have nothing but good things to say about POR15! I took the opportunity and cut out the old rear crossmember and welded in some nice new (to me) 3/16" steel c channel which i sistered together.
Some pictures of the welds. I taught myself to stick weld when I was 13 and have been doing it off and on for a while now. I'nm no professional, but I can hold a pretty good bead. All the welds were done in C range, wire speed 3-4 with my Lincoln SP 135T and 0.030 lincoln fluxcore mig wire. I was welding outside in the wind so I ditched my gas and went with fluxcore. It's perhaps the best welder I've ever used for anything from body panels to 3/8's steel.
Step 2: Demo/Deconstruction
and then we took it apart...
and i snipped out the non functional AC while i was there!
Step 3: Pull the body
and then, with some deere power, i gave her a lil' bit of lift
frame and engine
body of the frame. We just used pallets and jack stands. I was a little unsure of where to lift from originally in terms of where to attach chains, straps, etc. We left the rollbar on so the rear was easy, and the front we ran to the front most body crossmember where the body mounts would go. Its pretty self explanatory in the previous picture.
Step 4: Engine Work/Frame Work/Prep for New Body
the next day was spent readying the frame for the new body. the gas tank went in, all the brake lines got replaced and/or swapped over. the tires went on, and everything else you can imagine could be done before the body went on to make our lives simple. We used the transmission from the 87 frame which had about 10k less miles. We drained all the fluids and replaced them with brand new. We also swapped over the power steering system. Tranny fluid even got drained and replaced. We did find a tooth in the drained fluid, but i figured one for 152k is not half bad. Toyota rocks!
And while I had was doing the frame, my brother and my dad put on the new clutch, pressure plate, throwout/pilot bearings, fork, and fork pivot point. The old clutch looked new and was theoretically (According to paperwork) done in 2005 or something, but it seemed loose. Once we pulled it off, we noticed that the pilot bearing was almost all the way unseated from the flywheel. I figured it was worth the 100$ for something new, and im very glad i did.
And the old frame, waiting for the scrap yard (unless someone is going to come save this front axle from death!)
And a new sticker to compliment my 15 HP 22RE
And some more horror shots of the old
Step 5: Back on the Frame
The next day was the day i'd been waiting for: body back on the frame day!
And some closeups of the final frame. Some of the clamps for the brake line were gone and the bolts into the frame were totally junk so i ran them a little differently than factory. My dad had also just run brake lines front to rear, hence the reasons for the couplings in random places.
And then the frame got positioned so as to be able to just roll it right under the body once it was lifted. I really was impressed how clean it looked. I made sure to paint the top of the gas tank with POR15. The outsides and such were perfectly fine so i wasn't about to waste time and effort on wire wheeling everything down, but i slapped some paint on the top and then to top it off, put in a mint condition sending unit that was completely intact. Doesnt get much better!
And then... with some more JD power...the body was lifted and placed on the frame!
It took a few ups and downs of the loader to get it JUST right, but we got it one by one. We started with the back mounts because they were the easiest, and then we worked our way to the front. We replaced about half of the body bolts and nuts with brand new hardware and the rest we resused because they still looked great! Unfortunately my body mounts never came so i had to resuse the old ones (i know i know....). I had them from the 87 and some good left from the 86 so i picked the best 10 and paired up good bushings with good washers.
The front alignment was the hardest, just making sure everything went into the engine comparment properly. Hence why we saved the front mounts for last.
With a little persuasion... the holes eventually lined right up!
Step 6: Reassembly
Doors, cap and tailgate back one. One small note is that the wiring harnesses for all external assemblies (power doors/tailgate) all have plugs located inside the body side. Dont be stupid like us and pull the whole wiring harness out of the door when you only have to do one single plug! Du-oh!
Back shot. She sits about 4 in higher than stock. All shackle hardware was also replaced. New auto-grade bolts.
And finally, after another day of plugging the wiring harness back into the engine, she was successfully driven away. Thanks go out to my brother who flew home to help me get the truck runnin' before I went back for break, my mom for helping with food, motivation and cleaning parts, my buddies who spent some of their own breaks helping out with the painting and labor (paid in food), and my brilliant father (former AF missile tech) who is the most effective troubleshooter/car tech/electrical problem solver i will ever know. Couldn't have done it without ya'll.
Step 7:Completion
My brand new 1986, who turns 25 this month (tomorrow actually!)
Morals of the Swap:
1. You southern guys with "rust" should come see what REAL frame rot is!
2. Save everything you can.
3. Don't give up, keep your head in the game.
4. Always have friends with tractors.
5. POR15 is fantastic.
6. I spend way too much time on my truck.
Havent decided on a name for the truck besides it being coined "the Batmobile" by my friends, but im thinking "Millie," which means determination in French and German. Seems fitting. I'll keep updating here and there but I hope someone will find this helpful. Thanks for readin!
Last edited by RedneckBatmobile; 03-19-2012 at 05:49 PM.

 03-19-2012, 02:45 PM
#3
Registered User
i love reading stories like these! i have one rig currently apart as we speak, looking for rust in every last corner, so i can get to patching/replacing.
another rig (my g.i. Junk) i'm doing a total frame swap this summer, as its very bad. way worse then yours
another rig (my g.i. Junk) i'm doing a total frame swap this summer, as its very bad. way worse then yours
03-20-2012, 06:44 PM
#7
Registered User
this puts a smile on my face!!! that others are willing to spend the time and money on there toyotas too!
looks great.. looks like its time for a new exhaust!
looks great.. looks like its time for a new exhaust!
Trending Topics
 04-05-2012, 05:44 PM
#10
Registered User

Join Date: Apr 2012
Location: New Jersey
Posts: 1
Likes: 0
Received 0 Likes
on
0 Posts
Lets see if this "batmobile" guy can figure out who I am...hes used to getting a yank out in a hairy situation from me. I go wheeling with him alot and we help eachother with work when we break/upgrade.
Anyways went for a ride with him today to check out his trans. Was makin a weird noise so I took a video for yall. Lets him know what you think it is.
hard to see theres a video there but just hover your mouse over the black area and itll will turn into a hyper link
Anyways went for a ride with him today to check out his trans. Was makin a weird noise so I took a video for yall. Lets him know what you think it is.
hard to see theres a video there but just hover your mouse over the black area and itll will turn into a hyper link
Last edited by jeepcherokee:); 04-05-2012 at 05:45 PM.
 04-06-2012, 08:57 AM
#13
Registered User

hey hi red neck ya im new here but been checking out this place for a long time
it great for tips and whats not my t100 i been fixing her up for a while mosty last year it on the road now but trrying to in prove the performance of it
its 93 T1100 REG CAB LONG BOX WITH 5 SPEED 3.0 SLOW V6 NOT SURE WHAT THE GEARING IS BUT IT SAYS A04A ON THE STICKER FROM WHAT I READ IS IT 4.54? ALSO I DO HAVE A 96 T100 FOR PARTS ITS GOT THE 3.4 IN IT
JUST TRYING TO FIND OUT THE GEARING RATIOS FOR THEM THE 96 IS AN AUTO TRANS ON 33 INCH TIRES FACTORY STICKER SAYS A11A?
ANY HELP WOULD BE GREAT
thanks
04-06-2012, 09:03 AM
#14
Registered User
oh the 93 has 404 000km on her but still running like a champ , i want to do a sas and a body lift for it some time when the money comes
the drop the 3.4 from the other one in it
the 3.4 runs buts the last owner cut a few to many wires on it so it wont say runing got to figer it out
in the mean time ill just drive the 93 with the 3.0 till it gets tired
the drop the 3.4 from the other one in it
the 3.4 runs buts the last owner cut a few to many wires on it so it wont say runing got to figer it out
in the mean time ill just drive the 93 with the 3.0 till it gets tired

Thread
Thread Starter
Forum
Replies
Last Post
DacodaYota
Looking For A Mechanic/Fabricator/Shop
2
09-02-2015 02:13 PM
JaredL
84-85 Trucks & 4Runners
3
06-16-2015 04:47 PM


