
body lift installed
 01-04-2008, 10:30 AM
#1
Registered User
Thread Starter
Join Date: Jul 2006
Location: Halifax, NS, Canada
Posts: 844
Likes: 0
Received 0 Likes
on
0 Posts
body lift installed - now with pics!
finally got around to installing my body lift. i made the pucks myself out of 2 3/4" UHMW rod I got cheap as a factory offcut. Total investment is about $20. I got the hardware for free (no idea why), the guy at the shop couldn't find me the right combinations so he just gave me a bunch of mixed plated and stainless hardware.. I showed up about 15 minutes before closing time so that may have had something to do with it.
No problems with the install; one of the captive washers on one of the bed bolts wasn't hitting anything and it's a real bear to get anything up there to grab ahold of the top of it - I ended up grinding the nut off. I mangled the threads in the steering shaft extension with my incompetence but I used a tap to fix them. I had an odd problem where my headlights turned on when I hit the brakes, but that turned out to be unrelated to the lift.
Total cost in tools was one 5/16 drill bit (three pieces!), one chuck key (no idea where that went..), one trouble light I smashed in frustration (cheap chinese crap), and my impact bit the dust for a brief period (wierdly, and it worked again about 5 minutes later).
For anyone contemplating this, it's a pretty easy project and 4Crawler's instructions are first rate. Thanks for all the help with this project, everyone
Last edited by isaac338; 01-05-2008 at 11:44 AM.


 01-05-2008, 11:42 AM
#5
Registered User
Thread Starter
Join Date: Jul 2006
Location: Halifax, NS, Canada
Posts: 844
Likes: 0
Received 0 Likes
on
0 Posts
after tires:
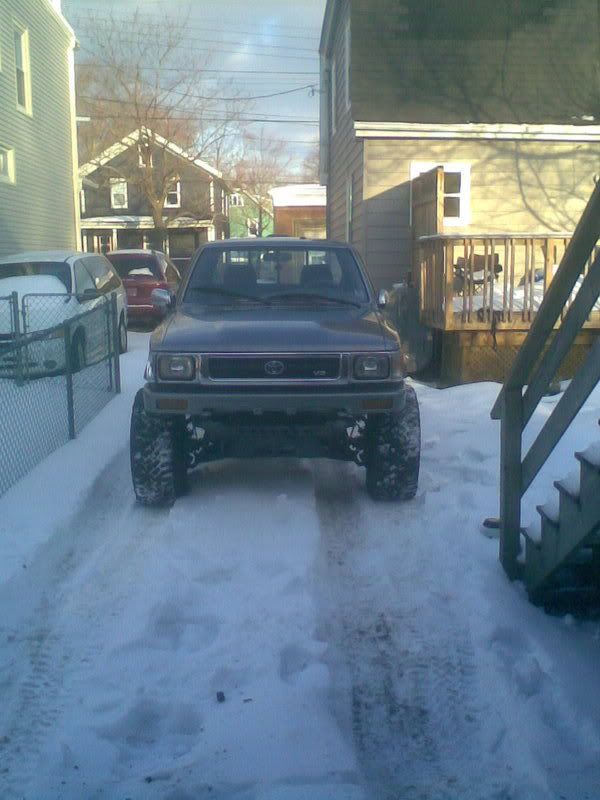
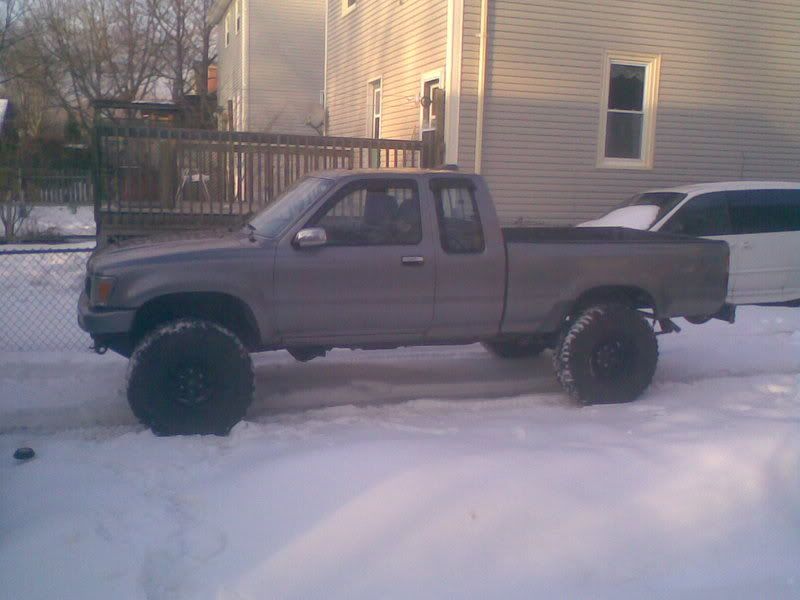
and a real bad before pic:
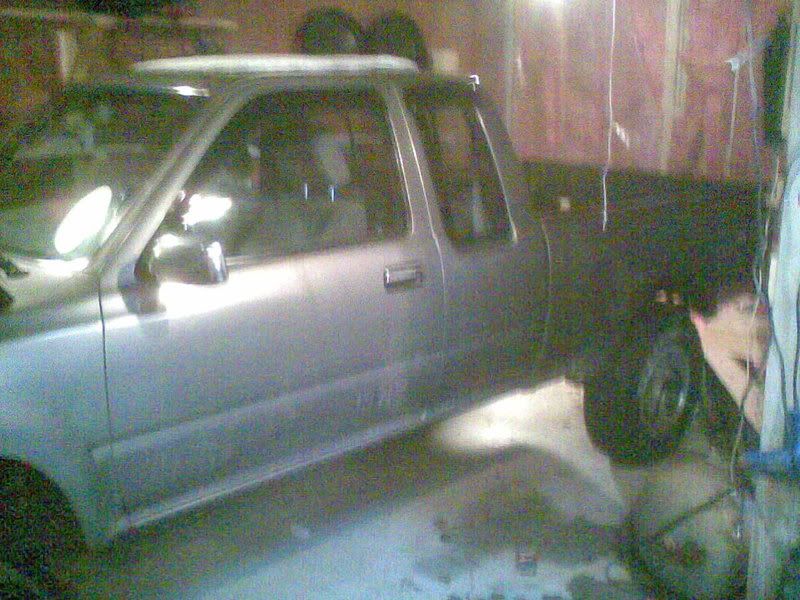
sorry for the ghetto cell phone pics. why are the camera batteries always dead when you need to take pictures of a truck? :/
and a real bad before pic:
sorry for the ghetto cell phone pics. why are the camera batteries always dead when you need to take pictures of a truck? :/

Thread
Thread Starter
Forum
Replies
Last Post
Flying91
86-95 Trucks & 4Runners (Build-Up Section)
45
04-11-2024 04:39 PM
GreatLakesGuy
The Classifieds GraveYard
8
09-04-2015 09:27 AM
skoti89
Off Road Trip Planning, Expeditions, Trips, & Events
0
07-06-2015 07:45 PM


