Bleeder-Dude's Official 22re Engine Rebuild Thread - TONS OF PICTURES!!!
 05-03-2009, 04:34 PM
#1
Contributing Member
Thread Starter
Bleeder-Dude's Official 22re Engine Rebuild Thread - TONS OF PICTURES!!!
Well ladies and gents, it has begun! 
Phase 1 - Disassymbely / cleaning
Day 1 - Basic parts removal and some cleaning
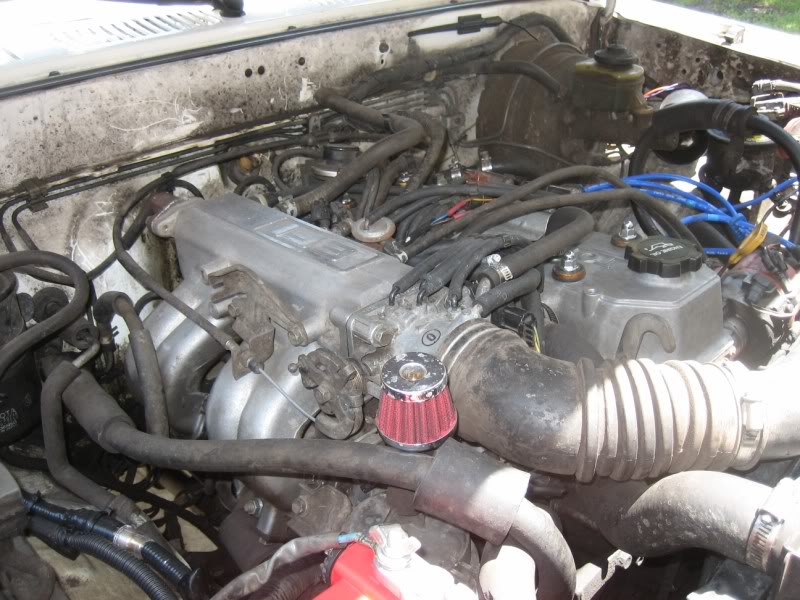
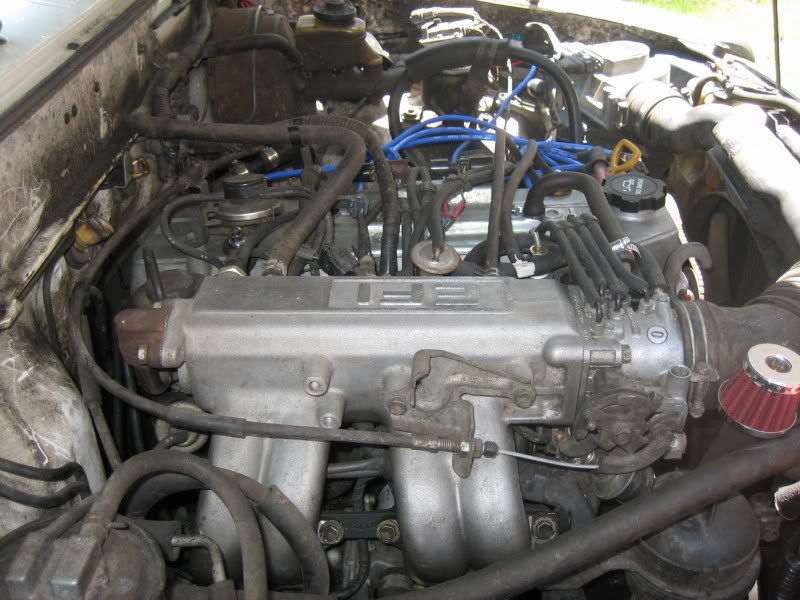
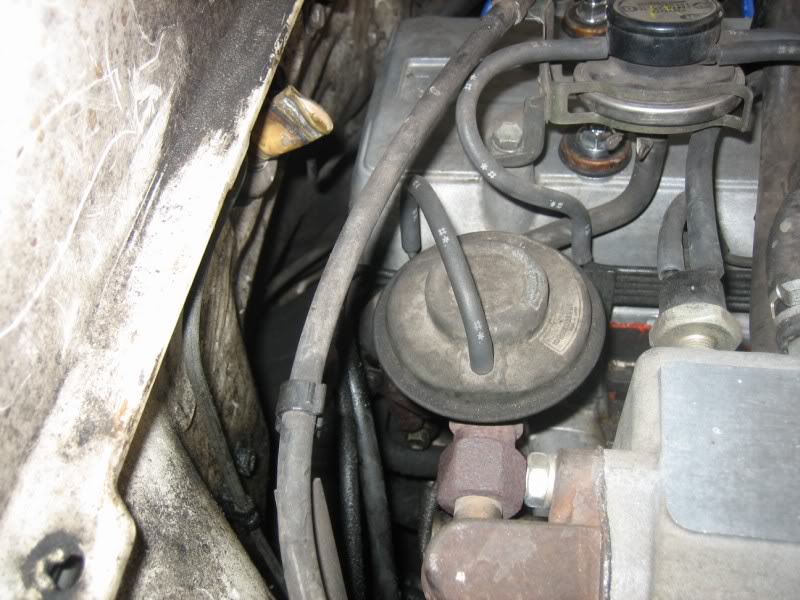
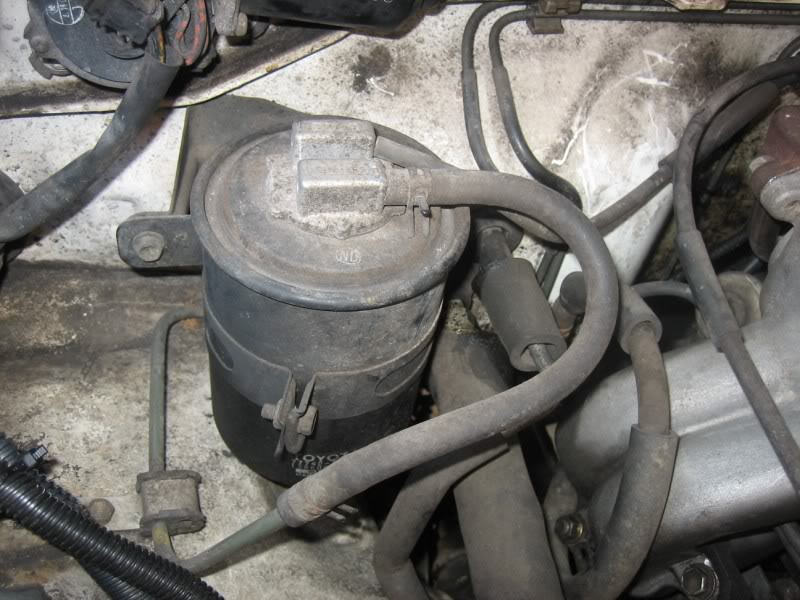
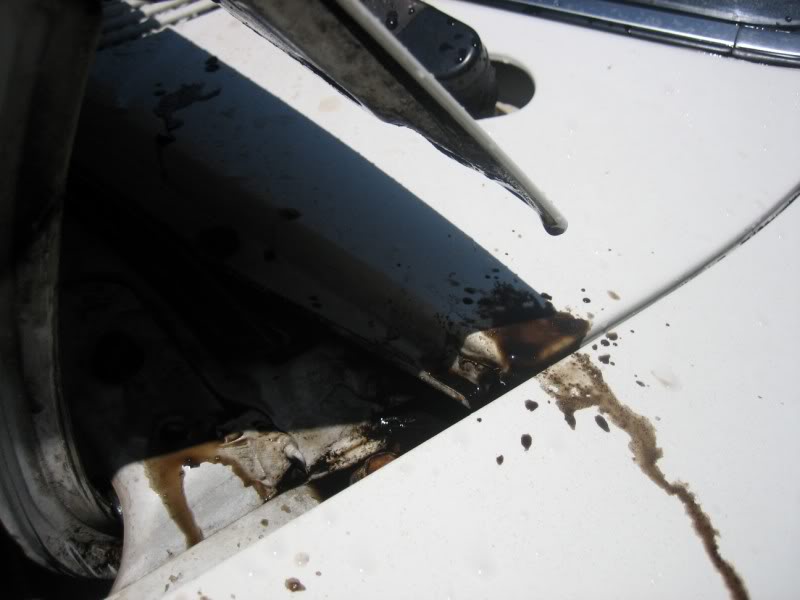
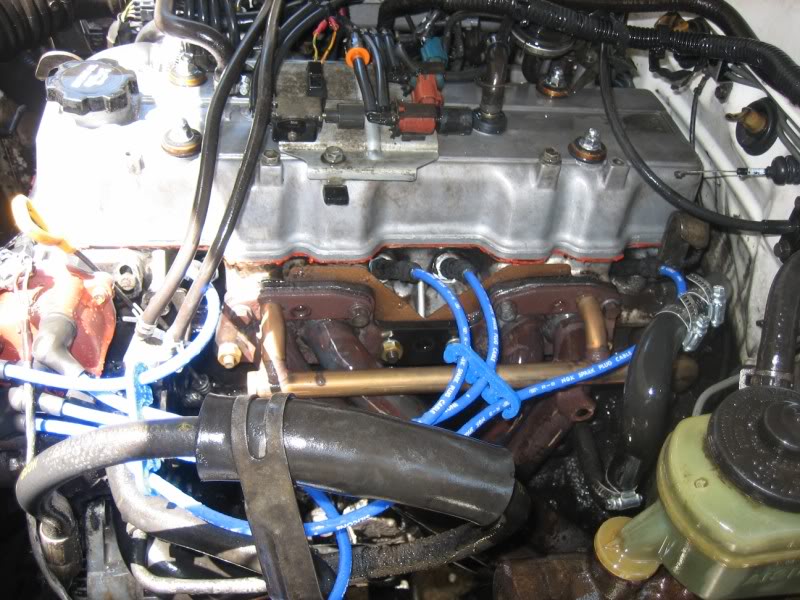
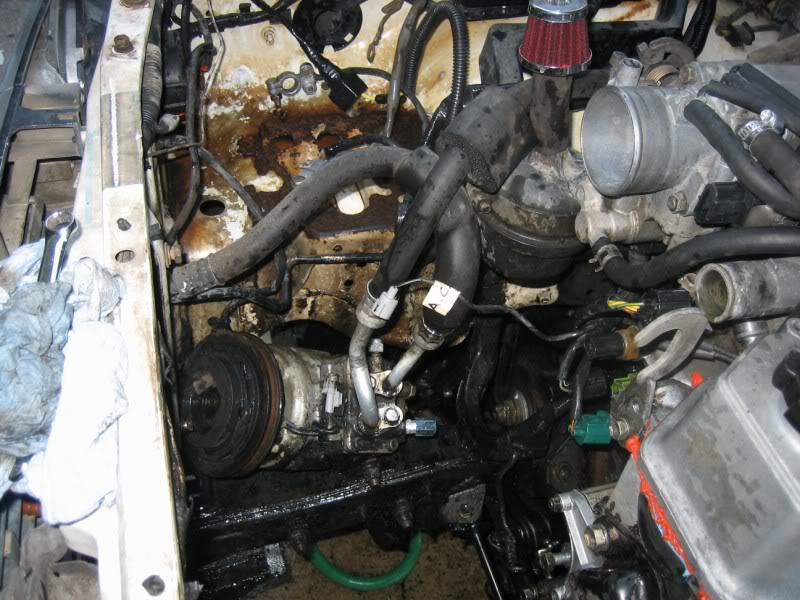
Began by draining the coolant, but haven't drained the oil as of yet. Got the battery, radiator and hoses, fan shroud, air box and intake, coolant and washer fluid tanks, AC compressor, ignitor and coil, distibutor with wires, and all three belts removed, as well as cleaning A LOT of mess out of the engine bay, cause let's face it, it's so much better to work on a semi-clean motor
just before pulling into the neighborhood, on it's last mile of the motor
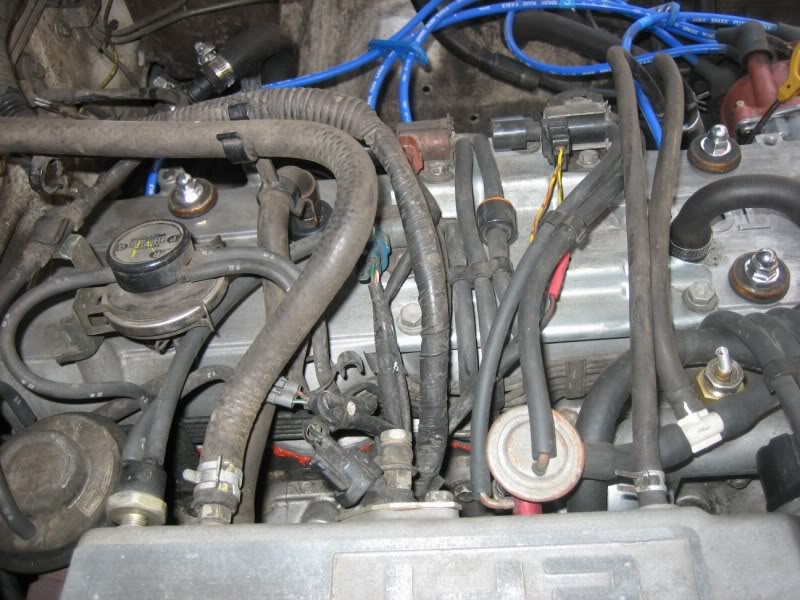
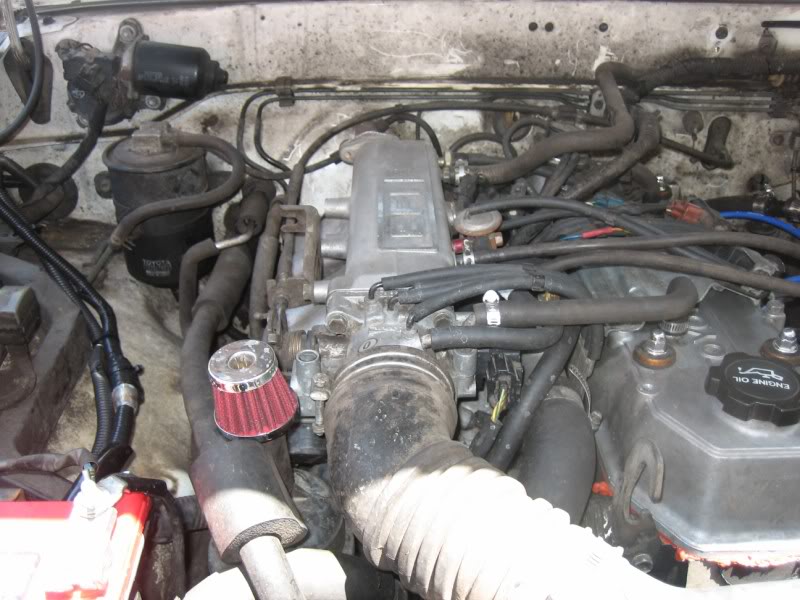
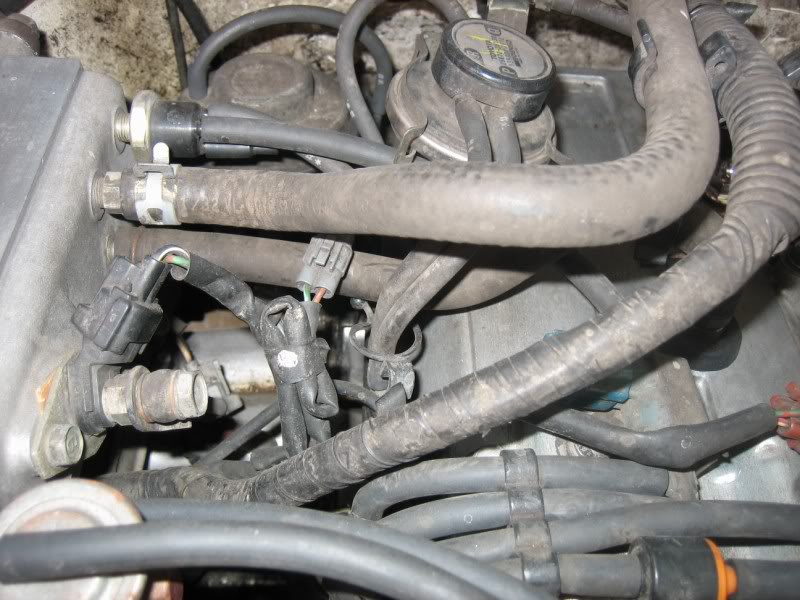
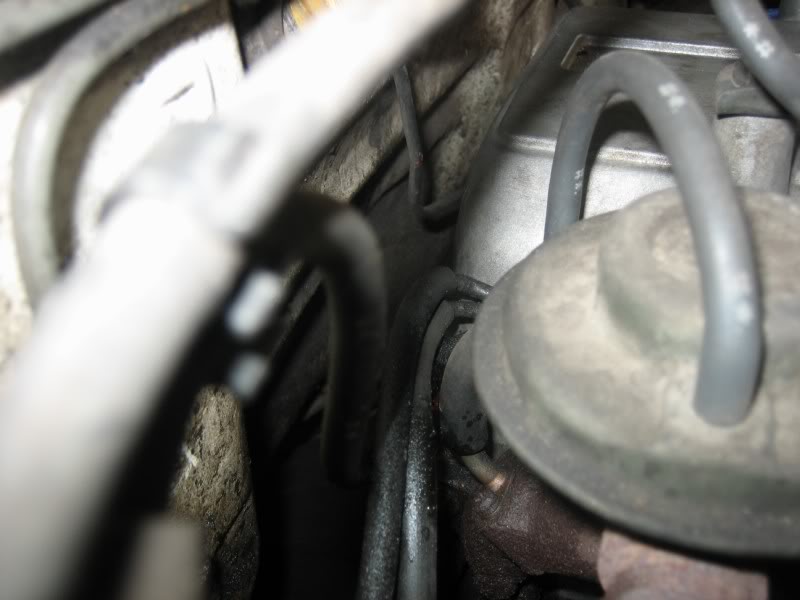
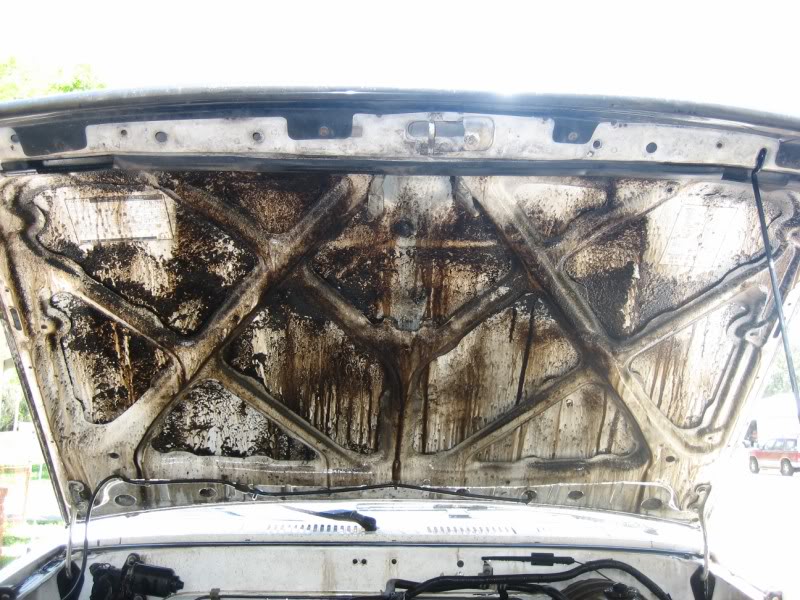
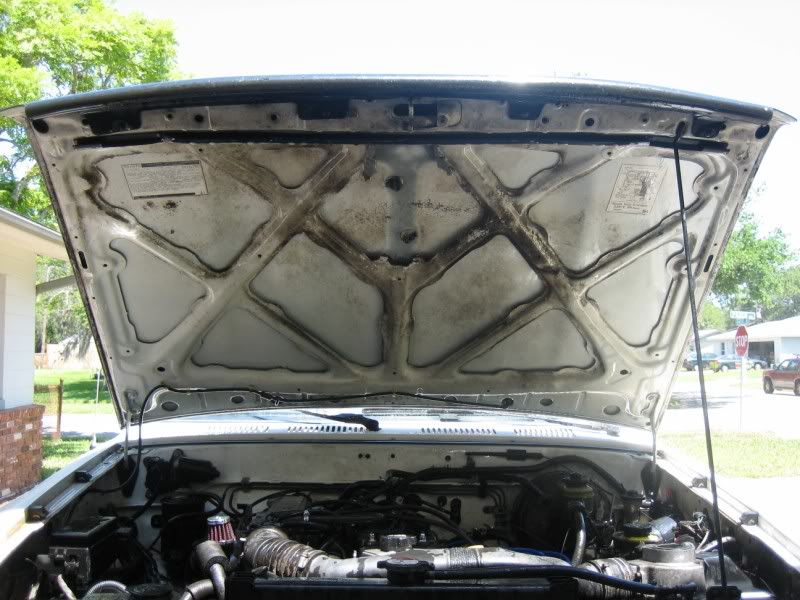
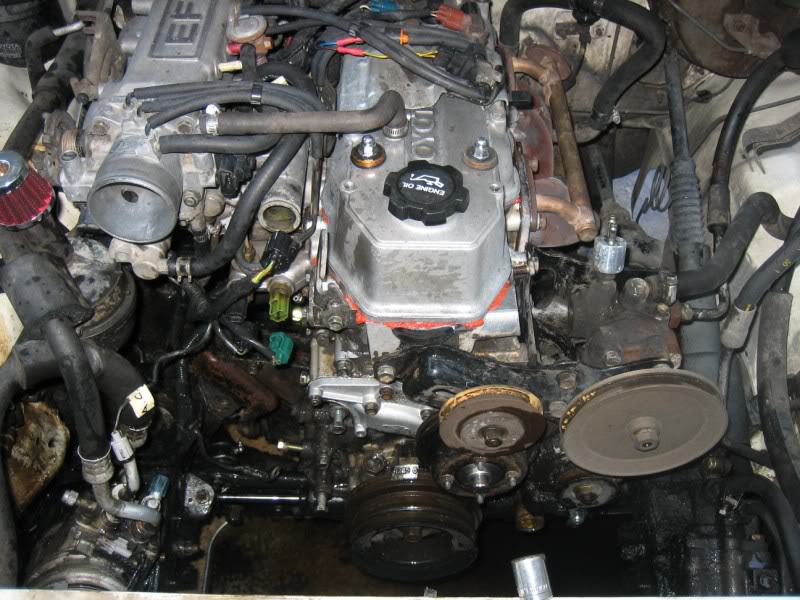
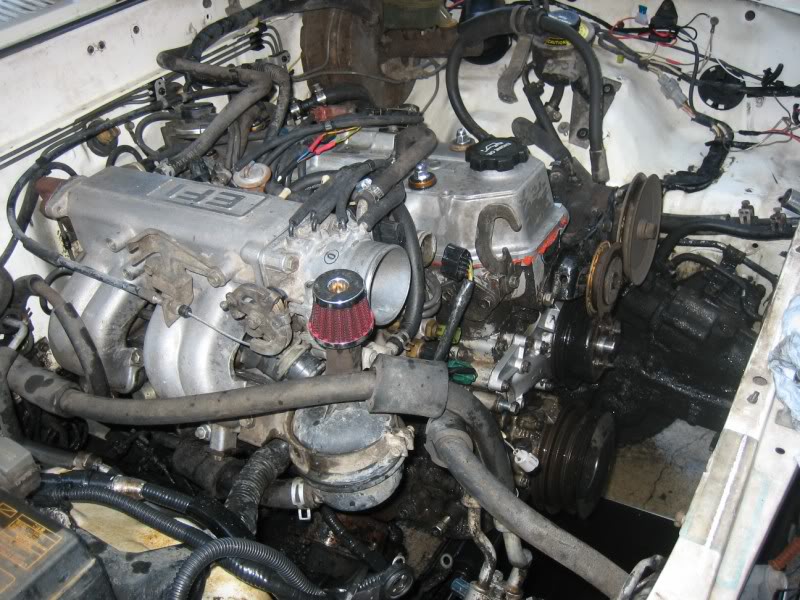
many of you may know just how dirty my engine bay was, but just in case you don't, you can get a good idea of what I'm dealing with from these pre-taredown pics

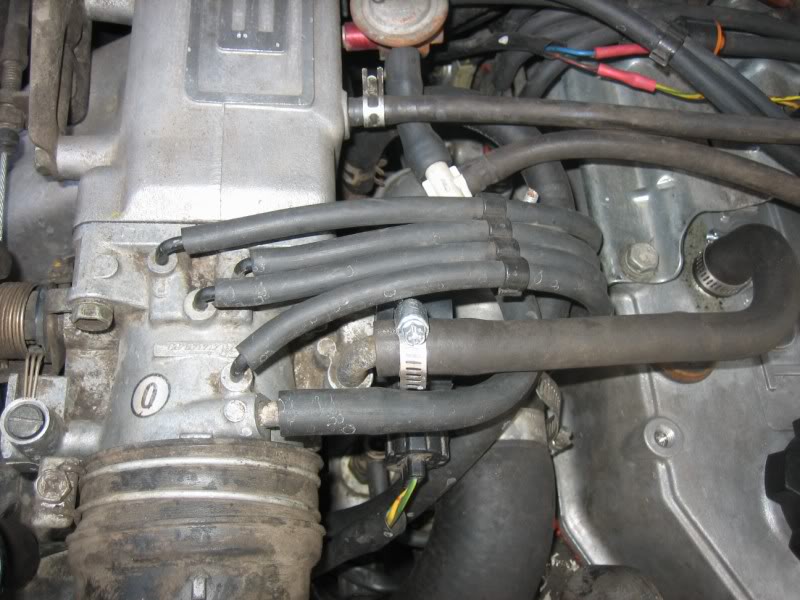


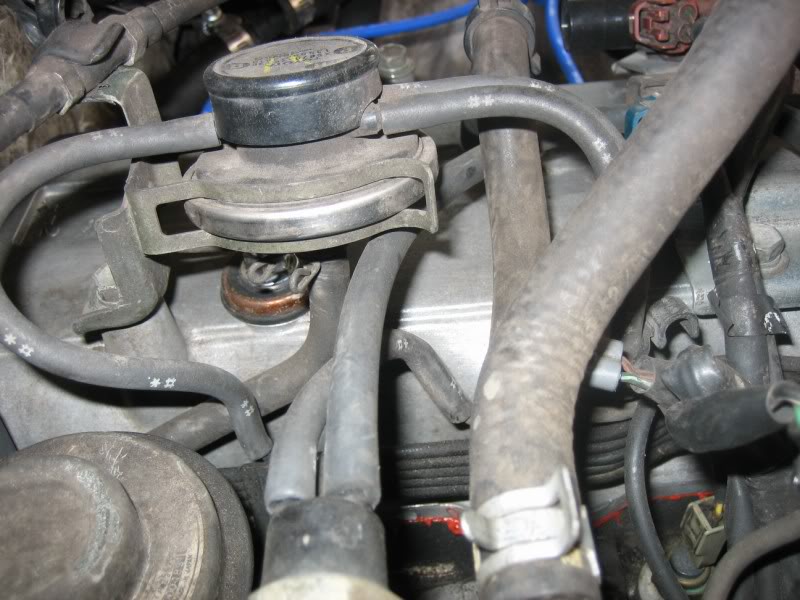
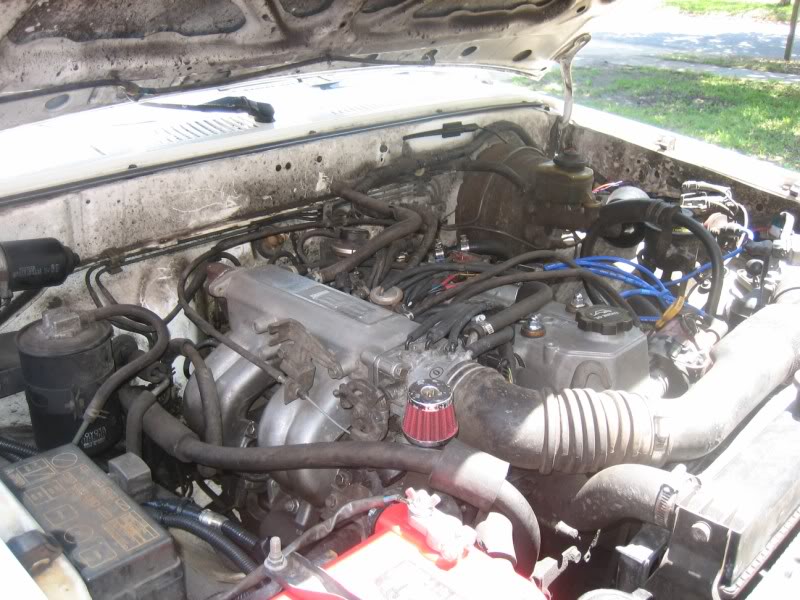

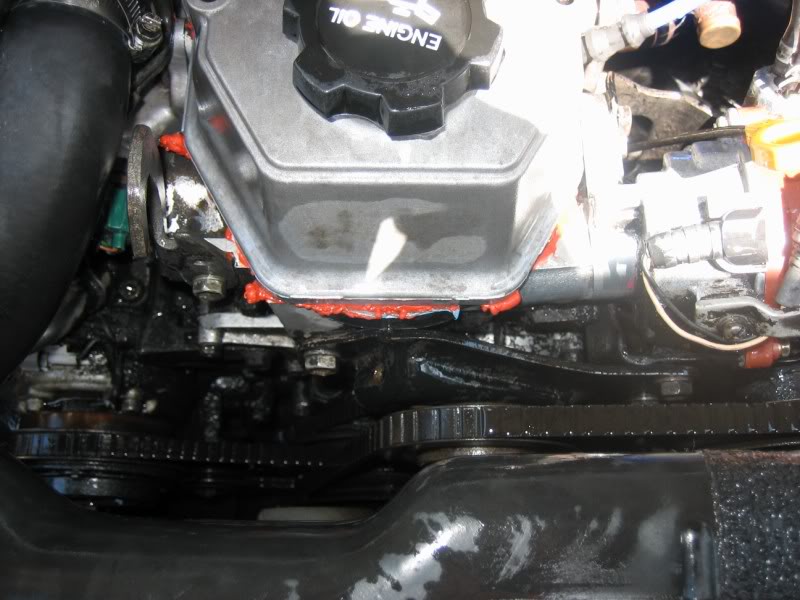
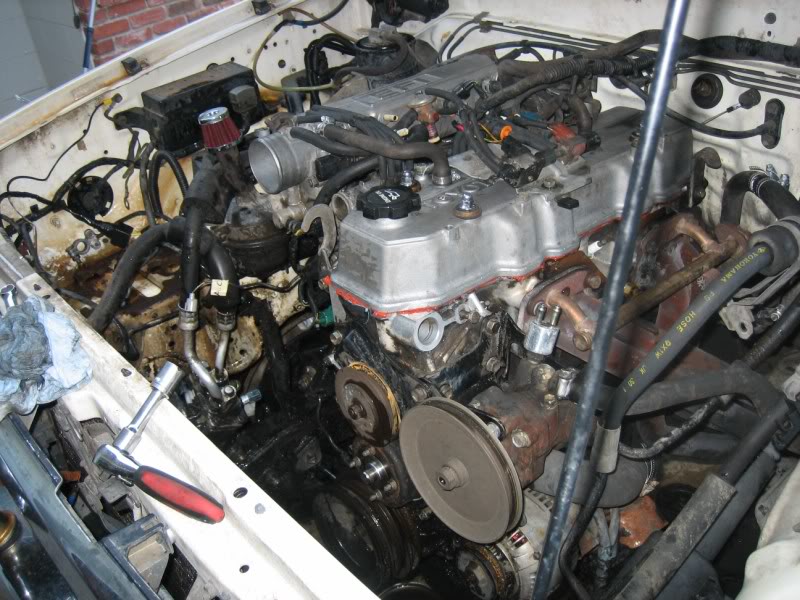
Well, after a good soaking with some Formula 88 degreaser, and hitting it with a water hose, with our wanderful water pressure here, she actually came pretty clean with no scrubbing!

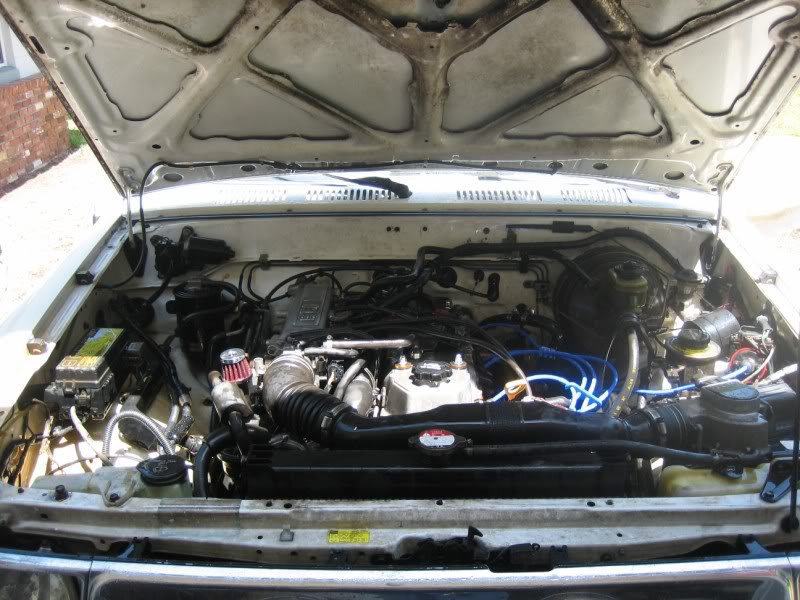
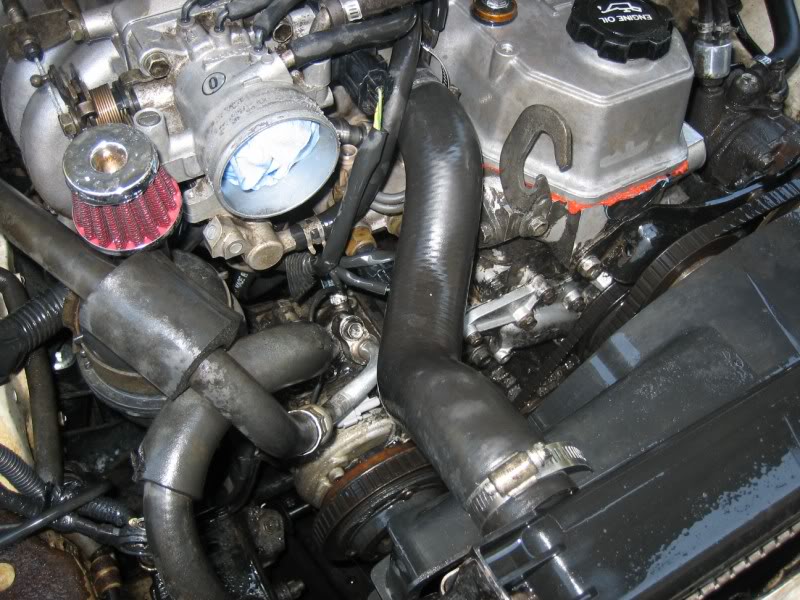

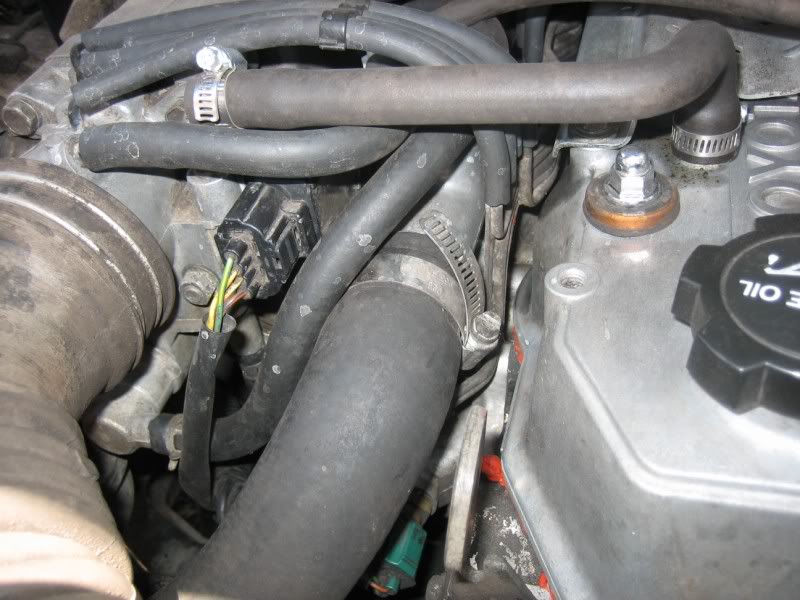
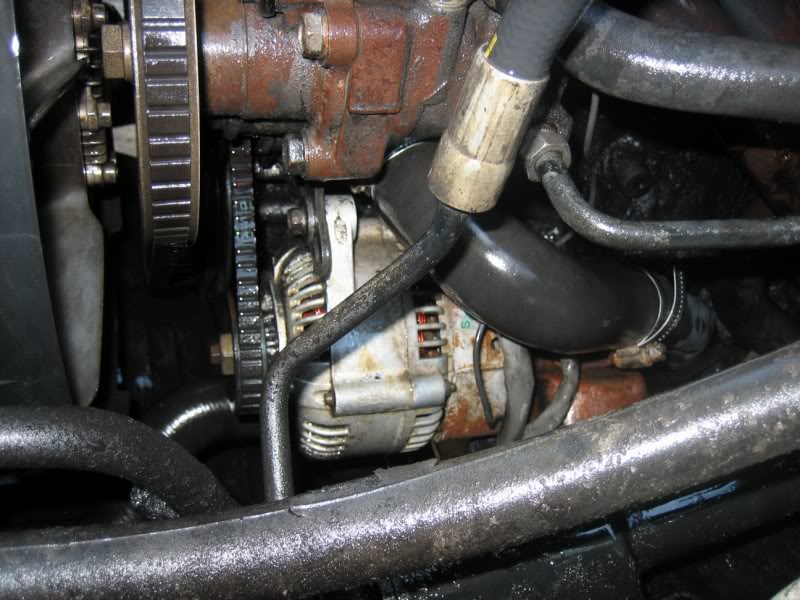
Holy crap, you can actually make out the PS pump and Alt now! lmao. Before it was all just one big dark and dirty mass
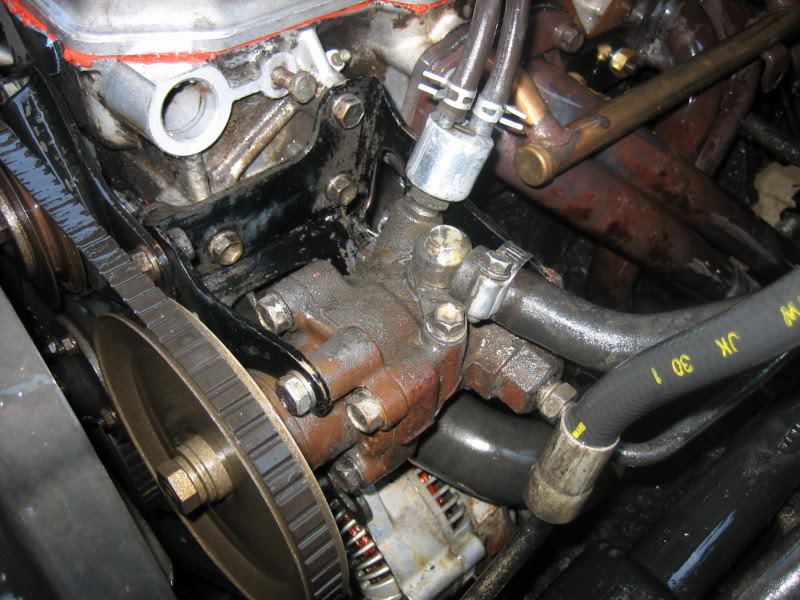
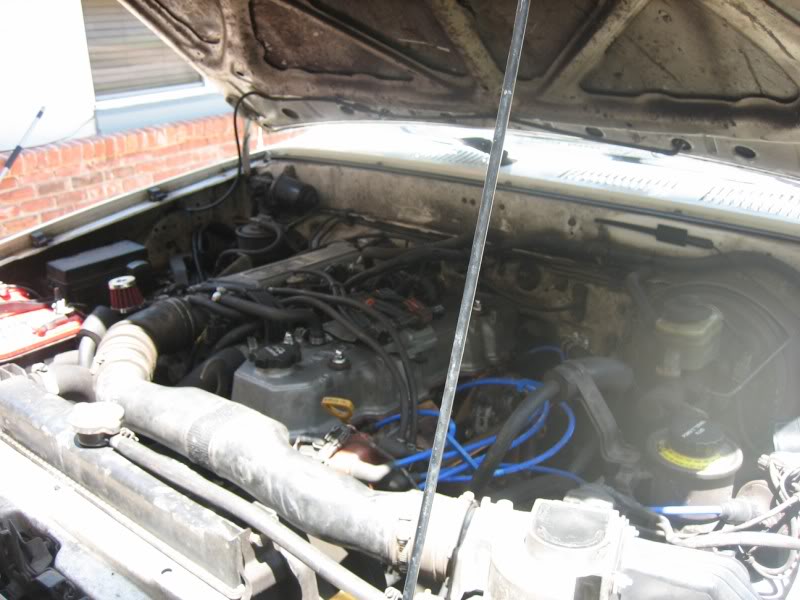
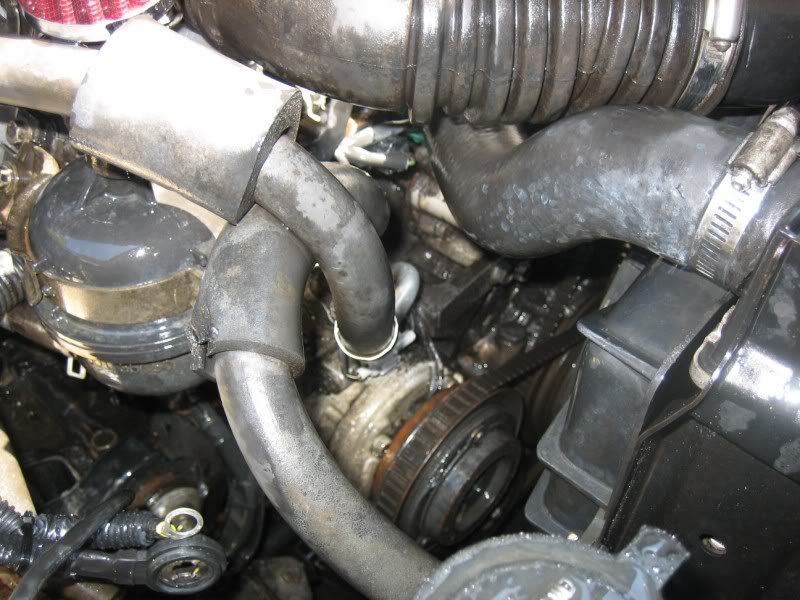
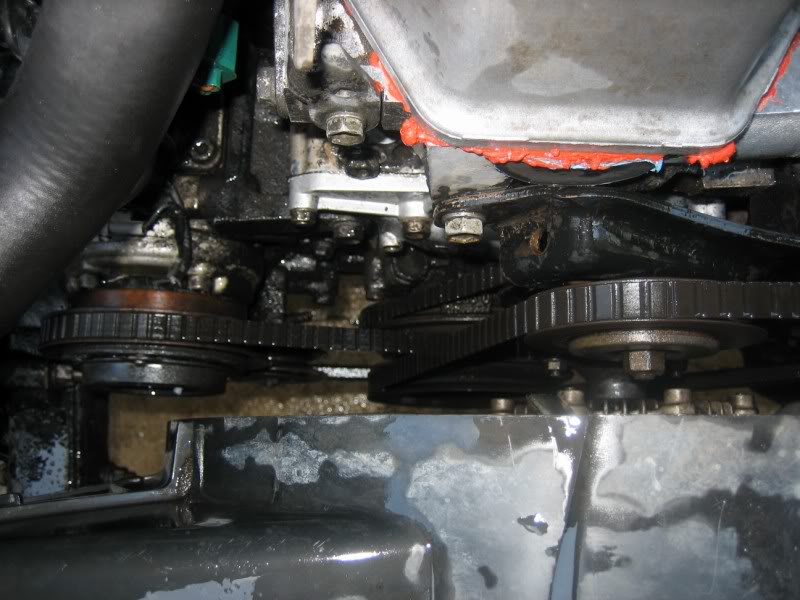
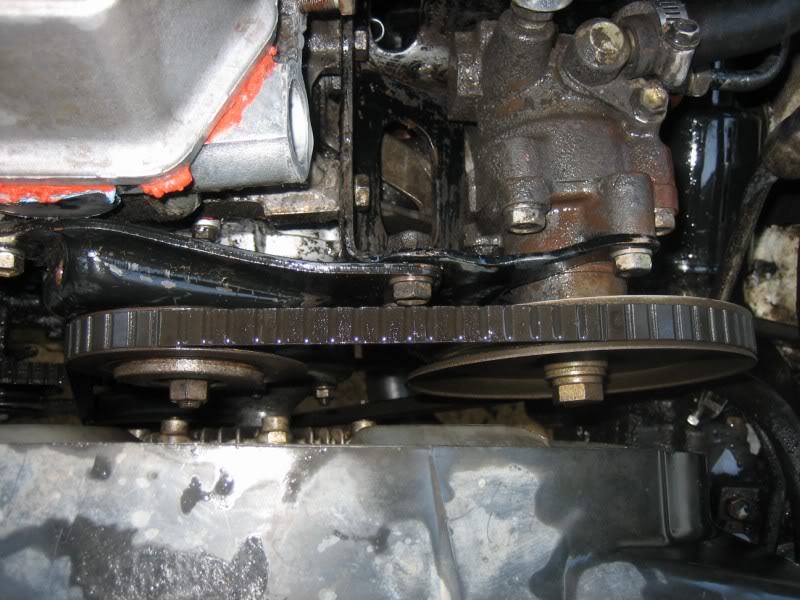
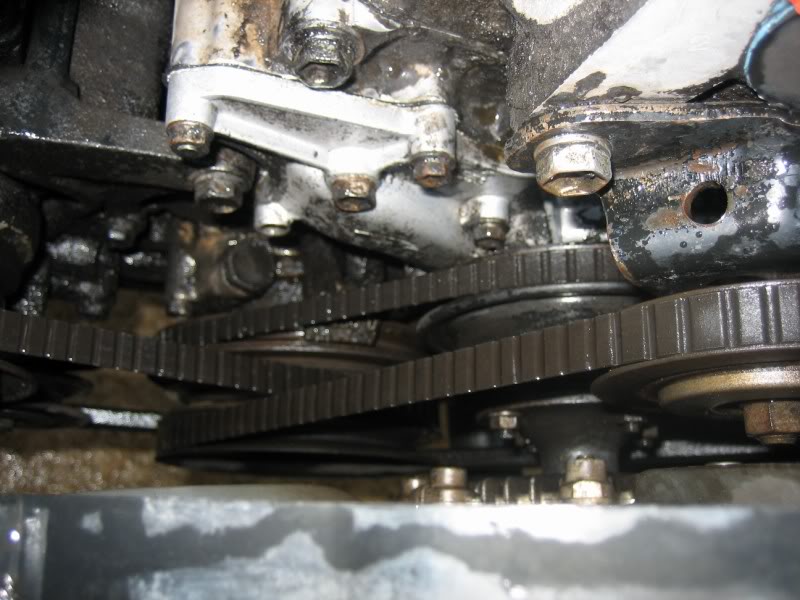
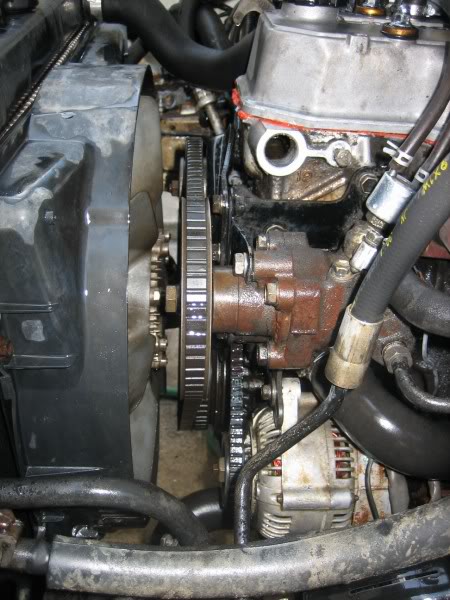
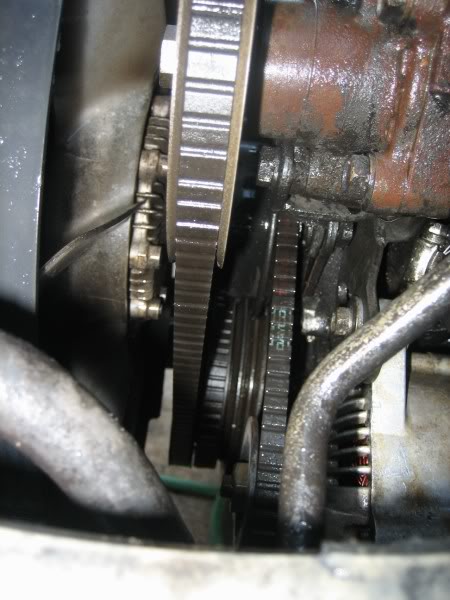
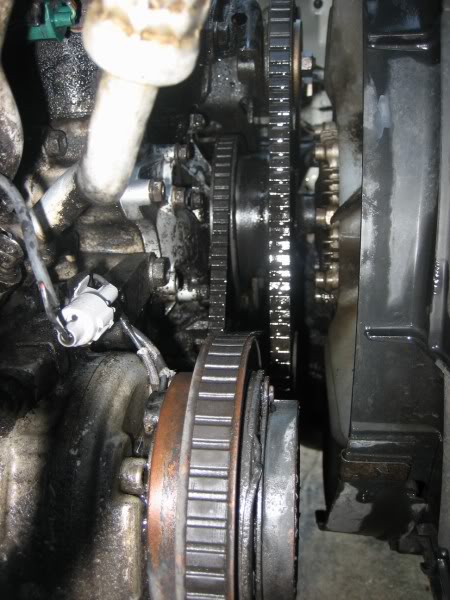
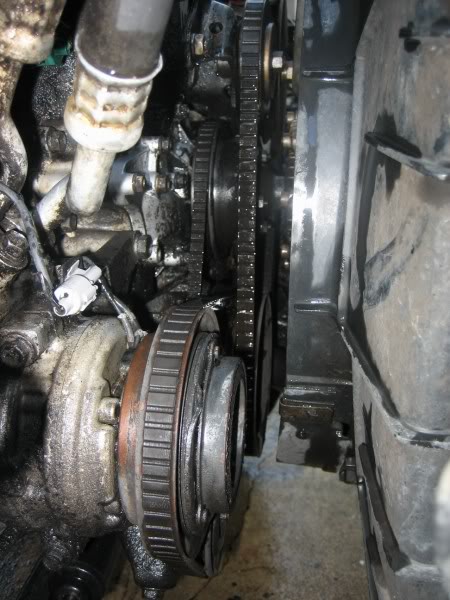
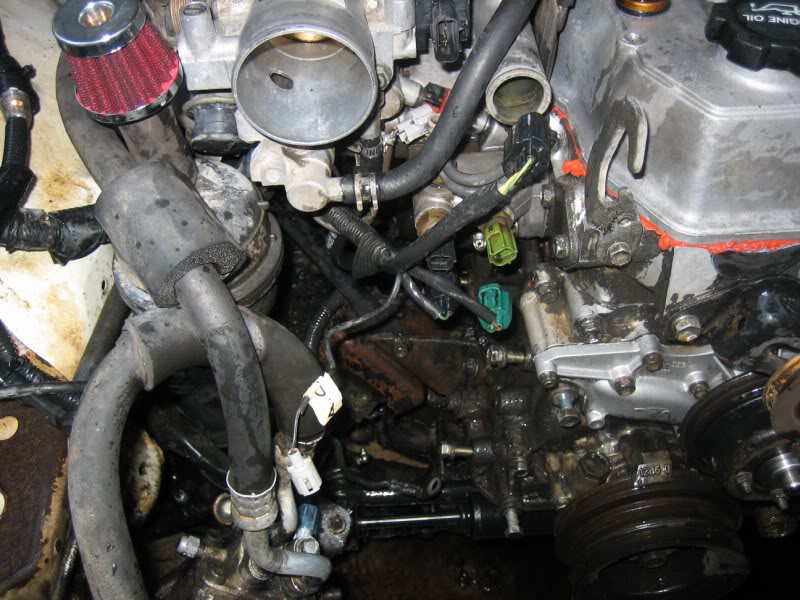
Couple of shots I took for myself, just to help with belt routing
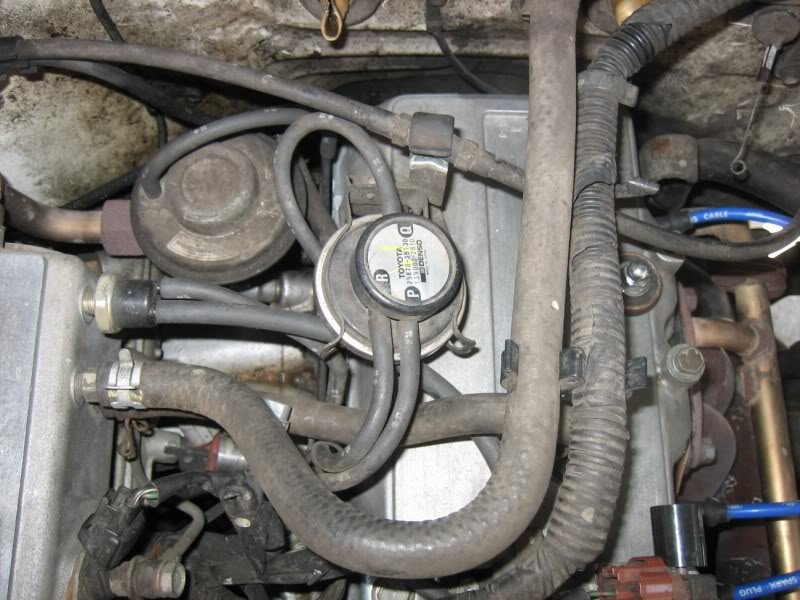
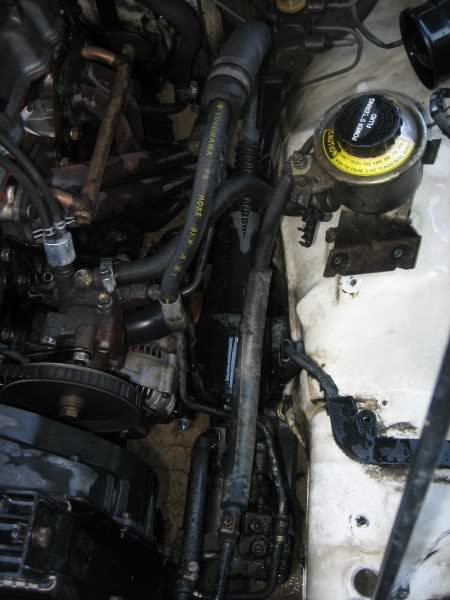
And for the PS hose routing, as I'll probably be removing the hoses, because I may be replacing my leaking gearbox while the engine's out of the way
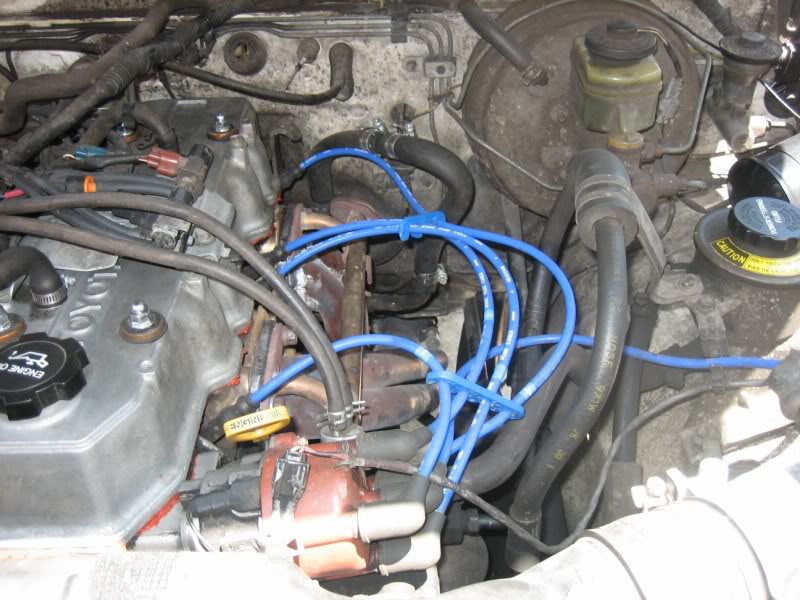
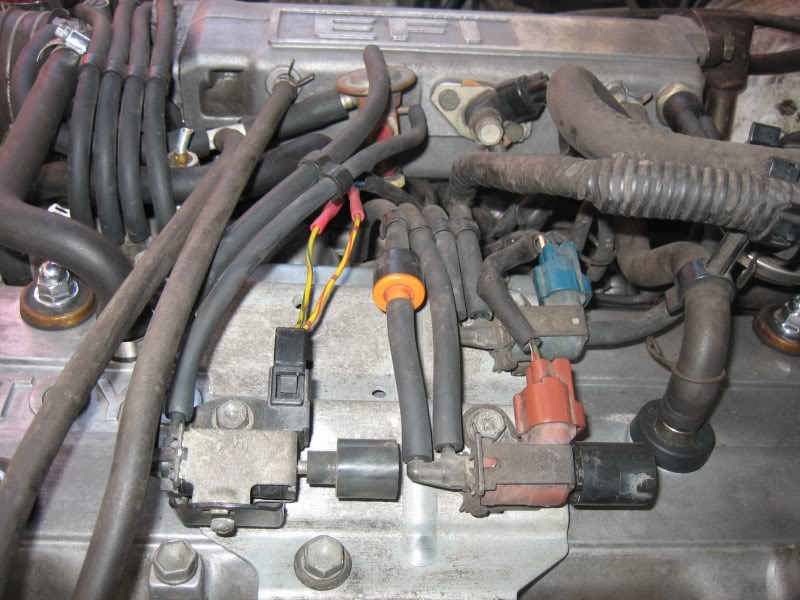
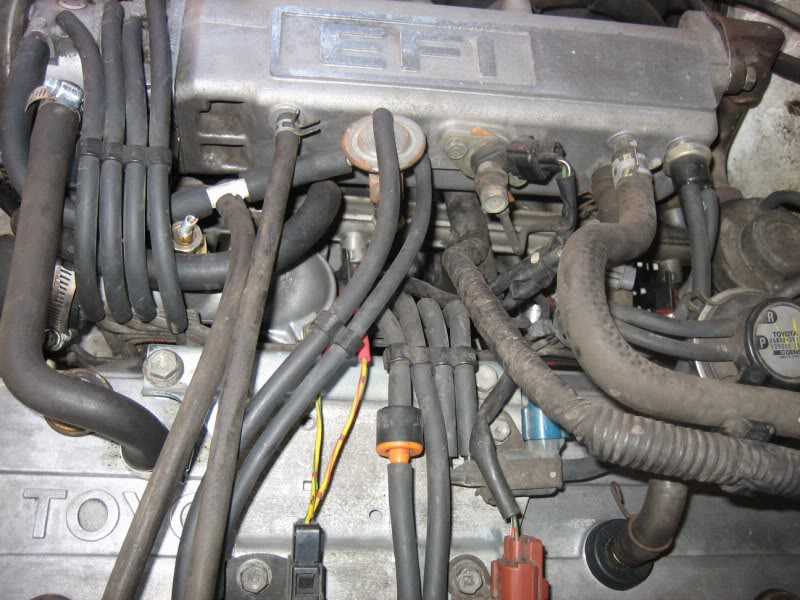
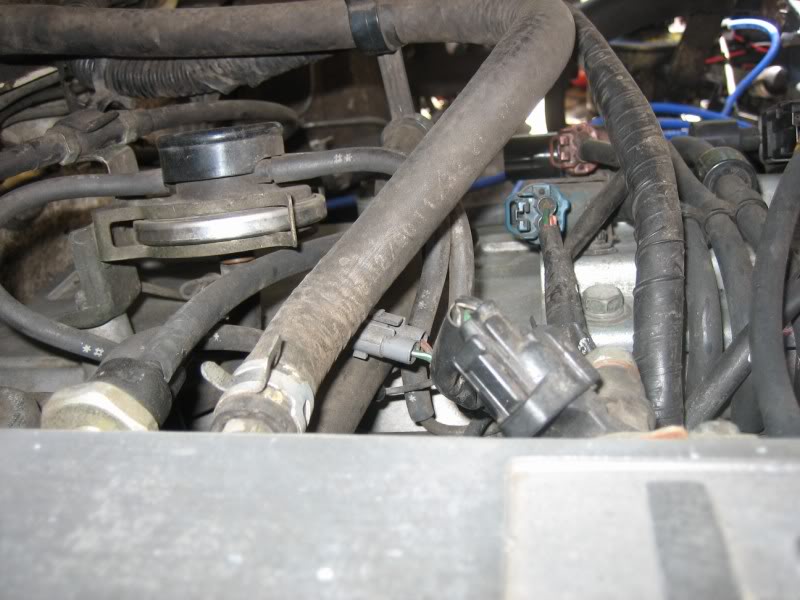
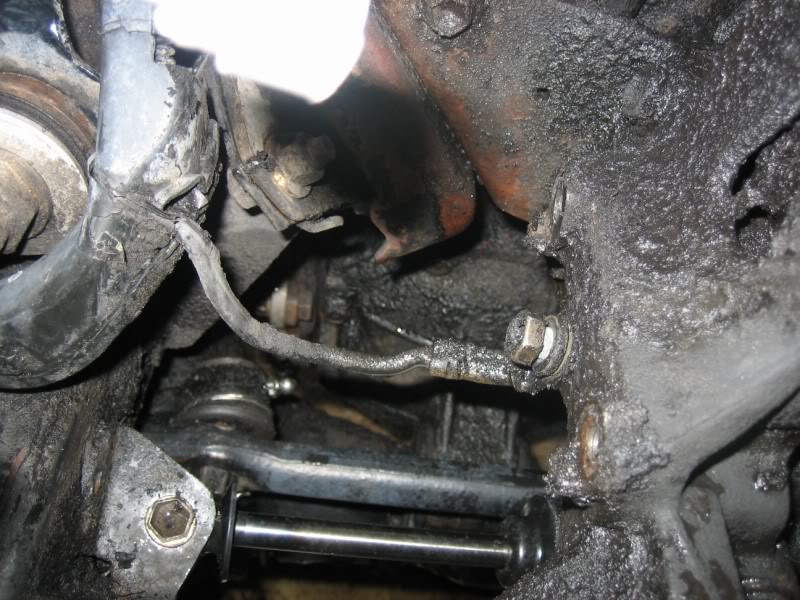
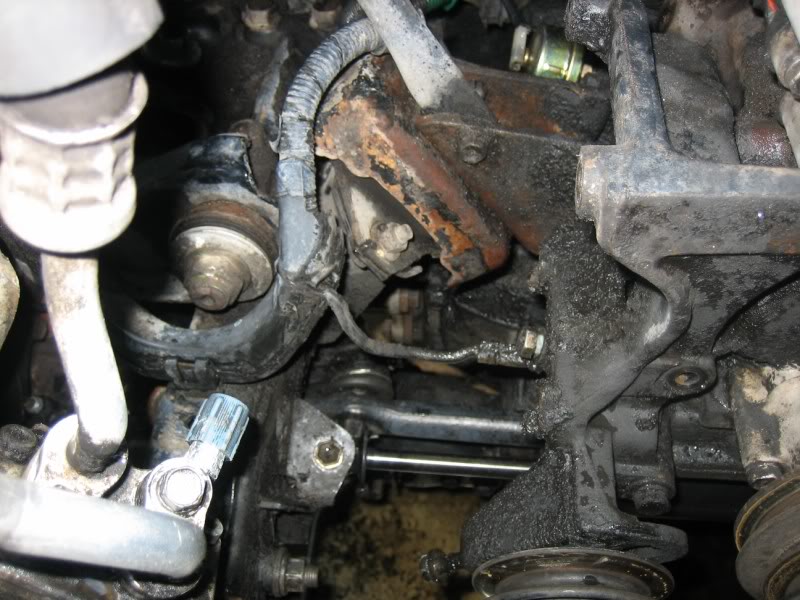
More documentation pics, keeping track of my main wires and grounds
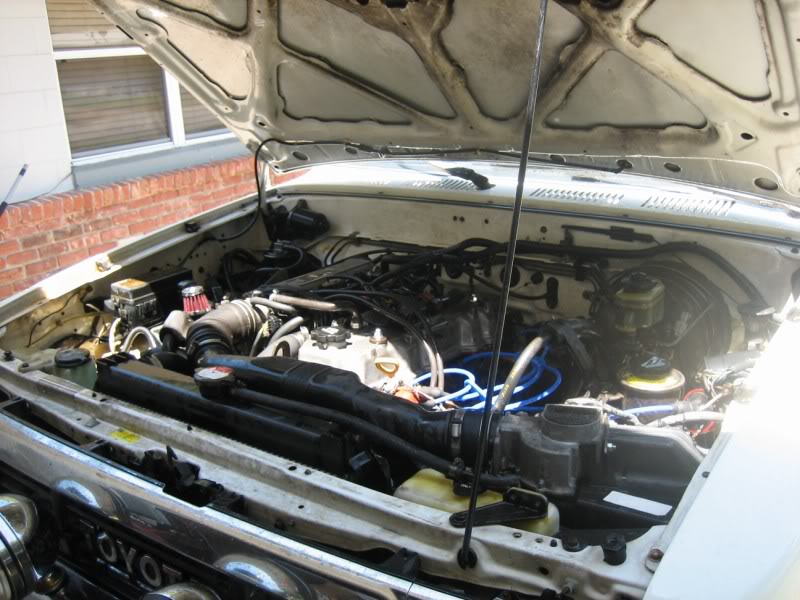
But after the 5 hours of work today, here's what I ended up with; pretty good amount of work if I say so myself
and a garage corner stuffed with parts I need some sort of table, lol
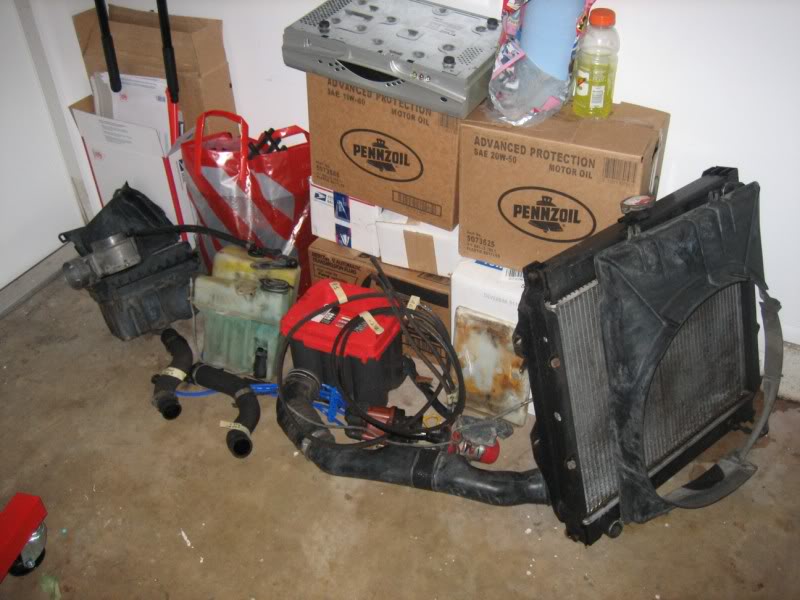
and supplies that are just waiting, like mt new engine stand, assymbely lube, engine paint (primer, black for the block, and red for the valve cover and intake manifold), silver header paint, red scuff-pad for the engine bay and some black undercoating to paint the ENTIRE engine bay with, as well as some other odds and ends that I needed

And tomorrow, on day 2, I will push on!
I should be ready to pull the engine out on Tuesday. I plan on removing everything while the motor's still bolted in; the only thing I'm going to lift out is the block and head.

Phase 1 - Disassymbely / cleaning
Day 1 - Basic parts removal and some cleaning
Began by draining the coolant, but haven't drained the oil as of yet. Got the battery, radiator and hoses, fan shroud, air box and intake, coolant and washer fluid tanks, AC compressor, ignitor and coil, distibutor with wires, and all three belts removed, as well as cleaning A LOT of mess out of the engine bay, cause let's face it, it's so much better to work on a semi-clean motor
just before pulling into the neighborhood, on it's last mile of the motor
many of you may know just how dirty my engine bay was, but just in case you don't, you can get a good idea of what I'm dealing with from these pre-taredown pics
Well, after a good soaking with some Formula 88 degreaser, and hitting it with a water hose, with our wanderful water pressure here, she actually came pretty clean with no scrubbing!
Holy crap, you can actually make out the PS pump and Alt now! lmao. Before it was all just one big dark and dirty mass
Couple of shots I took for myself, just to help with belt routing
And for the PS hose routing, as I'll probably be removing the hoses, because I may be replacing my leaking gearbox while the engine's out of the way
More documentation pics, keeping track of my main wires and grounds
But after the 5 hours of work today, here's what I ended up with; pretty good amount of work if I say so myself
and a garage corner stuffed with parts
I need some sort of table, loland supplies that are just waiting, like mt new engine stand, assymbely lube, engine paint (primer, black for the block, and red for the valve cover and intake manifold), silver header paint, red scuff-pad for the engine bay and some black undercoating to paint the ENTIRE engine bay with, as well as some other odds and ends that I needed
And tomorrow, on day 2, I will push on!
I should be ready to pull the engine out on Tuesday. I plan on removing everything while the motor's still bolted in; the only thing I'm going to lift out is the block and head.

The following users liked this post:
Ralphthe4runner (01-29-2020)

 05-03-2009, 04:46 PM
#4
Registered User
Join Date: Dec 2008
Location: NFM, Florida
Posts: 432
Likes: 0
Received 0 Likes
on
0 Posts
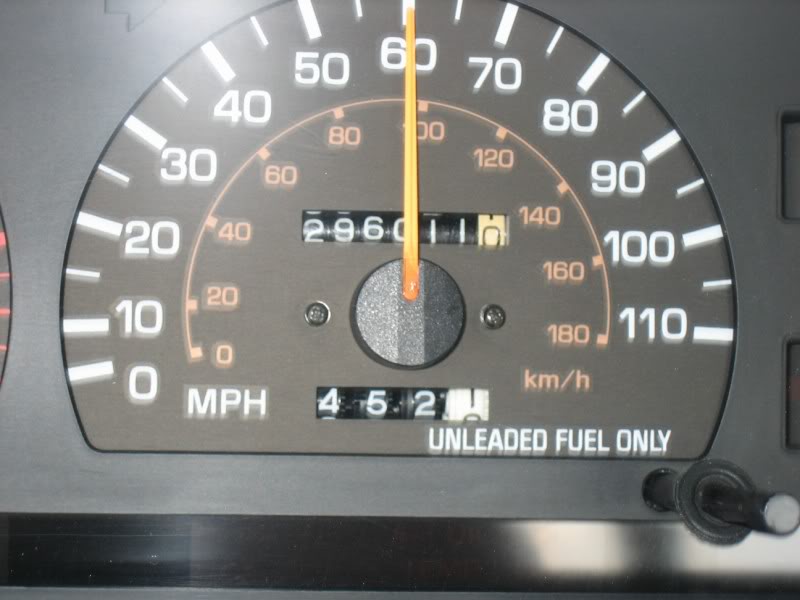
i would of waited til it hit 300,000 exactly, so it's like starting out with 0. are you gonna punch it over any or is it just a stock rebuild? what are you gonna drive until you finnish it?
good luck and keep t he pics coming
EDIT: for above post, you forgot the "TEST YOUR MIGHT" part
good luck and keep t he pics coming
EDIT: for above post, you forgot the "TEST YOUR MIGHT" part
Last edited by mattaway; 05-03-2009 at 04:48 PM.

Trending Topics
05-03-2009, 05:12 PM
#10
Registered User
Join Date: Jul 2008
Location: Grew up in S.C.V, So Cal.....now in Hampstead, NC
Posts: 4,592
Likes: 0
Received 0 Likes
on
0 Posts
05-03-2009, 05:21 PM
#12
Contributing Member
Thread Starter
i would of waited til it hit 300,000 exactly, so it's like starting out with 0. are you gonna punch it over any or is it just a stock rebuild? what are you gonna drive until you finnish it?
good luck and keep t he pics coming
EDIT: for above post, you forgot the "TEST YOUR MIGHT" part
good luck and keep t he pics coming
EDIT: for above post, you forgot the "TEST YOUR MIGHT" part
it was strugling...I'll have to wait and see once I get the head off and look at the cyl walls, as it is burning some oil, but as far as I know, it could just be valve seals. But if the walls are pretty gouged up, then it's definately going to have to be bored out a little to get a good surface. BUT, even if they just need a re-hone, I'll probably have it punched out a little
I've got a truck from my father that he has as a spare, a 96 GMC Sonoma; it's a POS looking truck, but him and I built the motor in it, just the 2.2l in it, and it SCREAMS
it's kinda fun to drive, and gets probably double the MPG as this Toy, lmaodude, I can't believe I just sat and watched that whole thing
maybe it was the 80's booty that guy's a pimp!

haha, oh yeah man, bleeder-dude aint play'n
05-03-2009, 05:28 PM
#13
Registered User
Join Date: Aug 2008
Location: Close to COLDSTONE ICE CREAM
Posts: 65
Likes: 0
Received 0 Likes
on
0 Posts
05-03-2009, 05:37 PM
#14
Contributing Member
Thread Starter
 05-03-2009, 05:43 PM
#15
Registered User
Join Date: Jan 2009
Location: Okanagan, BC
Posts: 113
Likes: 0
Received 0 Likes
on
0 Posts
[quote=iamsuperbleeder;51131978]but right now I'd rather keep it on to keep things covered up (and so my driveway doesn't look TOO red-neck, with a 4X4 missing body panels and all parked there, with no motor in it, lol)LMAO. That's awsome!!!. If it has the engine in without the hood, with different coloured body panels, would that be too much? Pics are looking good. Keep em coming.
Last edited by Harold Of The Rocks; 05-03-2009 at 05:44 PM.
05-03-2009, 06:08 PM
#17
Contributing Member
iTrader: (3)
You know I thought about that, but I'm probably not going to worry about it, unless it really gets in the way when it comes time to pull the motor. We'll see, if I have to, it'll come off later, but right now I'd rather keep it on to keep things covered up (and so my driveway doesn't look TOO red-neck, with a 4X4 missing body panels and all parked there, with no motor in it, lol)
I took the hood of first thing, of course I was using a come-a-long off a rafter in my garage to get the dang thing out!!
 05-03-2009, 06:45 PM
#18
Registered User
Join Date: Jul 2007
Location: Yotatech, because Pirate is too expensive. NorCal.
Posts: 1,705
Likes: 0
Received 10 Likes
on
5 Posts
Subcribed.
I'm going to have to do this in about a year or so for my lotus engine. Thinking about throwing some low compression pistons in there for later.
I'm going to have to do this in about a year or so for my lotus engine. Thinking about throwing some low compression pistons in there for later.
05-03-2009, 09:06 PM
#20
Registered User

Join Date: Dec 2008
Location: LA
Posts: 596
Likes: 0
Received 0 Likes
on
0 Posts
if i were you, while ur doin the rebuild and got stuff off, why don't ya replace the water pump and belts and hoses. Think about all the easy stuff too, so you don't have to go diggin back into your engine a couple thou down the road to do something that would be so simple later on.
And while your at it, time yourself and make a vid of changin the belts, so that you have the fastest time on record of changin your belts. I regret not taking a vid of my time... 2 minutes and 15 seconds xD
And while your at it, time yourself and make a vid of changin the belts, so that you have the fastest time on record of changin your belts. I regret not taking a vid of my time... 2 minutes and 15 seconds xD


