BEGINNER'S 22re Timing Chain Failure / replacement / head gasket replacement
 05-26-2010, 02:49 AM
#1
YotaTech Milestone-Two Millionth Post
Thread Starter
BEGINNER'S 22re Timing Chain Failure / replacement / head gasket replacement
So this is the new thread , as promised, because, although my old thread was fantastic, i wanders quite a bit and can be very frustrating to read. Not to mention probably take a few days.
But the truck is successfully completed.....8 months later and over 100 pages on my thread.
But (and please be patient in waiting for the end of this thread)...i tackled, and succeeded in overcoming some of the hardest things i've ever done and apparently the Holy-Grail of 22re disassembly.......namely the crankshaft bolt removal (remember, it's an automatic, so it's a different procedure) and the Oil pan removal and sealing.
***DISCLAIMER***
I am not a mechanic...this is how I did it and what worked and more often, didn't work, for me. I had no real mechanic experience prior to tackling this....but I am proof , it can be done.
and i promise i won't do any more rearranging of my pics on photobucket....kills all the pics previously posted
Last edited by 92 TOY; 05-26-2010 at 04:58 AM.
 05-26-2010, 02:55 AM
#2
YotaTech Milestone-Two Millionth Post
Thread Starter
so here is how it starts.
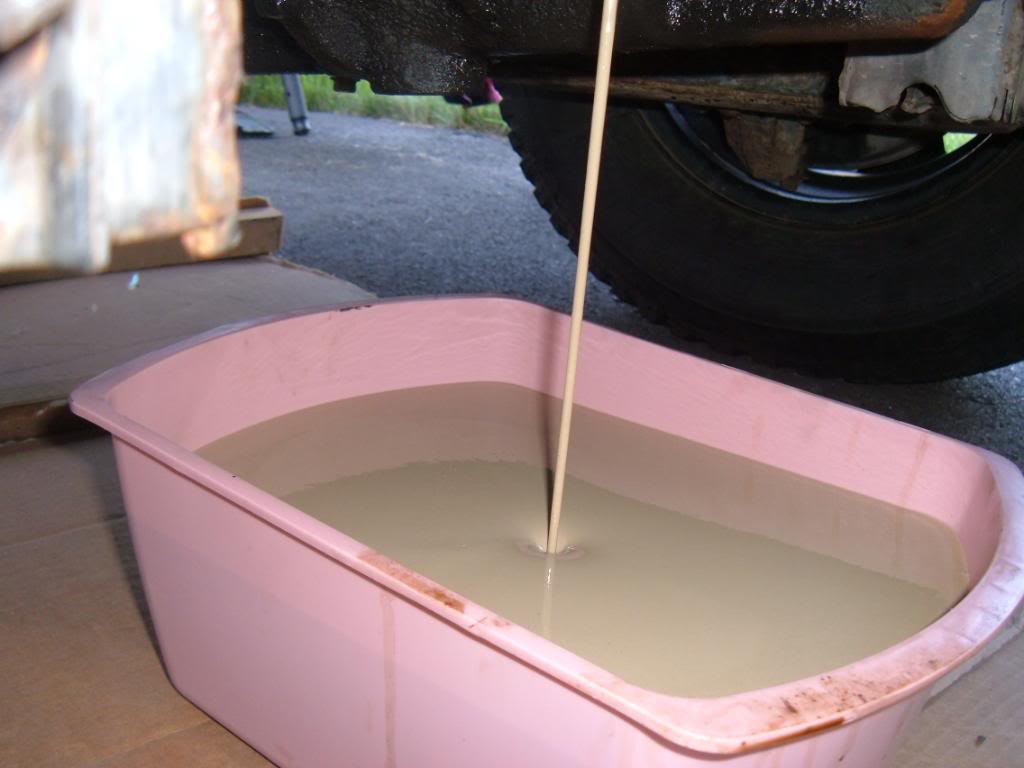
had the oily milkshake. had tried the Thermagasket treatment (with some success i might add) but that only held for a little while, because, as you will see, it was not the head gasket, but rather, was the timing chain that caused the problem.
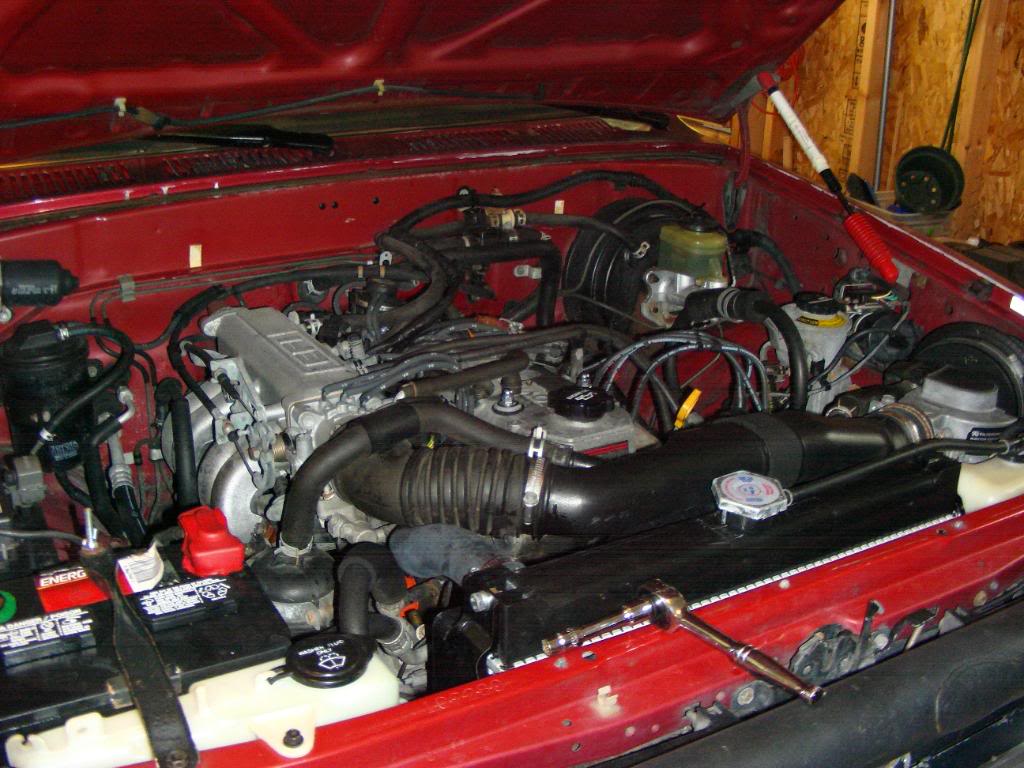
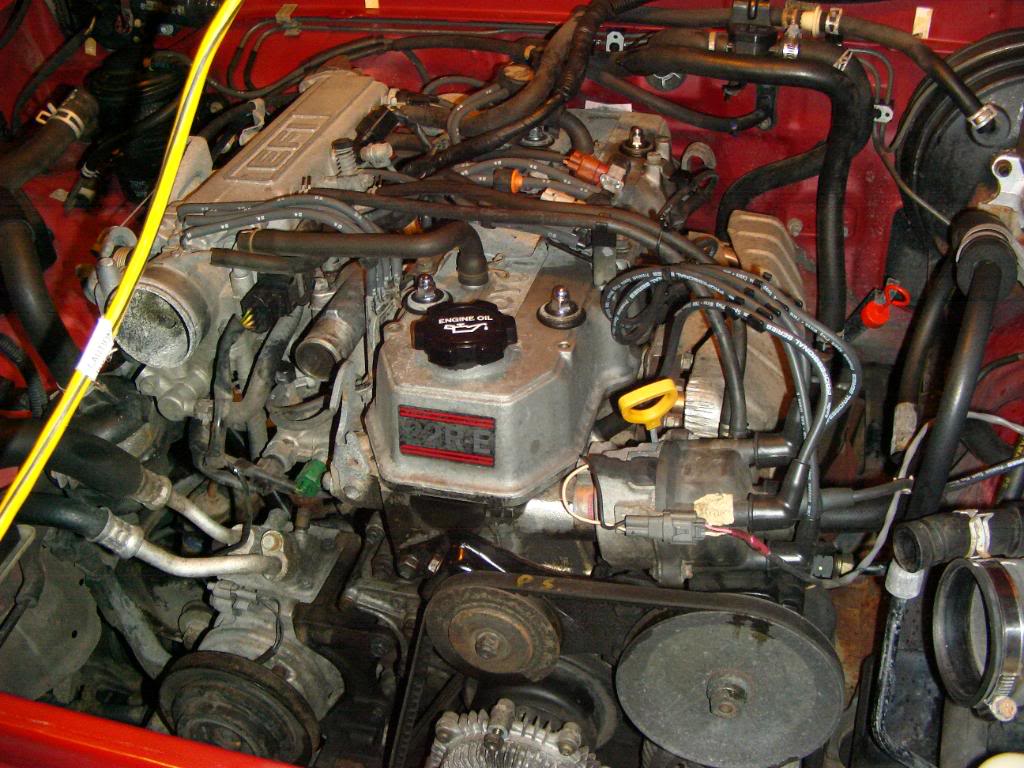
This is my baby....bought it brand-new in October 1991. currently has just over 193,000 miles.
any questions...ask...i have 100's of pictures, there's no way i can post all of them up.
The start of things....
this thread is going to take a while to build...so please no chit-chat in here....i know how hard / frustrating it can be to search
had the oily milkshake. had tried the Thermagasket treatment (with some success i might add) but that only held for a little while, because, as you will see, it was not the head gasket, but rather, was the timing chain that caused the problem.
This is my baby....bought it brand-new in October 1991. currently has just over 193,000 miles.
any questions...ask...i have 100's of pictures, there's no way i can post all of them up.
The start of things....
this thread is going to take a while to build...so please no chit-chat in here....i know how hard / frustrating it can be to search
05-26-2010, 03:04 AM
#3
YotaTech Milestone-Two Millionth Post
Thread Starter
Disassembly
Open the hood. i had joked that i needed a complete instructional that started with that step.
Remove fan shroud
radiator , then fan
In doing an engine such as mine that has an AUTOMATIC transmission, you will need to additionally remove the trans-fluid lines....and cork them with golf-tees.
take pics of everything from all angles.....this was crucial for reassembly
so here's a few cursory pics.
05-26-2010, 03:09 AM
#4
YotaTech Milestone-Two Millionth Post
Thread Starter
take off belts....I can't quite remember which one was the pain in the butt, but one of the belts i has taken off and then had to put back on to provide some traction to get a different one off.
I apologize for not being able to remember that part. but the belts and their corresponding pulleys are pretty much straight forward.
Power steering pump has sooooo many bolts holding it in, and in my case, they were pretty caked up with oil....so take your time....once you get it loose, you can lay it off to the side.
05-26-2010, 03:15 AM
#5
YotaTech Milestone-Two Millionth Post
Thread Starter
i don't think there is a really crucial order of doing things here....all the while i was using my FSM and Haynes and Chilton's but VERY much of the time I was using YOTATECH.....if it wasn't for this site I never would have had the courage or knowledge to tackle this myself.
I can say that i did this by myself....but that's really a lie...my son (age 14 now) helped out when i would let him....but i am a loner when it comes to doing work.....I don't talk, and i like to be left alone.....but when i did let him help, he did so just fine.
Likewise, even though, nobody but myself and my son, turned a wrench on this thing until the very end (thanks XXTREME22R) I know the YOTATECH family was wanting to help me all the while.
LUMPY stuck with me from start to finish and his input as well as all the input from this site was soooooo valuable to me, i can't begin to describe it.
On with the show.....
05-26-2010, 03:19 AM
#6
YotaTech Milestone-Two Millionth Post
Thread Starter
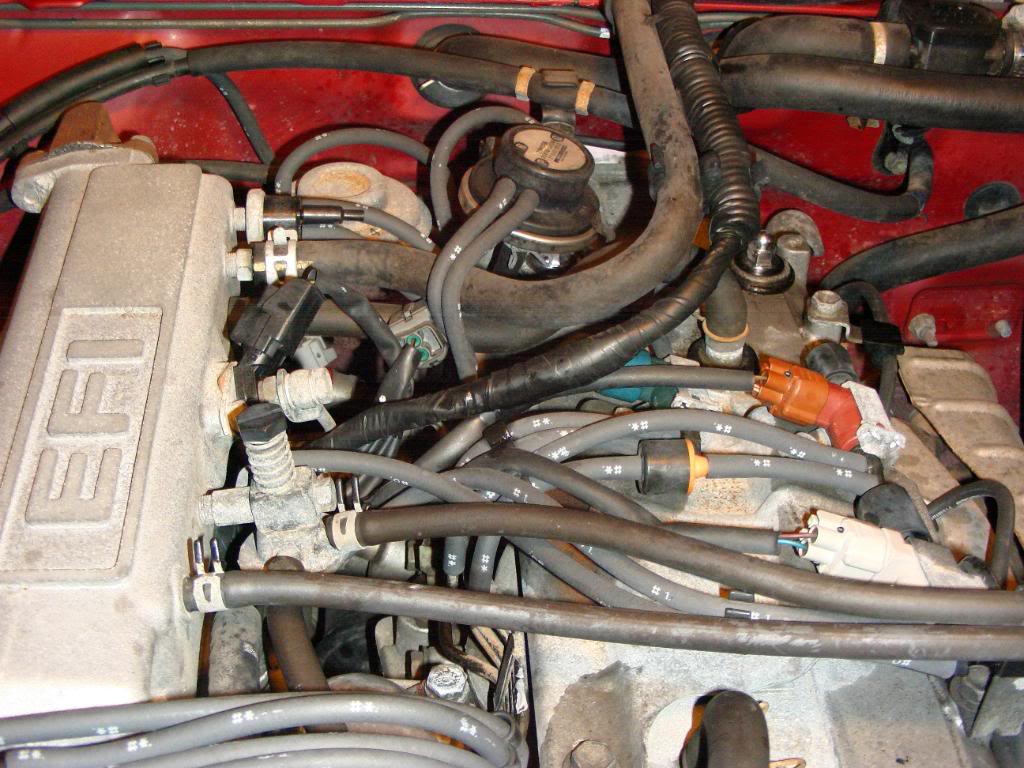
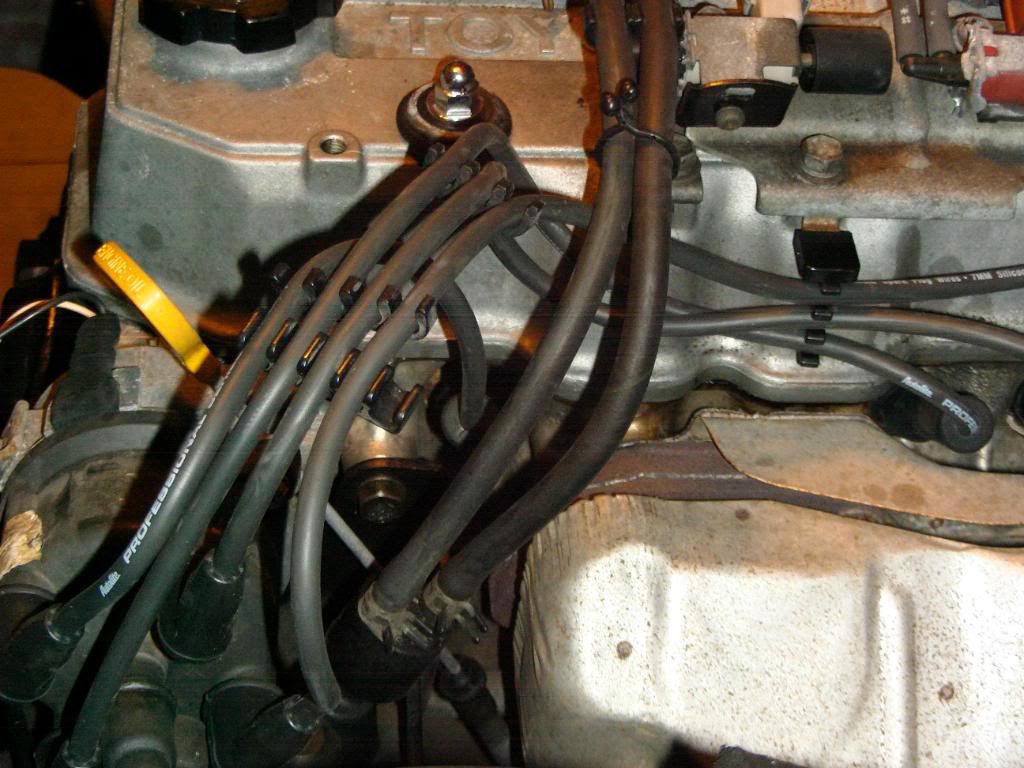
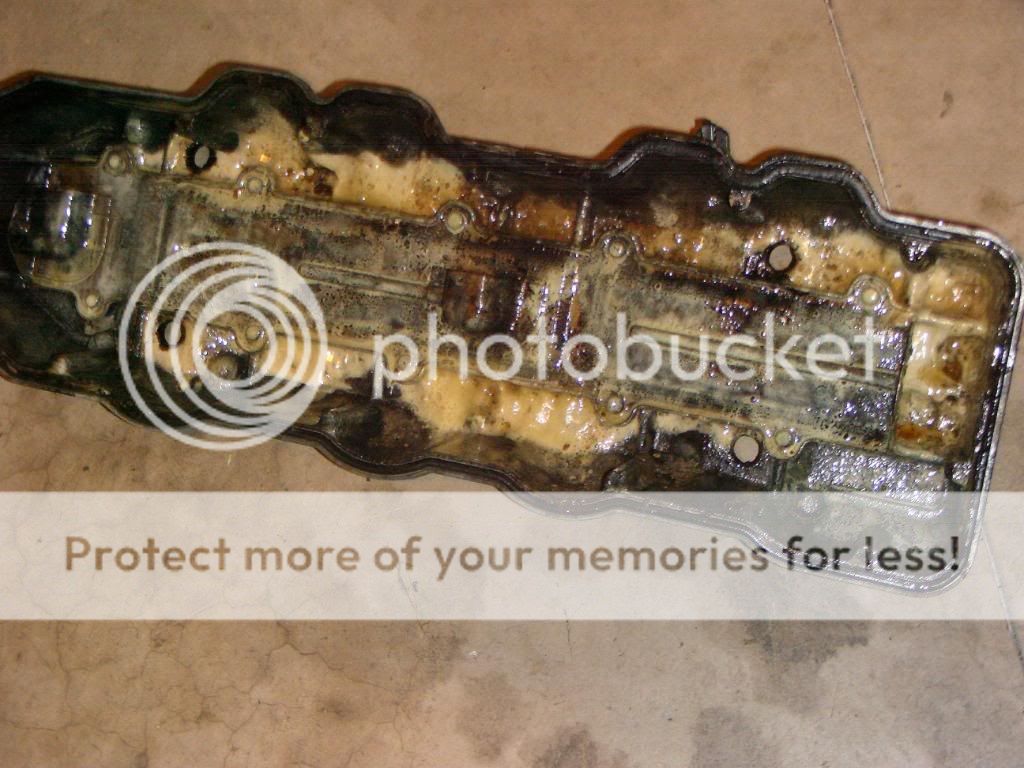
Valve cover removal
although I don't think i really have any action shots of removing the valve cover...do you really need them.
4 acorn nuts, a web of little vacuum hoses and their corresponding valves and assorted other things to get in the way.
take lots of pics, and start unscrewing crap and uncorking hoses.
the corresponding ?washers / seals under those 4 acorn nuts were hardened and actually has to be unscrewed themselves even though, when new they just slide down over the studs. you may need to exert some upward force on those seals while unscrewing them.
05-26-2010, 03:22 AM
#7
YotaTech Milestone-Two Millionth Post
Thread Starter
2nd look at the carnage
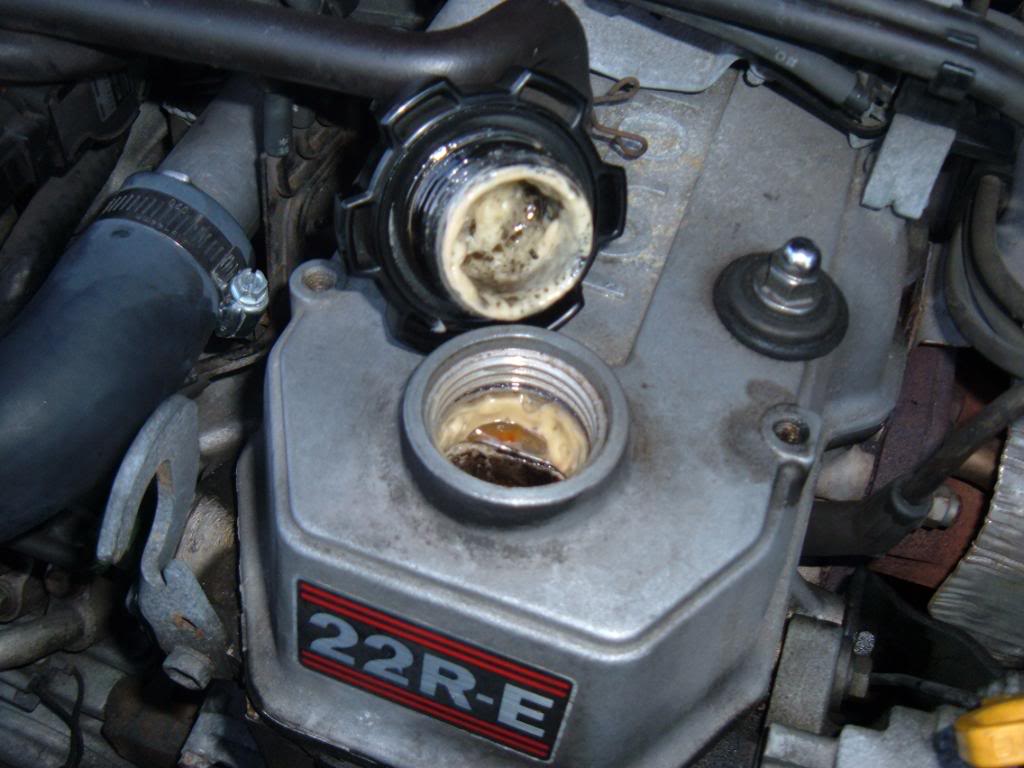
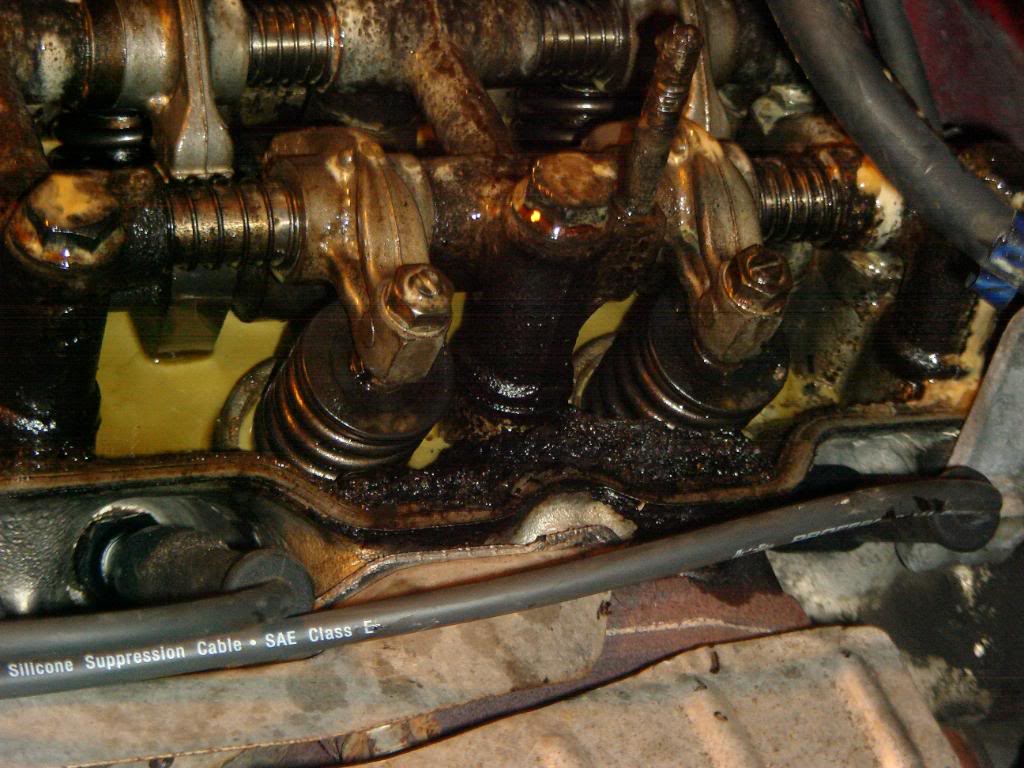
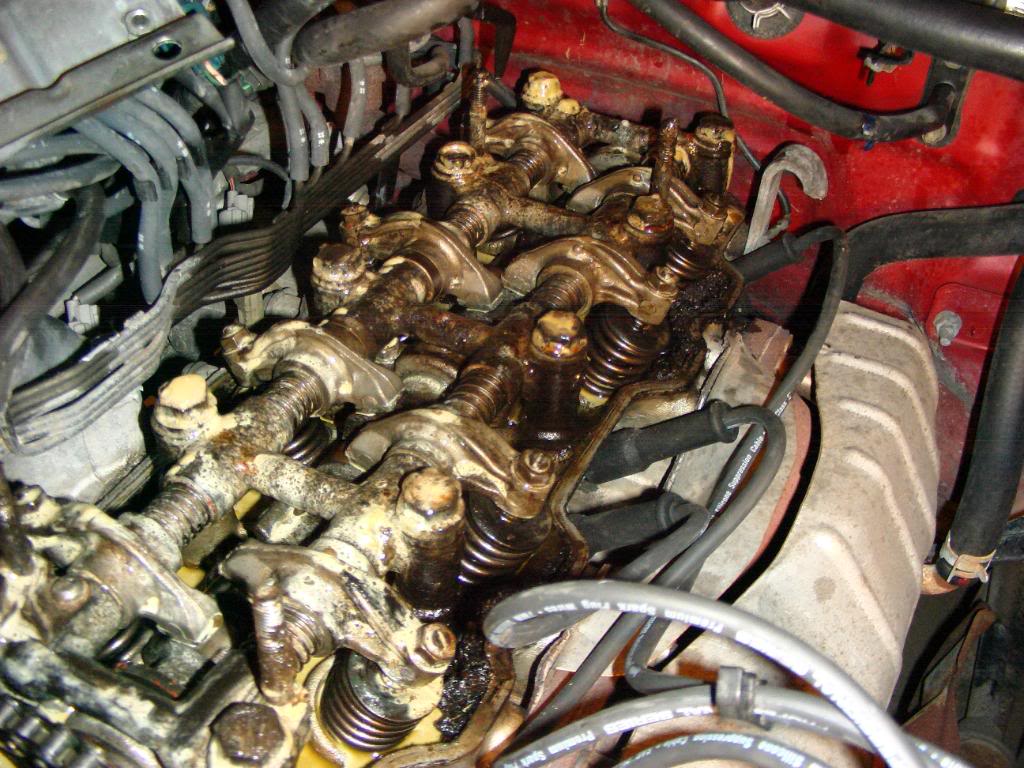
from the start i was curious what it would look like under that valve cover. seeing what i saw from the oil cap and draining the oil left me quite curious.
so here is what it looked like
so here is what it looked like
Trending Topics
05-26-2010, 03:23 AM
#8
YotaTech Milestone-Two Millionth Post
Thread Starter
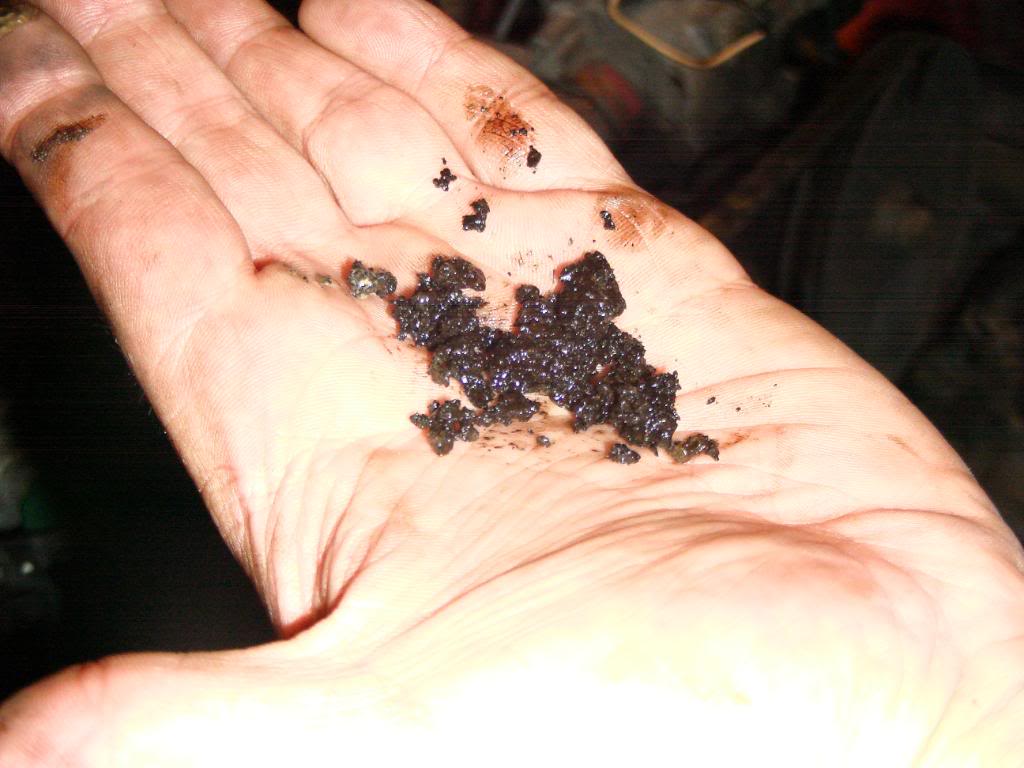
the black sludgy stuff seen in the area of #3 cylinder is (my best guess) a combination of themagasket and oil.
05-26-2010, 03:29 AM
#9
YotaTech Milestone-Two Millionth Post
Thread Starter
Now, this was the 1st time i've ever seen the inside of any engine, let alone, this engine.
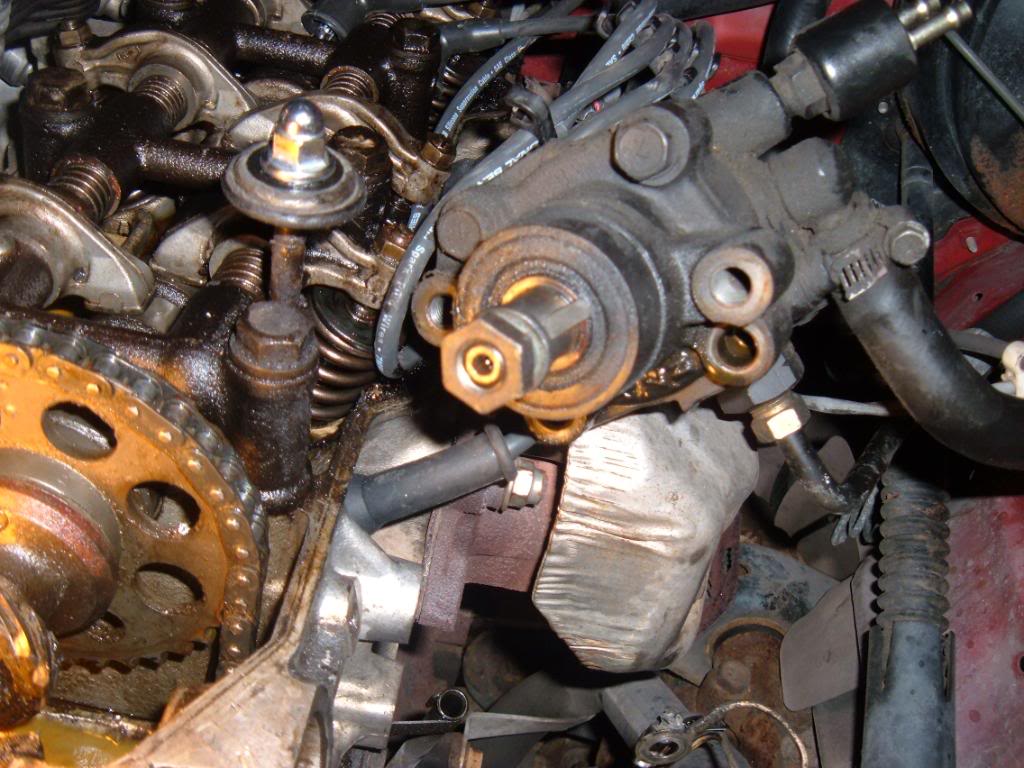
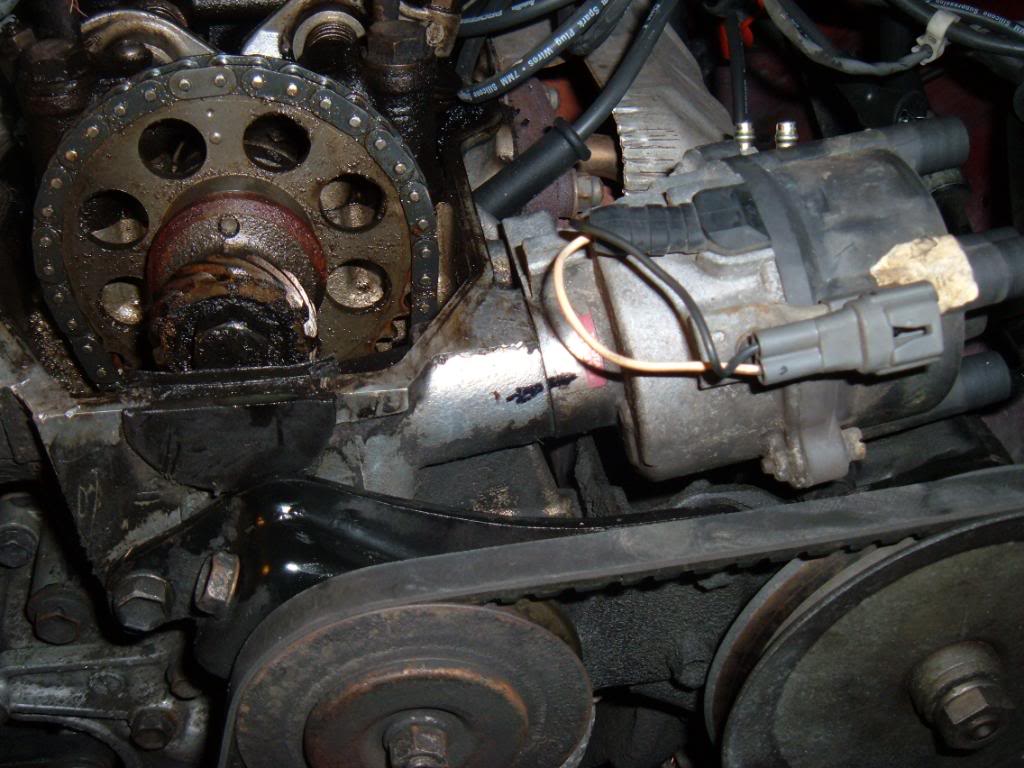
the advice was to get the valve cover off and have a look to see if my timing chain guides (specifically the culprit driver's side) were still there. and if not, it was a safe bet that the timing chain had eroded into the water pump housing.
don't get all technical etc...about why this stuff happens or mileage or metal versus OEM guides....it is what it is.
a decent pic of where the driver's side guide should be and the tell-tale railroad tracks of eroded head and presumed timing chain cover.
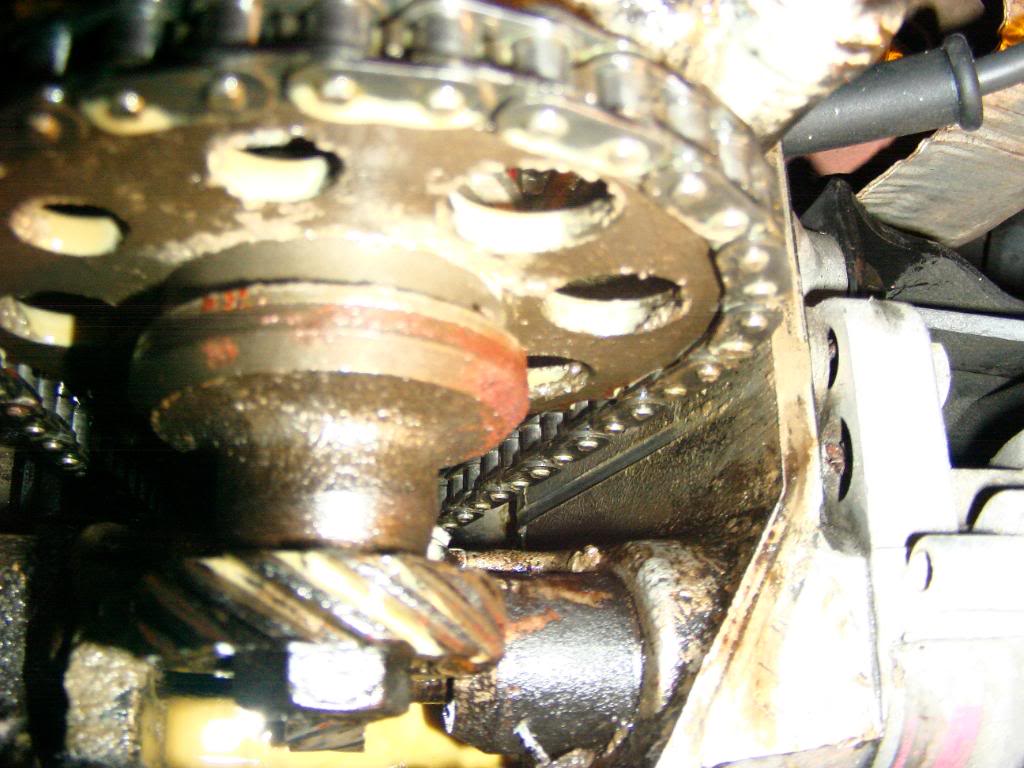

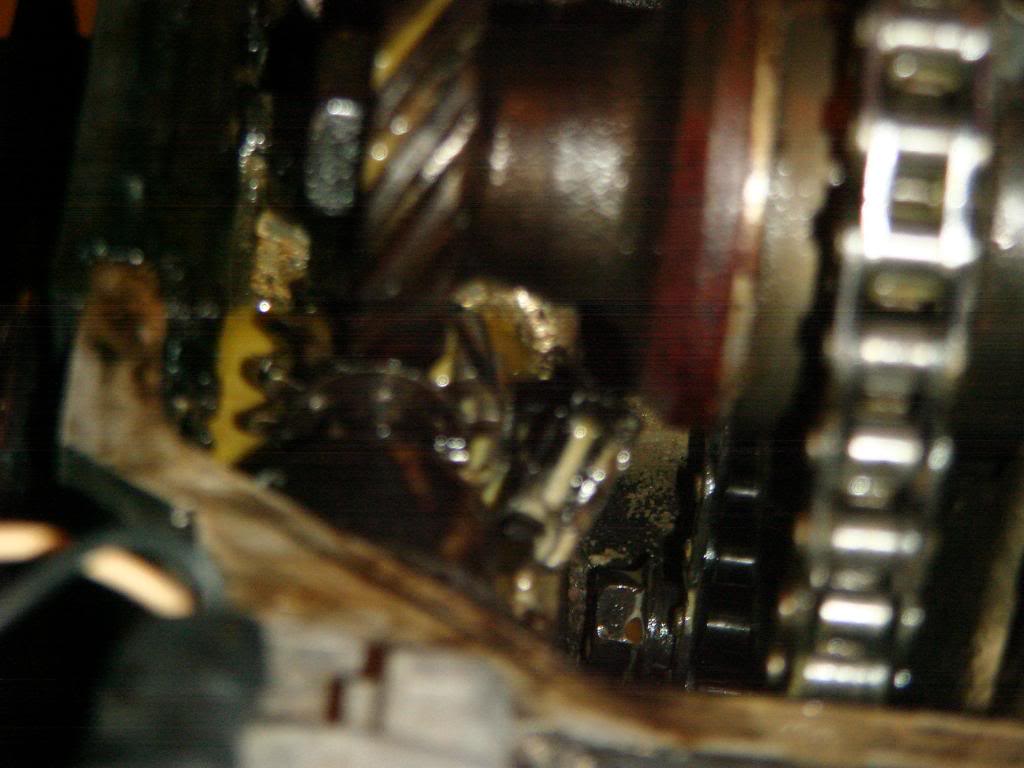
and, as an extra bonus, a piece of the guide still snagged in the cam / distributor gear juncture.
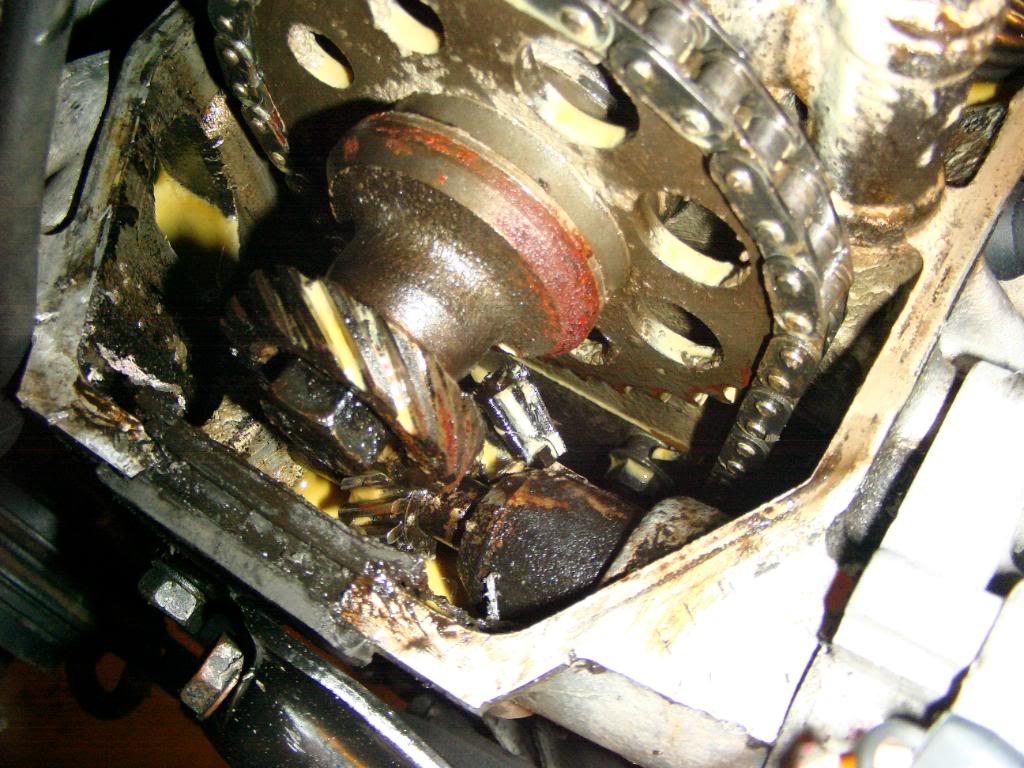
the advice was to get the valve cover off and have a look to see if my timing chain guides (specifically the culprit driver's side) were still there. and if not, it was a safe bet that the timing chain had eroded into the water pump housing.
don't get all technical etc...about why this stuff happens or mileage or metal versus OEM guides....it is what it is.
a decent pic of where the driver's side guide should be and the tell-tale railroad tracks of eroded head and presumed timing chain cover.
and, as an extra bonus, a piece of the guide still snagged in the cam / distributor gear juncture.
05-26-2010, 03:39 AM
#10
YotaTech Milestone-Two Millionth Post
Thread Starter
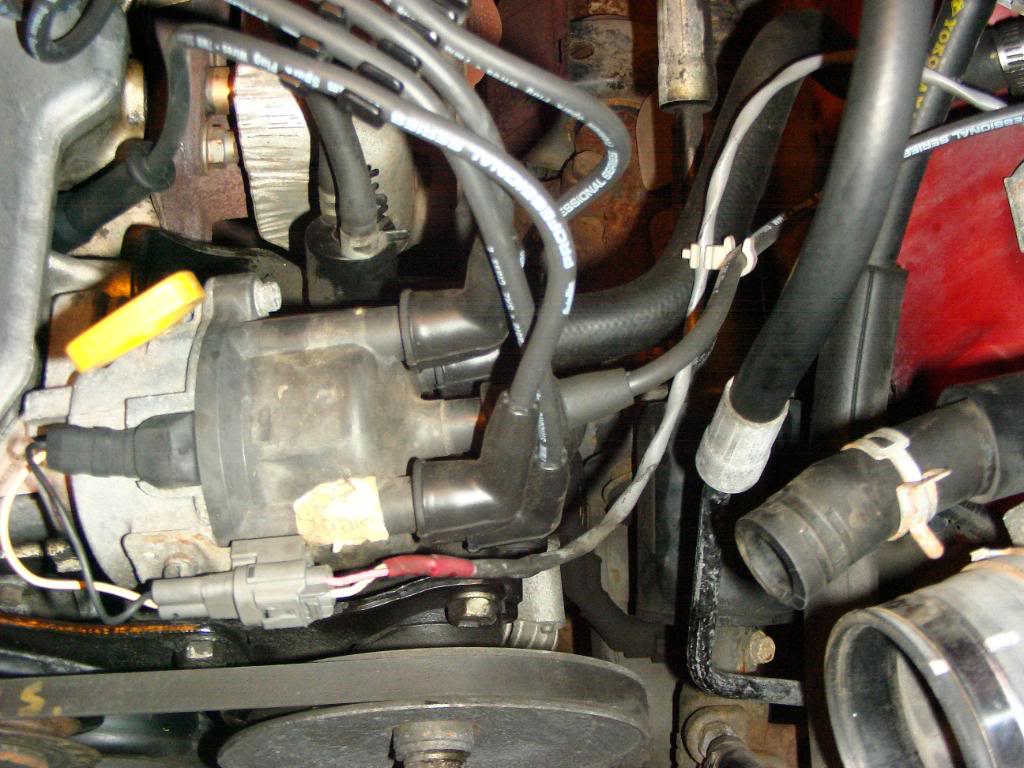
distributor removal is quite simple.....1 bolt, remove the wires, clip and out it comes.
when the book says to mark the rotor,,,it means remove the plastic cap and mark the position of the rotor....marking where that little thingy is pointed when removing it when you are TDC (top dead center).
how do you know you are TDC? Beat the hell out of me back then....i thought that if i turn the crank to line up at the "0" mark I was, but not true, because it passes that way twice...so for true TDC, you have to have the #1 plug out and the 1st piston has to be all the way at the top and the crank at "0".
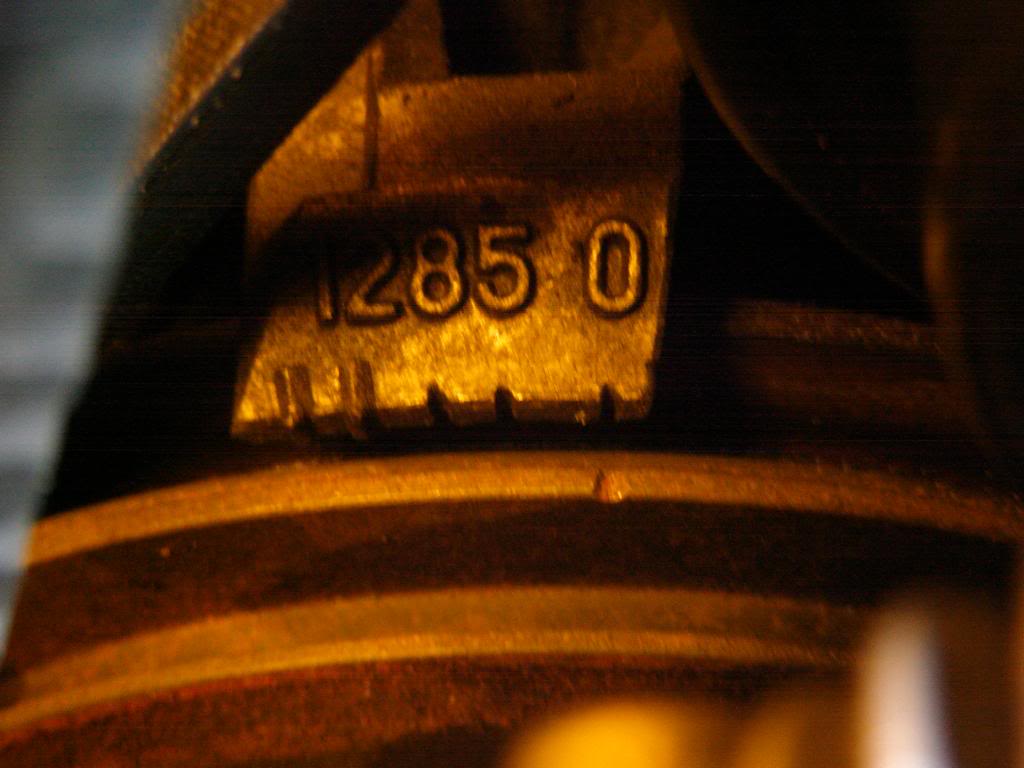
here's what i thought i was supposed to mark (black line)...hahaha now, but actually, there was still a hint of it left on the head during reassembly and was somewhat helpful for the initial cursory timing
when the book says to mark the rotor,,,it means remove the plastic cap and mark the position of the rotor....marking where that little thingy is pointed when removing it when you are TDC (top dead center).
how do you know you are TDC? Beat the hell out of me back then....i thought that if i turn the crank to line up at the "0" mark I was, but not true, because it passes that way twice...so for true TDC, you have to have the #1 plug out and the 1st piston has to be all the way at the top and the crank at "0".
here's what i thought i was supposed to mark (black line)...hahaha now, but actually, there was still a hint of it left on the head during reassembly and was somewhat helpful for the initial cursory timing
Last edited by 92 TOY; 05-26-2010 at 05:02 AM.
05-26-2010, 03:46 AM
#11
YotaTech Milestone-Two Millionth Post
Thread Starter
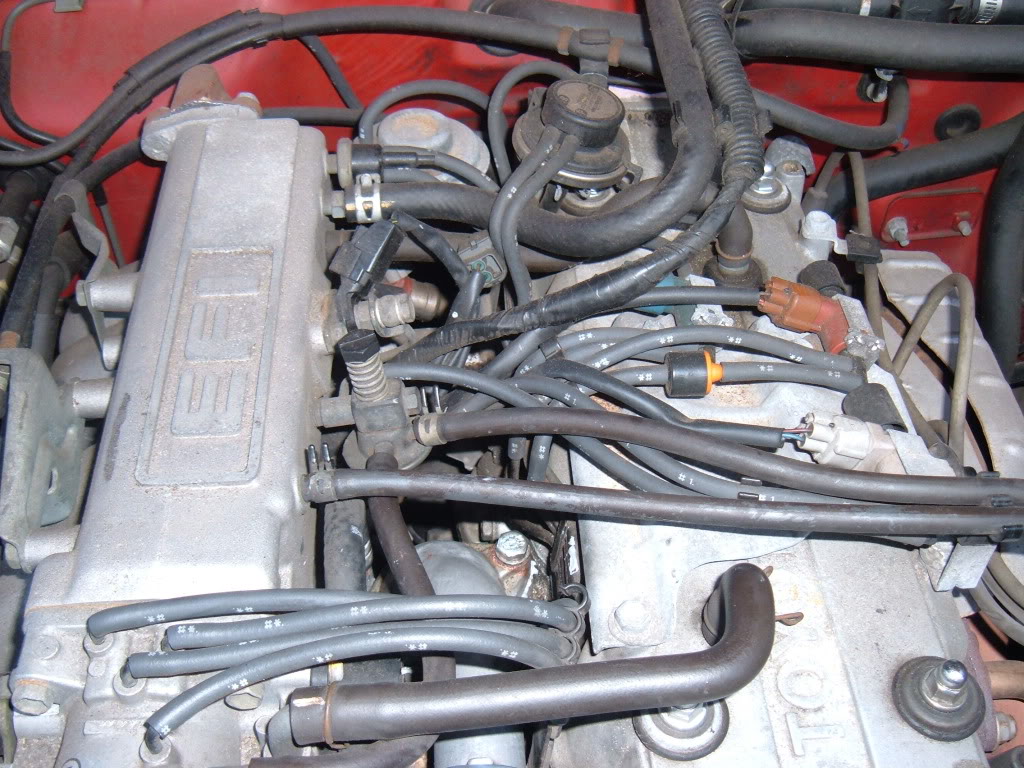
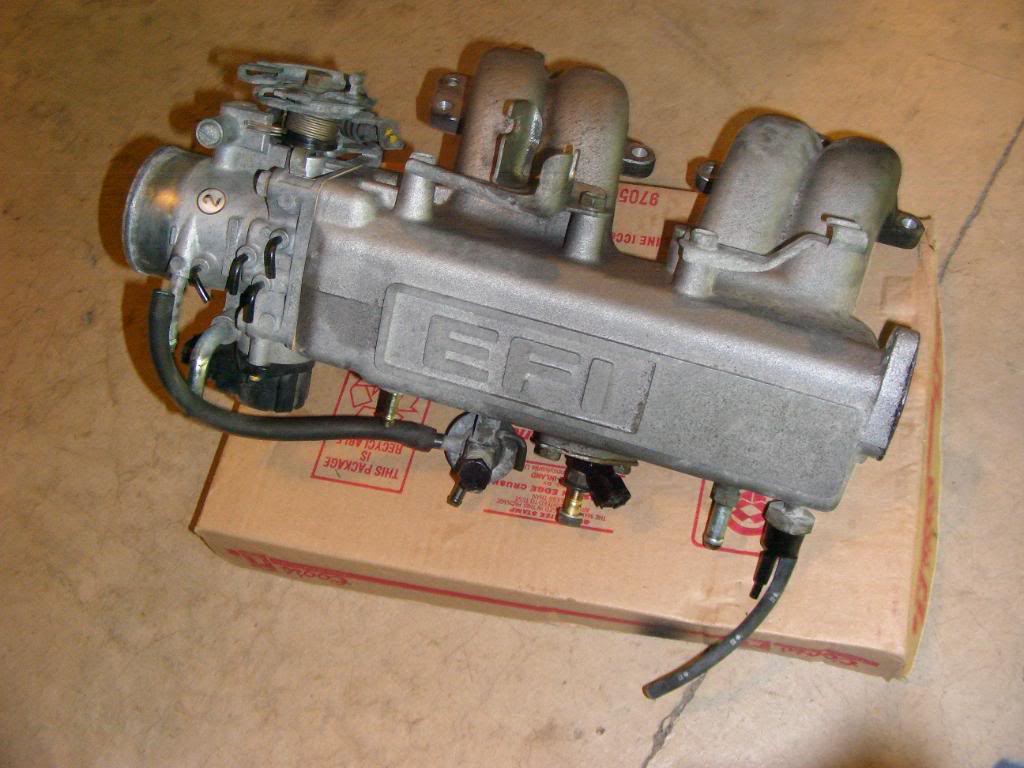
so i'm pretty sure you can take your pick of what you want to disassemble next...exhaust side or intake side...
in keeping with how i did things i will describe the intake side.
for me...the intake side is divided into 2 parts that I call the upper intake manifold and the lower intake manifold. don't know or care if they have better names, that's what i call them.
in keeping with how i did things i will describe the intake side.
for me...the intake side is divided into 2 parts that I call the upper intake manifold and the lower intake manifold. don't know or care if they have better names, that's what i call them.
Last edited by 92 TOY; 05-26-2010 at 05:03 AM.
05-26-2010, 03:54 AM
#12
YotaTech Milestone-Two Millionth Post
Thread Starter
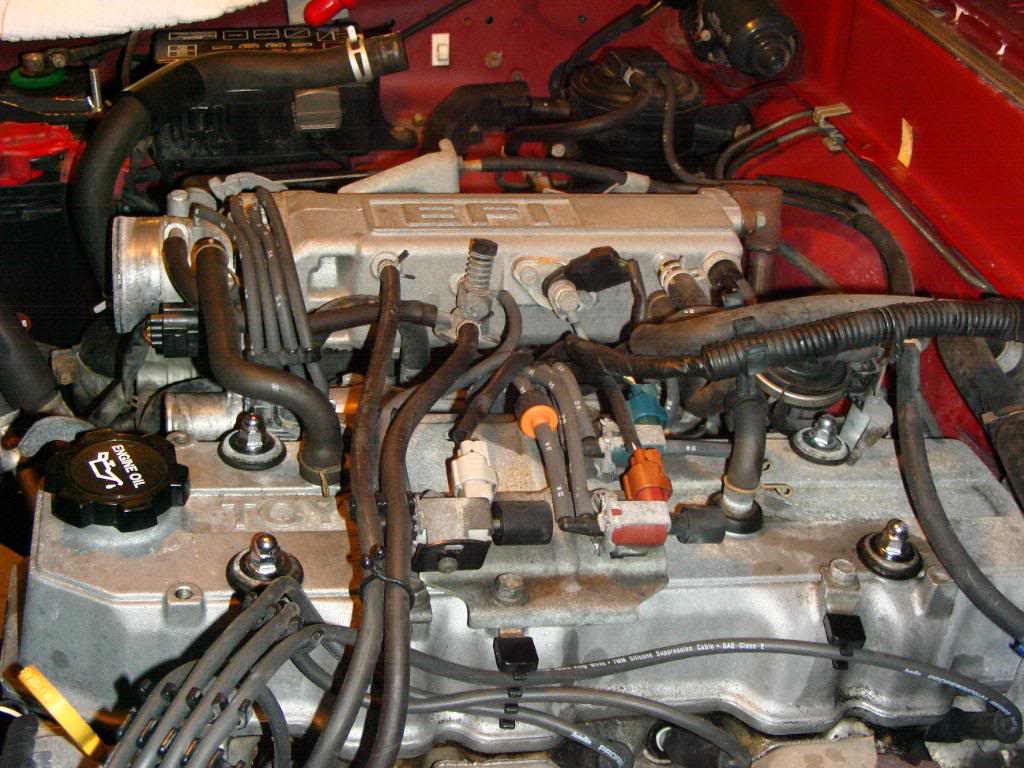
Upper intake
so you have to start somewhere, and i believe this is where it says to start.
remove the linkage
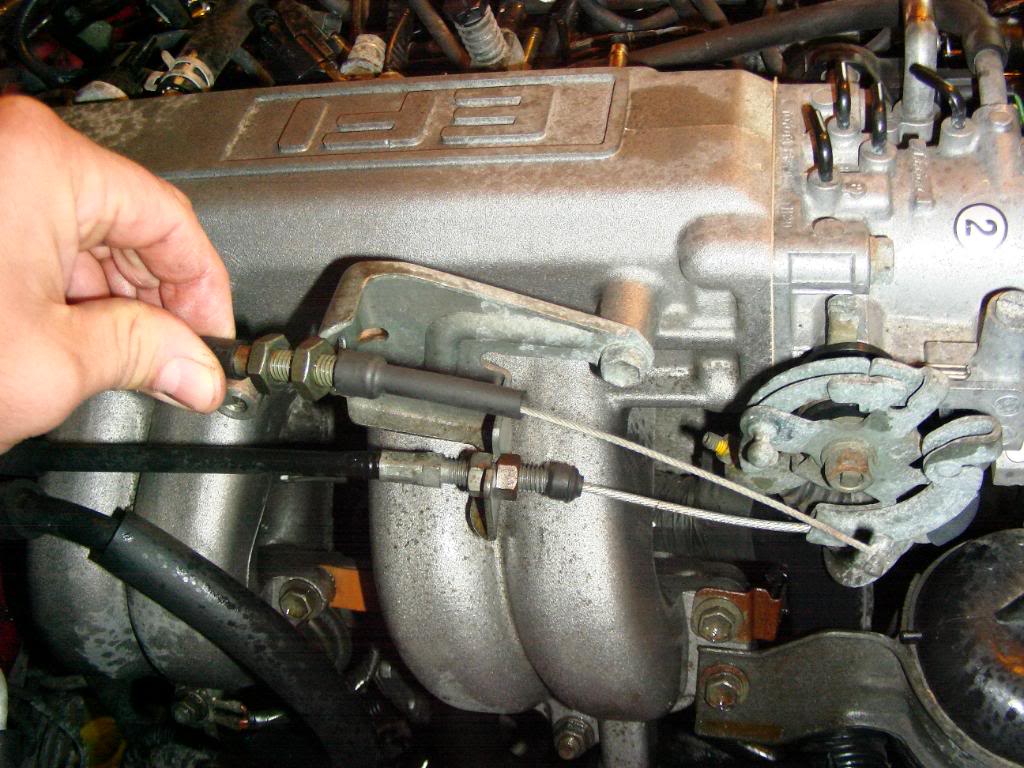

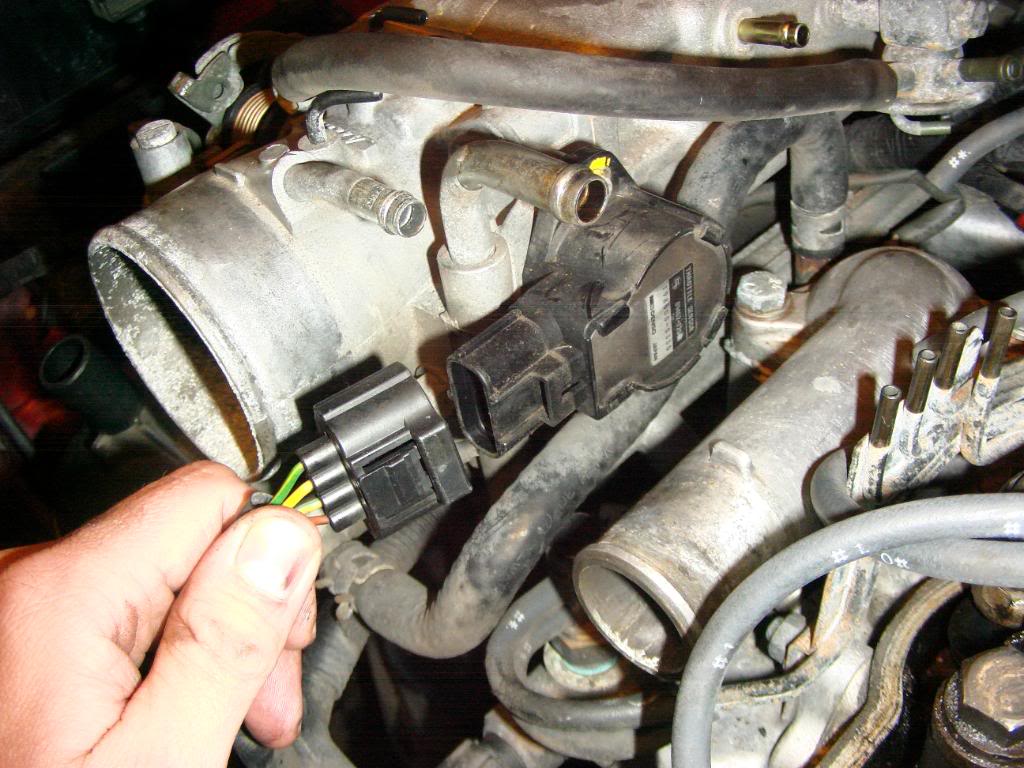
remove harness from TPS (throttle position sensor.....it, uh, senses the position of the throttle, i guess...hahahaha)
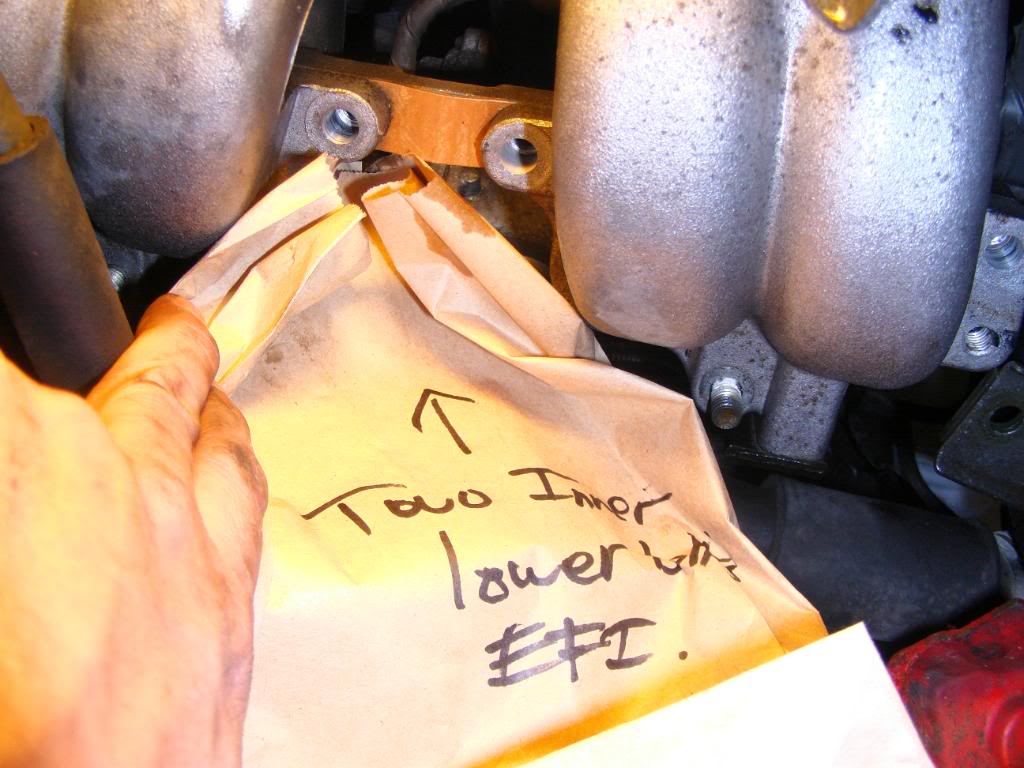
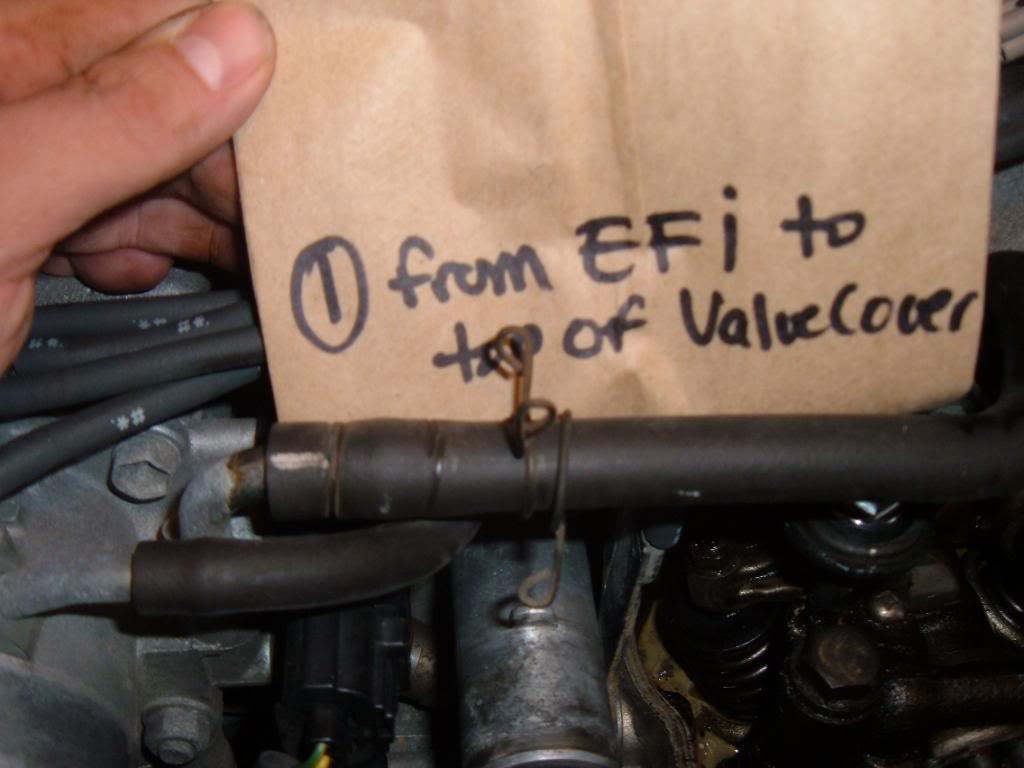
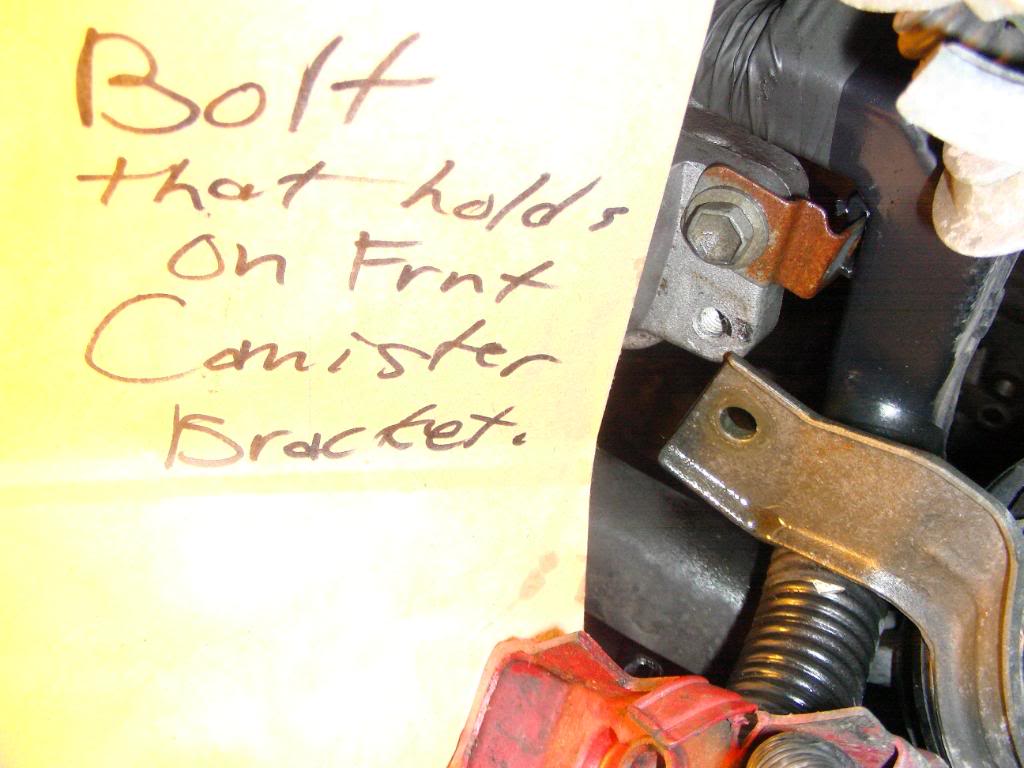
Pictures like this help out a long way later when you look at the label on a bag and say ''what the hell was i talking about?"

you get the idea.
I can;t say how important it is to bag every little thing and label the crap out of it....even if they had stupid things written on them....i ended up with no leftover parts.
paper sandwich bags, permanent marker and digital camera are all requirements...or were. for me
remove the linkage
remove harness from TPS (throttle position sensor.....it, uh, senses the position of the throttle, i guess...hahahaha)
Pictures like this help out a long way later when you look at the label on a bag and say ''what the hell was i talking about?"
you get the idea.
I can;t say how important it is to bag every little thing and label the crap out of it....even if they had stupid things written on them....i ended up with no leftover parts.
paper sandwich bags, permanent marker and digital camera are all requirements...or were. for me
05-26-2010, 04:00 AM
#13
YotaTech Milestone-Two Millionth Post
Thread Starter
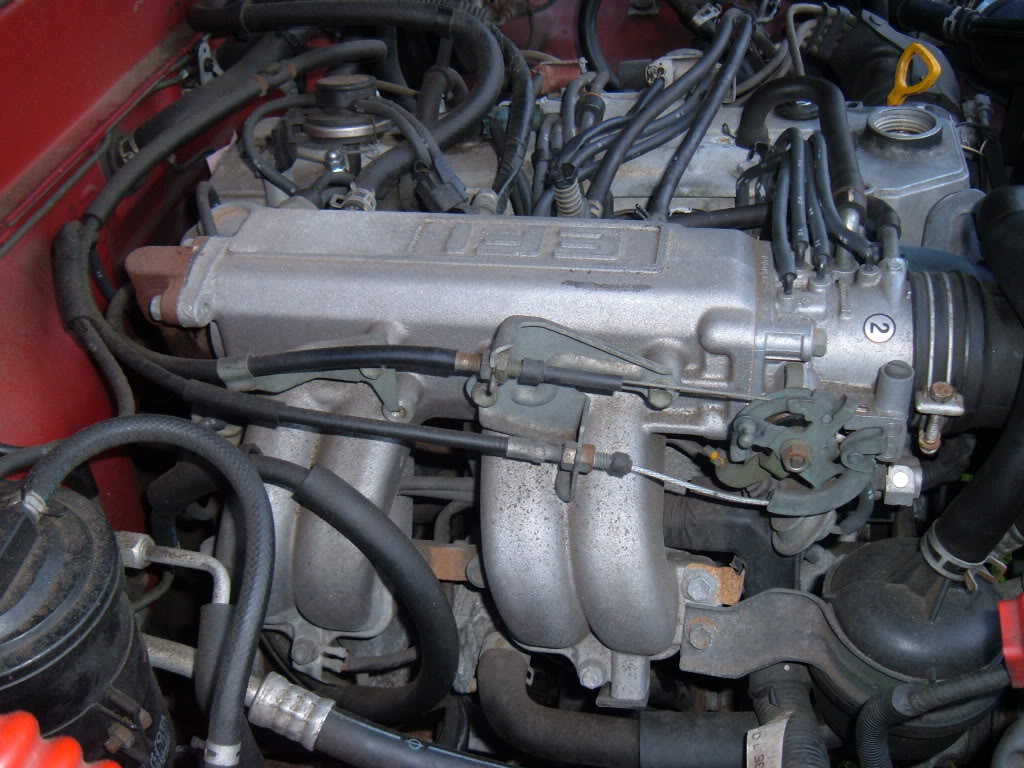
and eventually you end up like this.
definitely, the upper intake is far easier than the lower intake , to remove.
definitely, the upper intake is far easier than the lower intake , to remove.
05-26-2010, 04:09 AM
#14
YotaTech Milestone-Two Millionth Post
Thread Starter
any pertinent questions or comments...post them here.
be patient, this took me 8 months to compete this project that some of you guys say you can bang out in a weekend...so posting all the pics and relevant info is going to take a bit too.
it ends successfully...don't worry, the ship doesn't sink at the end of this saga.
any comments or questions on anything that i haven't covered yet, feel free to post in my original thread https://www.yotatech.com/forums/f116...thread-188472/
05-26-2010, 04:52 AM
#15
YotaTech Milestone-Two Millionth Post
Thread Starter
COST and TOOLS
probably at this point it would be pertinent to talk about what tools were necessary for me to do this job and where i got my parts.
PARTS:
www.engnbldr.com
I believe it's called the top-end kit.....whatever it's called i got it from Ted at engnbldr for just under $200.
included complete gasket set for this job (mostly) timing cover, oil pump and water pump and new head bolts
LC Engineering... for the crankshaft bolt , long allen bolt for under the thermostat and the gasket for the oil pickup tube and a oil pan drain plug gasket...i think i spent about a whole $12 or so
http://www.toyotacatalog.net/M1WebGe...C-9BDEFE32754A
http://www.toyotacatalog.net/M1WebGe...iteria=1013116
http://www.toyotacatalog.net/M1WebGe...0-0D21356B8BDD
TOOLS:
breaker bar....3 foot piece of pipe from Ace Hardware
19mm 6-point impact socket from sears....VERY IMPORTANT that it be that strong as I will show how i broke stuff eventually when trying to remove the crankshaft bolt.
HARBOR FREIGHT....although the quality if tools has been called into question sometimes, i really had no problems.
-spark plug chaser..about $4
-1/4'' drive inch/lbs torque wrench
-3/8'' drive ft/lb wrench
-1/2'' drive ft/lb wrench
-a pulley holder (looks like a "Y")...very important for doing the cam gear bolt
METRIC SET...just a normal everyday metric set i actually bought as a gift for my son, but i almost exclusively used this set...about $13...was almost everything i needed. and, because over the years, my tools are scattered here and there, it was important to have a complete set.
here's a pic, after it was all done (cut off from the pic are some of the torque wrenches)
JACK STANDS.....got a nice set from SEARS....the higher the better for me as i don't like feeling claustrophobic.
FLOOR JACK and BOTTLE JACKS:
the floor jack i've had for years for changing my tires (i have 3 sets) and i used the bottle jack from my truck and the same kind from my son's 4runner.
all the jacks were put into use when it was time to take the oil pan off.
FIPG (Form In Place Gasket)...from TOYOTA
sepcifically www.trdparts4u.com
Gerone Scott (fellow YOTATECH member but no longer at Toyota of Dallas i'm sorry to say) was EXTREMELY helpful as, I'm sure they all are there.
-belts
-hose from timing cover to block
-crush washers (little metal 1-time-use washers for fuel lines)
-and, of course, a 22re sticker.
using www.trdparts4u.com saved me quite a bit of money, even compared with ordering and picking up these same parts at my local dealer.
ASSORTED RTV stuff.....i guess if you have any experience, this is all stuff you will have on hand....but i bought copper (for real hot application) Black and Blue as well as thermostat RTV (gray)
PB Blaster...can't say enough about this stuff
DEEP SOCKET SET....as far as i remember, i only needed this twice....both times for the exhaust manifold-to-downpipe connection
Oh yeah...a true breaker bar...1/2'' drive bar.
all in all this repair probably cost about $400 or so....parts alone were somewhere just over $300...so with tools and odds and ends added in it cost me more.
Last edited by 92 TOY; 05-26-2010 at 05:23 AM.
05-26-2010, 05:33 AM
#17
YotaTech Milestone-Two Millionth Post
Thread Starter
Lower intake manifold
this is one of those parts that I made a cardboard template for...i don't think i have a pic of that, but basically a pizza box lid with a hand drawn outline of the lower intake-to-head connection and holes corresponding with where the bolts and nuts go....and taped some of them in place so they wouldn't get bounced out.
alot of the pics i have are my own reference pics...so i won't bore you with them.
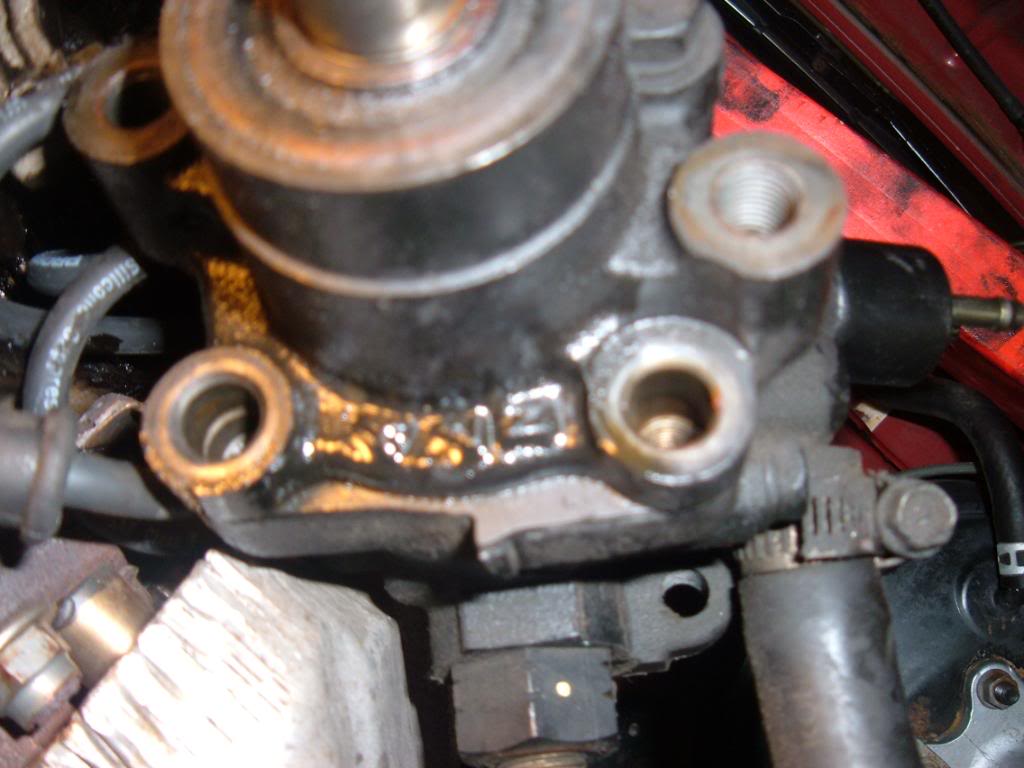
i can say, there are a few hard to reach, impossible to see, harder to un-do bolts and nuts there.....namely the REED valve to metal tube nuts....can feel them if you reach behind and under the lower intake nearest the firewall......the 2 bolts that connect the metal cooling tube under the lower intake manifold in the area of the #2 and #3 injectors and the long allen bolt that is almost a sure bet to strip when you try to loosen it...it is located just under the thermostat housing.
I don't think i have any pics of the fuel rail or injectors...was busy doing stuff and not taking pics......that whole part is fairly straight-forward...a 19mm socket for the main supply line and i think a 10mm and 12mm for the others and the rail pops right off.....injectors can be unplugged and removed.
i've heard warning of a spary of gas at this point....follow the directions, but that did not happen for me.
EDIT:...i'm adding this pic because this is a decent pic of the cooling tube that goes to under the lower intake manifold
alot of the pics i have are my own reference pics...so i won't bore you with them.
i can say, there are a few hard to reach, impossible to see, harder to un-do bolts and nuts there.....namely the REED valve to metal tube nuts....can feel them if you reach behind and under the lower intake nearest the firewall......the 2 bolts that connect the metal cooling tube under the lower intake manifold in the area of the #2 and #3 injectors and the long allen bolt that is almost a sure bet to strip when you try to loosen it...it is located just under the thermostat housing.
I don't think i have any pics of the fuel rail or injectors...was busy doing stuff and not taking pics......that whole part is fairly straight-forward...a 19mm socket for the main supply line and i think a 10mm and 12mm for the others and the rail pops right off.....injectors can be unplugged and removed.
i've heard warning of a spary of gas at this point....follow the directions, but that did not happen for me.
EDIT:...i'm adding this pic because this is a decent pic of the cooling tube that goes to under the lower intake manifold
Last edited by 92 TOY; 05-26-2010 at 05:48 AM.
05-26-2010, 05:34 AM
#18
YotaTech Milestone-Two Millionth Post
Thread Starter
05-26-2010, 05:39 AM
#19
YotaTech Milestone-Two Millionth Post
Thread Starter
so when i had all the injectors apart and bagged, i really didn't care about their condition right then......get it out of the way....get them and the Cold start injector serviced now....not later when you are all anxious to get this back together and have created a delay for yourself.
my personal recommendation for the injector servicing (testing and cleaning and put new rubber thingy on) is www.witchhunter.com .....@ $19 per injector plus $10 for return shipping and whatever it cost me to ship it to them, i essentially had brand-new-like stuff for $105 + my shipping....so also add that into the final cost tally.
my personal recommendation for the injector servicing (testing and cleaning and put new rubber thingy on) is www.witchhunter.com .....@ $19 per injector plus $10 for return shipping and whatever it cost me to ship it to them, i essentially had brand-new-like stuff for $105 + my shipping....so also add that into the final cost tally.


