When you click on links to various merchants on this site and make a purchase, this can result in this site earning a commission. Affiliate programs and affiliations include, but are not limited to, the eBay Partner Network.
4Runner license plate lights not working? Try this.
Short version: If your license plate lights aren't working, it could be due to a hand-splice wire connection between the two lights, and not the bulbs.
Long version:
Recently I noticed that my rear license plate lights weren't working, and given that it's one more reason a government official could pull me over for a chat I reasoned that they best be fixed.
First, unscrewing the lenses was an ordeal as the 25 years of corrosion have taken their toll. New screws are in order. I replaced the bulbs, but alas, no light. Next came opening the tailgate (I've fixed the rear window motor, so it's familiar space) to see if power was getting to the lights. Answer = Yes, at the connector for the lights and keyswitch.
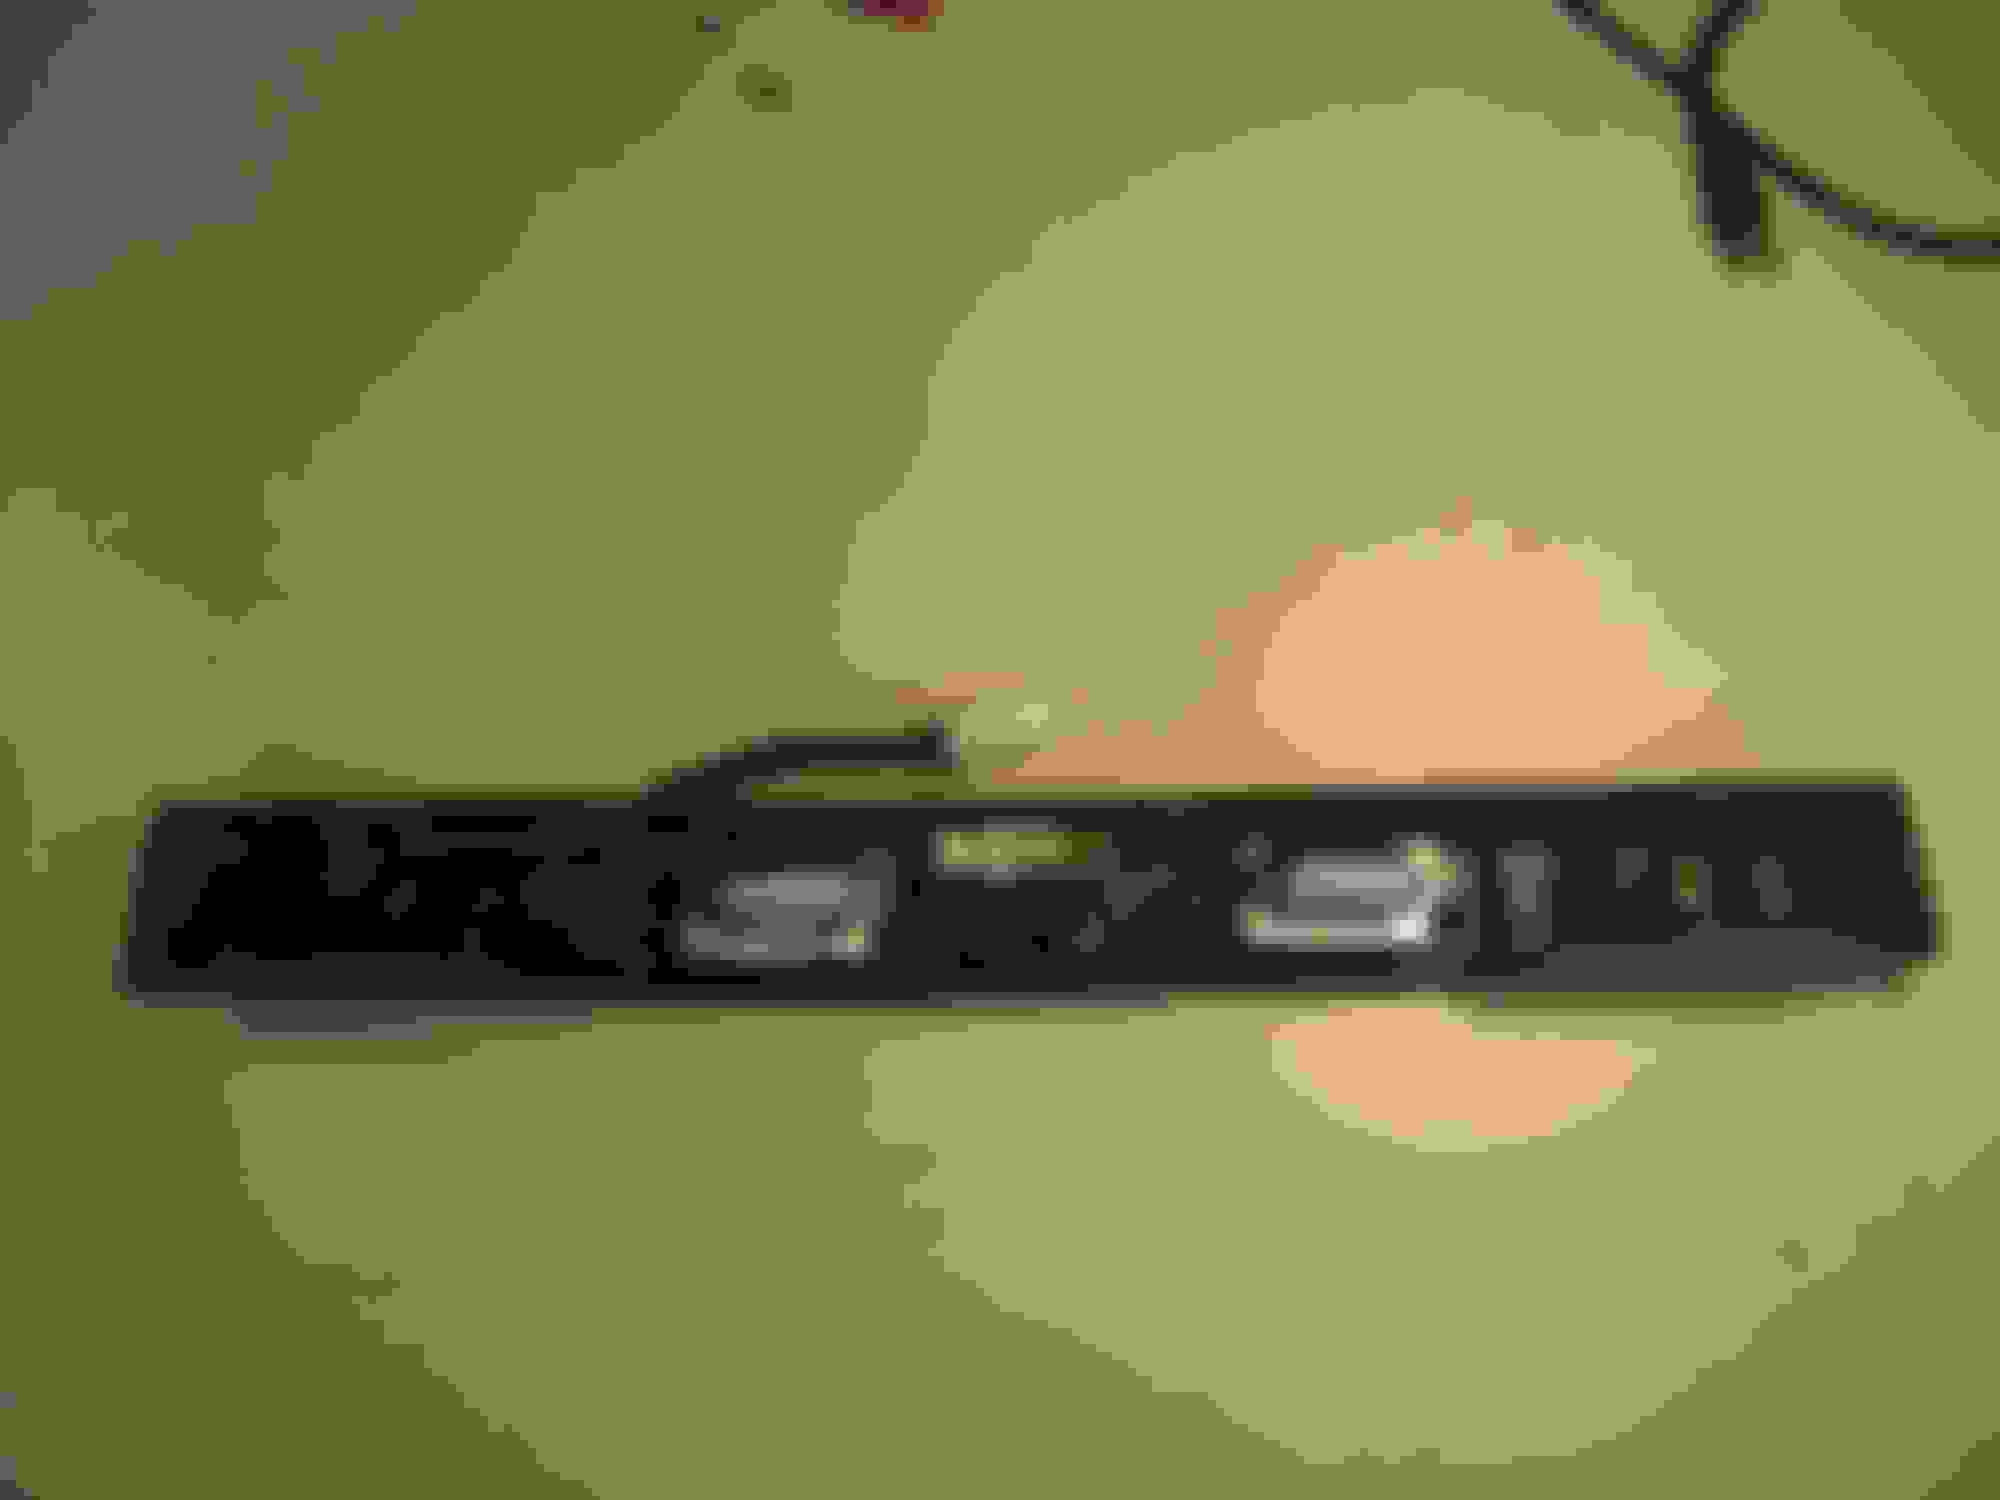
The next step was to remove the rear plastic TOYOTA housing that holds the keyswitch and license plate lights. Easy: two nuts and a winged plastic snap-in. (Note to self: buy some metric nutdrivers already!)
It turns out that the fixtures were badly corroded (darn salt and playa dust), but the actual problem was a broken wire joint that Y'd the two bulb fixtures into the wiring harness. This is a hand-spliced joint (it appears), and the joint failed.
Next step is to replace the setup with a bar of LED lights I happen to have around. I'll post pictures when it's completed.
yea I figured it out.... window up, take the access panel off.. two bolts are 10mm, the one on the passenger side can be accessed by a socket but the driver side requires a wrench... then the middle is the weird plastic nut that eventually pops through the sheetmetal hole that stays on the housing. Both of the light fixtures were falling apart so I ordered a LED strip https://www.superbrightleds.com/more...light-tube/50/ and soldered the wire into the wire harness. It retains the stock harness quick connector. In the process I must have messed something up on the window operation of the key cylinder because now the the window will go down using the key, but won't go up using the key.... the window still works from the inside
In the end, I had to replace the light fixtures as they were badly corroded -- same as others report. Figuring my incandescent fixtures lasted about 25 years, I opted for another similar set.
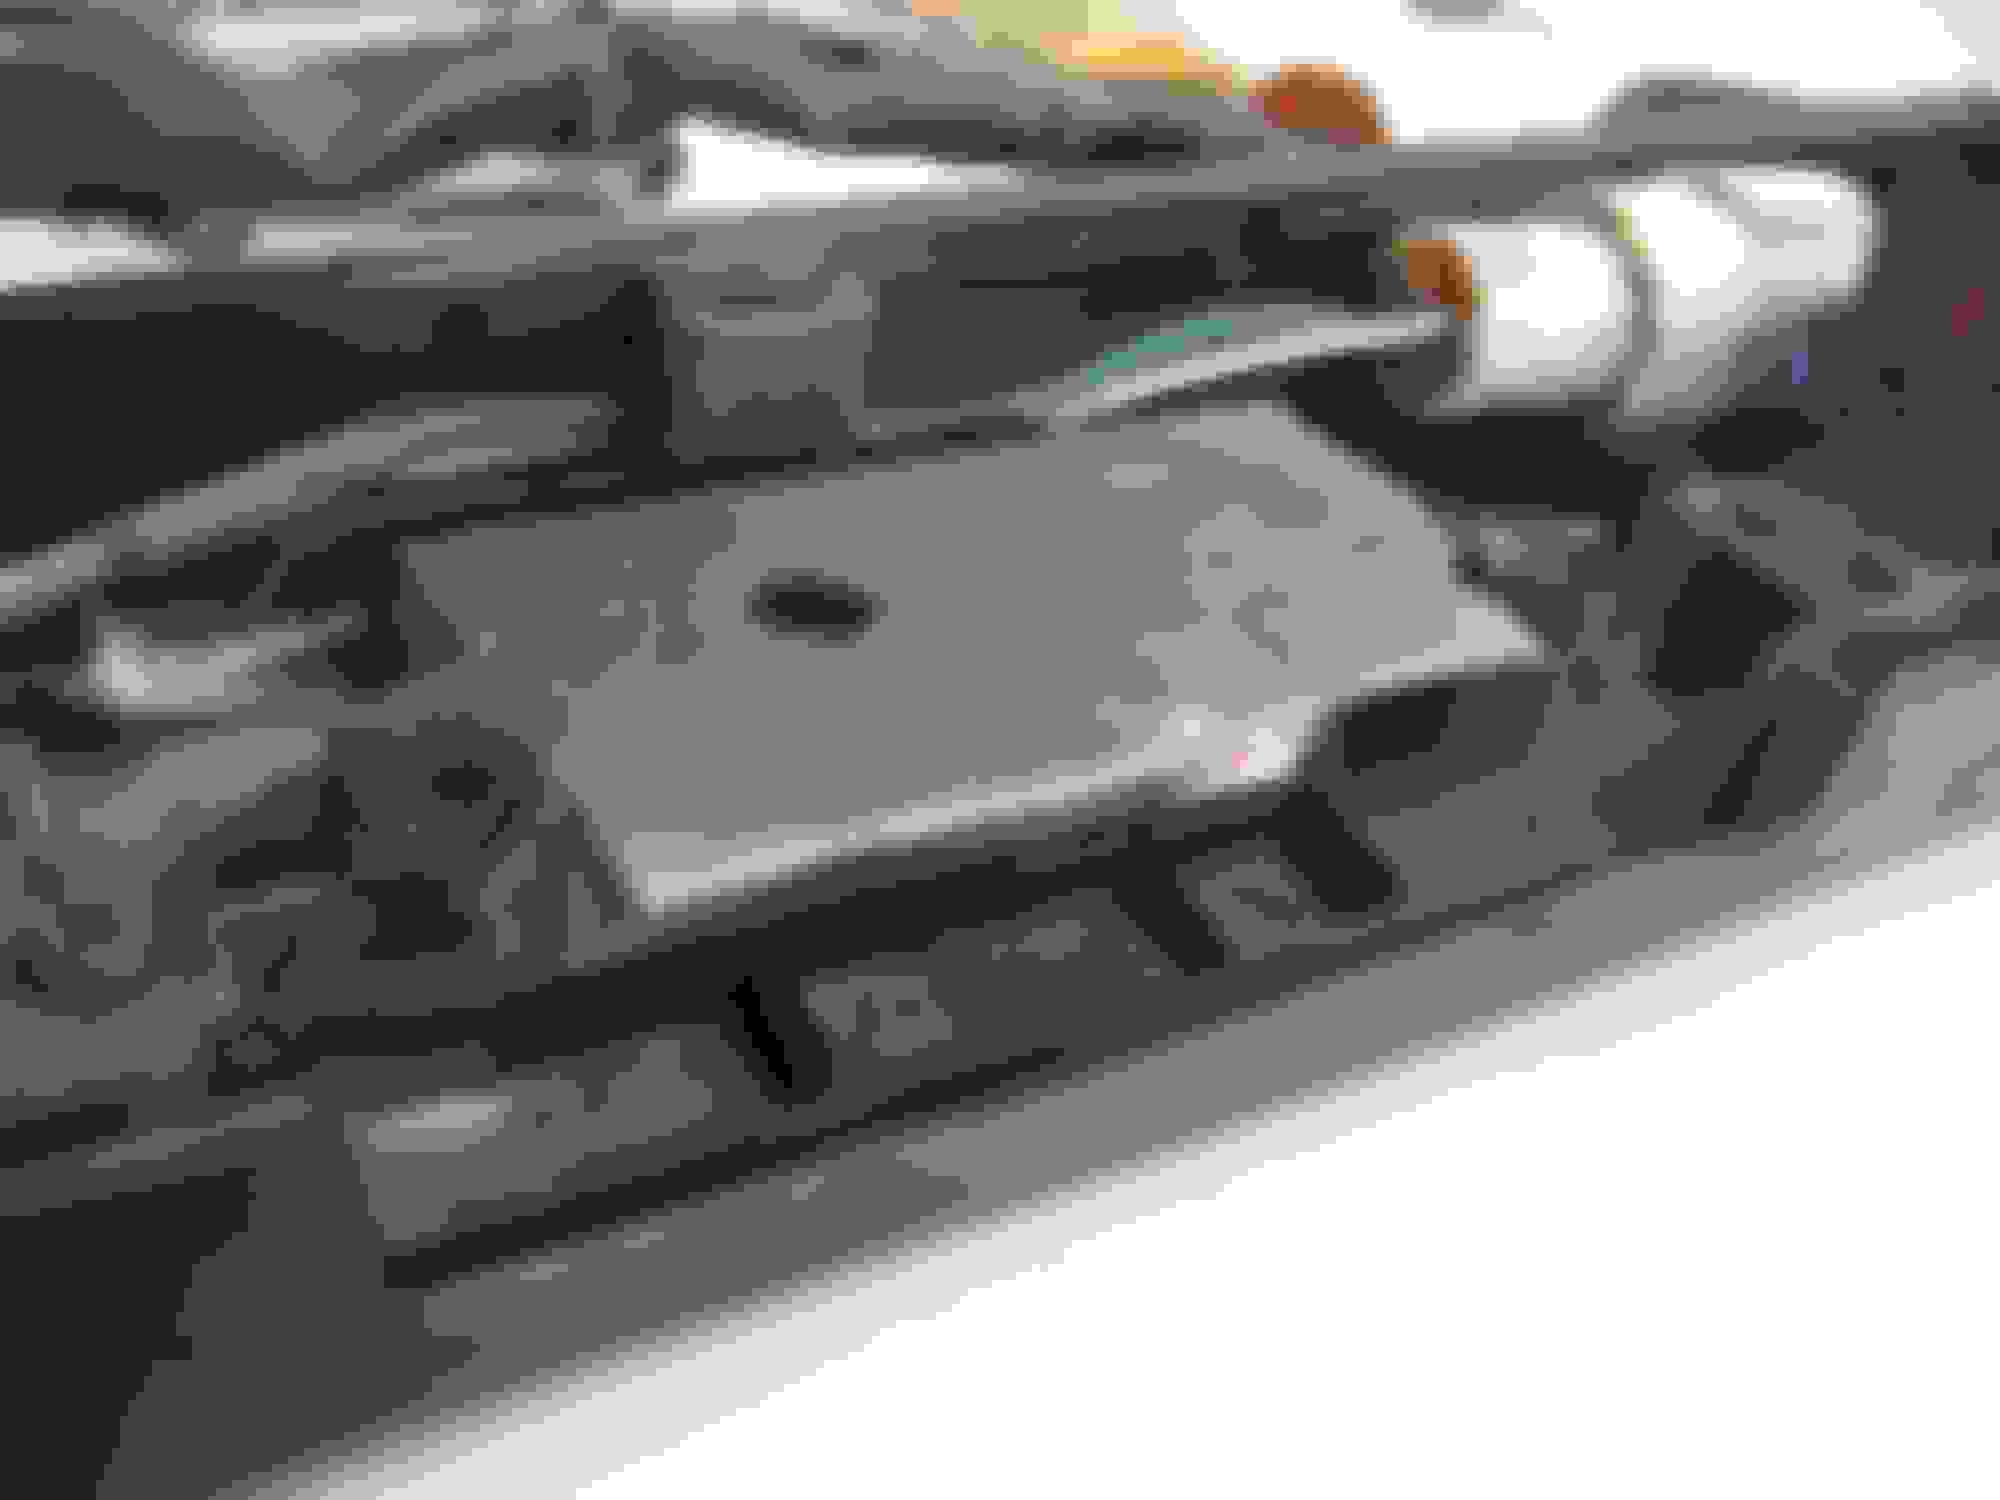
This required fabricating a couple adapter plates -- see photos.
Frame above license plate after adding adapter plates
Adapter plate
Adapter plate
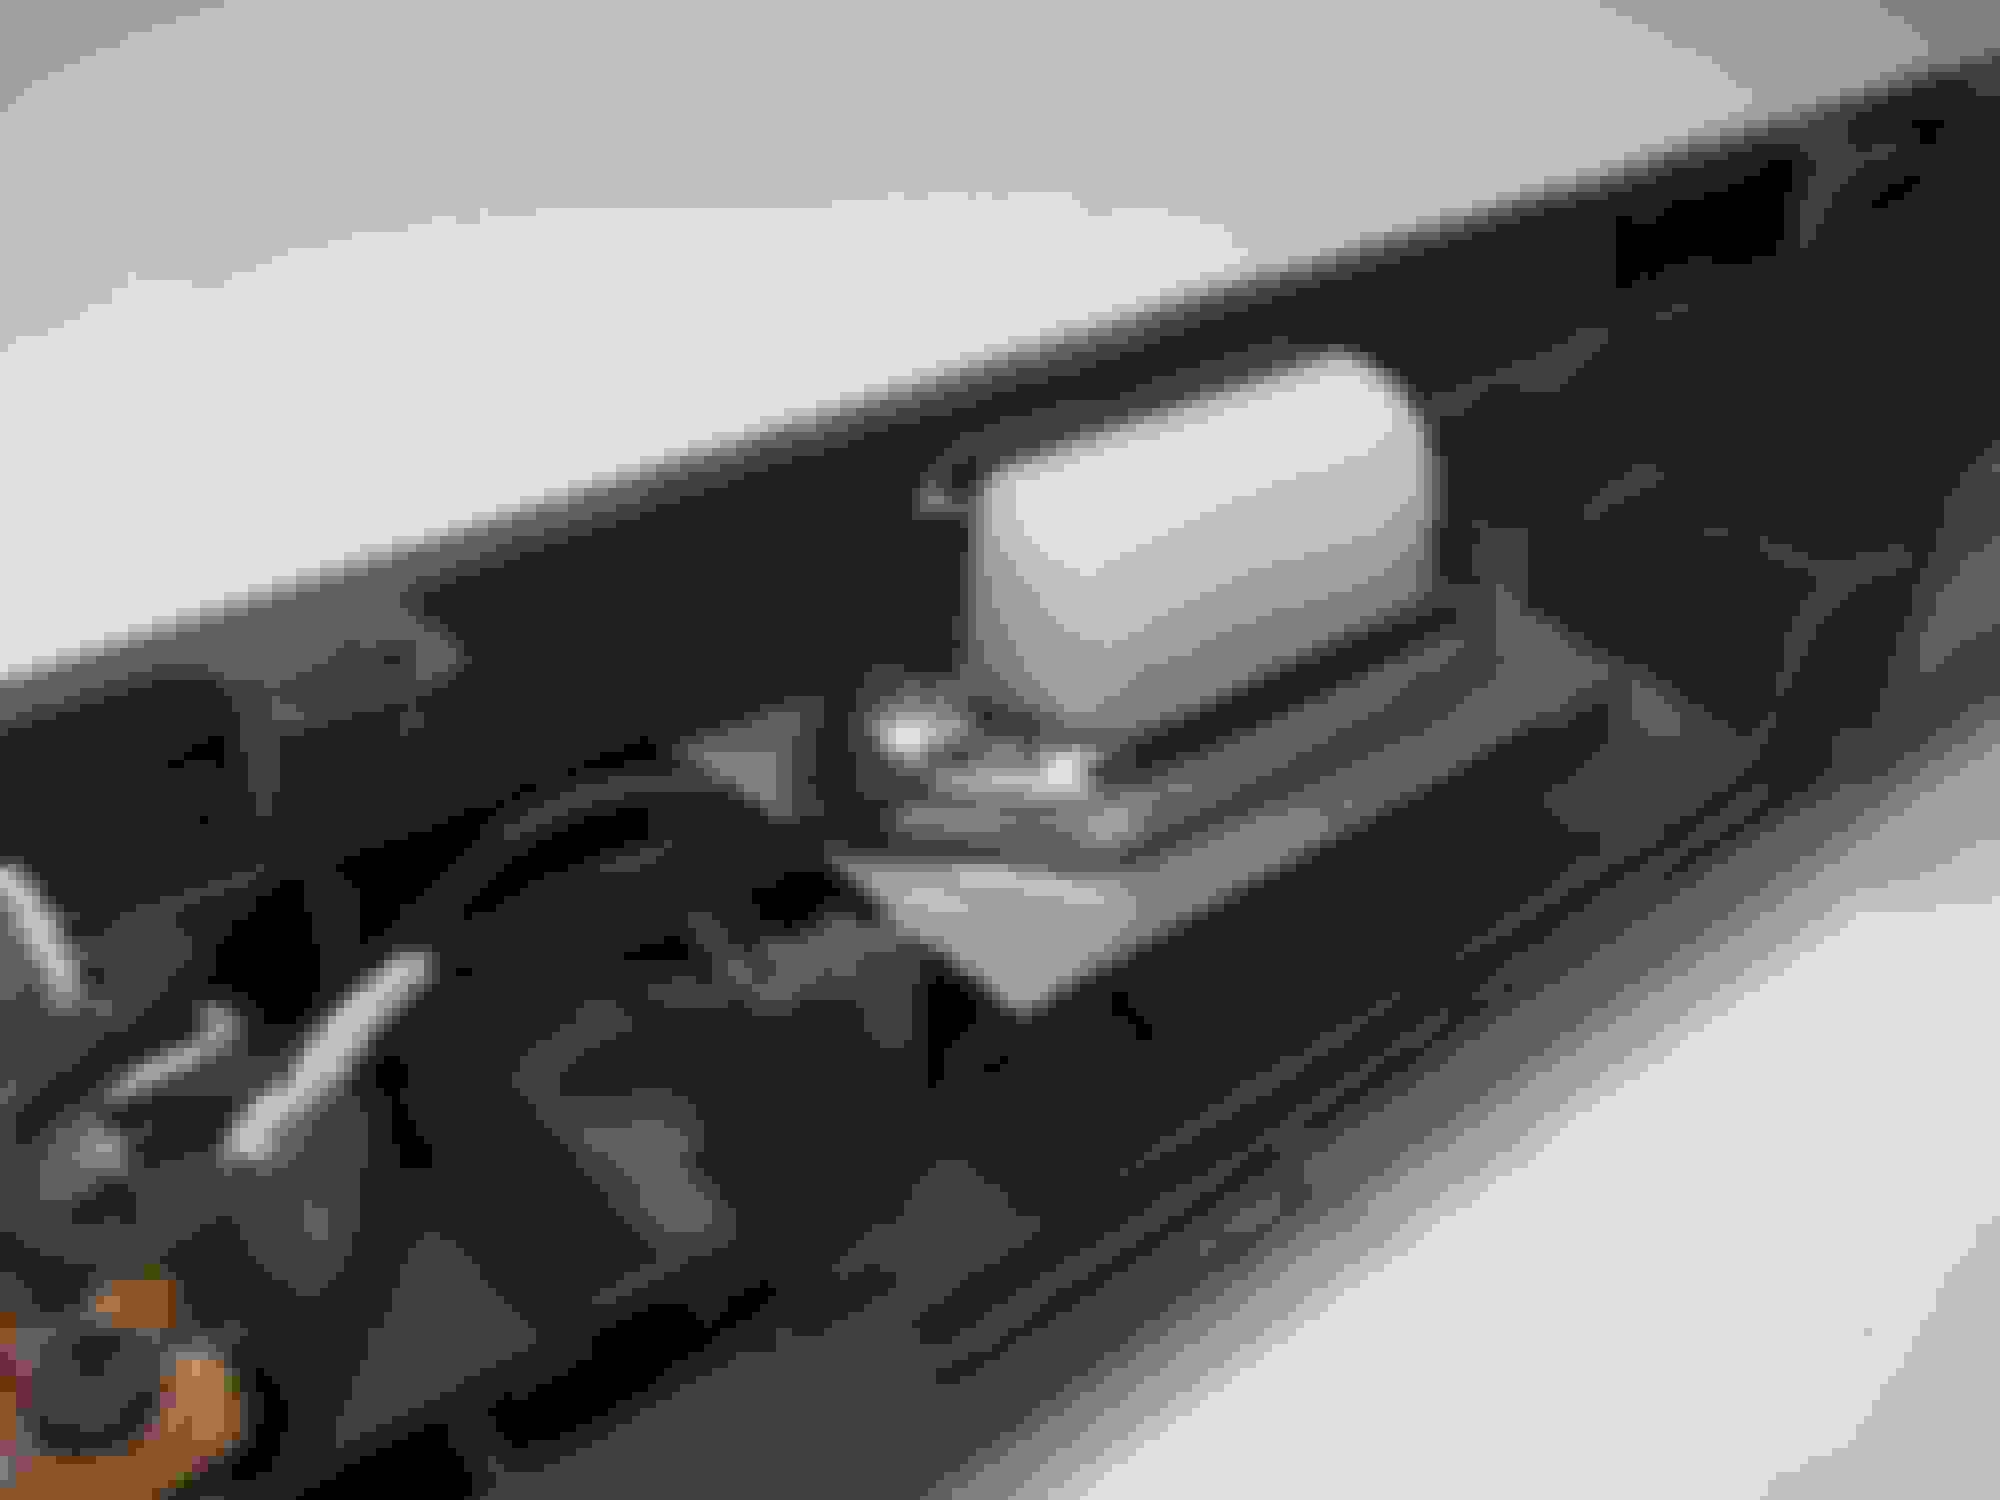
New lamp on adapter plate
New lamp on adapter plate
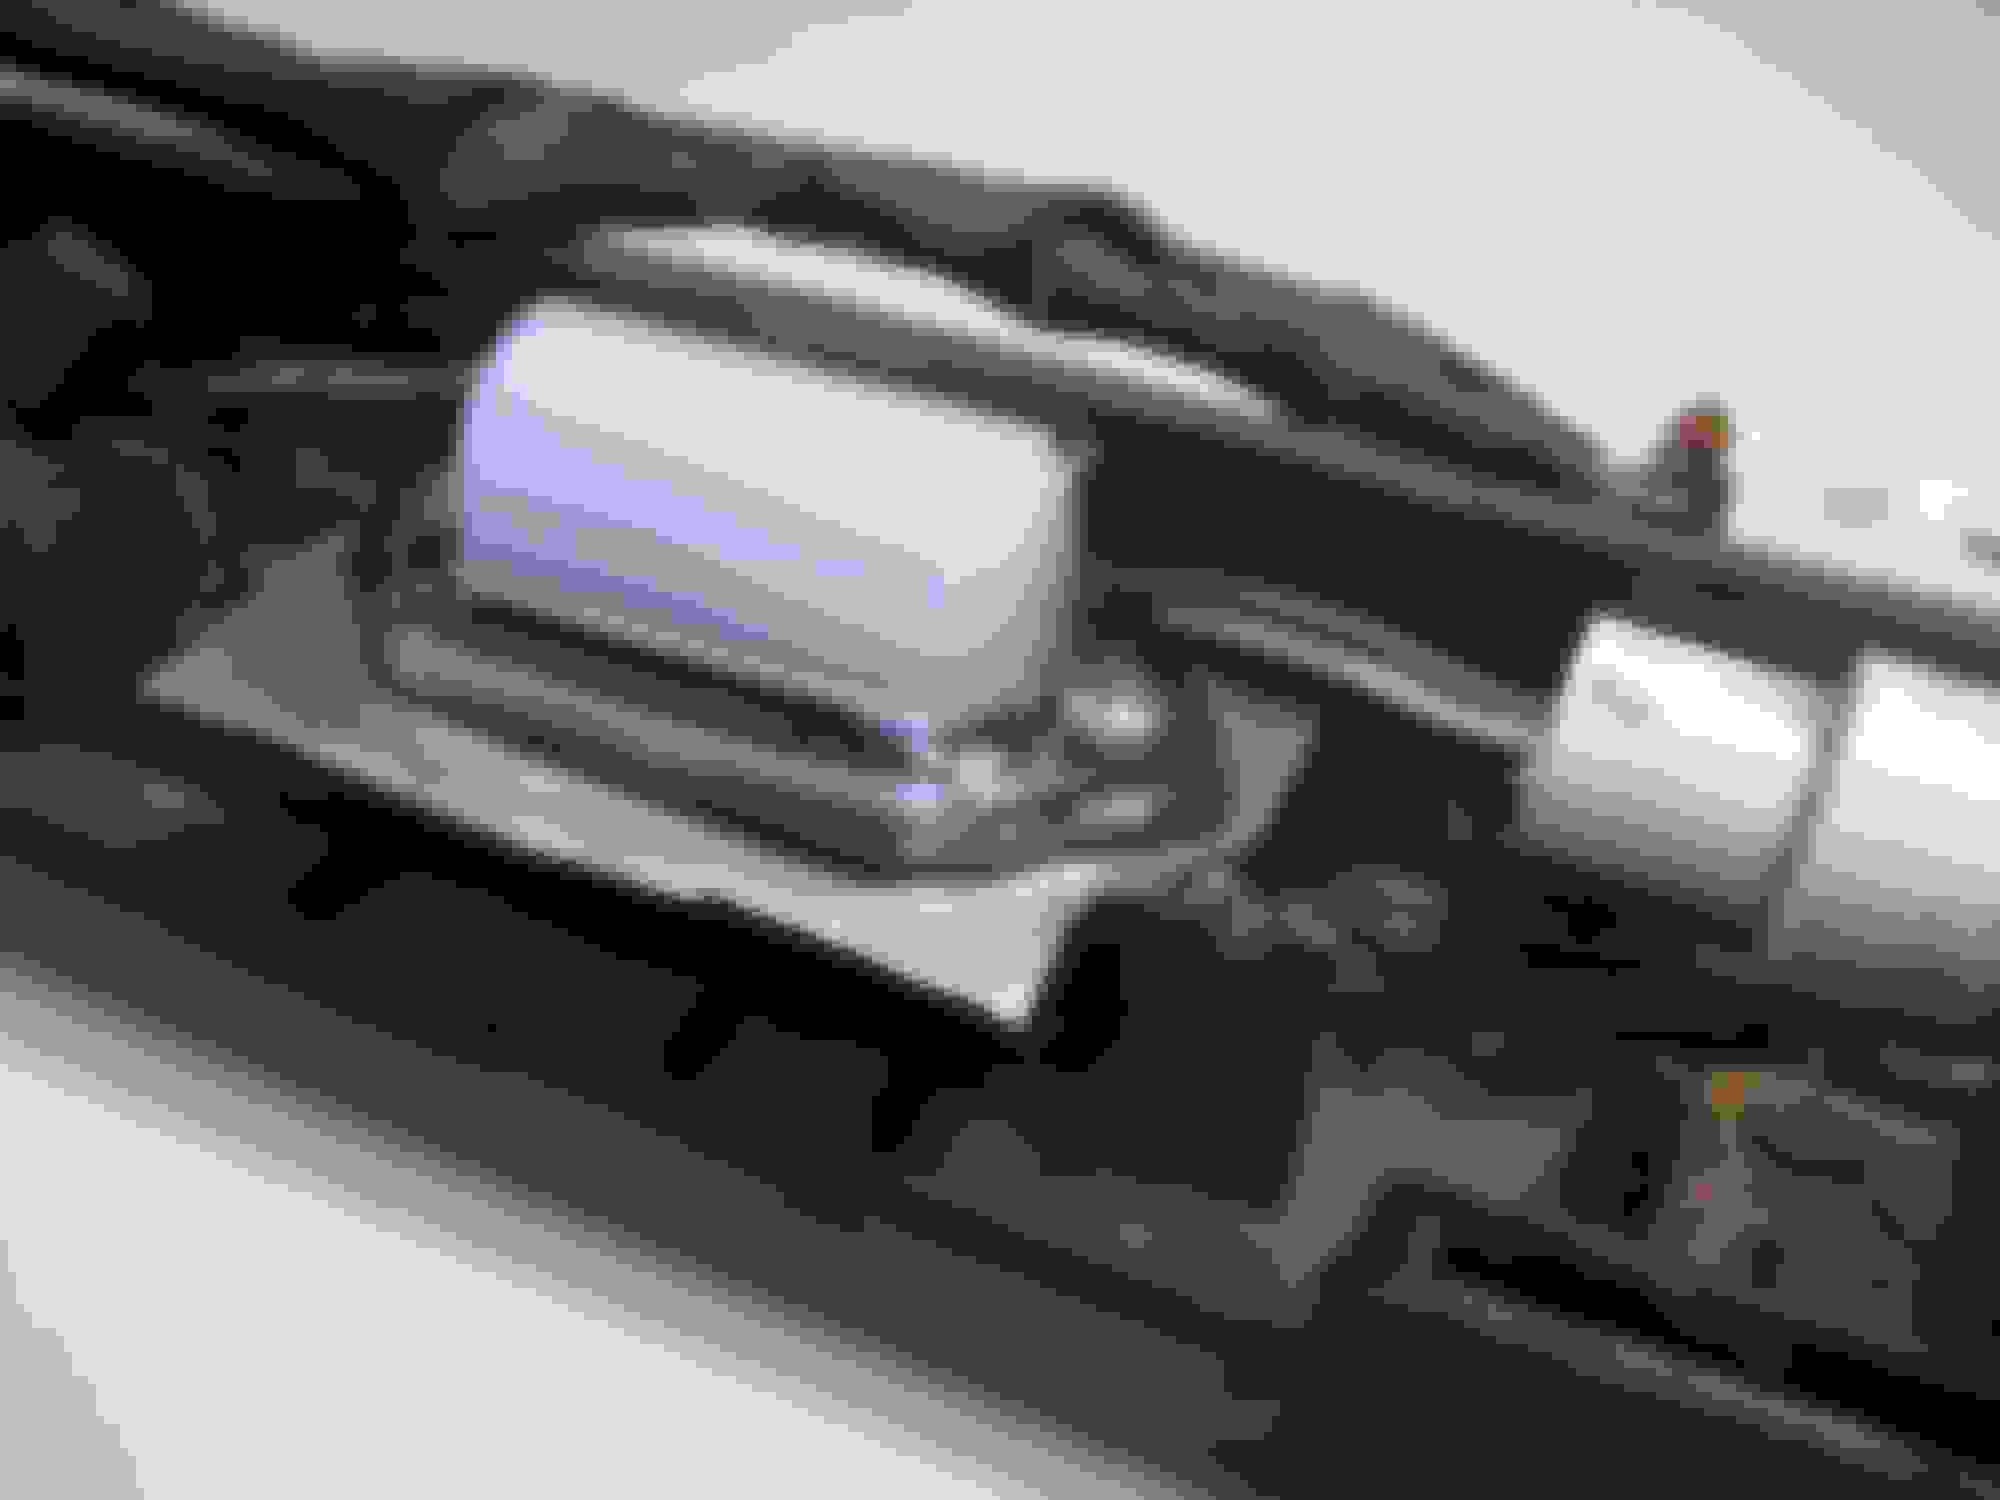
Finished result
Finished result
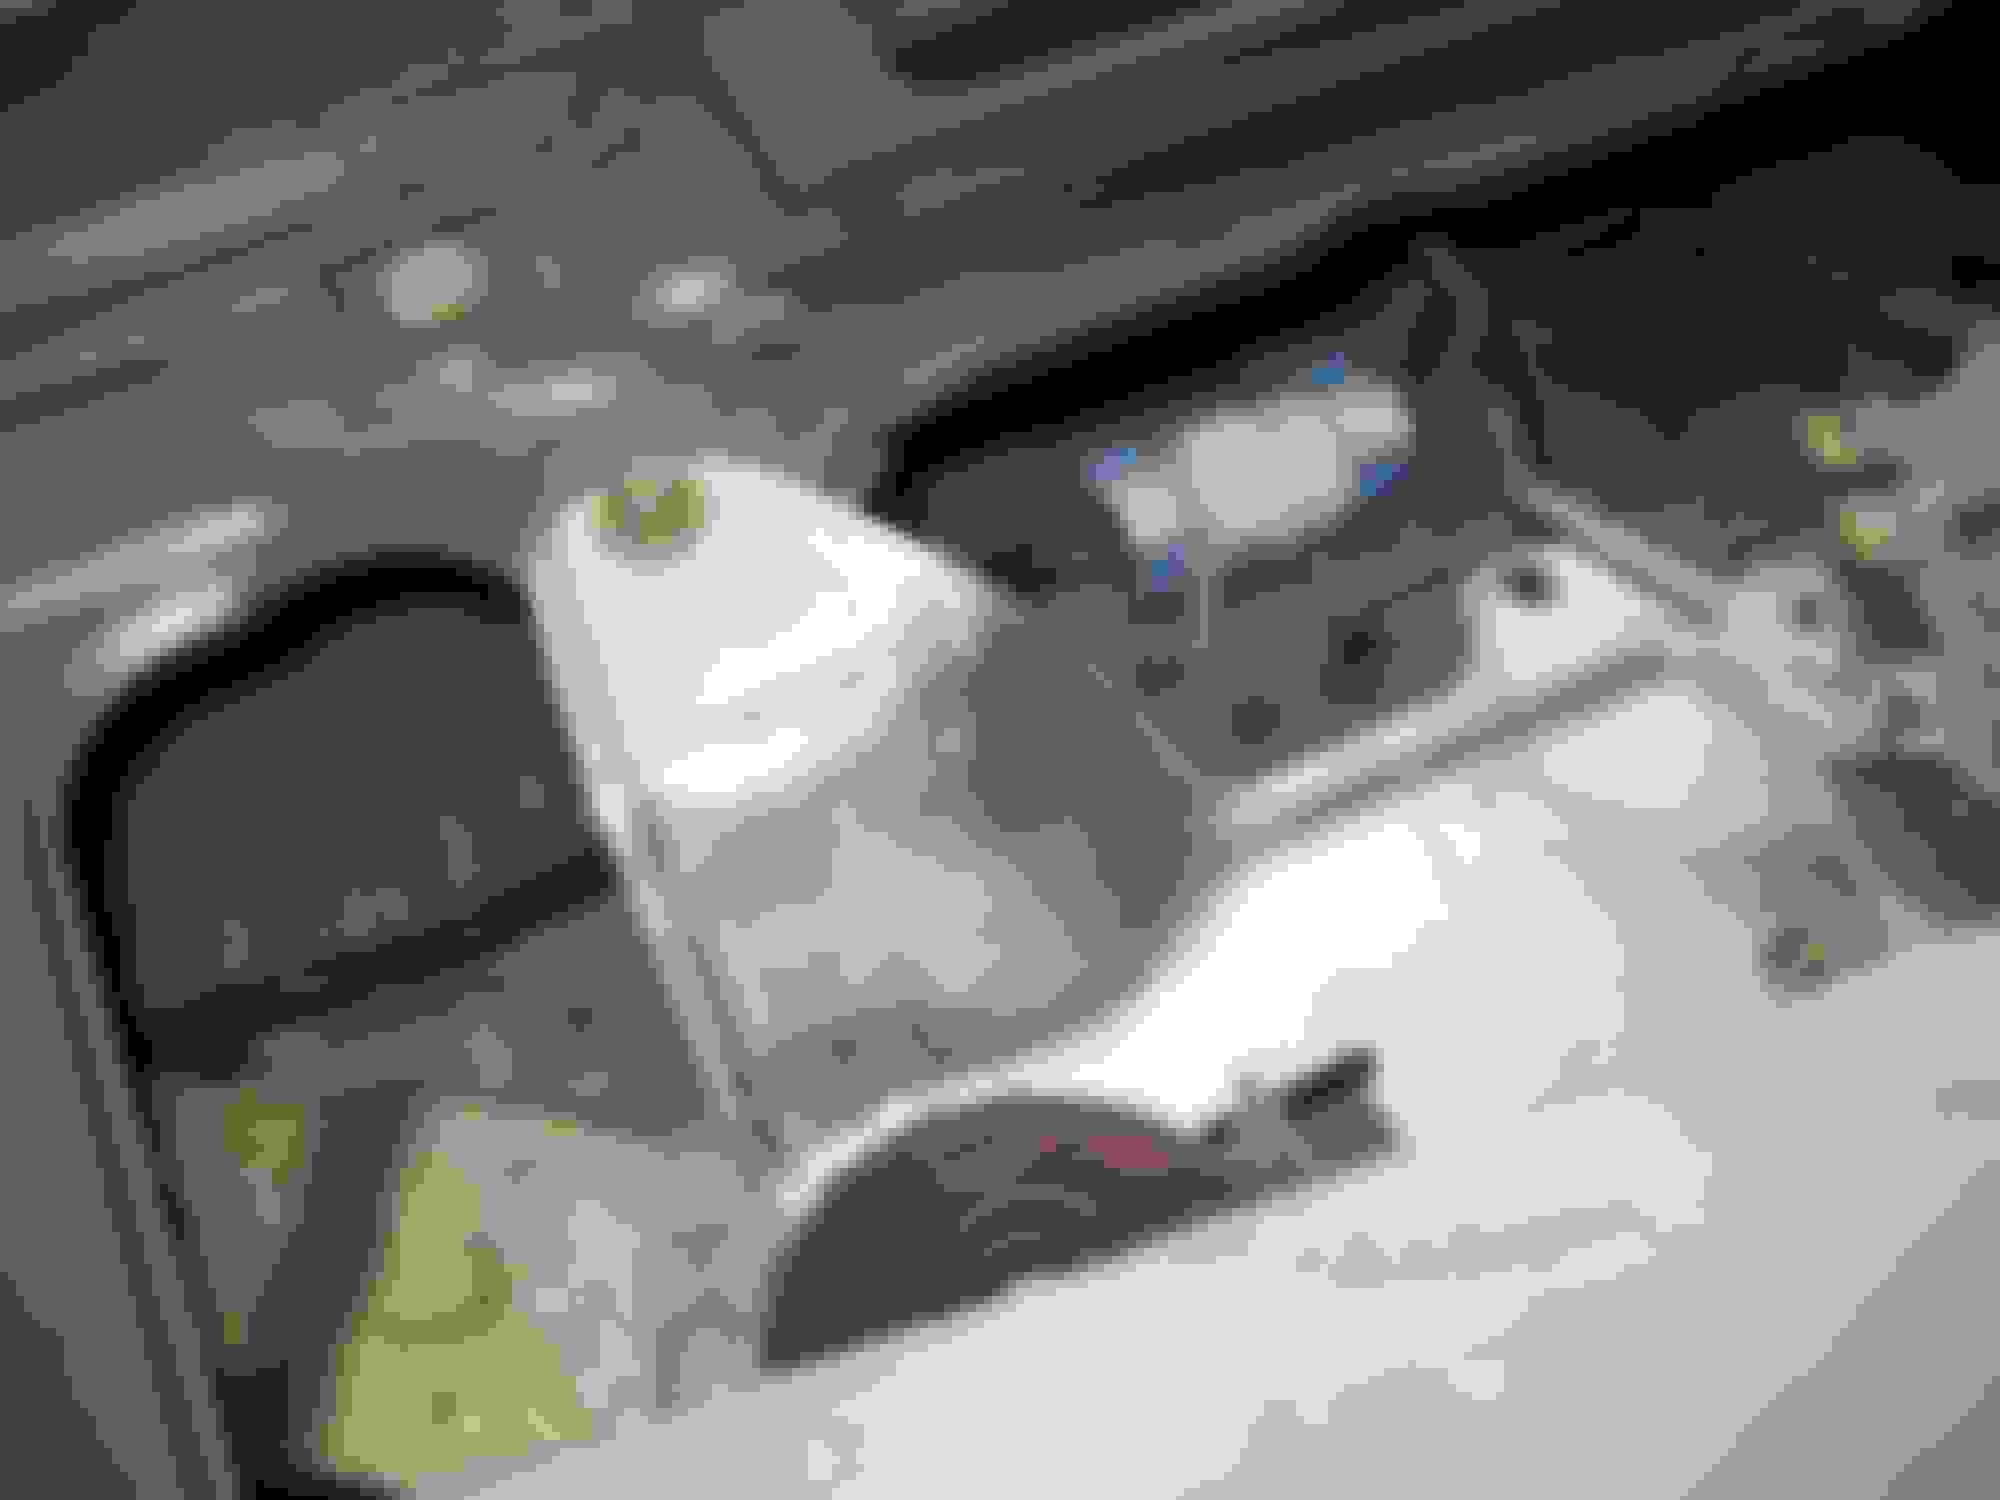
See that connector in the middle? Be sure to secure it so it doesn't get in the way of the glass -- there's not much clearance and it'll catch.

 01-02-2012, 09:19 PM