3.0 V6 Fan Bracket replacement Write-up
 02-27-2012, 12:24 PM
#1
Registered User
Thread Starter
3.0 V6 Fan Bracket replacement Write-up
This is a write-up to replace a fan bracket on a 1991 Toyota Pickup 3.0 v6.
First thing you want to do for this is remove the battery and move the air intake out of the way. Makes life easier.
Then, you want to drain the coolant until the level goes below the upper radiator hose.
Use the drain plug, it might get messy.
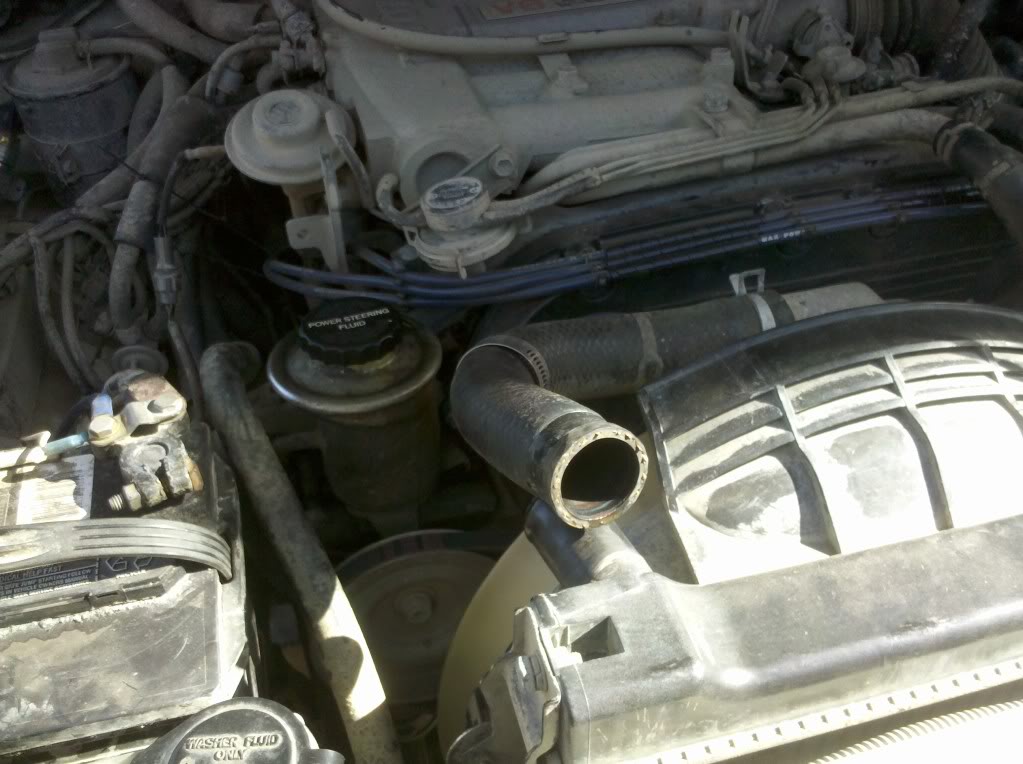
Afterwards, you can remove the upper radiator hose.
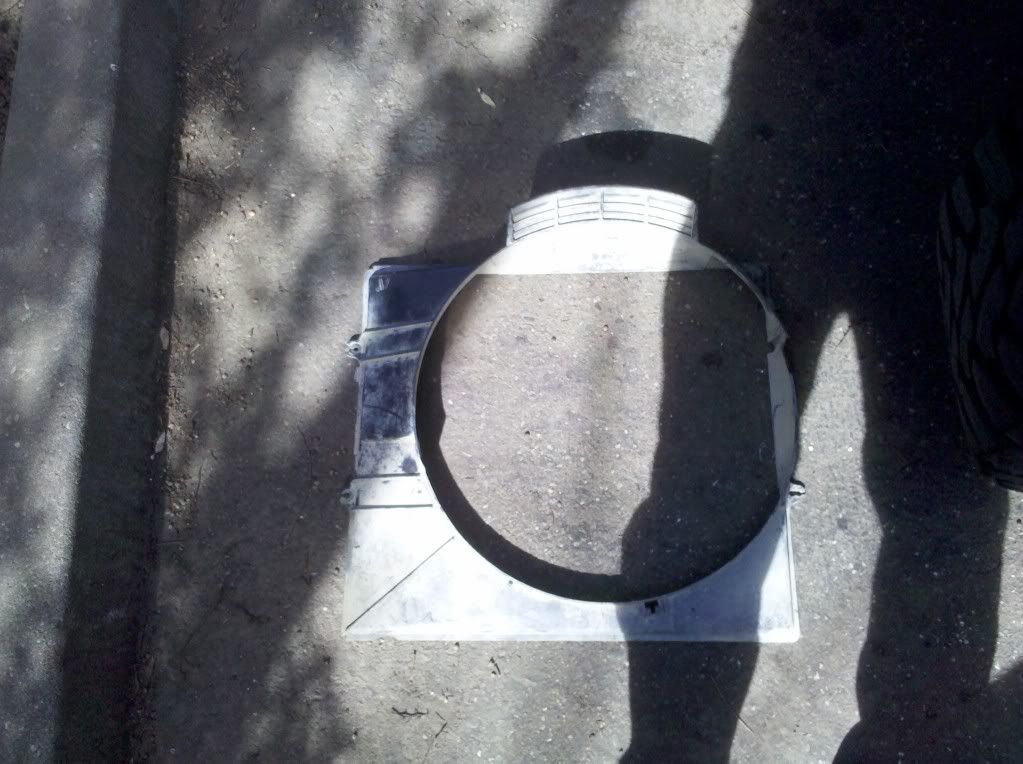
The fan shroud has 2 clips, you want to remove them to get the bottom half out of the way to remove the rest of the shroud.
The whole shroud is held on by 4 10mm bolts. Remove them, and take off the shroud.
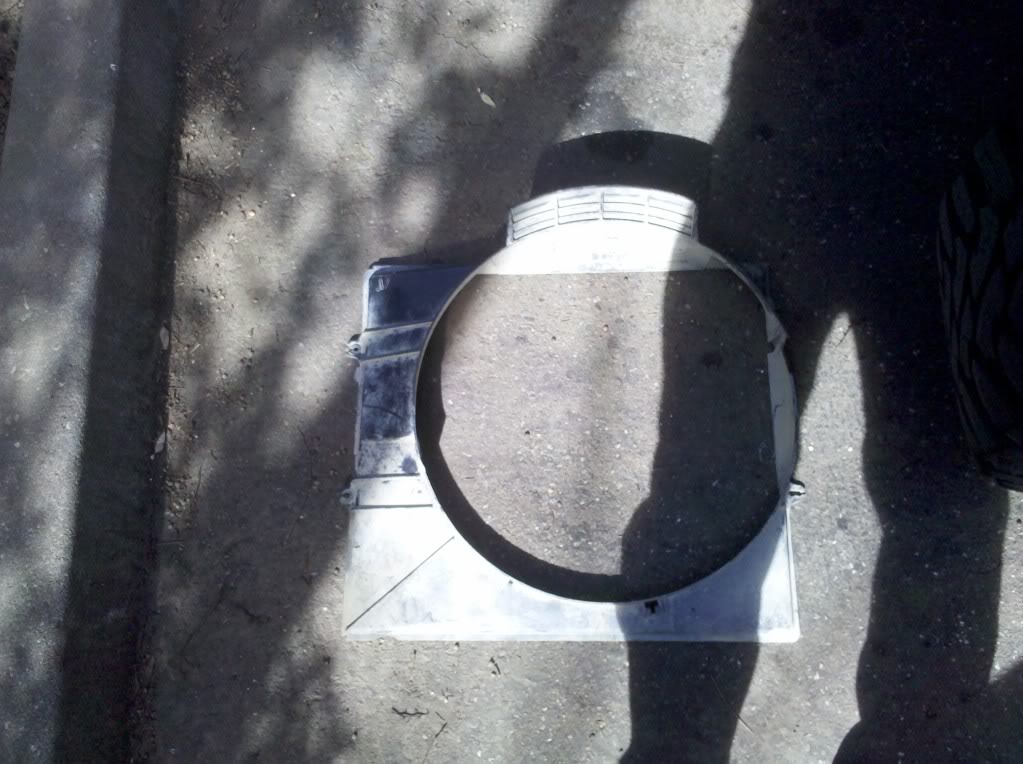
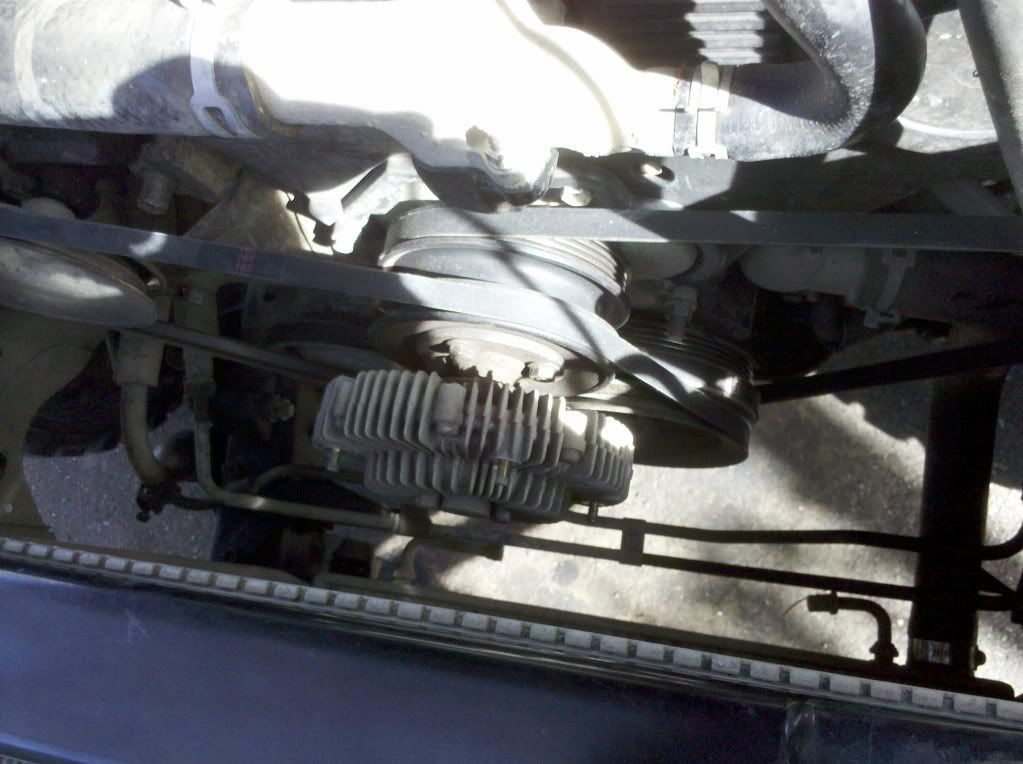
Then you can remove the cooling fan that's held on by 4 10mm nuts.


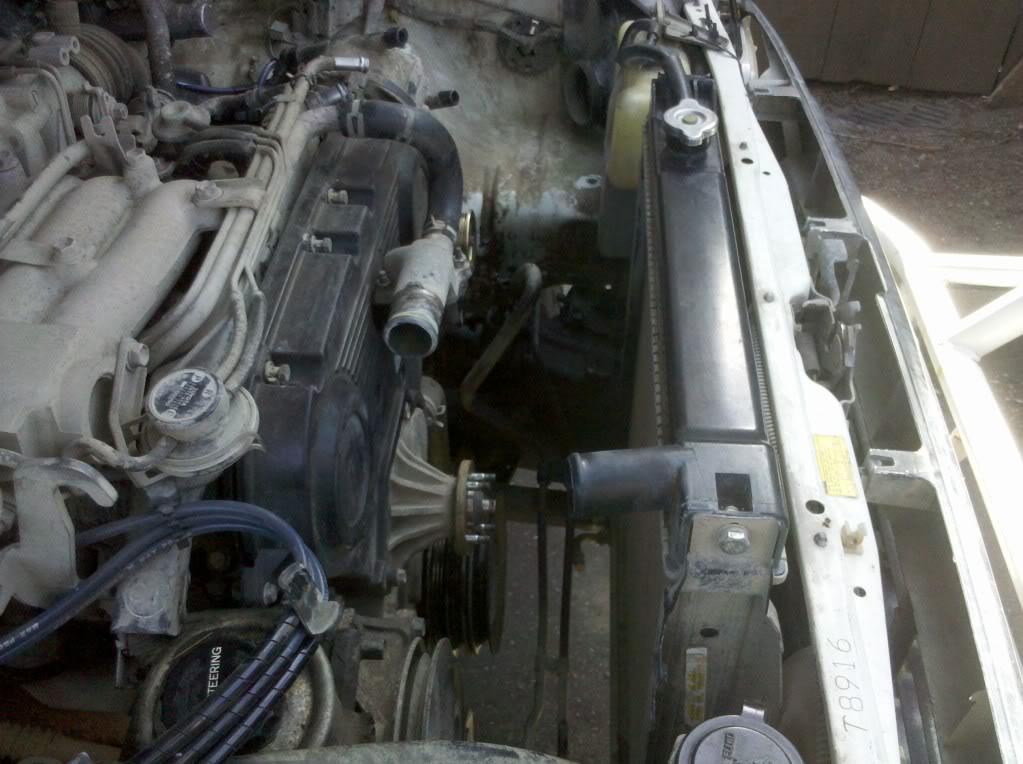
Now you can remove the fan clutch. It's easier to do it when there are belts holding the pulley from spinning, but you can do it with 2 12mm wrenches. Just use 1 wrench to hold one nut and loosen another nut with the other wrench. Once they are broken loose, they are much easier to get off.
It's a good idea now to remove the accessory belts and also move the spark plugs out of the way from the timing cover. It's always a good idea to take a picture of where the spark plugs go to the distributor. If I didn't check mine, I would've had problems.
Now you want to remove the coolant inlet so you can remove the timing belt cover. You can loosen the 2 10mm nuts, and use both of them to remove the stud. My studs were really hard to get out, but the easiest way for me was to put the closed end of my wrench on the bottom nut, then hold the top nut with a 2nd wrench tightened against the bottom to prevent it from spinning without the stud. Slowly, but steadily it should come out.
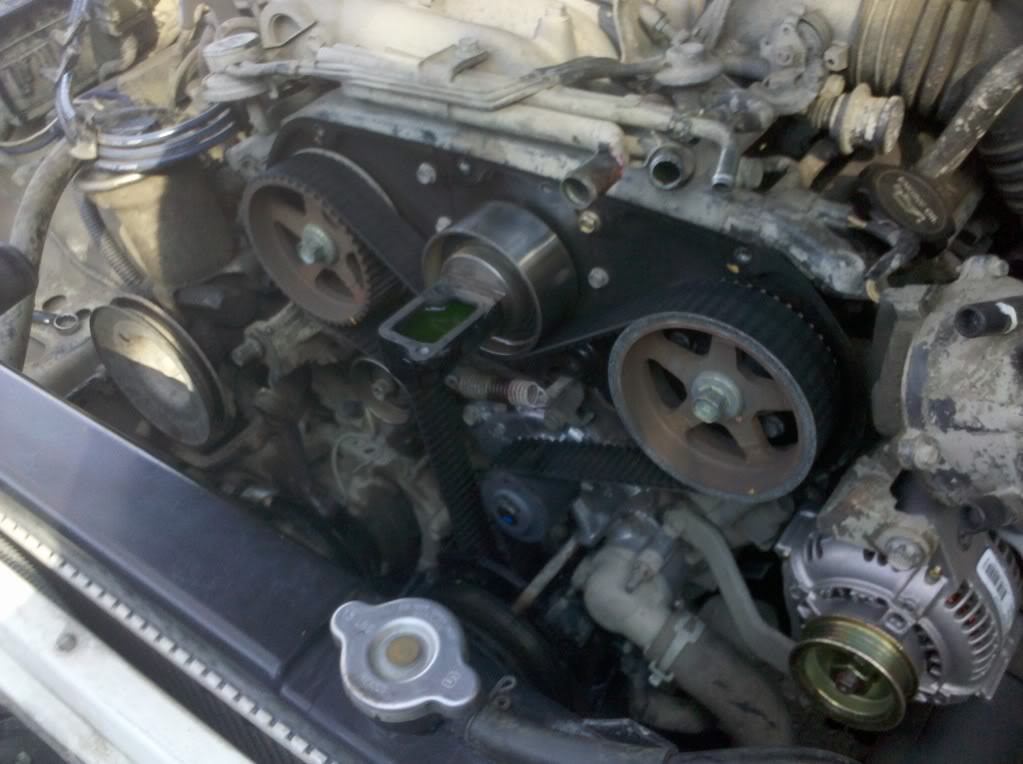
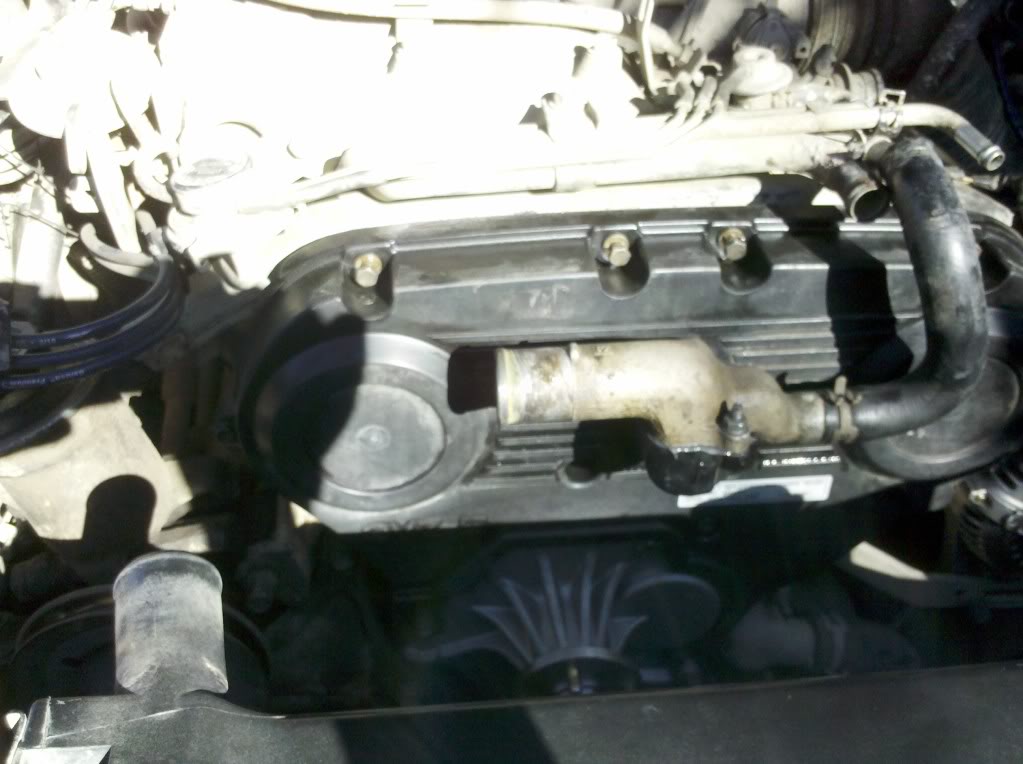
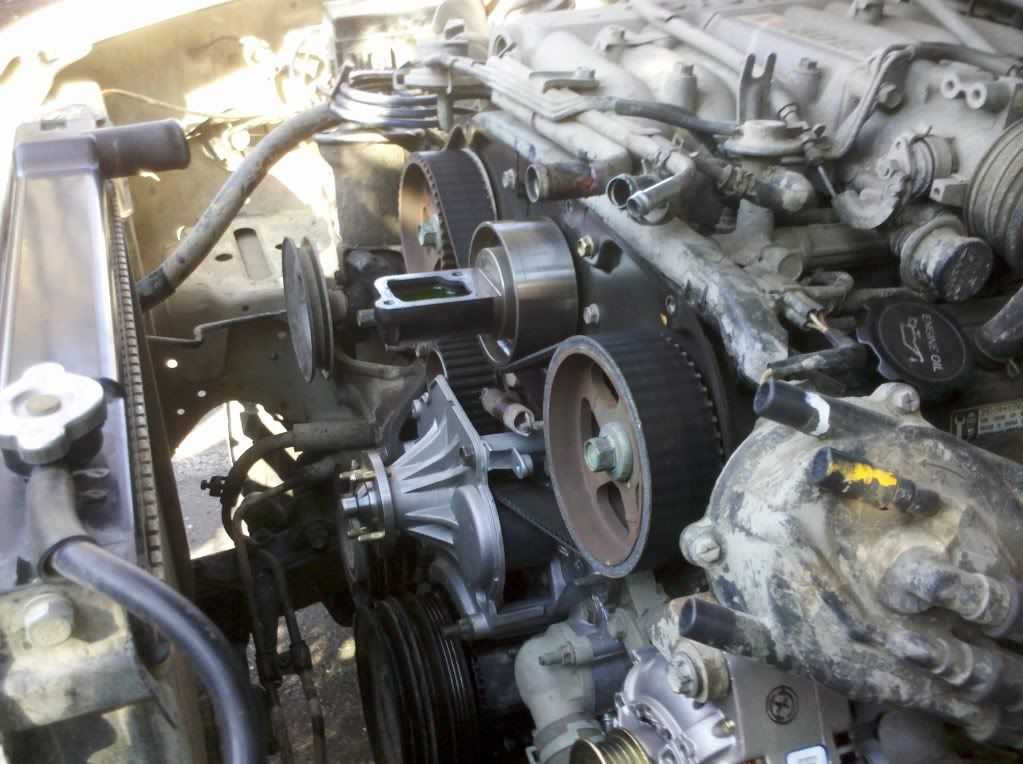
The timing belt cover is held on by 11 bolts. Easy to get too. Remove the cover.
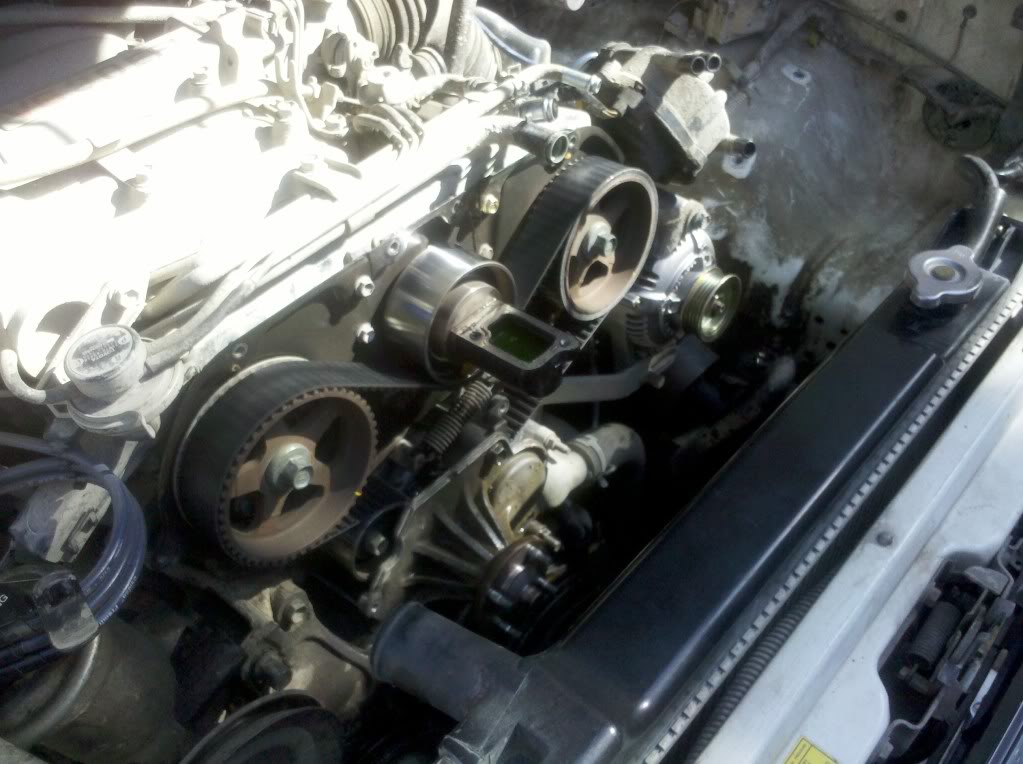
You can see the fan bracket now, but you still have to get the power steering bracket out of the way. Removed the adjusting bolt and then I just removed the 2 bolts, one holding the fan bracket and the one above it, and moved it out of the way just enough to get the fan bracket out.
Then remove rest of the fasteners holding the fan bracket, which should be 2 bolts and one nut, and slide the fan bracket out.
Side by Side
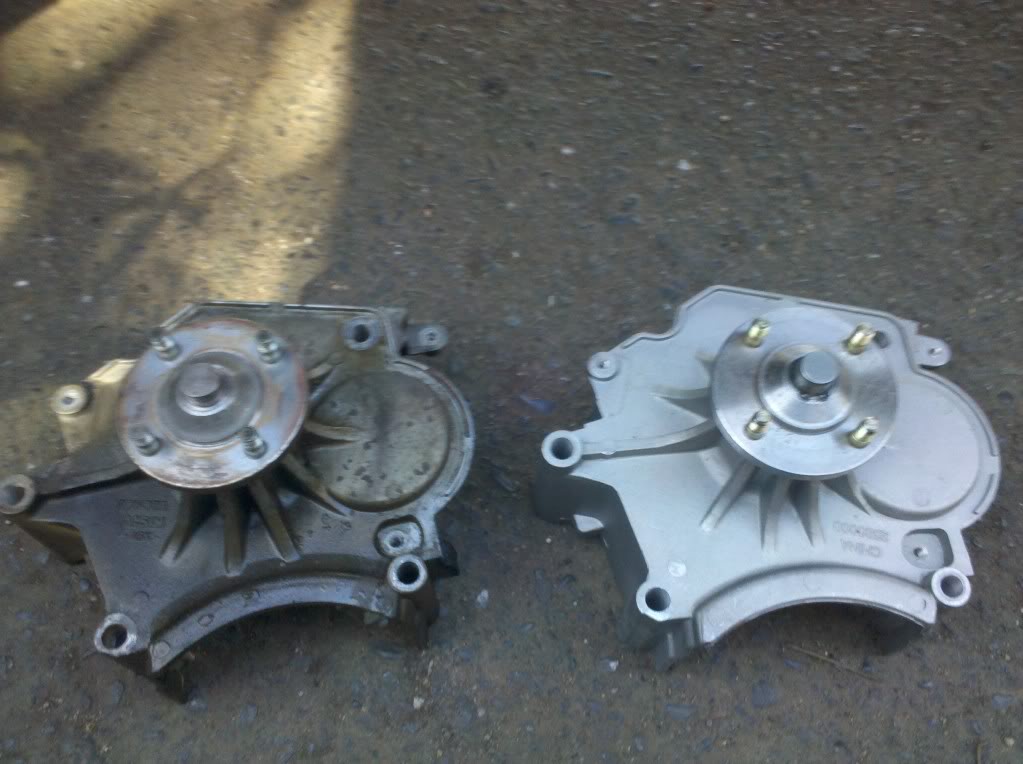
I don't have a hydraulic tensioner on mine. One less thing to worry about.
Installation is reverse of removal pretty much. The torque spec for the fasteners holding the fan bracket is 41 N-m. I lock-tighted everything holding the fan bracket with high-temp lock tight. Also, you have to reseal the coolant inlet, I used RTV and gave it a day to cure. No leaks so far, which is great because I usually have bad luck with that stuff.

Hope this, at least, kind of helps someone
First thing you want to do for this is remove the battery and move the air intake out of the way. Makes life easier.
Then, you want to drain the coolant until the level goes below the upper radiator hose.
Use the drain plug, it might get messy.
Afterwards, you can remove the upper radiator hose.
The fan shroud has 2 clips, you want to remove them to get the bottom half out of the way to remove the rest of the shroud.
The whole shroud is held on by 4 10mm bolts. Remove them, and take off the shroud.
Then you can remove the cooling fan that's held on by 4 10mm nuts.
Now you can remove the fan clutch. It's easier to do it when there are belts holding the pulley from spinning, but you can do it with 2 12mm wrenches. Just use 1 wrench to hold one nut and loosen another nut with the other wrench. Once they are broken loose, they are much easier to get off.
It's a good idea now to remove the accessory belts and also move the spark plugs out of the way from the timing cover. It's always a good idea to take a picture of where the spark plugs go to the distributor. If I didn't check mine, I would've had problems.
Now you want to remove the coolant inlet so you can remove the timing belt cover. You can loosen the 2 10mm nuts, and use both of them to remove the stud. My studs were really hard to get out, but the easiest way for me was to put the closed end of my wrench on the bottom nut, then hold the top nut with a 2nd wrench tightened against the bottom to prevent it from spinning without the stud. Slowly, but steadily it should come out.
The timing belt cover is held on by 11 bolts. Easy to get too. Remove the cover.
You can see the fan bracket now, but you still have to get the power steering bracket out of the way. Removed the adjusting bolt and then I just removed the 2 bolts, one holding the fan bracket and the one above it, and moved it out of the way just enough to get the fan bracket out.
Then remove rest of the fasteners holding the fan bracket, which should be 2 bolts and one nut, and slide the fan bracket out.
Side by Side
I don't have a hydraulic tensioner on mine. One less thing to worry about.
Installation is reverse of removal pretty much. The torque spec for the fasteners holding the fan bracket is 41 N-m. I lock-tighted everything holding the fan bracket with high-temp lock tight. Also, you have to reseal the coolant inlet, I used RTV and gave it a day to cure. No leaks so far, which is great because I usually have bad luck with that stuff.
Hope this, at least, kind of helps someone
Last edited by cr@ves4wheelin; 02-27-2012 at 02:56 PM.
 02-27-2012, 01:14 PM
#4
Registered User
Thread Starter
No, mine still wobbles for some reason. So either
a) I got a faulty part (either the fan clutch or fan bracket)
or
b)My fan is warped? Is that a possibilty?
a) I got a faulty part (either the fan clutch or fan bracket)
or
b)My fan is warped? Is that a possibilty?
02-27-2012, 01:26 PM
#5
Registered User
I had a problem with my first fan bracket. ( granted, I have a story to go along with it )
I replaced it a week before pismo. worked great. while i was at pismo, i accidentally jumped my rig off a 4-5 foot cliff ( sudden drop ). Scared the living piss out of me, got out, check the truck and it was perfectly fine. after the weekend was up, i drove it home. 2 days after i got home the entire shaft in the fan bracket pulled out and caused my belts to jump off the pullies. Here's the thread on it: https://www.yotatech.com/forums/f116...equest-224276/
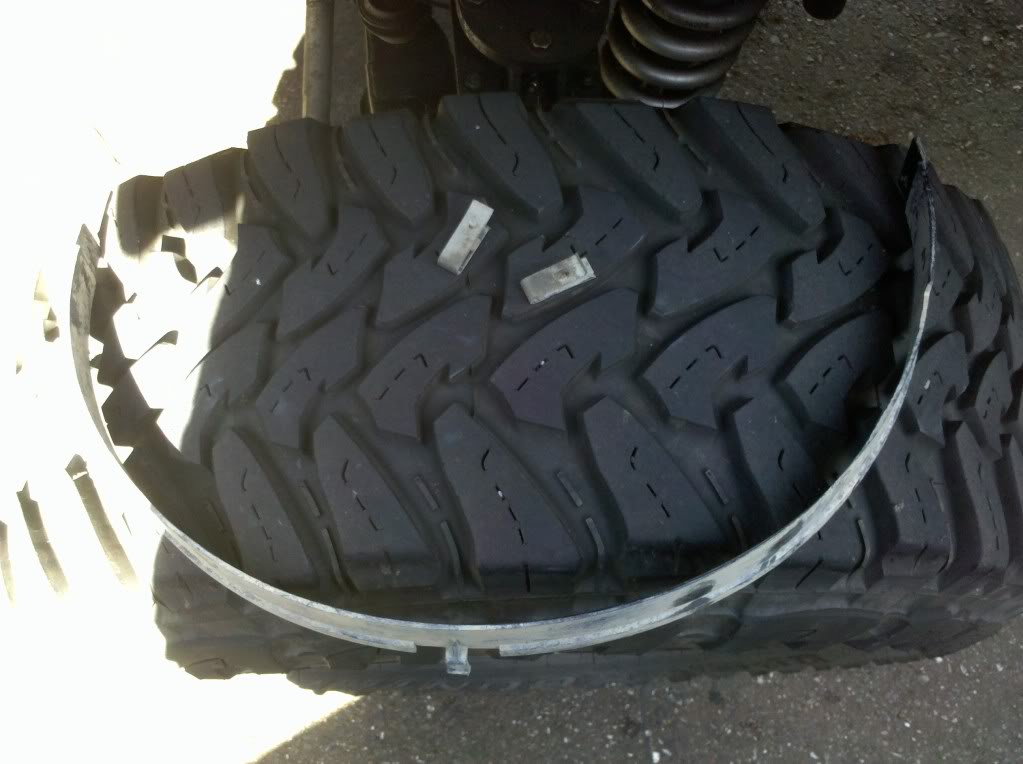
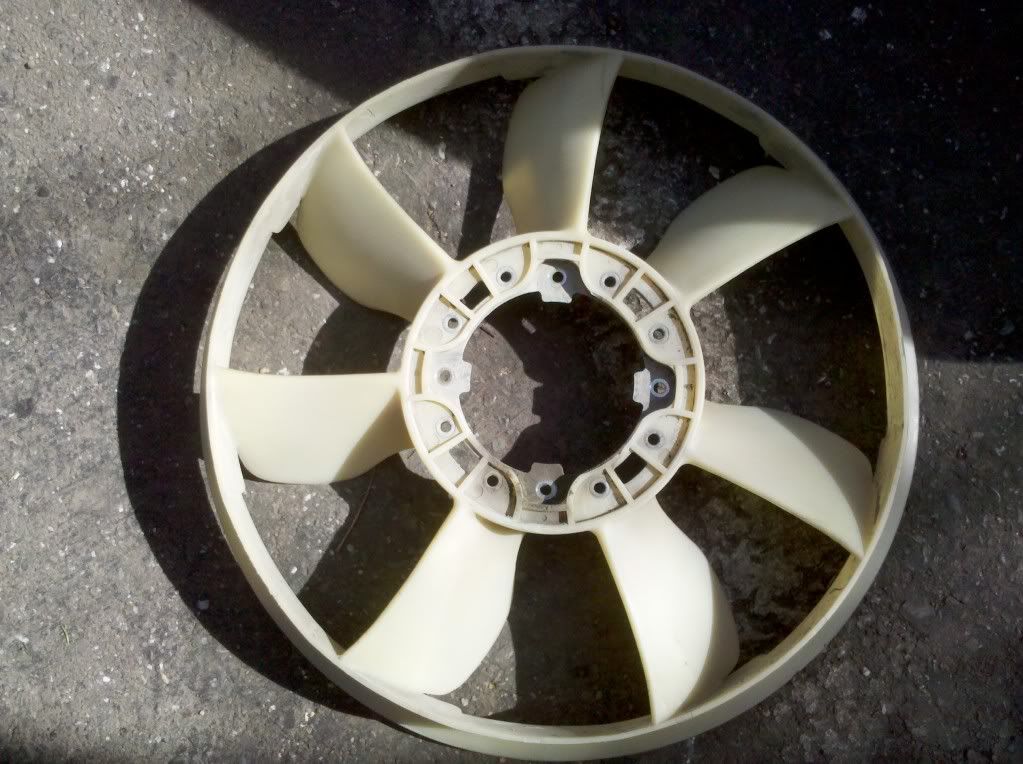
Also, you could always convert to a 94/95 v6 fan. Its bladed instead of having a ring. could be the fan is warped. could be the belts, could be you need some new pullies... theres a lot of factors.
I replaced it a week before pismo. worked great. while i was at pismo, i accidentally jumped my rig off a 4-5 foot cliff ( sudden drop ). Scared the living piss out of me, got out, check the truck and it was perfectly fine. after the weekend was up, i drove it home. 2 days after i got home the entire shaft in the fan bracket pulled out and caused my belts to jump off the pullies. Here's the thread on it: https://www.yotatech.com/forums/f116...equest-224276/
Also, you could always convert to a 94/95 v6 fan. Its bladed instead of having a ring. could be the fan is warped. could be the belts, could be you need some new pullies... theres a lot of factors.
02-27-2012, 01:34 PM
#6
Registered User
Thread Starter
That's a little scary. The one I got was a real pain to put in. It wouldn't slide on to the stud easily. Then I had to stand in the engine bay to lift up on it a little just to get the bolt holes to line up. One foot where the battery was, one on my bumper haha.
I'll have to dive into it some other time, I've done all that I can for now.
I'll have to dive into it some other time, I've done all that I can for now.
11-25-2013, 10:57 AM
#7
Registered User

Join Date: Oct 2013
Posts: 22
Likes: 0
Received 0 Likes
on
0 Posts
What was the time spent doing this job
This is a write-up to replace a fan bracket on a 1991 Toyota Pickup 3.0 v6.
First thing you want to do for this is remove the battery and move the air intake out of the way. Makes life easier.
Then, you want to drain the coolant until the level goes below the upper radiator hose.

Use the drain plug, it might get messy.
Afterwards, you can remove the upper radiator hose.

The fan shroud has 2 clips, you want to remove them to get the bottom half out of the way to remove the rest of the shroud.

The whole shroud is held on by 4 10mm bolts. Remove them, and take off the shroud.
Then you can remove the cooling fan that's held on by 4 10mm nuts.
Now you can remove the fan clutch. It's easier to do it when there are belts holding the pulley from spinning, but you can do it with 2 12mm wrenches. Just use 1 wrench to hold one nut and loosen another nut with the other wrench. Once they are broken loose, they are much easier to get off.
It's a good idea now to remove the accessory belts and also move the spark plugs out of the way from the timing cover. It's always a good idea to take a picture of where the spark plugs go to the distributor. If I didn't check mine, I would've had problems.

Now you want to remove the coolant inlet so you can remove the timing belt cover. You can loosen the 2 10mm nuts, and use both of them to remove the stud. My studs were really hard to get out, but the easiest way for me was to put the closed end of my wrench on the bottom nut, then hold the top nut with a 2nd wrench tightened against the bottom to prevent it from spinning without the stud. Slowly, but steadily it should come out.
The timing belt cover is held on by 11 bolts. Easy to get too. Remove the cover.

You can see the fan bracket now, but you still have to get the power steering bracket out of the way. Removed the adjusting bolt and then I just removed the 2 bolts, one holding the fan bracket and the one above it, and moved it out of the way just enough to get the fan bracket out.
Then remove rest of the fasteners holding the fan bracket, which should be 2 bolts and one nut, and slide the fan bracket out.

Side by Side

I don't have a hydraulic tensioner on mine. One less thing to worry about.
Installation is reverse of removal pretty much. The torque spec for the fasteners holding the fan bracket is 41 N-m. I lock-tighted everything holding the fan bracket with high-temp lock tight. Also, you have to reseal the coolant inlet, I used RTV and gave it a day to cure. No leaks so far, which is great because I usually have bad luck with that stuff.

Hope this, at least, kind of helps someone
First thing you want to do for this is remove the battery and move the air intake out of the way. Makes life easier.
Then, you want to drain the coolant until the level goes below the upper radiator hose.
Use the drain plug, it might get messy.
Afterwards, you can remove the upper radiator hose.
The fan shroud has 2 clips, you want to remove them to get the bottom half out of the way to remove the rest of the shroud.
The whole shroud is held on by 4 10mm bolts. Remove them, and take off the shroud.
Then you can remove the cooling fan that's held on by 4 10mm nuts.
Now you can remove the fan clutch. It's easier to do it when there are belts holding the pulley from spinning, but you can do it with 2 12mm wrenches. Just use 1 wrench to hold one nut and loosen another nut with the other wrench. Once they are broken loose, they are much easier to get off.
It's a good idea now to remove the accessory belts and also move the spark plugs out of the way from the timing cover. It's always a good idea to take a picture of where the spark plugs go to the distributor. If I didn't check mine, I would've had problems.
Now you want to remove the coolant inlet so you can remove the timing belt cover. You can loosen the 2 10mm nuts, and use both of them to remove the stud. My studs were really hard to get out, but the easiest way for me was to put the closed end of my wrench on the bottom nut, then hold the top nut with a 2nd wrench tightened against the bottom to prevent it from spinning without the stud. Slowly, but steadily it should come out.
The timing belt cover is held on by 11 bolts. Easy to get too. Remove the cover.
You can see the fan bracket now, but you still have to get the power steering bracket out of the way. Removed the adjusting bolt and then I just removed the 2 bolts, one holding the fan bracket and the one above it, and moved it out of the way just enough to get the fan bracket out.
Then remove rest of the fasteners holding the fan bracket, which should be 2 bolts and one nut, and slide the fan bracket out.
Side by Side
I don't have a hydraulic tensioner on mine. One less thing to worry about.
Installation is reverse of removal pretty much. The torque spec for the fasteners holding the fan bracket is 41 N-m. I lock-tighted everything holding the fan bracket with high-temp lock tight. Also, you have to reseal the coolant inlet, I used RTV and gave it a day to cure. No leaks so far, which is great because I usually have bad luck with that stuff.
Hope this, at least, kind of helps someone
Trending Topics
12-02-2013, 09:39 PM
#8
Registered User
Thread Starter
It was so long ago, I honestly cant remember anymore. Maybe half a day or less depending on how prepared you are. I would give yourself most of the day, if you arent using toyota parts, as you know mine didn't fit so easily. Either way, you still have to let the sealant for the coolant inlet to cure overnight.
12-06-2013, 01:52 AM
#9
Registered User

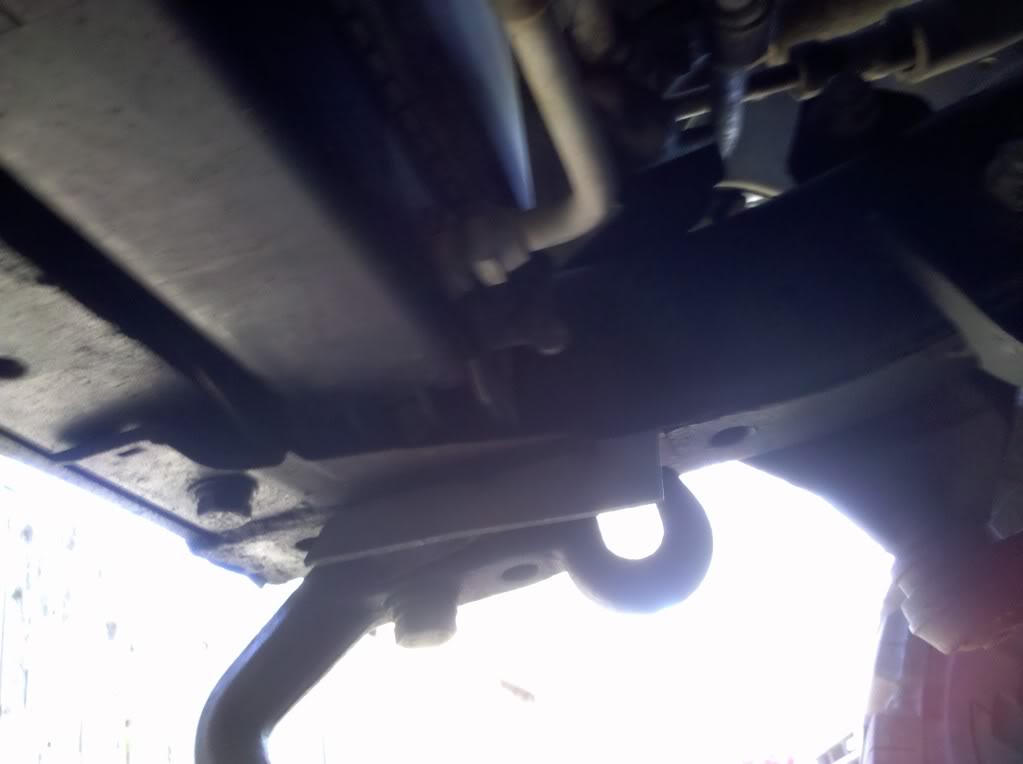
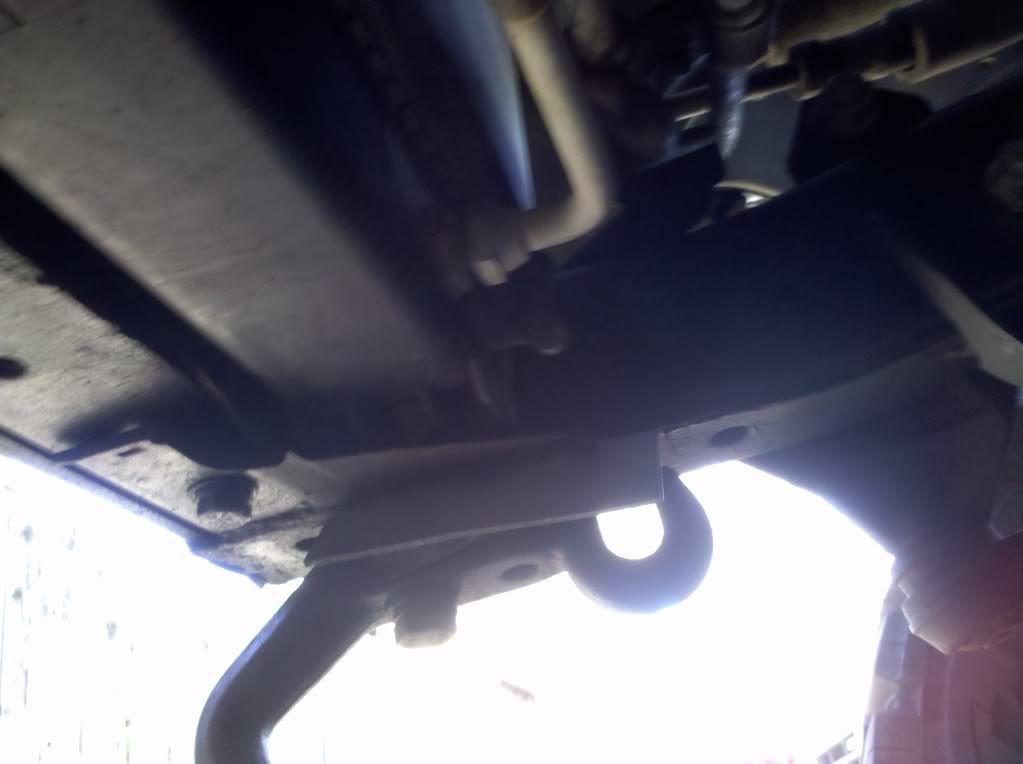
Looks like you're missing a bolt on your tow hook. Definitely needs replacing. Only $4 or so part online I think... Prob $10 at the dealer...
Great writeup too. Thank you!
Great writeup too. Thank you!
07-23-2015, 06:47 PM
#10
Registered User

sorry to bump an old thread, but what is a good aftermarket replacement for this bracket? mine just siezed up. OEM is stupid expensive.
i hate to spend the money on this because im rebuilding a 5VZ for a swap, but i need to be up and running.
thanks
i hate to spend the money on this because im rebuilding a 5VZ for a swap, but i need to be up and running.
thanks
07-24-2015, 06:51 AM
#11
Registered User

Join Date: Feb 2012
Posts: 9
Likes: 0
Received 0 Likes
on
0 Posts
Go with the Aisin - OEM supplier. The one I got actually had the Toyota logo ground off and an Aisin sticker put over it. FBT-006 for up to 1992, FBT-007 for 93 & up.
Have not heard good things about the Dorman version,
Have not heard good things about the Dorman version,
07-24-2015, 06:59 AM
#12
Registered User

Join Date: Sep 2007
Location: San Francisco East Bay
Posts: 8,251
Likes: 0
Received 820 Likes
on
648 Posts
$67 to $100 at RockAuto
What is "stupid expensive." I can't find a part number for just the bracket; it appears to be listed as the assembly, including the pulleys and the fan clutch.
What is "stupid expensive." I can't find a part number for just the bracket; it appears to be listed as the assembly, including the pulleys and the fan clutch.

Thread
Thread Starter
Forum
Replies
Last Post
some drunk guy
86-95 Trucks & 4Runners
23
08-03-2021 06:09 PM
scott90
86-95 Trucks & 4Runners
7
10-04-2015 09:21 AM
ToyotaMD
Vehicles - Parting Out
0
09-22-2015 04:49 AM
30, 4runner, 92, clutch, distributor, eliminating, fan, idler, placement, radiator, remove, replacement, timing, toyota, v6


