
2wd torsion bar install **LIFTED**
 03-08-2009, 04:25 PM
#1
Registered User
Thread Starter
Join Date: May 2008
Location: Wisconsin
Posts: 68
Likes: 0
Received 0 Likes
on
0 Posts
2wd torsion bar install **LIFTED**
Well it has been a while since I have posted anything here on yotatech but I believe that it is time again to post another modification. So about six months ago I purchased a number of parts from Downey. A pair of 1.5 longer that stock shackles, 24mm torsion bars, ultra low profile bump stops, and fiberglass fenders (4wd ones, my order got messed up but they will fit on once I get new turn signal lights for them. Anyway it was my spring break this past week and I thought to myself, what better way to spend it then working on my truck!! Since I put on the shackles at the end of last summer I decided to tackle to front suspension, and wow what an experience that was. keep in mind that I still rather inexperienced and the hand tools that used didn't help speed anything up either. (no air tools :-( ) I spent a bit of time refering to Haynes and Chilton's manuals for diagrams and help, both are very useful. Well here goes my adventure!
Here is my truck sitting on the ground with the stock bump stops.
[IMG]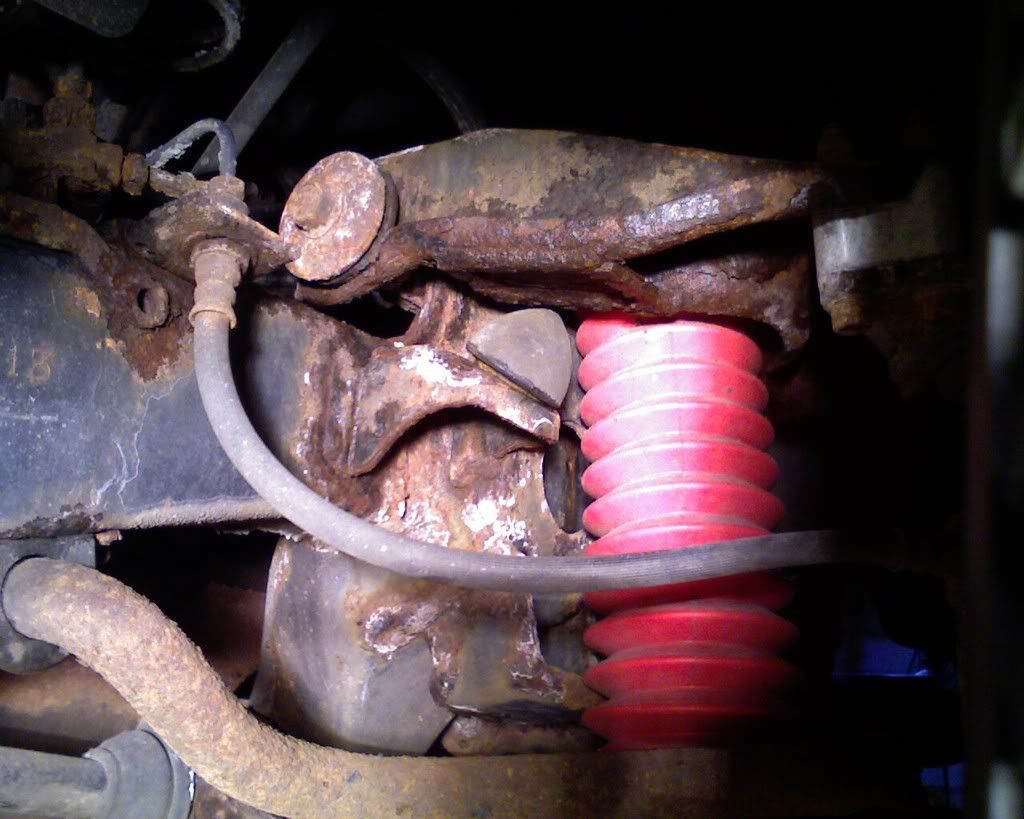 [/IMG]
Here is my truck sitting on the ground with low profile bumpstops.
[IMG]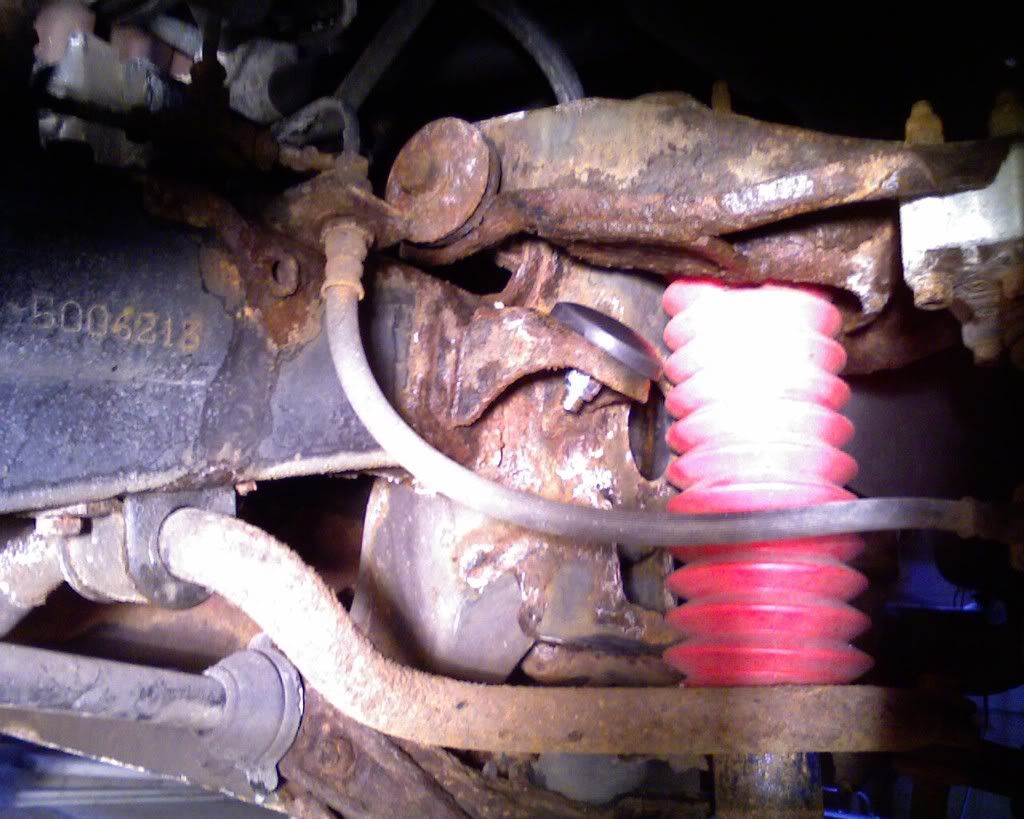 [/IMG]
The locknuts from both anchor arm bolts took just about forever to get off for two reasons, the rust issue from in the north and also seeing how those bolts have not been touched in about 20 years when they came off the assembly line LOL. Seriously though it took me about 3 hours to finally get all 4 four of those bolts off from the two anchor arm bolts, using a socket set, cresent wrench and normal 22mm wrench.
[IMG]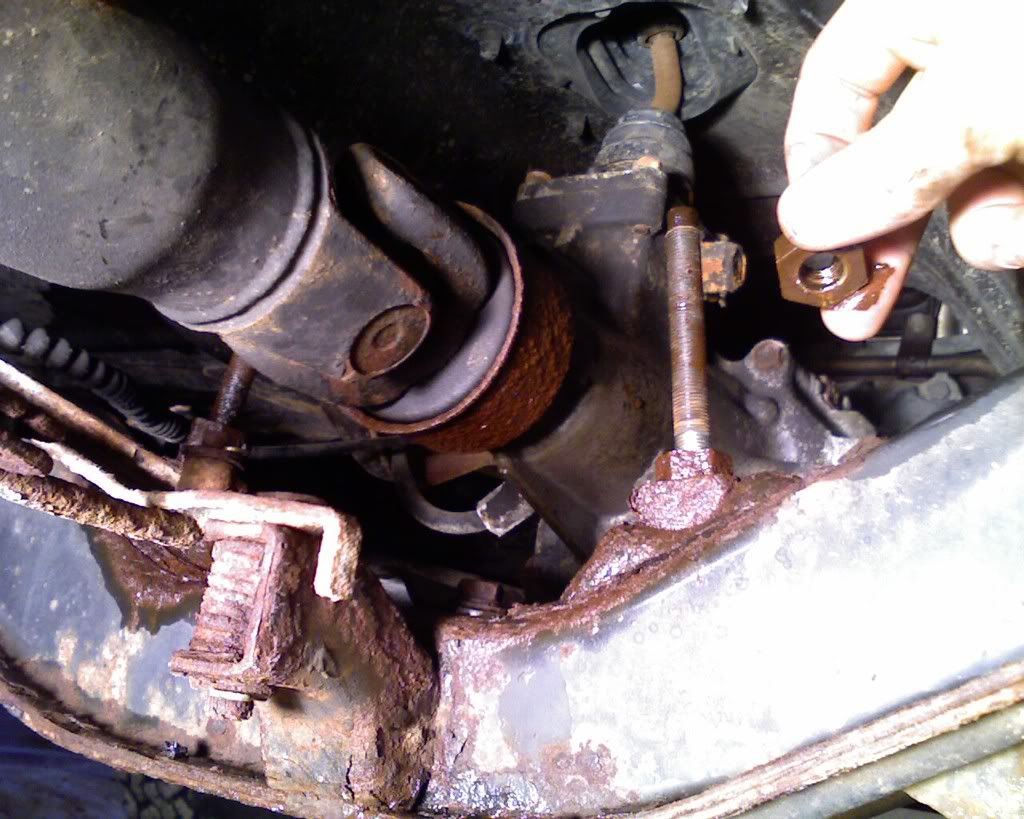 [/IMG]
After taking off the Torque arm off the lower control arm. It definately took some hammering and prying to get that torque arm off of the lower control arm...sure was rusted on there good. It also took a good 25 mins to separate the torque arm from the torsion bar, it was rusted on solid. I ended up heating the torque arm with a propane torch for about 10 mins and then using a sledge hammer to separate the two apart.
[IMG] [/IMG]
Here are all the parts from the front right suspension that had to be removed to install the new torsion bar! Not too many you say, yea well taking those off took almost 6 hours because of the all the rust. Also I wasn't really on any time crunch to get it done, and hey I was on vacation so I was taking my time.
[IMG]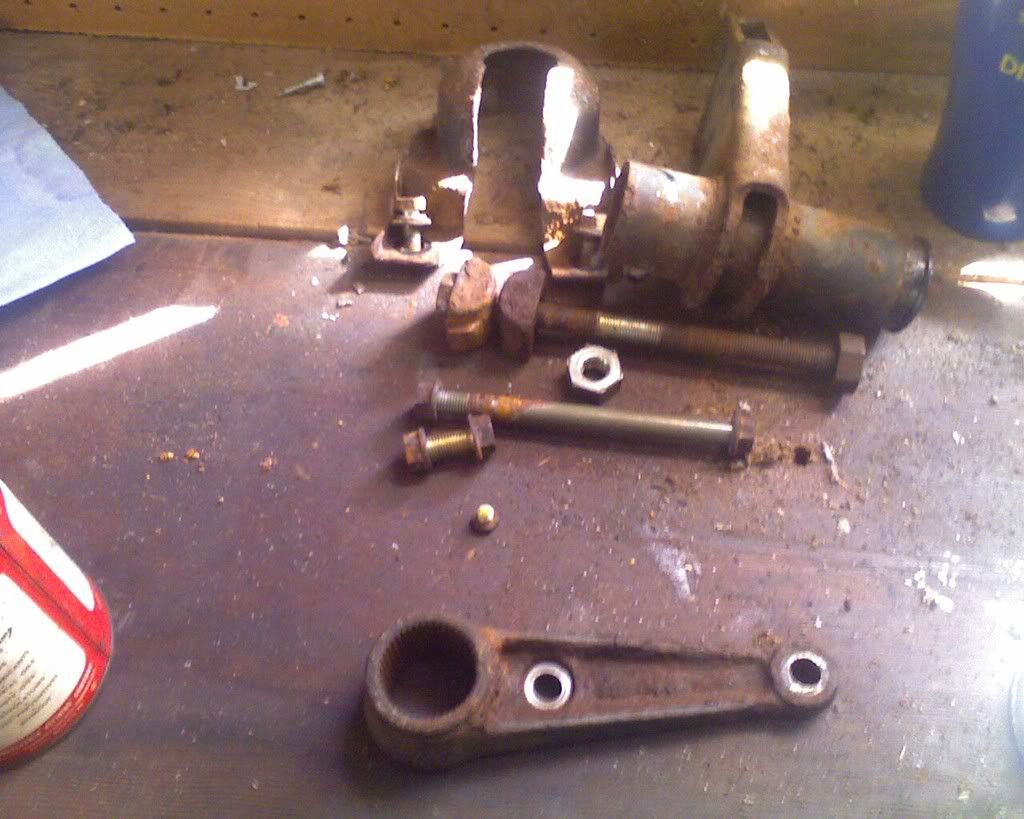 [/IMG]
Right side torsion bar and anchor arm still on the other side both are off.
[IMG]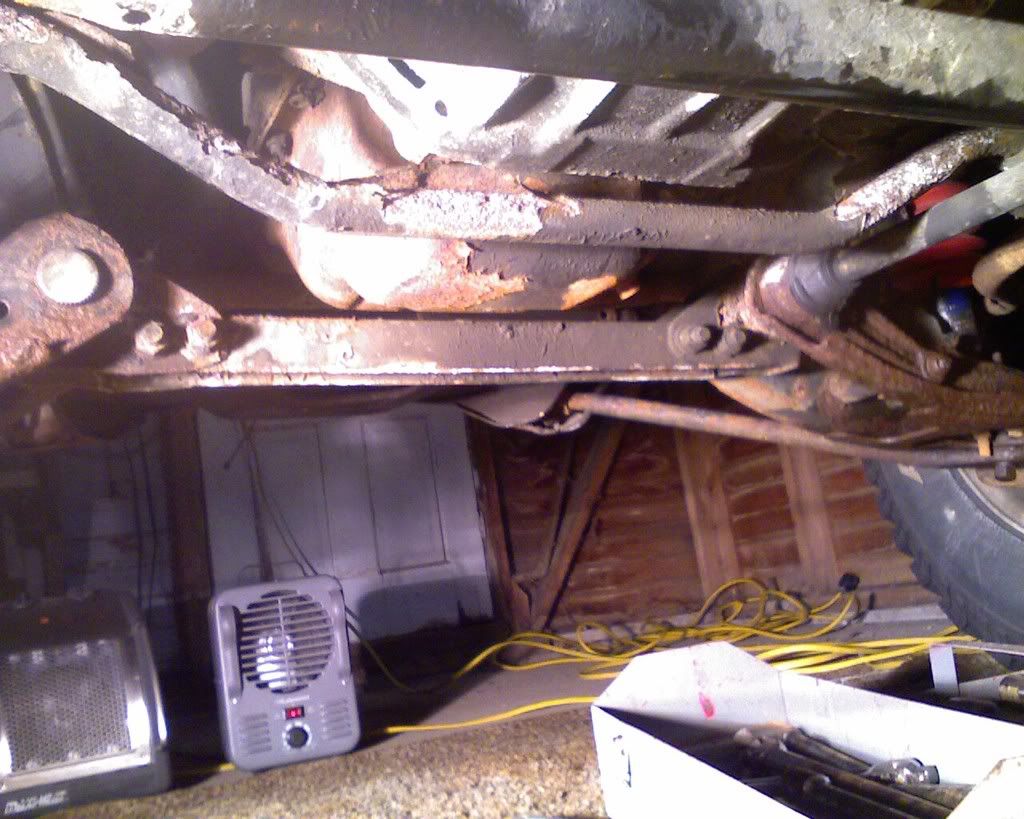 [/IMG]
The old stock 22mm Torsion Bar
[IMG]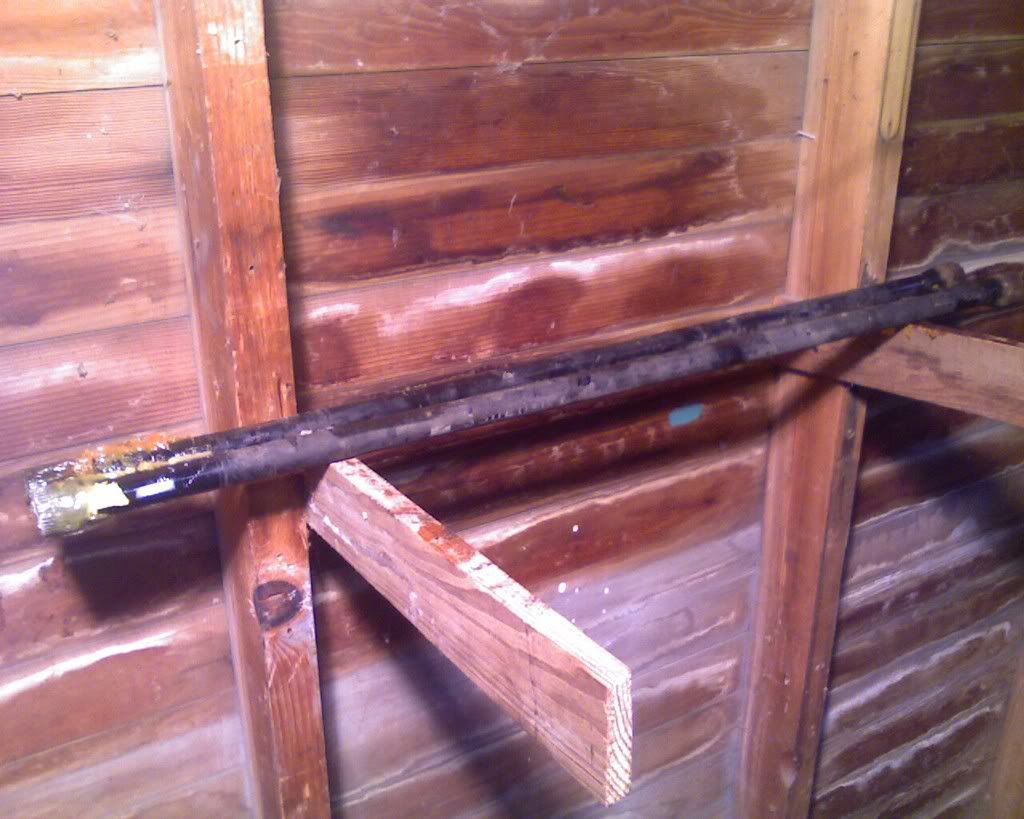 [/IMG]
Here are the New Downey 24mm Torsion Bars WOOHOO!!
[IMG]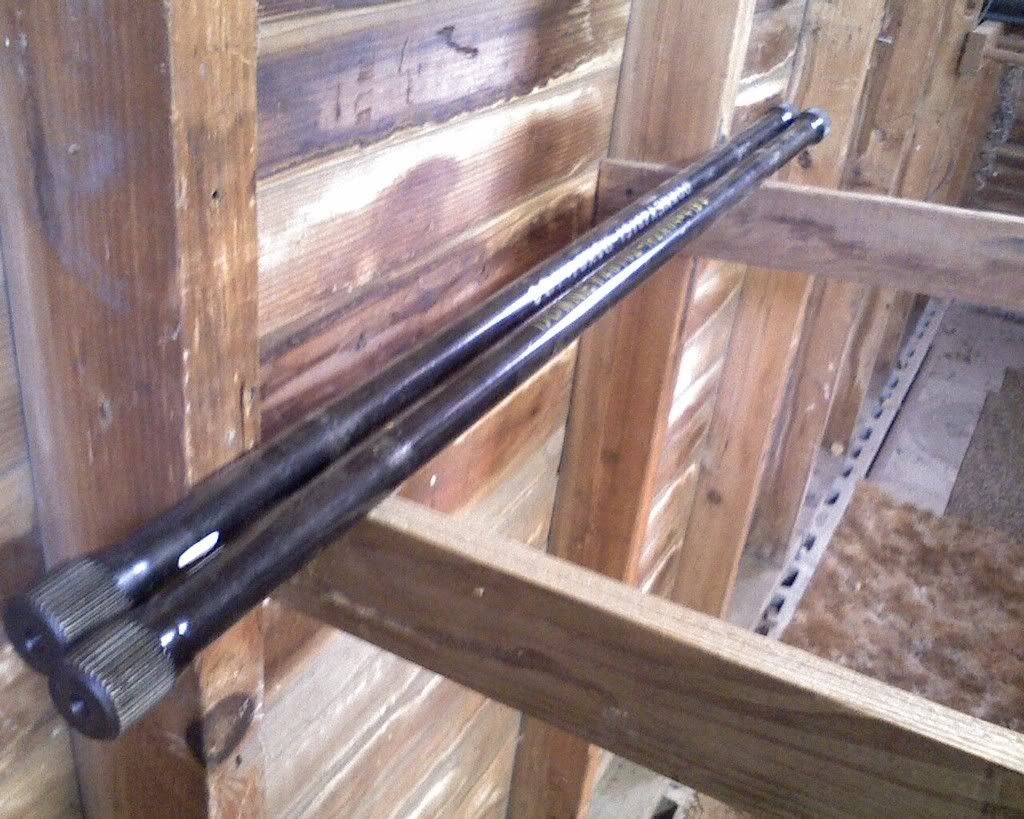 [/IMG]
At this part in the project everything got a lot easier since I on my way to cleaning the parts and putting it all back together. Here is the new torsion bar with the anchor arm and torque arm attached and ready to be installed.
[IMG]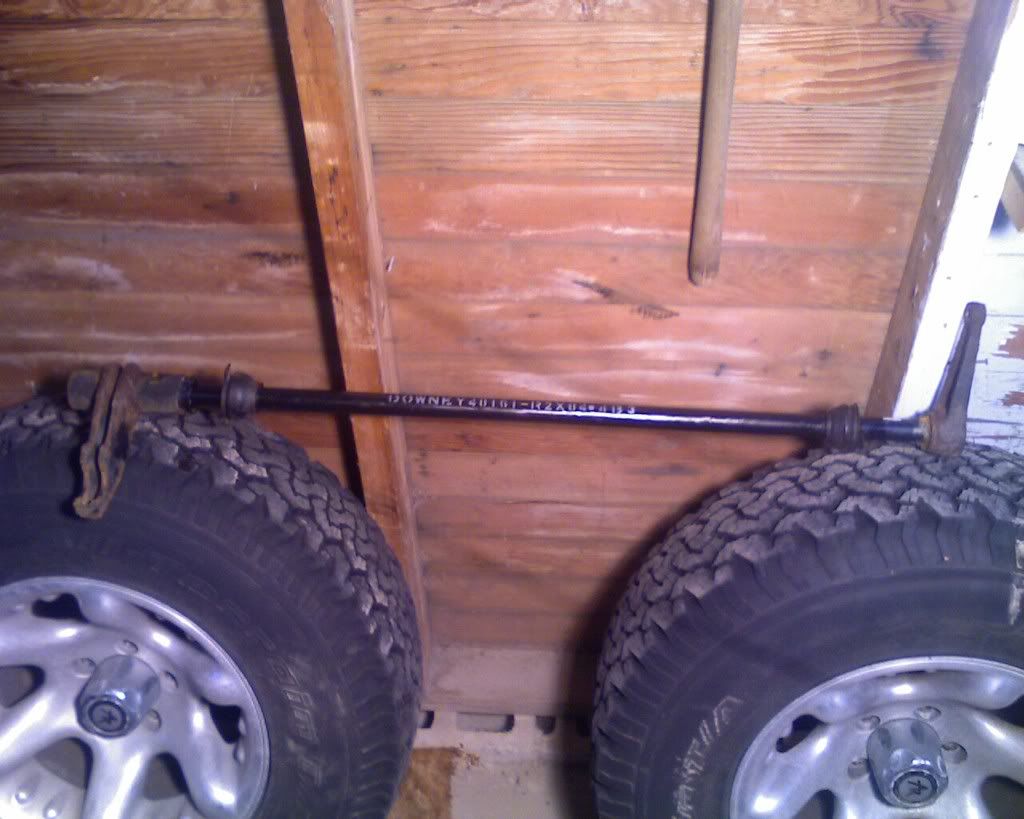 [/IMG]
The next two pictures are of the torsion bar installed and in place minus the anchor arm bolt.
[IMG]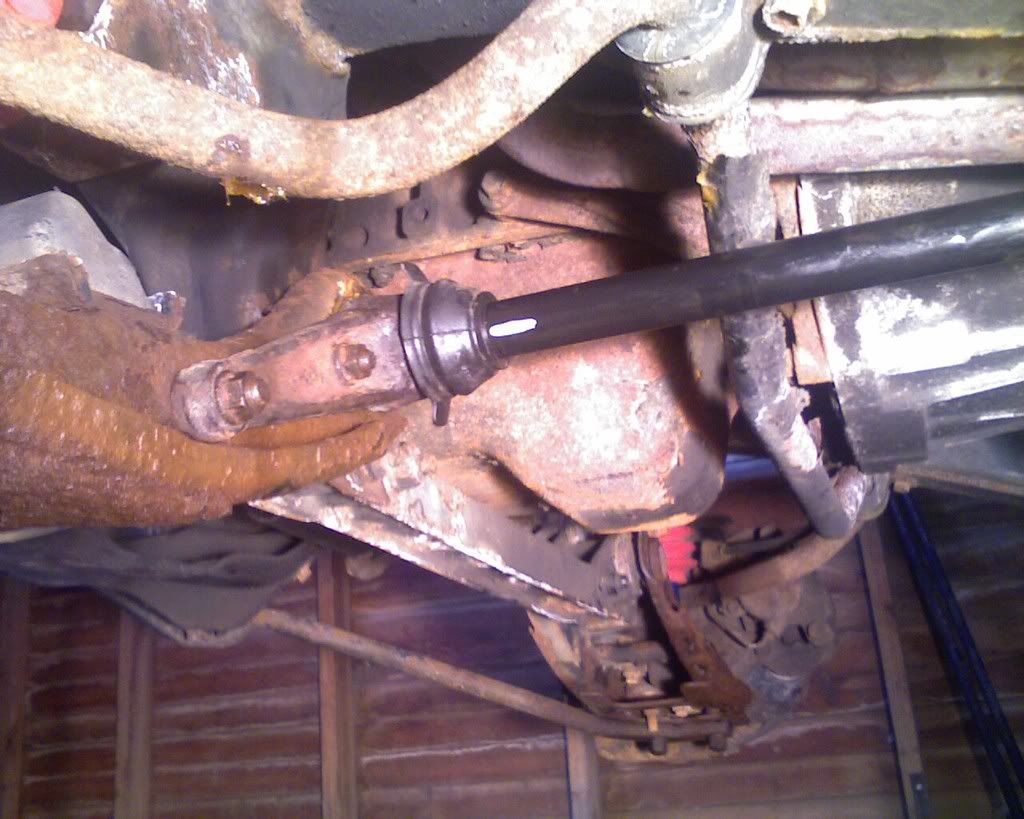 [/IMG]
[IMG] [/IMG]
Once all the parts were back on the truck and I had cranked in the torsion bars and set the new ride height. Right now it sits about 1 to 1.5 inches higher than it did before. Installing the new bars and setting the ride height a little higher definately got ride of the positive camber that I was getting since I had installed the Balljoint spacers.
[IMG]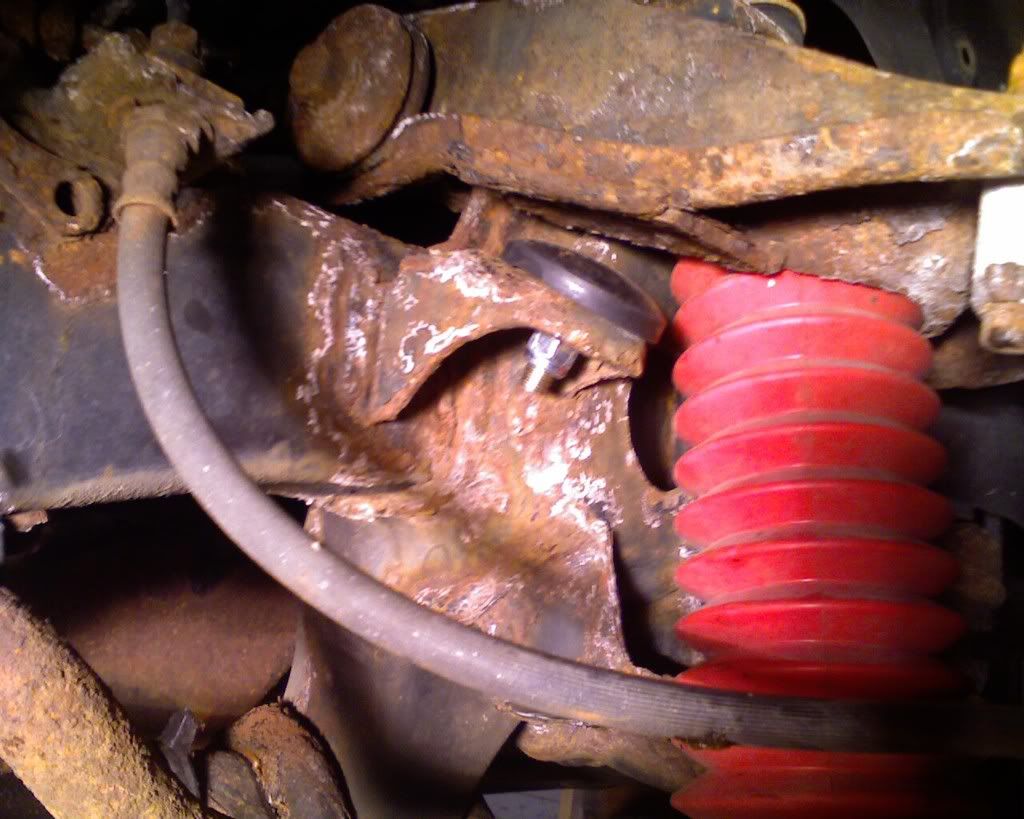 [/IMG]
Finally here are some random pictures I took of the garage I had to work. The carpeting and the two space heaters that I had were a lifesaver. It was about 30 degrees outside when I was working in the garage.
[IMG]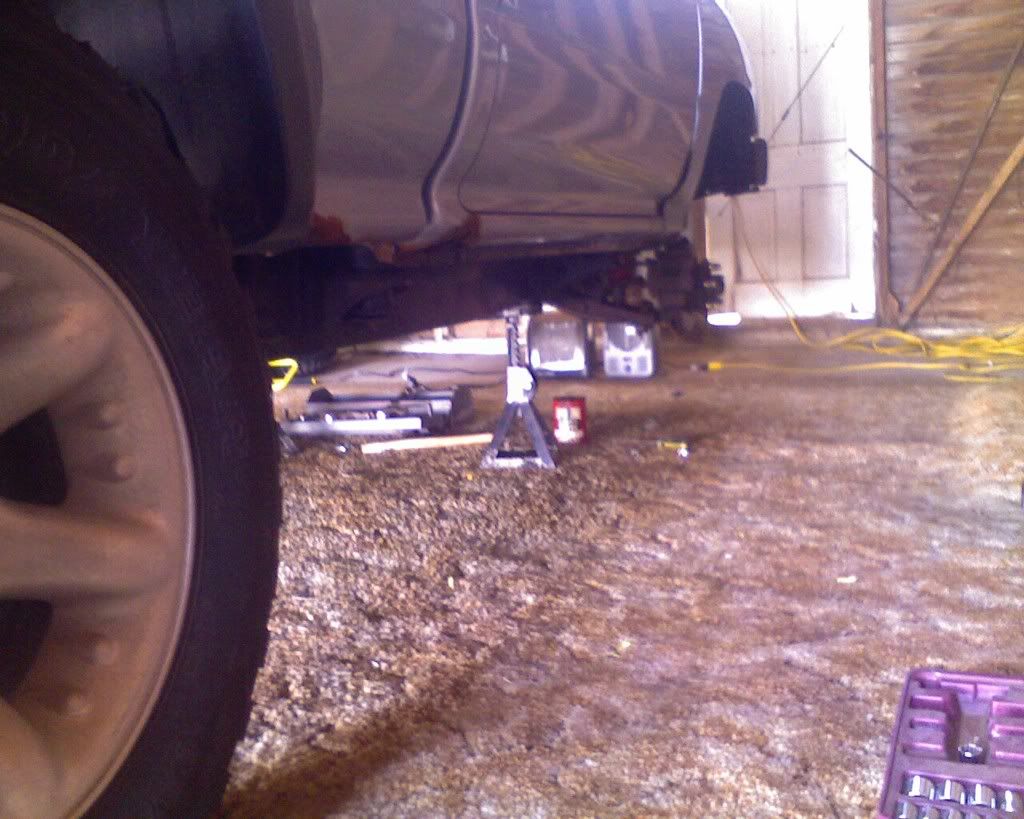 [/IMG]
[IMG][/IMG]
[IMG]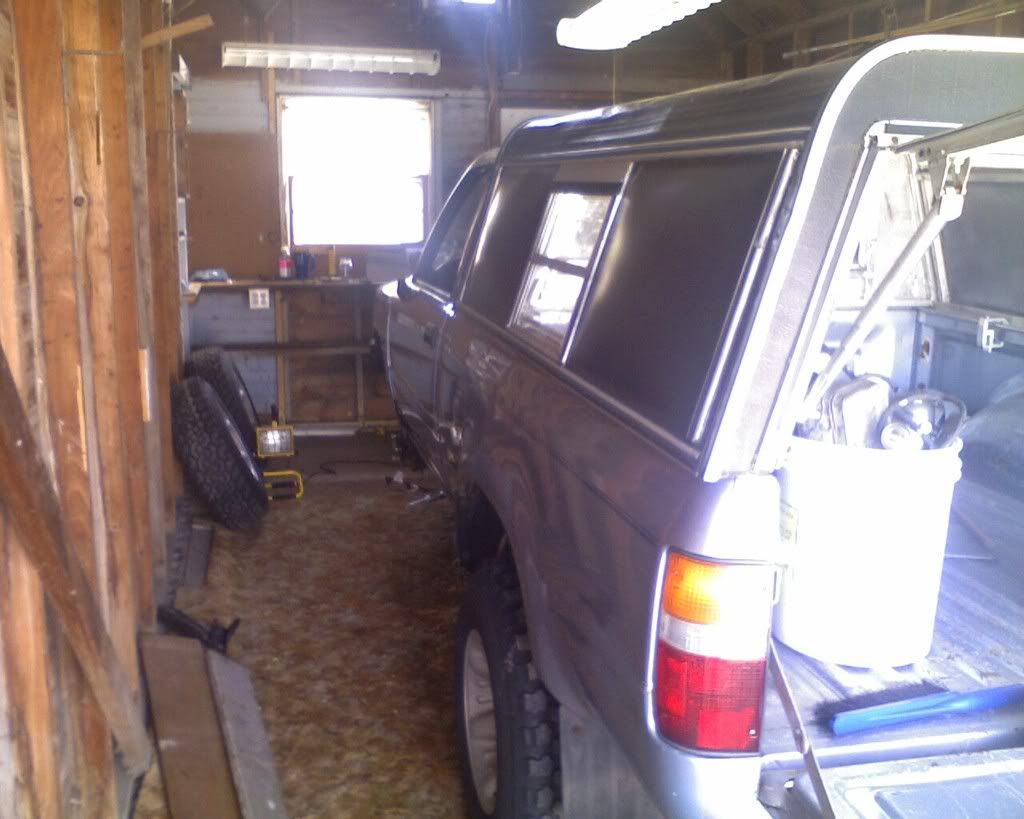 [/IMG]
And lastly here are the before and after shots of the truck with the new suspension.
Before:
[IMG]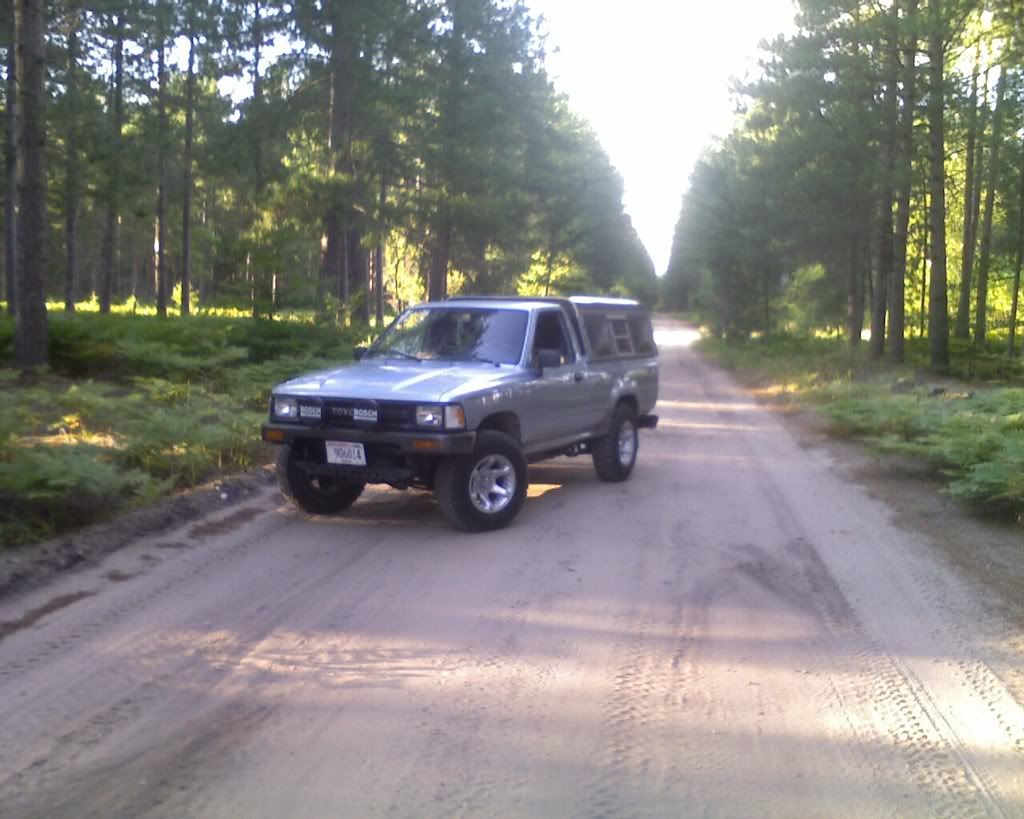 [/IMG]
After:
[IMG]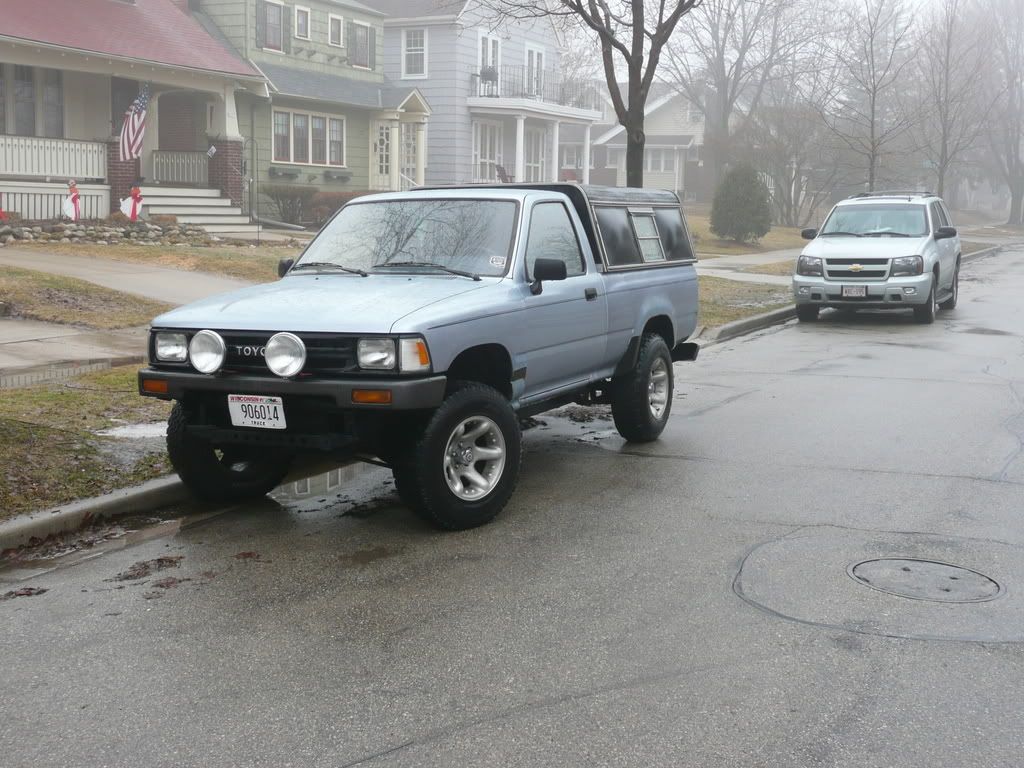 [/IMG]
Hope you enjoyed this write up. Tell me what you think!
Here is my truck sitting on the ground with the stock bump stops.
[IMG]
[/IMG]Here is my truck sitting on the ground with low profile bumpstops.
[IMG]
[/IMG]The locknuts from both anchor arm bolts took just about forever to get off for two reasons, the rust issue from in the north and also seeing how those bolts have not been touched in about 20 years when they came off the assembly line LOL. Seriously though it took me about 3 hours to finally get all 4 four of those bolts off from the two anchor arm bolts, using a socket set, cresent wrench and normal 22mm wrench.
[IMG]
[/IMG]After taking off the Torque arm off the lower control arm. It definately took some hammering and prying to get that torque arm off of the lower control arm...sure was rusted on there good. It also took a good 25 mins to separate the torque arm from the torsion bar, it was rusted on solid. I ended up heating the torque arm with a propane torch for about 10 mins and then using a sledge hammer to separate the two apart.
[IMG]
[/IMG]Here are all the parts from the front right suspension that had to be removed to install the new torsion bar! Not too many you say, yea well taking those off took almost 6 hours because of the all the rust. Also I wasn't really on any time crunch to get it done, and hey I was on vacation so I was taking my time.
[IMG]
[/IMG]Right side torsion bar and anchor arm still on the other side both are off.
[IMG]
[/IMG]The old stock 22mm Torsion Bar
[IMG]
[/IMG]Here are the New Downey 24mm Torsion Bars WOOHOO!!
[IMG]
[/IMG]At this part in the project everything got a lot easier since I on my way to cleaning the parts and putting it all back together. Here is the new torsion bar with the anchor arm and torque arm attached and ready to be installed.
[IMG]
[/IMG]The next two pictures are of the torsion bar installed and in place minus the anchor arm bolt.
[IMG]
[/IMG][IMG]
[/IMG]Once all the parts were back on the truck and I had cranked in the torsion bars and set the new ride height. Right now it sits about 1 to 1.5 inches higher than it did before. Installing the new bars and setting the ride height a little higher definately got ride of the positive camber that I was getting since I had installed the Balljoint spacers.
[IMG]
[/IMG]Finally here are some random pictures I took of the garage I had to work. The carpeting and the two space heaters that I had were a lifesaver. It was about 30 degrees outside when I was working in the garage.
[IMG]
[/IMG][IMG]
[/IMG][IMG]
[/IMG]And lastly here are the before and after shots of the truck with the new suspension.
Before:
[IMG]
[/IMG]After:
[IMG]
[/IMG]Hope you enjoyed this write up. Tell me what you think!
 03-08-2009, 04:44 PM
#3
Registered User
 Looks good. Did the ride improve at all is it more stiff with the larger t-bars?
03-08-2009, 05:06 PM
Looks good. Did the ride improve at all is it more stiff with the larger t-bars?
03-08-2009, 05:06 PM
#6
Registered User
Thread Starter
Join Date: May 2008
Location: Wisconsin
Posts: 68
Likes: 0
Received 0 Likes
on
0 Posts
yea, dealing with rust SUCKS, but it does make repairs more interesting.LOL The larger t-bars do improve the handling a bit. The truck does not seem to bounce as much when going over bumps in the road.
Right now the it has a 3 inch body lift, 1.5 in BJ spacers, and extended shackles.
Right now the it has a 3 inch body lift, 1.5 in BJ spacers, and extended shackles.
 ya know some times I hate living in Florida... but to be honest, I'm kinda glad to be under the rust-belt...
Trending Topics
 03-09-2009, 07:31 PM
#9
Registered User
Thread Starter
Join Date: May 2008
Location: Wisconsin
Posts: 68
Likes: 0
Received 0 Likes
on
0 Posts
Thanks, yea it was in the winter time. It was very cold out and the space heaters only helped a little bit. I just wish I had more time cause I would have put on my Fiberglass fenders that I have. Cannot wait till summer when I can do that!
03-09-2009, 07:57 PM
#10
Registered User

Join Date: Dec 2008
Location: LA
Posts: 596
Likes: 0
Received 0 Likes
on
0 Posts
i ended up having one fender 1/8" off, and that caused a screw to snap in the top most knut, where it is impossible to extract. I tried a easy out, screw extractor, and just drilling the dam thing out, and it didn't budge. I ended up drilling a new hole and just bolting it there, worked fine, but took me an entire day almost trying to fix it.
Make sure you have some fender washers to align the fenders.
Why are you waiting until summer?
03-09-2009, 07:57 PM
#11
Contributing Member
Dude Nice job , I just worked on my torsion bars this weekend and am so glad I dont have that rust to work with.
Looks Good.
Did you get the exact same measurments on both sides , from top of rims to bottom of the fenders.I am Having troubles with my 4x4.
Looks Good.
Did you get the exact same measurments on both sides , from top of rims to bottom of the fenders.I am Having troubles with my 4x4.
03-12-2009, 06:18 AM
#12
Registered User
Thread Starter
Join Date: May 2008
Location: Wisconsin
Posts: 68
Likes: 0
Received 0 Likes
on
0 Posts
XZYragon I have to wait till summer cause i am away at college in cleveland right now. Did bring my tools with me
03-12-2009, 06:50 PM
#13
Registered User
Join Date: Apr 2008
Location: Vermont
Posts: 238
Likes: 0
Received 0 Likes
on
0 Posts
your truck looks great! If you locked up the rear, threw 400 lbs in the bed, threw a winch on it and some mudders I bet you'd have better offroad performance than a stock 4wd.

Thread
Thread Starter
Forum
Replies
Last Post
GreatLakesGuy
The Classifieds GraveYard
8
09-04-2015 09:27 AM
coffey50
Offroad Tech
17
07-28-2015 10:55 AM


