22re early to late intake swap
 11-19-2014, 10:43 PM
#1
Registered User
Thread Starter
22re early to late intake swap
Application for this mod: 1985 - 1988 22re
Reasoning:
- get rid of a faulty aux air valve (early model has a coil which fails eventually, later model is all mechanical and passive)
- fix startup idle issues
- improve throttle response
- feel better having newer technology
What is needed:
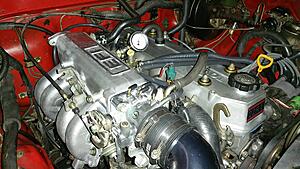
- upper intake from 89+
- throttle body from 89+
- upper/lower gasket
- TB gasket
- cold start injector gasket
- EGR gasket (not pictured, I removed EGR)
- part number 16264-35030 coolant hose
- part number 16267-35030 coolant hose
- part number 90404-51060 union
- optional throttle cable (I got mine to fit but the later models are slightly shorter apparently)
Process:
- source all parts
- drain & save coolant
- remove old intake on car
- throw away aux air valve (or sell it I guess) I tossed mine in the trash with a smile
- remove thermostat top cover so you can...
- remove 90 degree union fitting just behind it
- install straight union (part number 90404-51060)
- install thermostat top cover
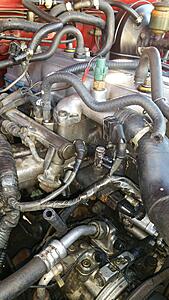
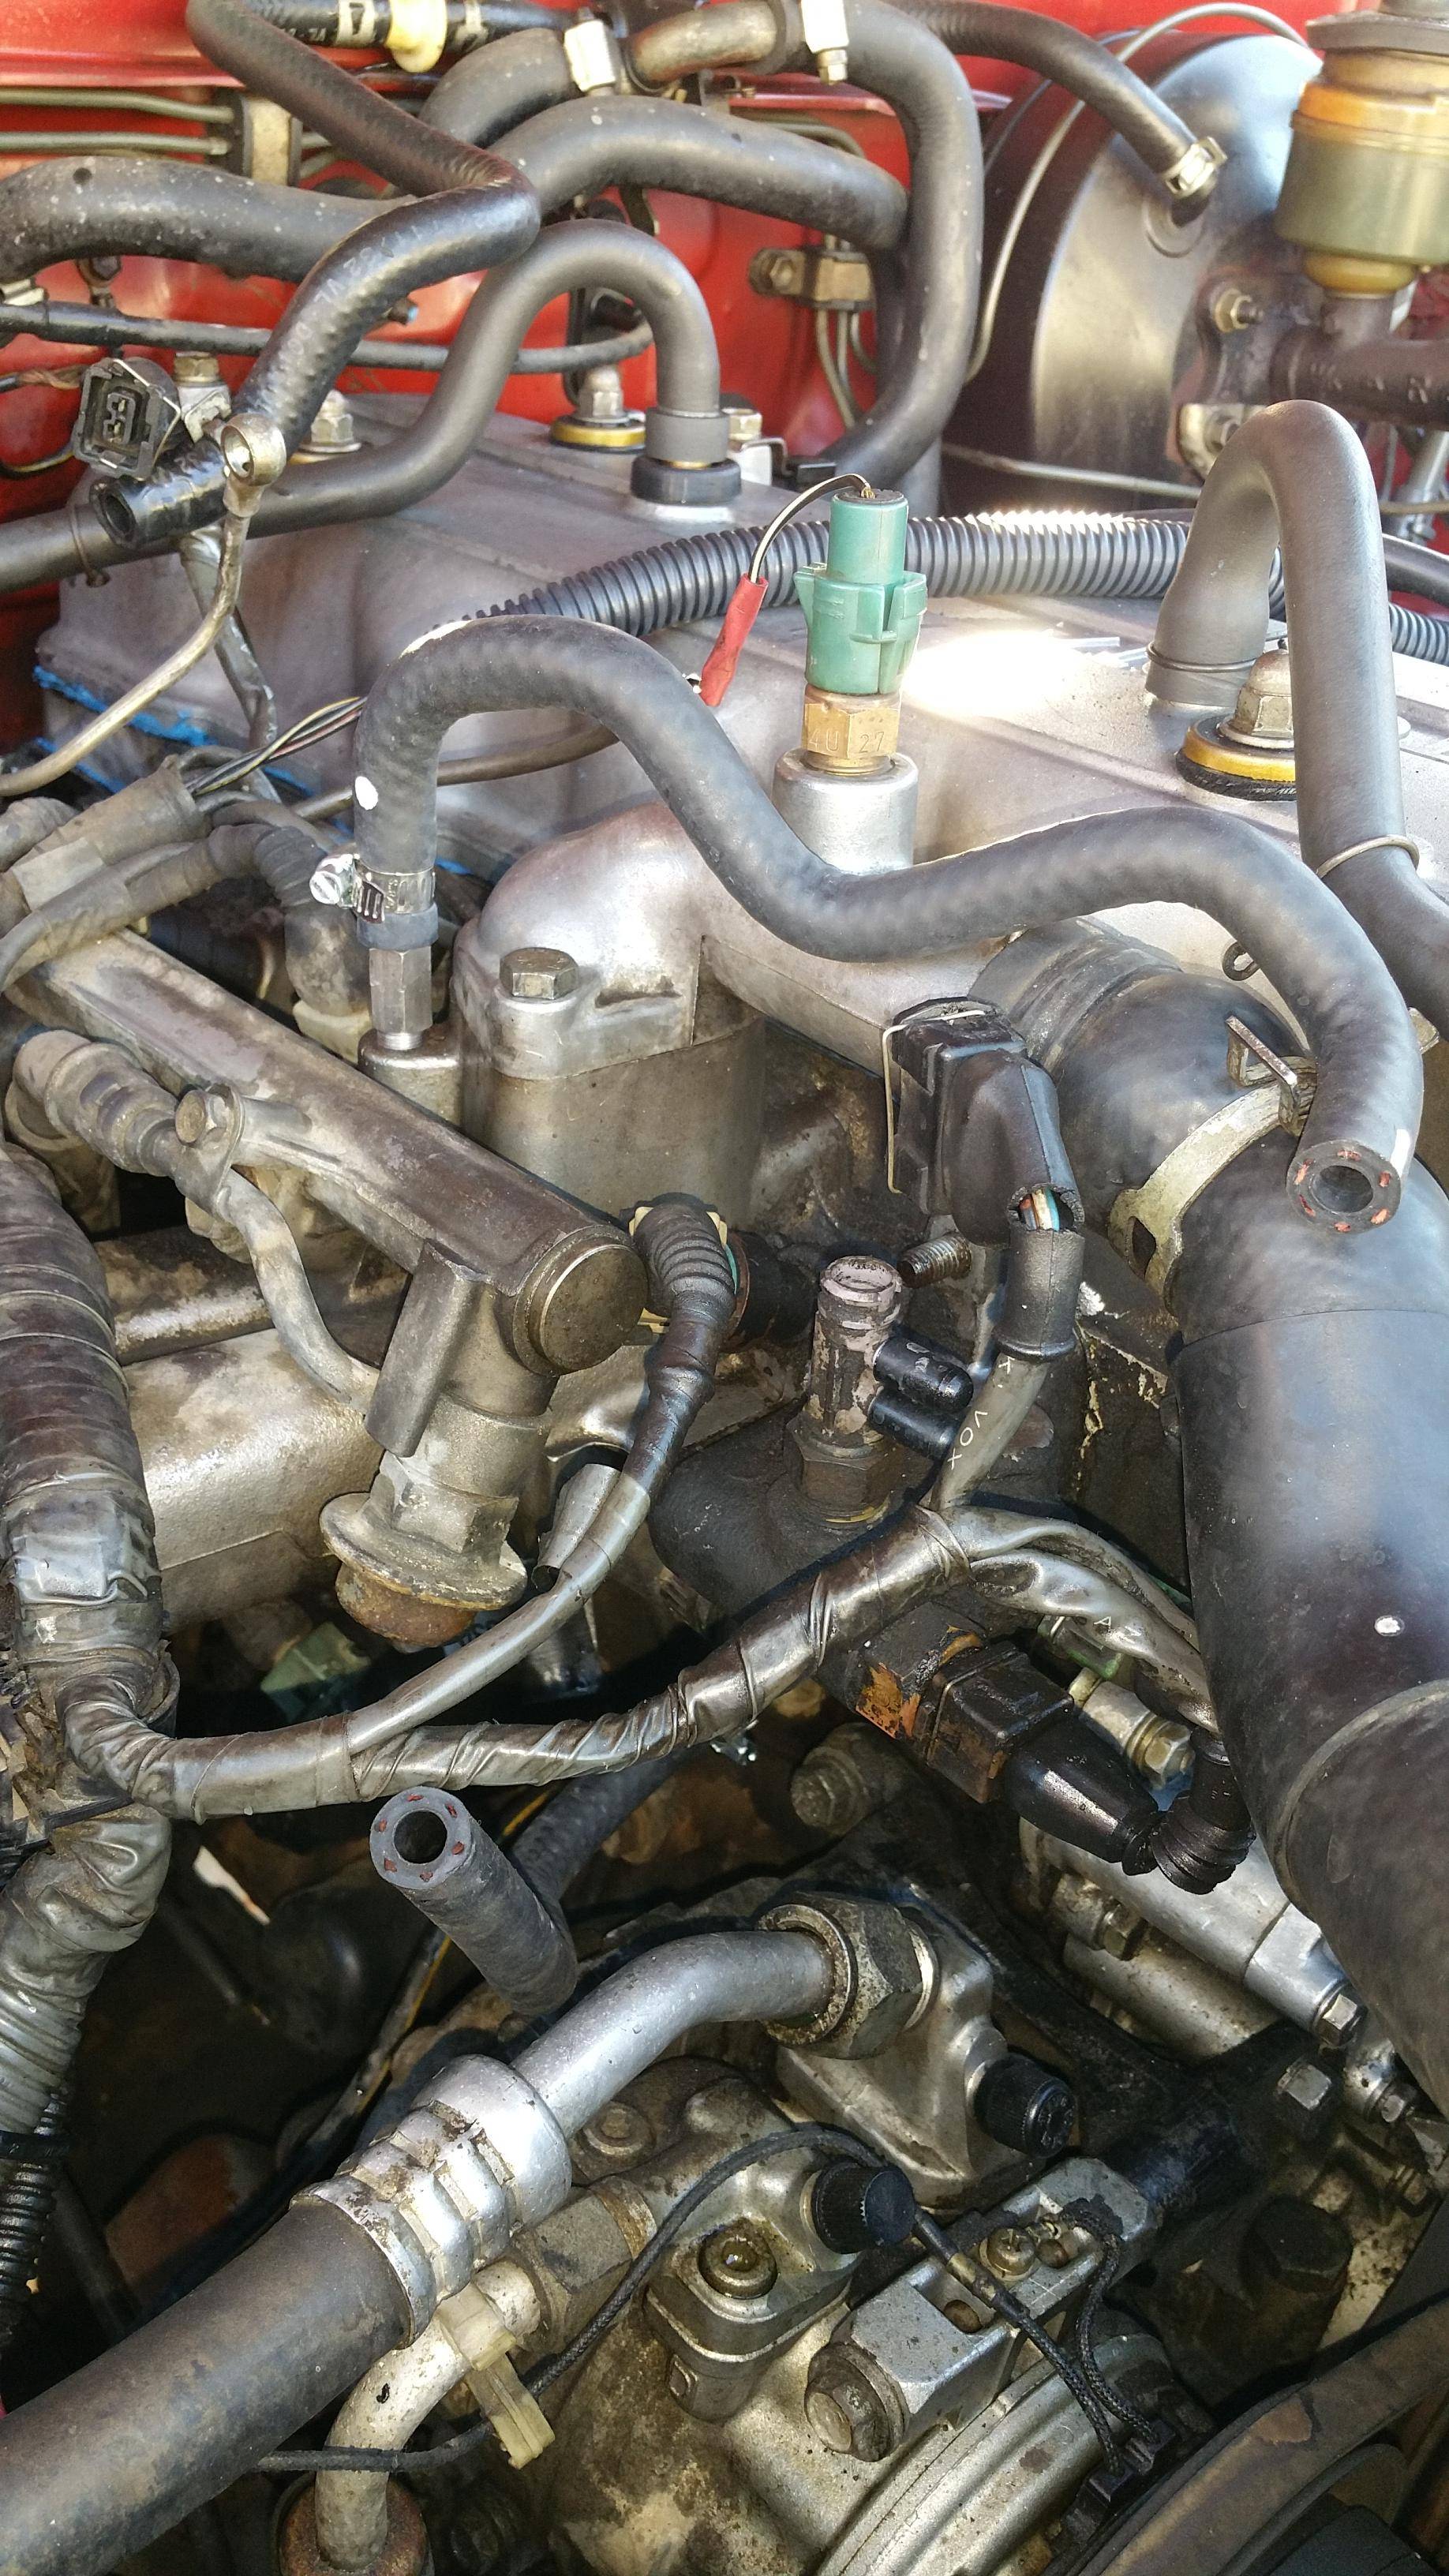
- install new coolant hoses as pictured below
- move over all fittings and hoses to new intake
- for TPS, please see below for specific instructions
- install new intake
- put coolant back in
- start engine and see the glorious higher rpm start!
- go for a drive and relearn how to drive stick with more throttle response
TPS INSTRUCTIONS (copy pasted from pirate thread)
How to fix a naughty TPS:
https://www.yotatech.com/forums/f116...sensor-284807/
How to calibrate/adjust TPS:
http://4crawler.com/4x4/CheapTricks/TPS/index.shtml
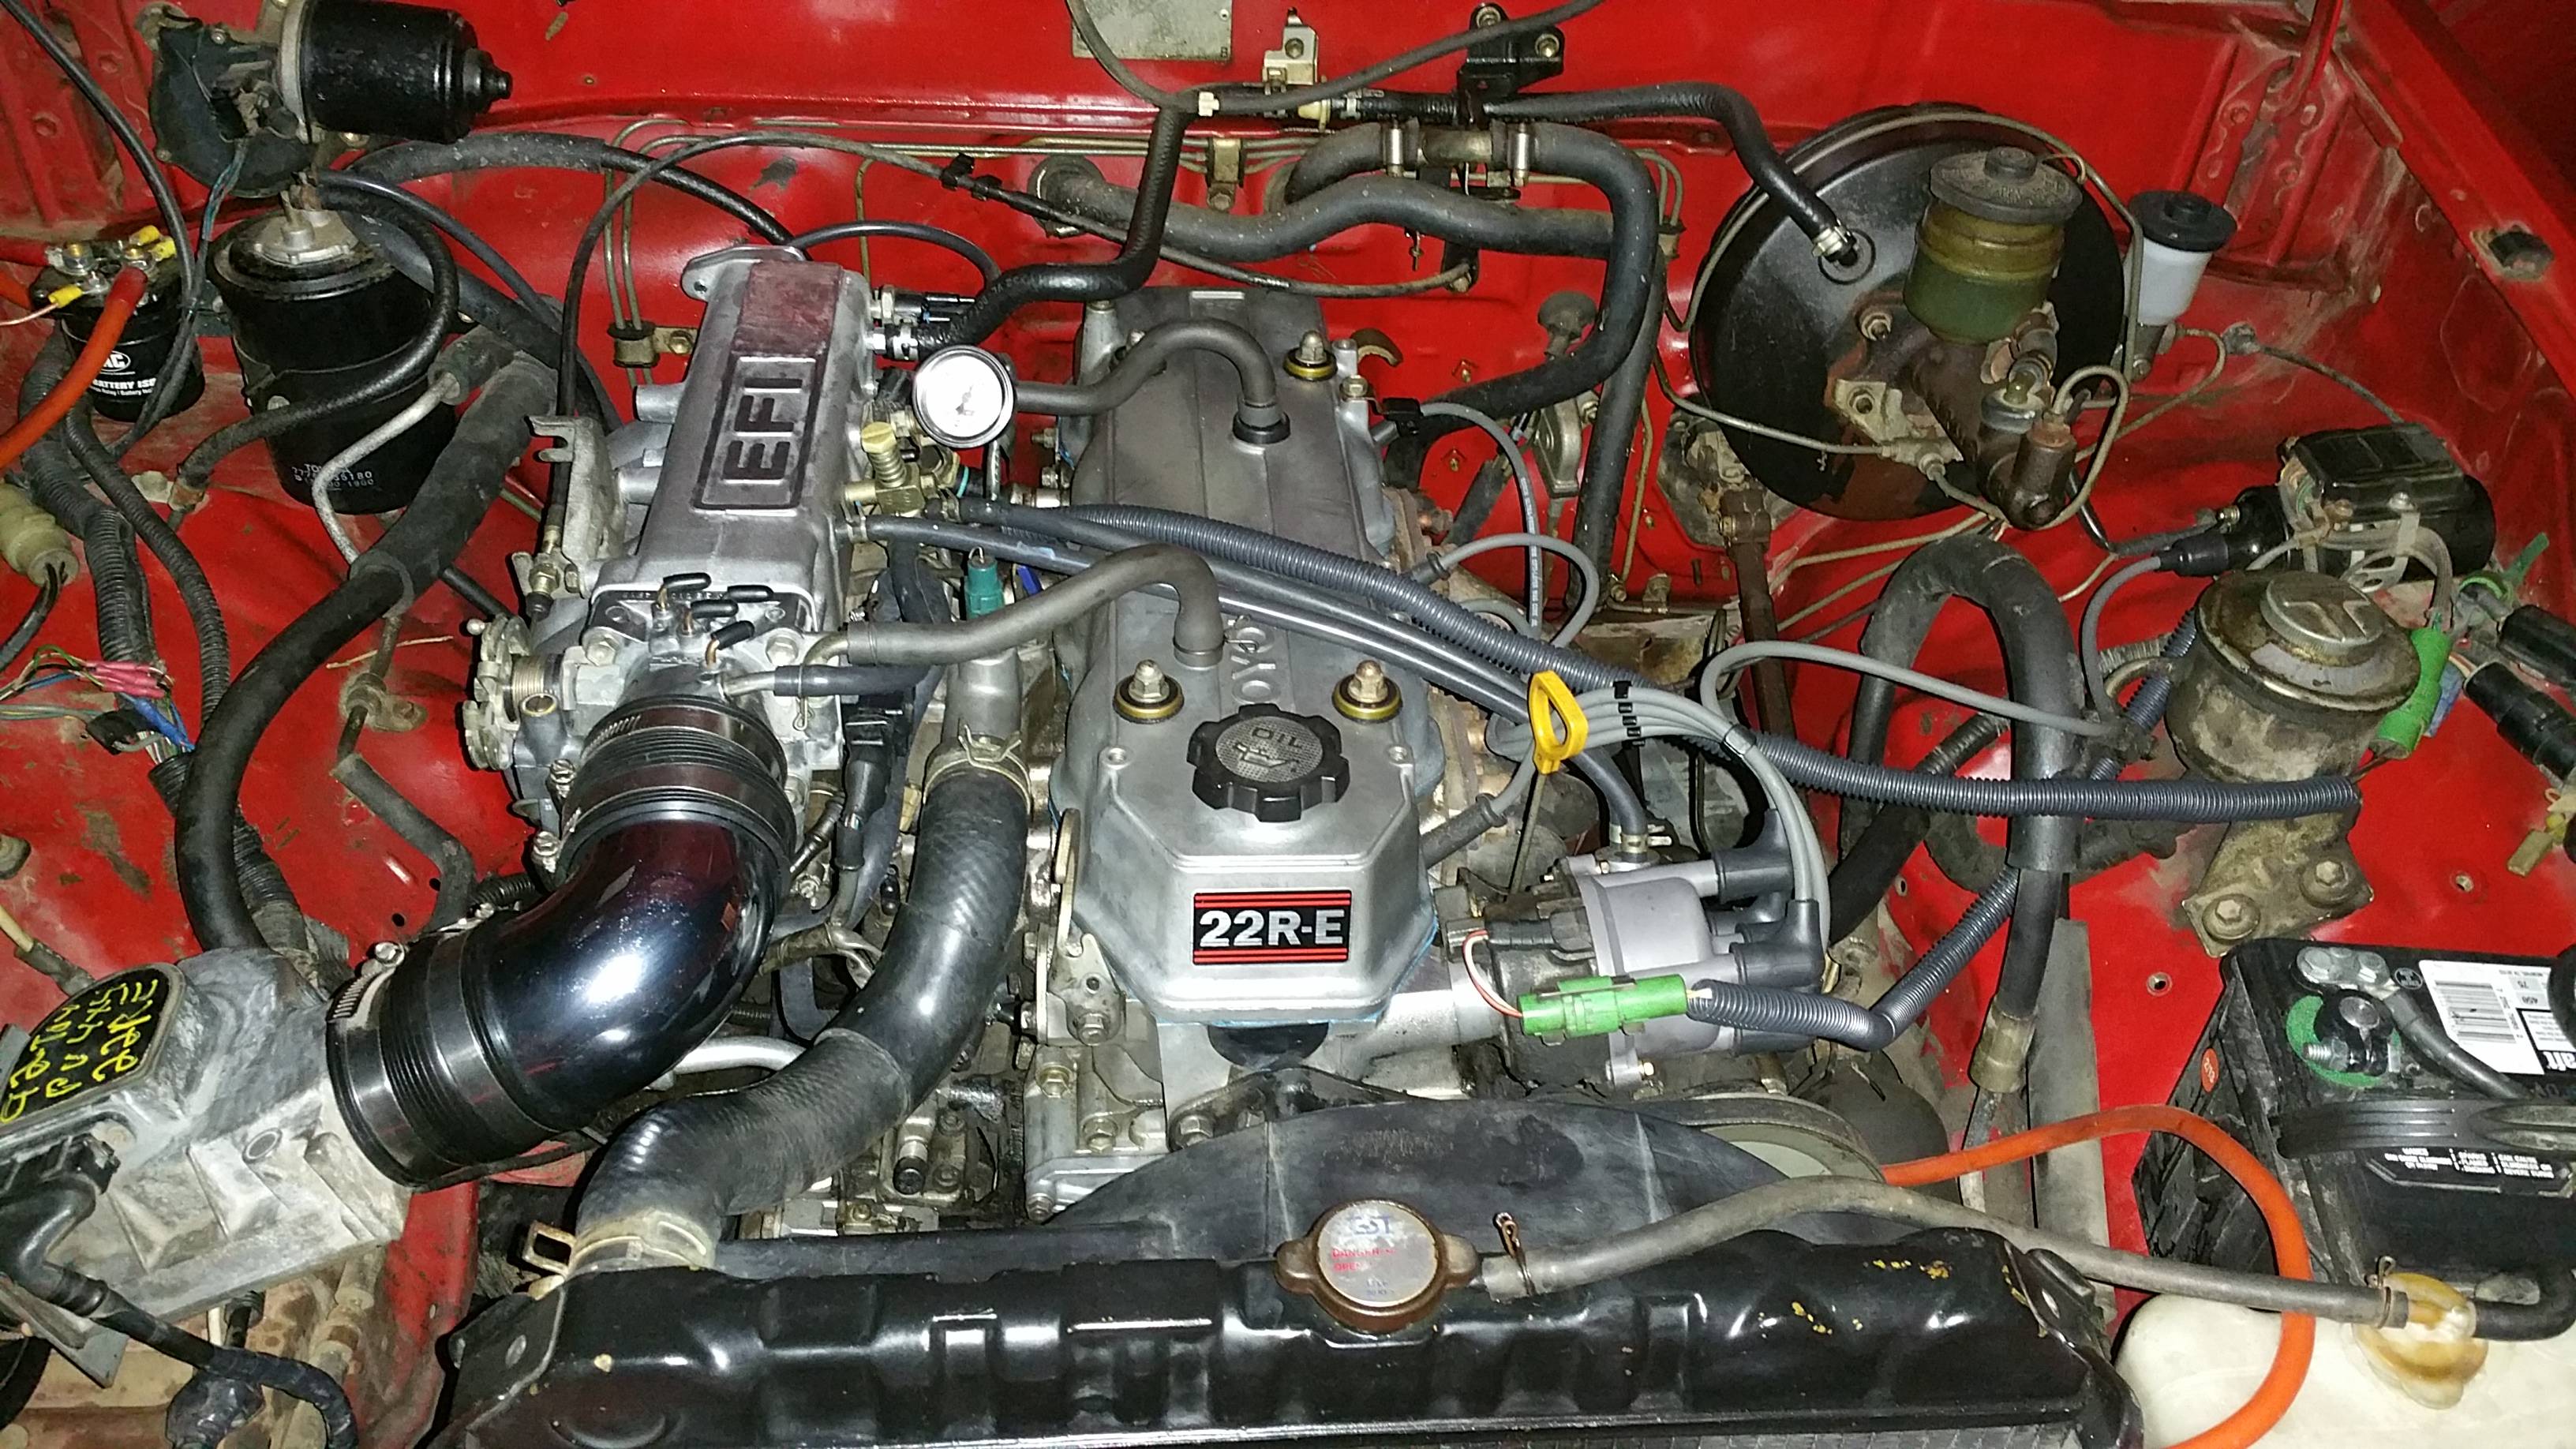
Before

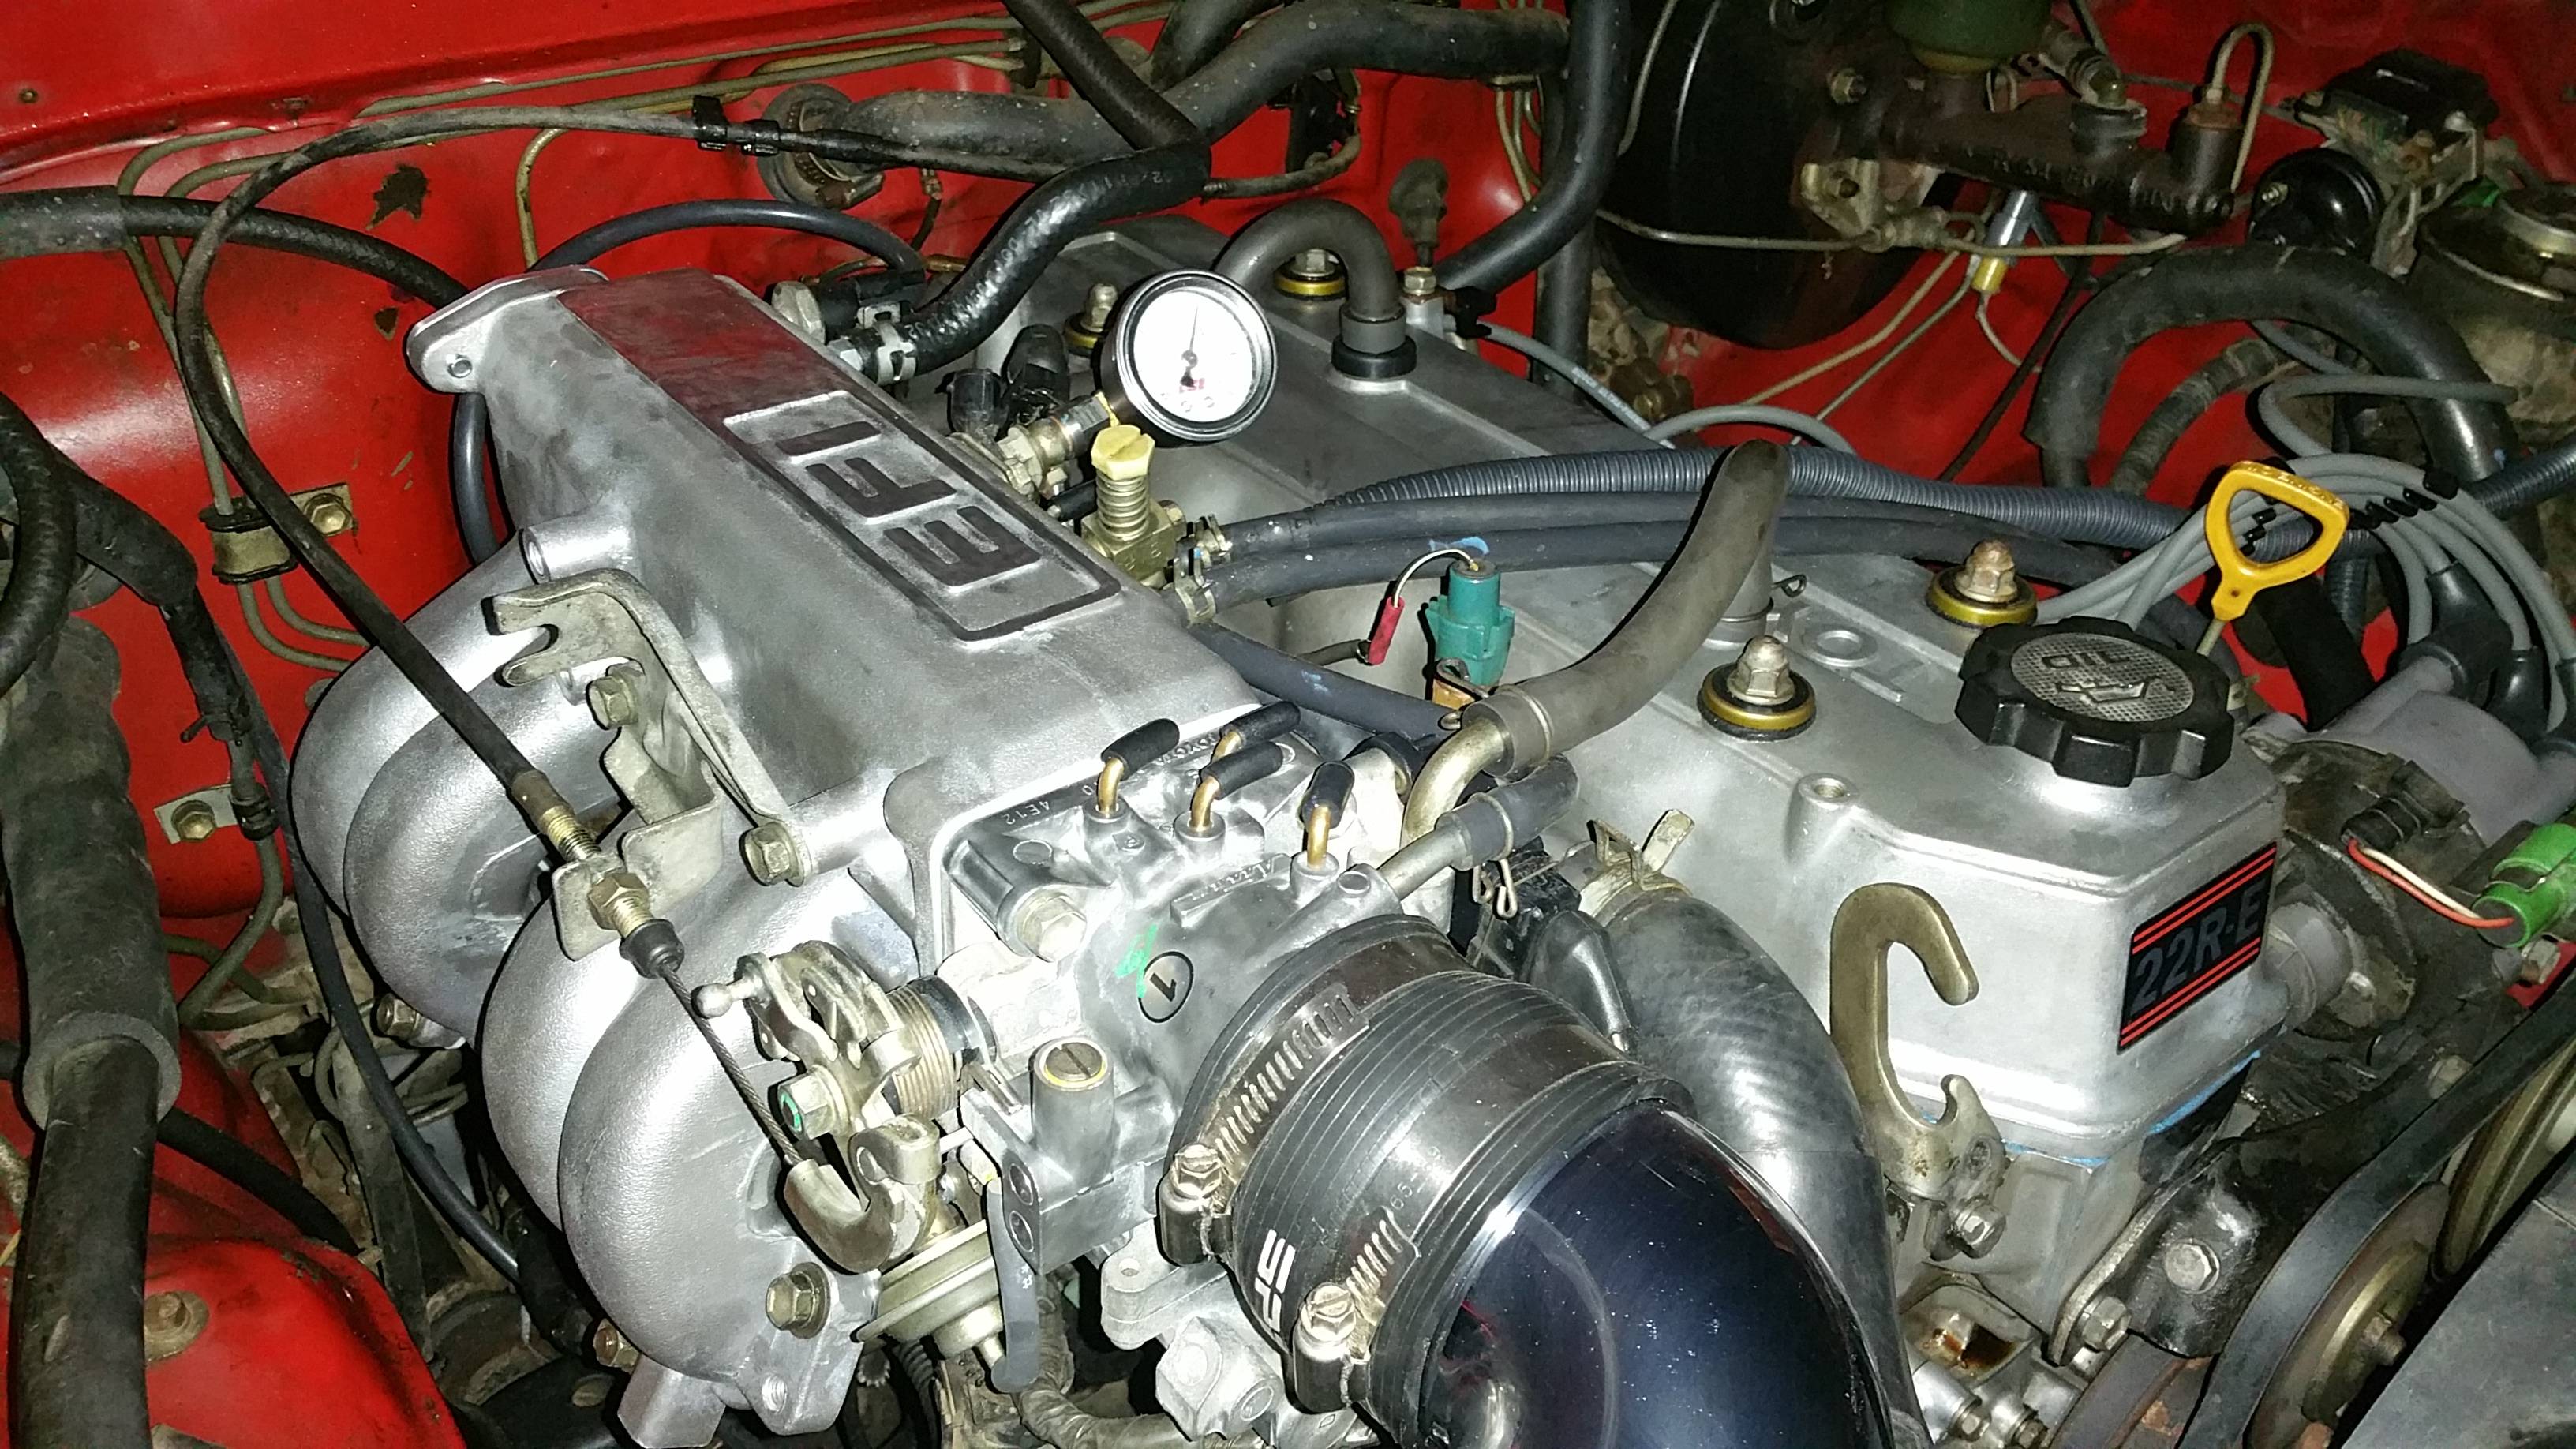
After

Coolant hoses and new union
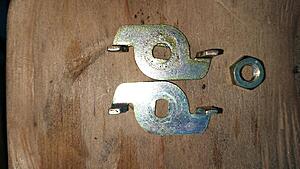
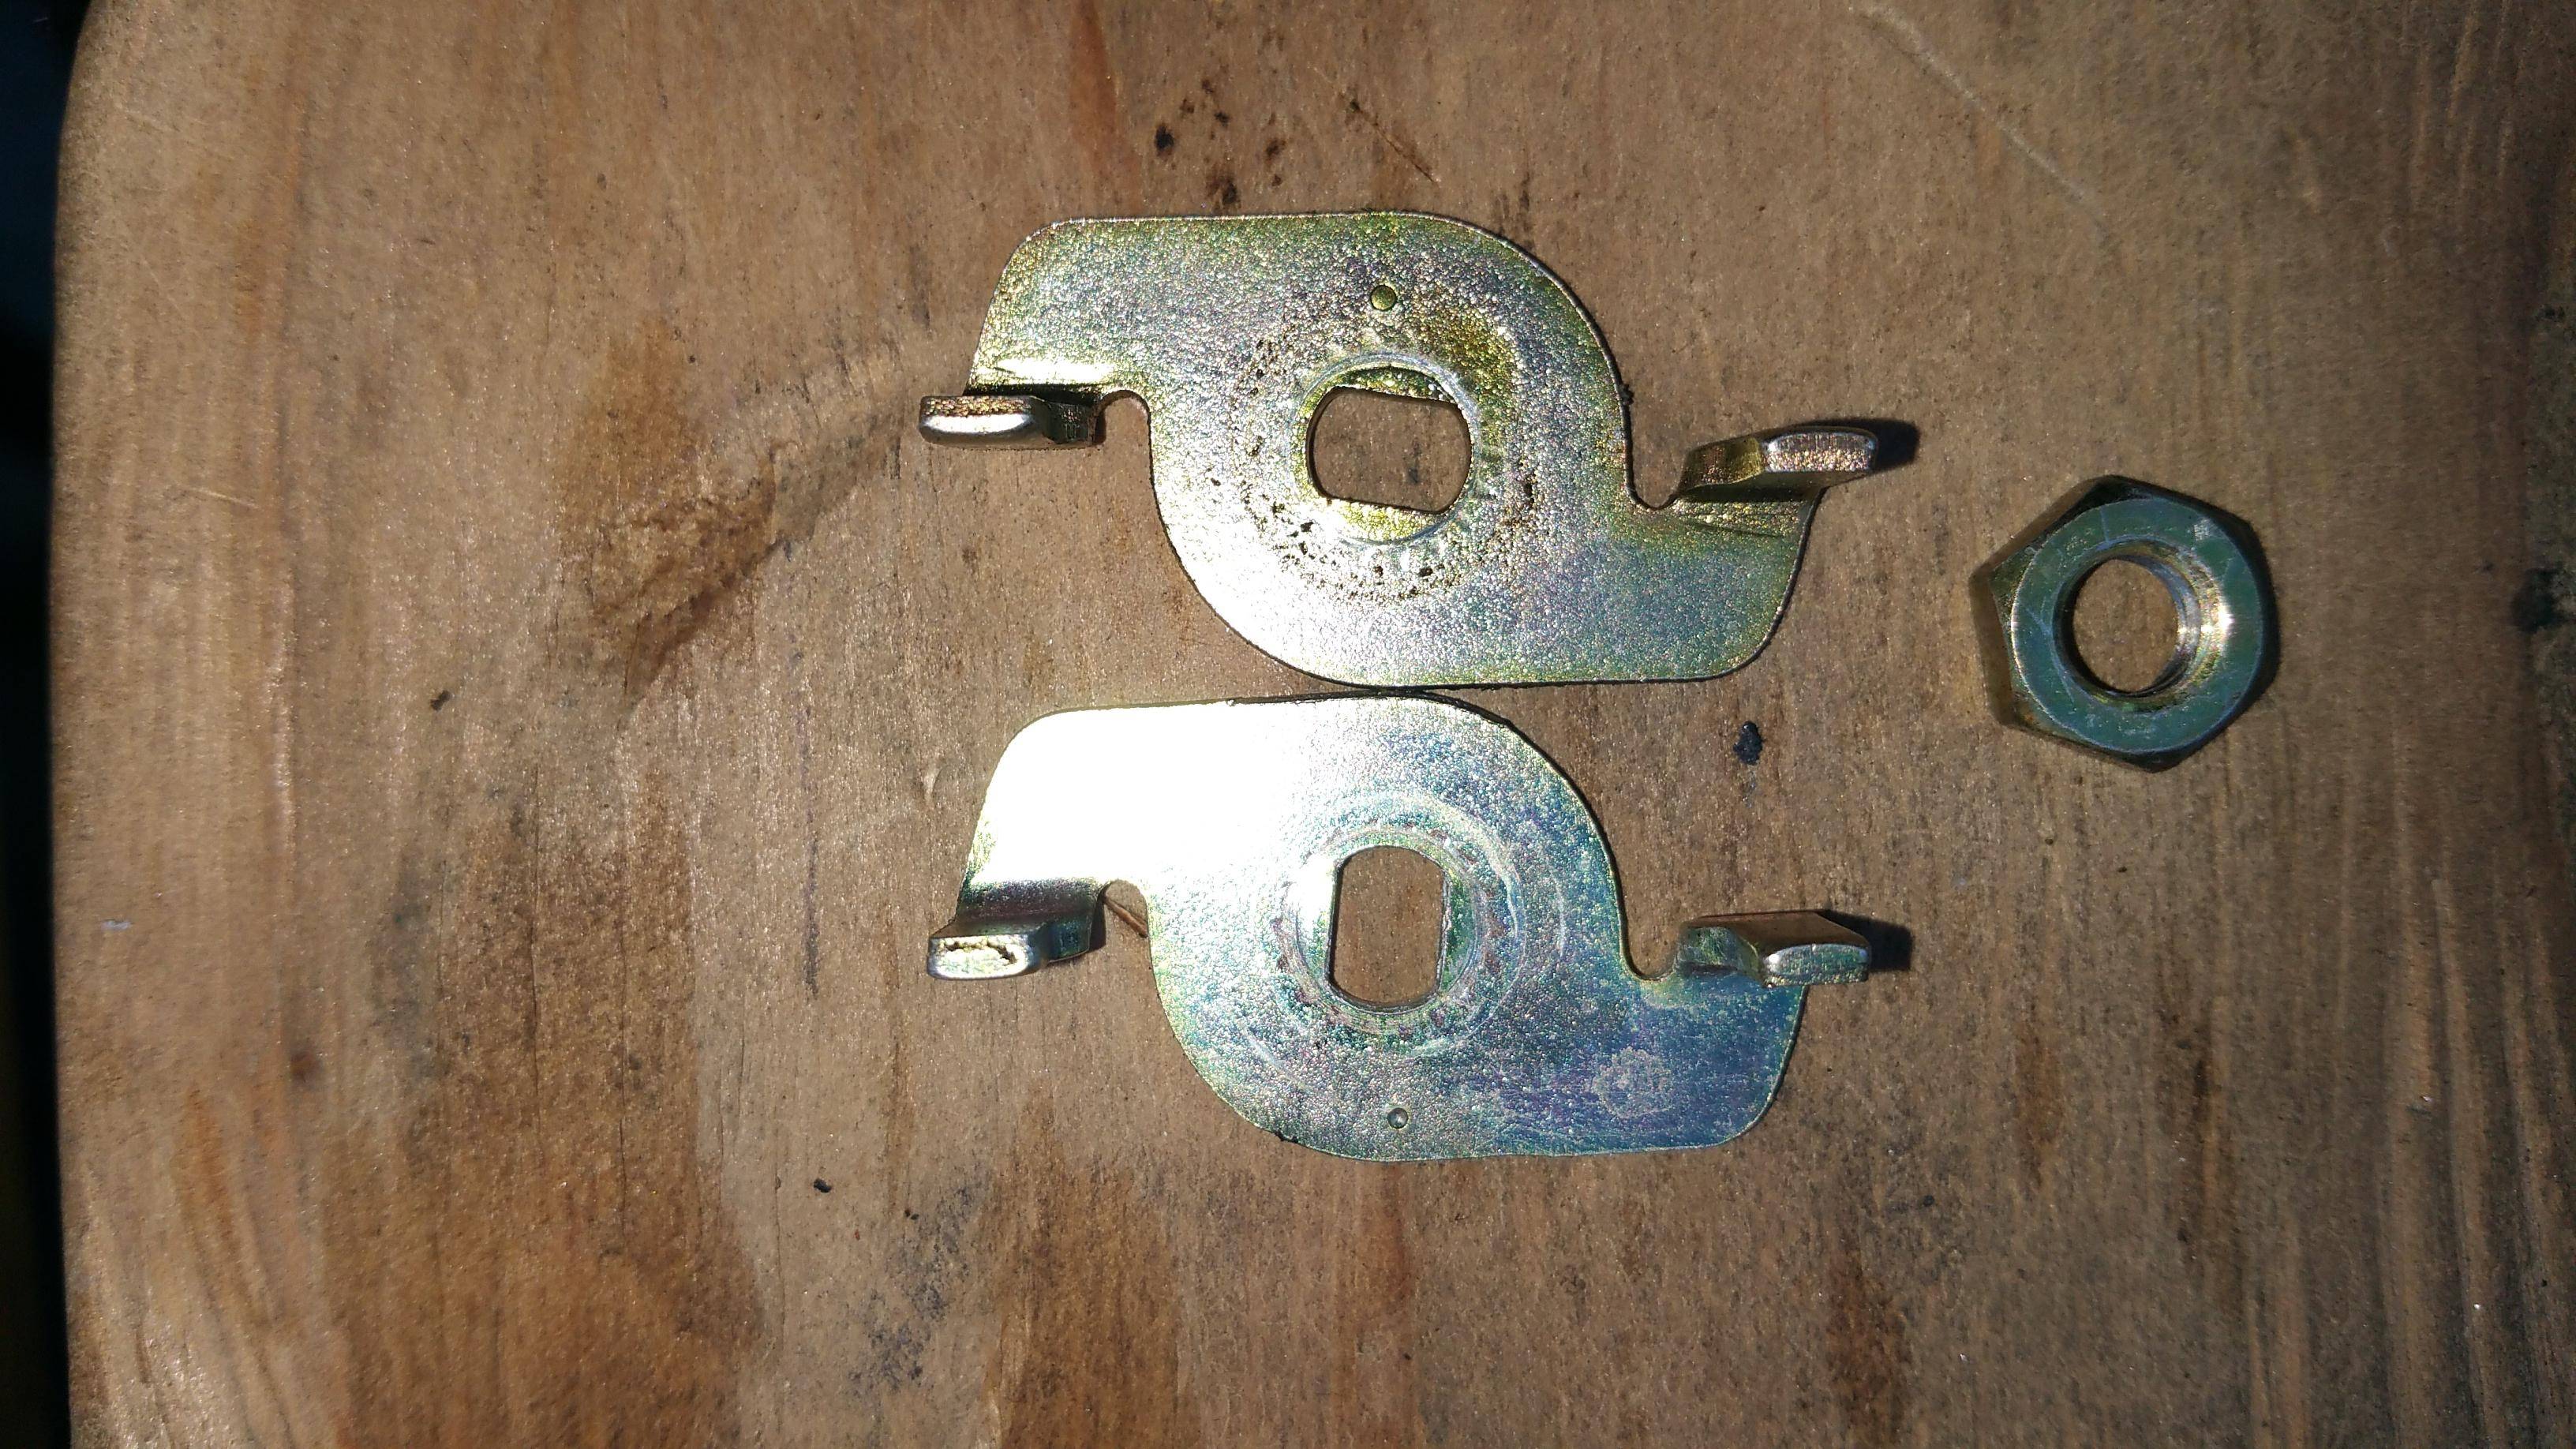
Piece you need to swap from the TB so you can still use your old TPS:
Reasoning:
- get rid of a faulty aux air valve (early model has a coil which fails eventually, later model is all mechanical and passive)
- fix startup idle issues
- improve throttle response
- feel better having newer technology
What is needed:
- upper intake from 89+
- throttle body from 89+
- upper/lower gasket
- TB gasket
- cold start injector gasket
- EGR gasket (not pictured, I removed EGR)
- part number 16264-35030 coolant hose
- part number 16267-35030 coolant hose
- part number 90404-51060 union
- optional throttle cable (I got mine to fit but the later models are slightly shorter apparently)
Process:
- source all parts
- drain & save coolant
- remove old intake on car
- throw away aux air valve (or sell it I guess) I tossed mine in the trash with a smile
- remove thermostat top cover so you can...
- remove 90 degree union fitting just behind it
- install straight union (part number 90404-51060)
- install thermostat top cover
- install new coolant hoses as pictured below
- move over all fittings and hoses to new intake
- for TPS, please see below for specific instructions
- install new intake
- put coolant back in
- start engine and see the glorious higher rpm start!
- go for a drive and relearn how to drive stick with more throttle response
TPS INSTRUCTIONS (copy pasted from pirate thread)
- Remove both throttle bodies.
- Record the part numbers for the older TPS and the newer one (You will not be using the new one)
- Pull both TPS.
- Manually actuate the original TPS and check for binding; it's very common.
- Lay the old TPS on it's back and fill it with WD-40. Let it soak in and clean \ lube the wiper as you perform the next step. (Every used TPS I have pulled was sticky..)
- Inspect the "paddles" bolted to the butterfly by a single nut for alignment. Do not be surprised if they are clocked differently. My 86 was clocked at around 90, and the 92 was clocked at around 0.
- If they are clocked differently, carefully remove and mark the old paddle position on the circle area of the old TB, and set aside. A marker or pencil works well.
- Remove the butterfly from the "new" throttle body and swap the old in it's place. Made darn sure the clocking matches the old throttle body.
- Lube the throttle plate while you have it apart. You may want to replace the packing.
- Place loctite on the TB nut, and check for smooth actuation.
- Drain the WD from the TPS and test it with a ohm meter. If it checks out OK; install it. If not, replace it.
- Drop the TPS onto the mount ring and manually verify it properly mates with the butterfly paddles. You drop it on "Before" the paddles and rotate it into to place.
- Snug the screws, do not tighten them. Test for proper operation with a ohm meter
- Reattach the Throttle body.
- If your old TB had a vacuum pot touching the idle screw, move it over. It is designed to kick the idle up if the engine tries to die. Great for crawling. It will also shoot you in the foot when to either test for codes with the engine off; and when setting the TPS.
- You must defeat the vacuum dashpot when setting the TPS or reading codes. I used a spring. It must be pulled fully in to set TPS. With no vacuum on the dashpot, it extends the plunger for higher idle. This is enough to allow you to set it improperly and to throw codes with the engine off; or to foul up timing and idle when running.
https://www.yotatech.com/forums/f116...sensor-284807/
How to calibrate/adjust TPS:
http://4crawler.com/4x4/CheapTricks/TPS/index.shtml
Before
After
Coolant hoses and new union
Piece you need to swap from the TB so you can still use your old TPS:
Last edited by jennygirl; 11-19-2014 at 10:54 PM.

 11-22-2014, 10:22 PM
#3
Registered User
Thread Starter
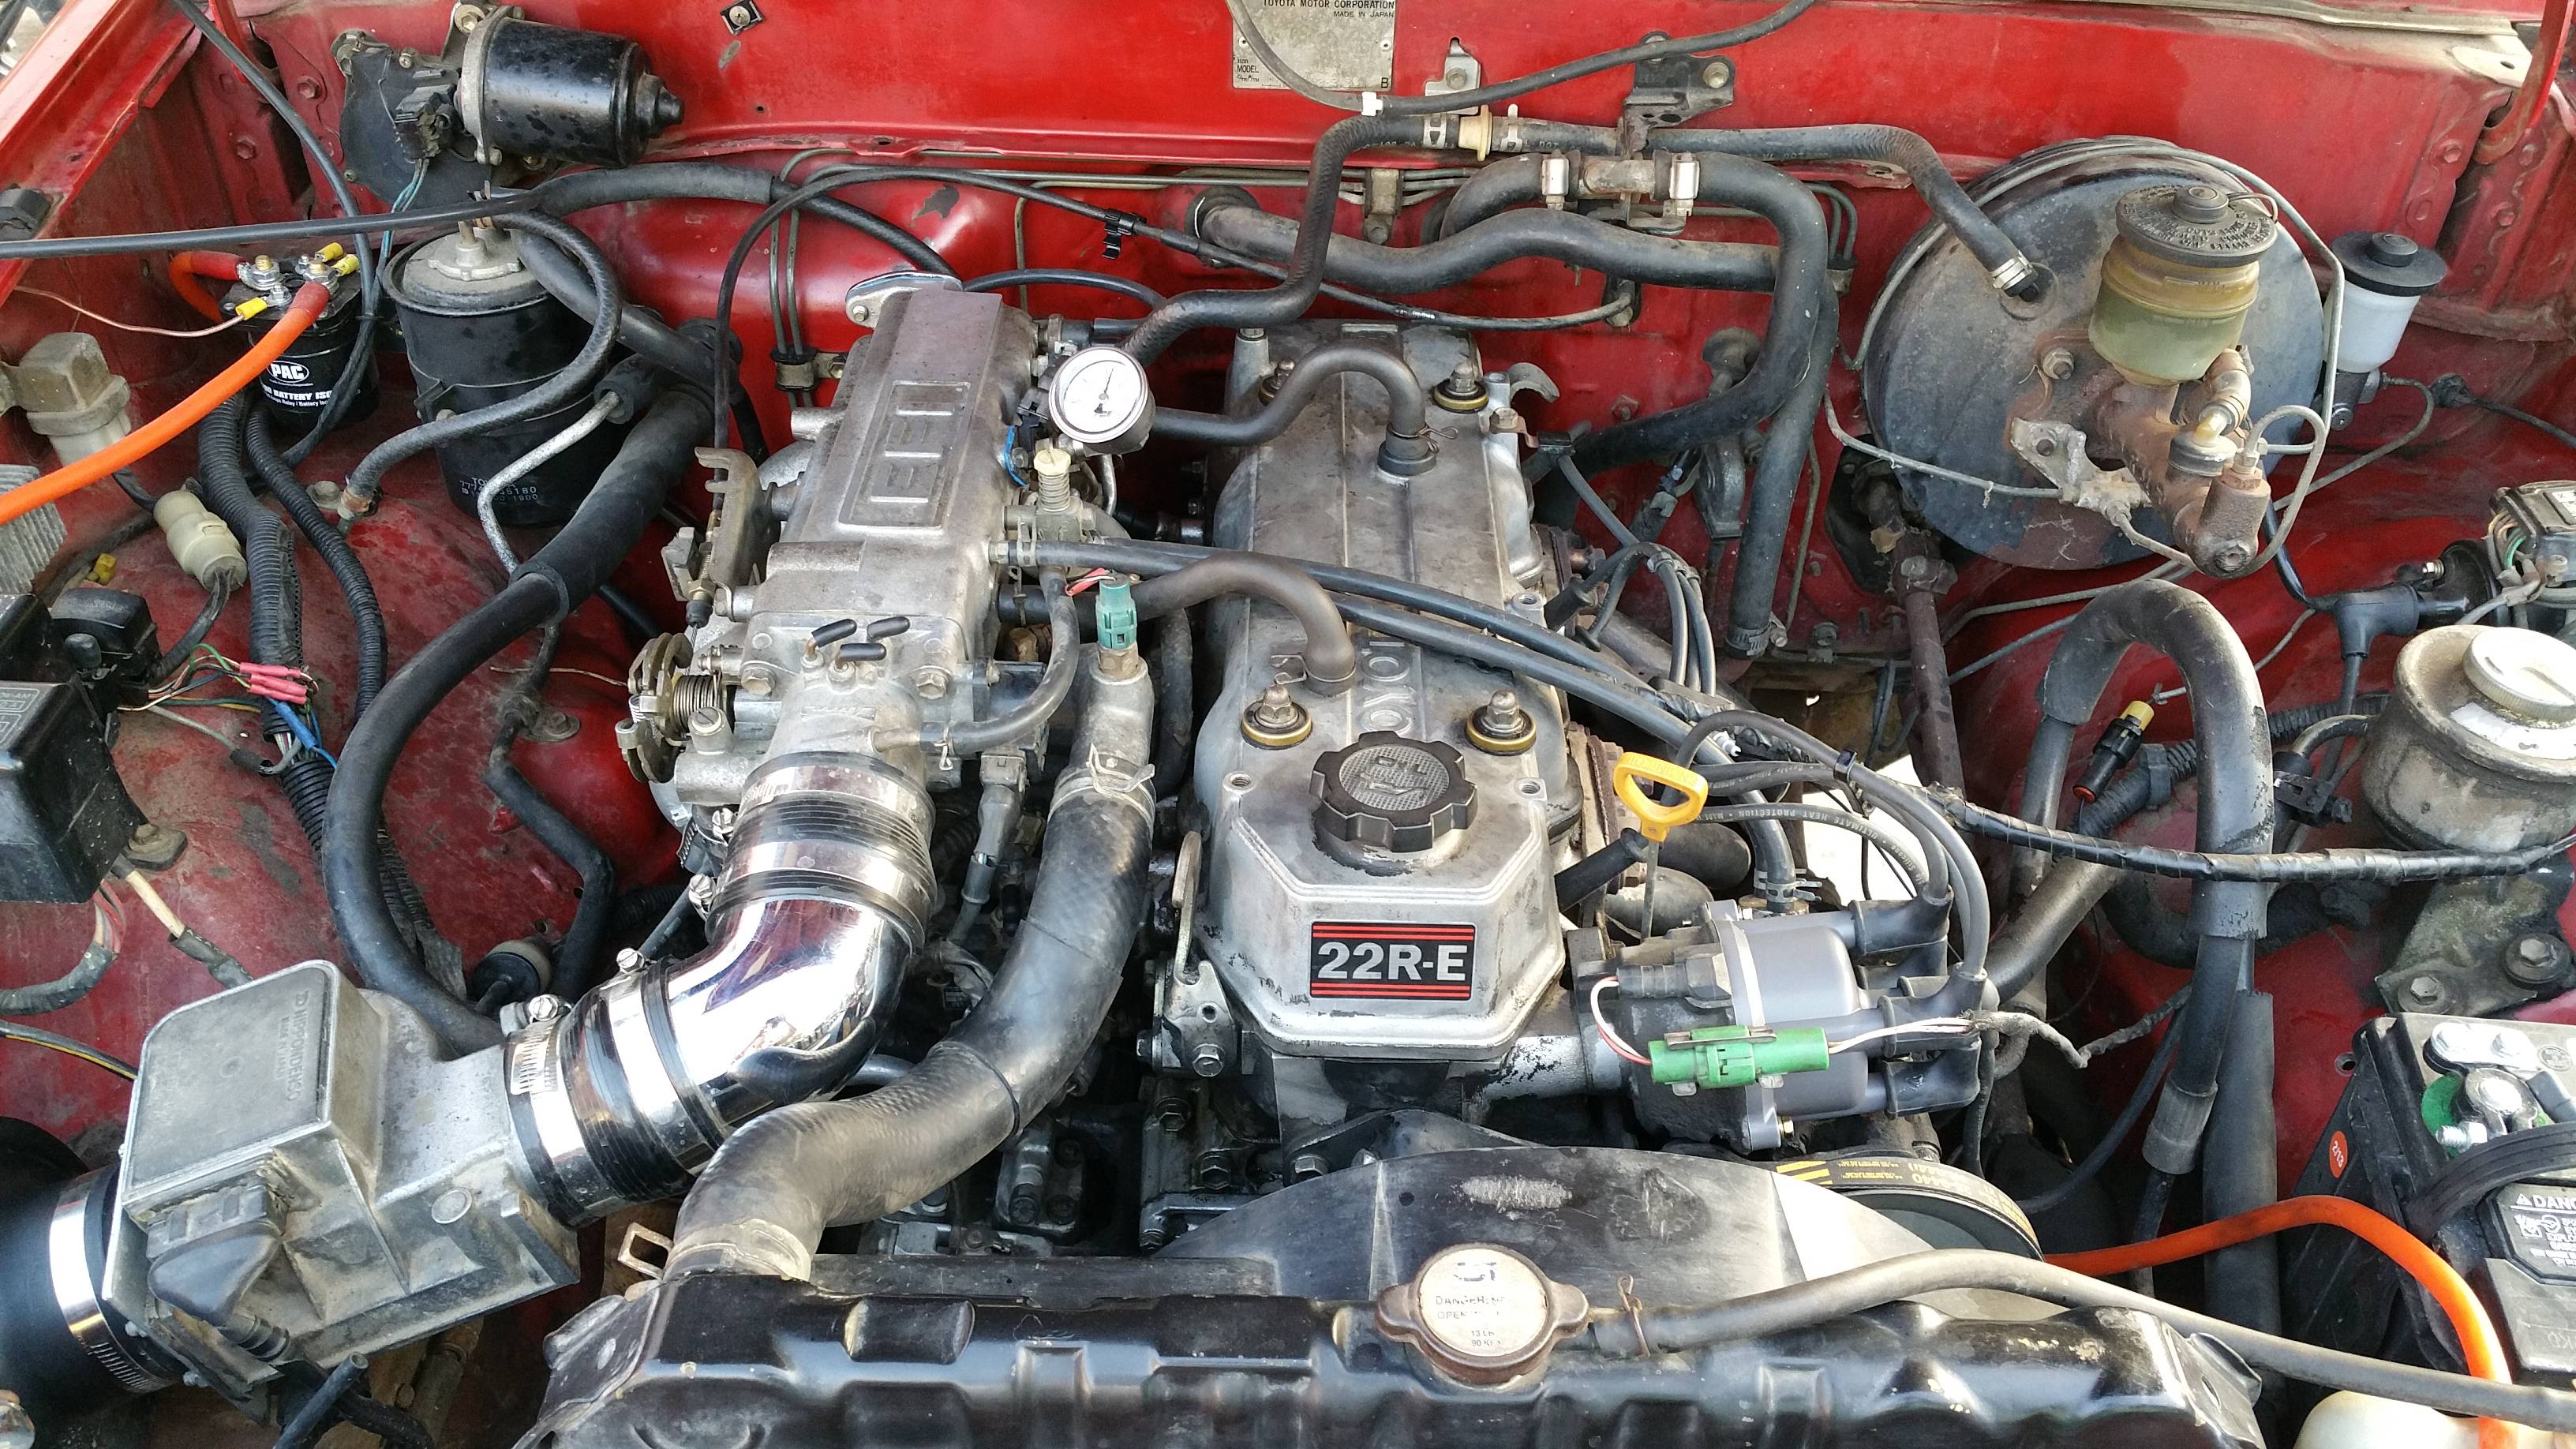
Thank you  I am pretty proud of how clean it looks now compared to when I got it!
I removed a lot of vac hoses, both FP and AC VSV's, and EGR, so that contributes as well I think.
I'm very happy with having the updated tech in there. When my timing chain, guides, or head gasket eventually goes I'm going to do the dual row timing chain kit from LCE and let the good times roll
I am pretty proud of how clean it looks now compared to when I got it!I removed a lot of vac hoses, both FP and AC VSV's, and EGR, so that contributes as well I think.
I'm very happy with having the updated tech in there. When my timing chain, guides, or head gasket eventually goes I'm going to do the dual row timing chain kit from LCE and let the good times roll
01-02-2024, 02:33 PM
#4
Registered User

Join Date: Feb 2021
Location: Carson Valley, NV
Posts: 2
Likes: 0
Received 0 Likes
on
0 Posts
Union #1 (90404-51060) Discontinued
Im buying parts to swap my TV and Upper intake manifold out with a newer model. One of the things called out to change is the 90 degree union on the thermostat housing cover. I found that the straight union (90404-51060) is discontinued. Does anyone know if there's an alternate part?
01-03-2024, 07:50 AM
#5
YT Community Team
I'm doing the same thing. I've got a box set aside with the new hoses, gaskets, etc.
I plan on grabbing that straight fitting off any Toyota when I go to the PYP to grab the plenum.
But if fail to find one I can always retap the hole for sae, and then buying a 1/8" straight union will be easy. Pretty much the same ones I used to replace the corroded pipes on the IACV.
I plan on grabbing that straight fitting off any Toyota when I go to the PYP to grab the plenum.
But if fail to find one I can always retap the hole for sae, and then buying a 1/8" straight union will be easy. Pretty much the same ones I used to replace the corroded pipes on the IACV.

Thread
Thread Starter
Forum
Replies
Last Post
jonpanic
86-95 Trucks & 4Runners
26
07-09-2019 02:20 PM


