
1st gen dash illumination write-up
 08-26-2009, 02:33 PM
#1
Registered User
Thread Starter
Join Date: Sep 2007
Location: Arizona
Posts: 1,177
Likes: 0
Received 0 Likes
on
0 Posts
1st gen dash illumination write-up
okay, first things first, i did NOT order any special bulbs or anything.
you'll see what i did further down. I HAVE THE DLX CLUSTER.
here's the steps,
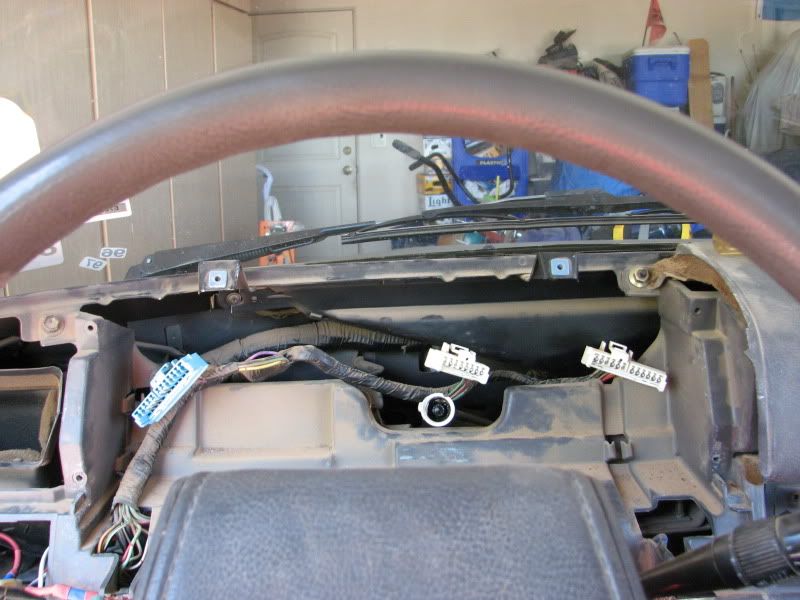
1.Remove top dash cap. Two screw underneath, two above displays, one on side, (on mine atleast)
2.Place dash cap somewhere safe, ex: workbench, or elsewhere. I like to fold down my back seats and set it there.
3.Remove cluster, three wires and one speedometere cable. You got one wire on your right side at a 45 degree angle, one in the middle that is horizontal, and the one on the left is at a 45 degree angle too. Speedometer cable has a clip you pull up and pull off at the same time.
4.So you got the cluster out now, make sure you have somewhere to put it when you work on it, workbench, countertop, coffee table, or dinner stand.
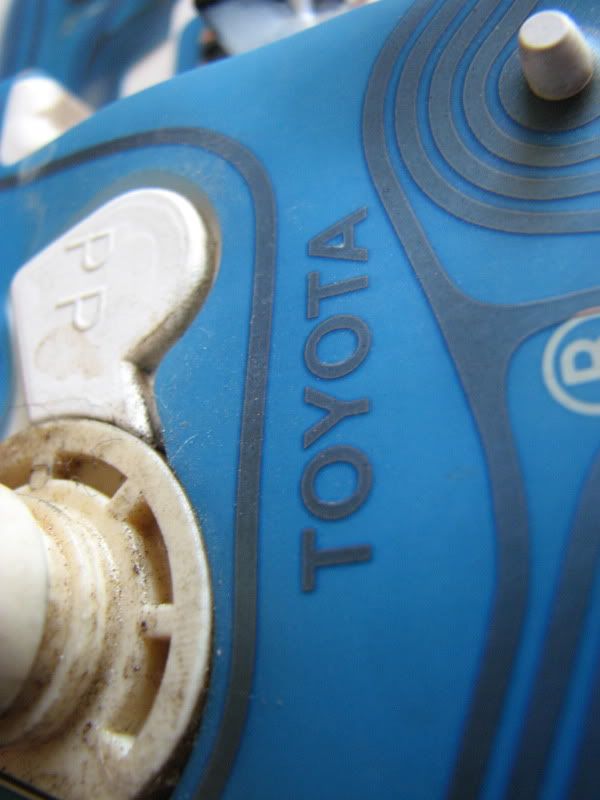
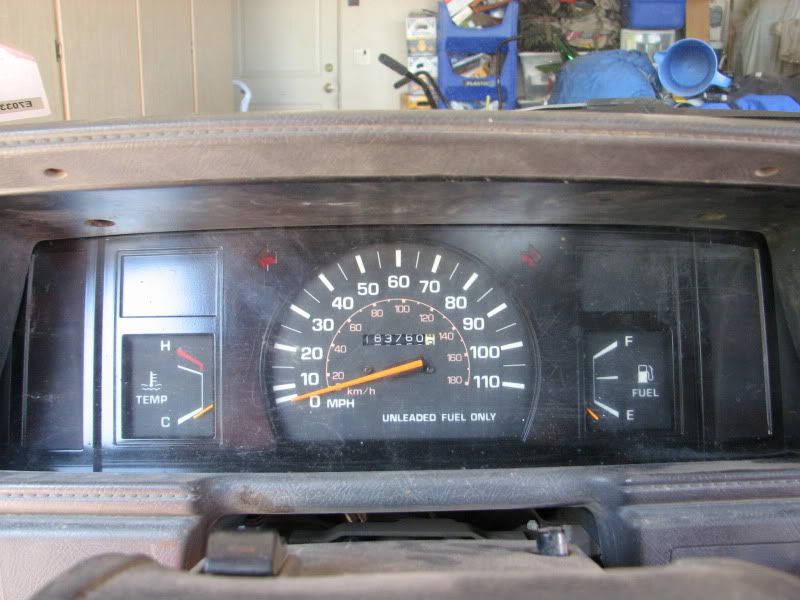
5.Unscrew the top metal pieces, screws are located on the back.
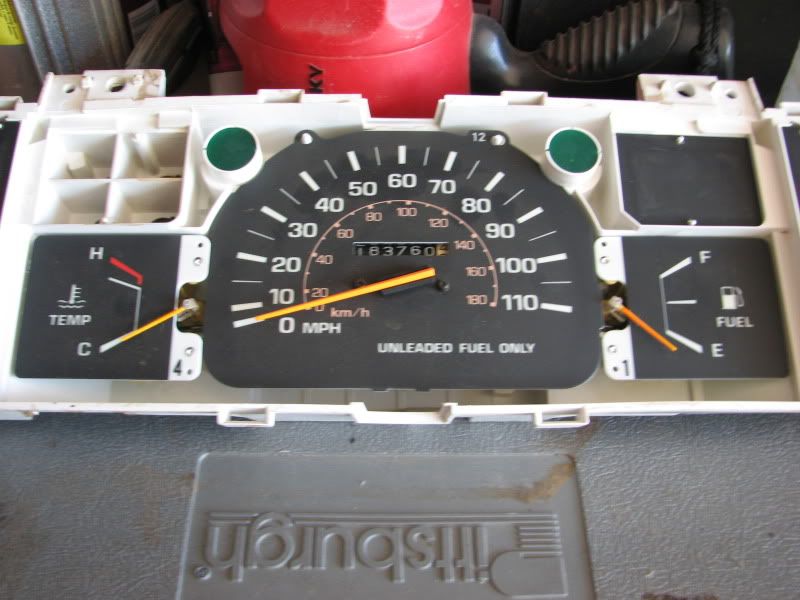
6.You DON'T need to pull off the clear piece. There is no need to, well unless you repaint like i did.
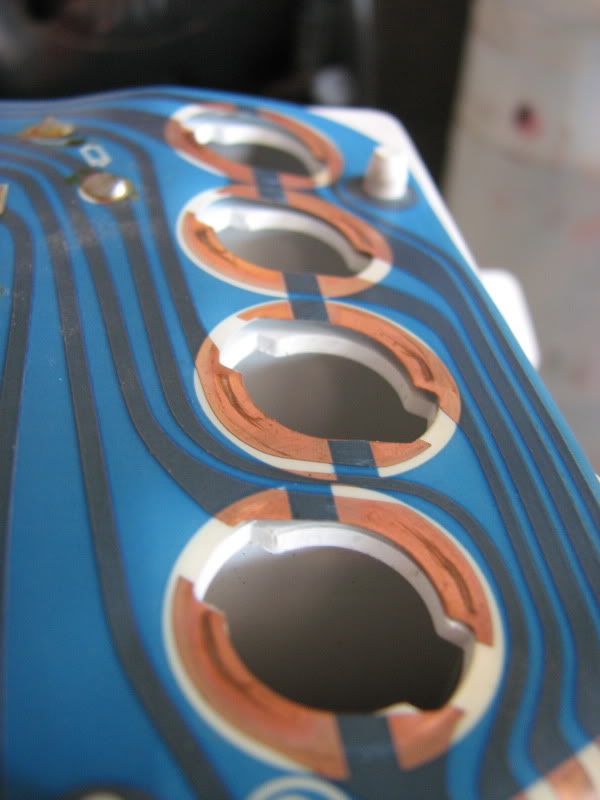
7.Unclip the plastic pieces, I believe there is fourteen total, with like seven on bottom and seven on top. Be gentle.
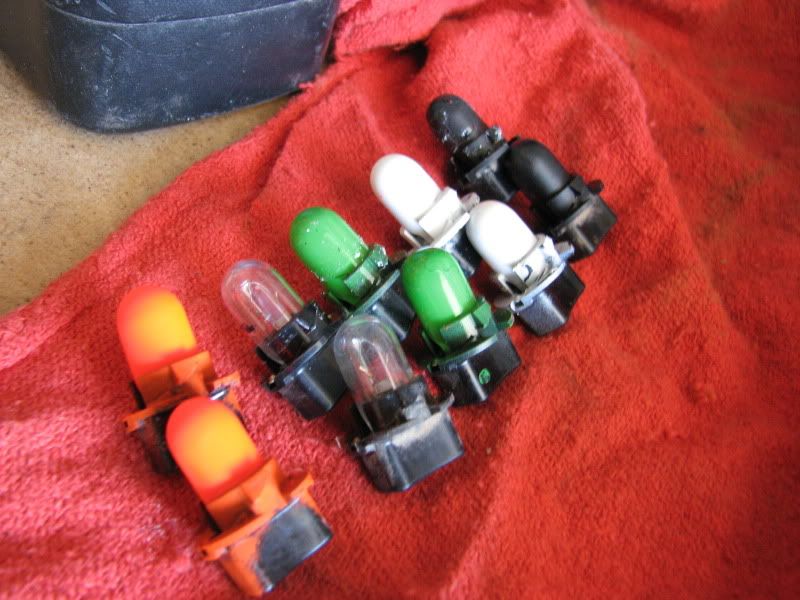
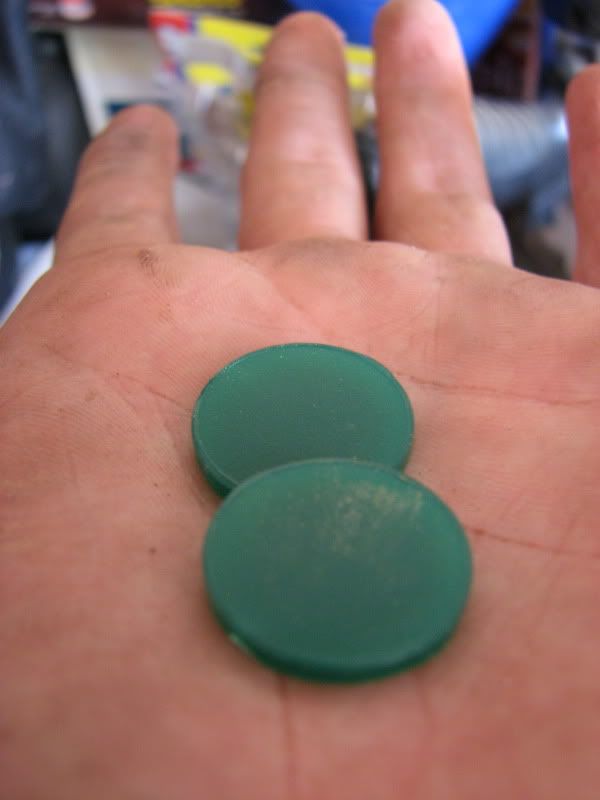
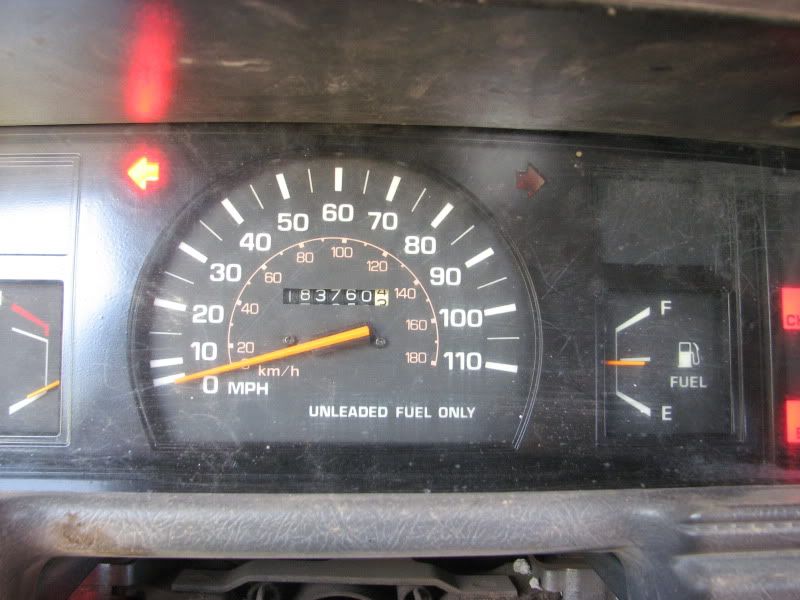
8.I popped out the green piecs for the blinkers to show the illumination.
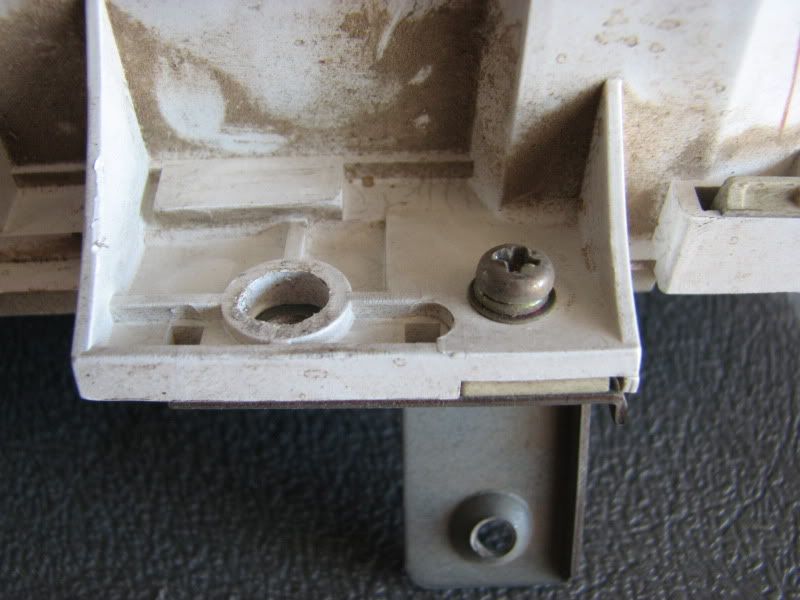
9.Clip the two plastic pieces back together. DO NOT TURN THE TWO LITTLE SCREW ON YOUR SPEEDOMETER, YOU CANNOT ROLL YOUR OD OVER. THE SCREWS WILL MESS UP YOUR SPEEDOMETER.
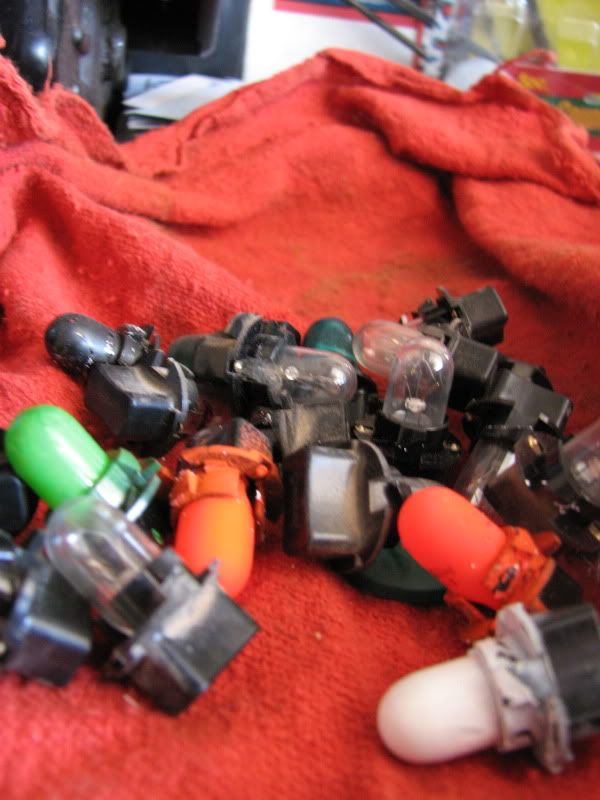
10.The bulbs are on the back, They are a quarter turn on, and a quarter turn off. very simple.
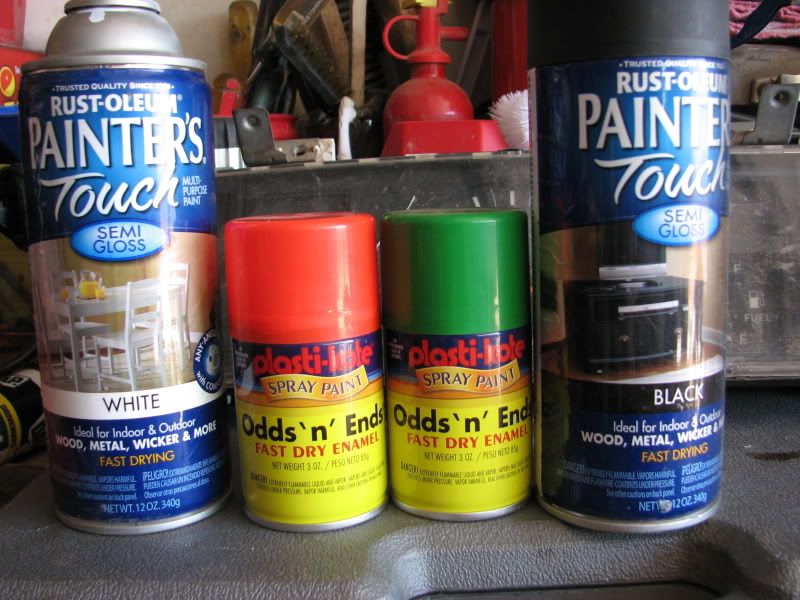
11.I painted mine, this is wehre you would put in the ones you bought, im just cheap Skip to step XXXXX if you bought some
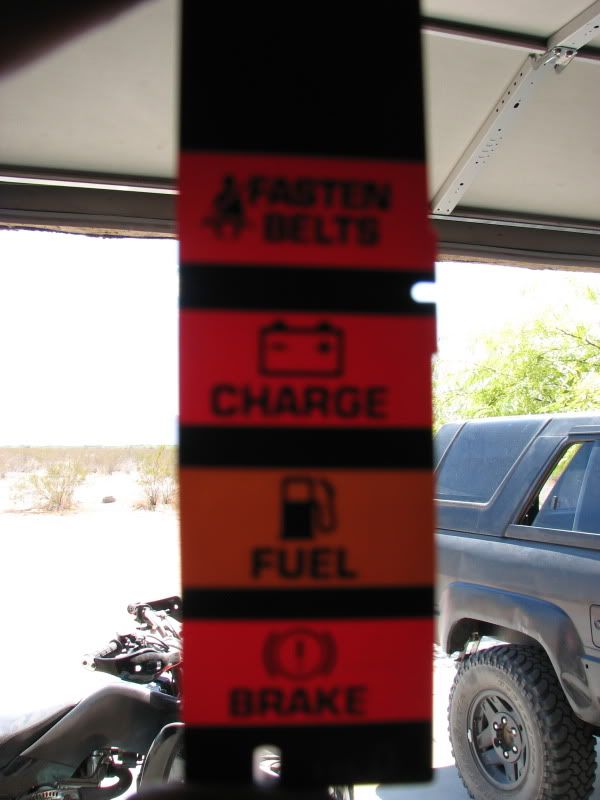
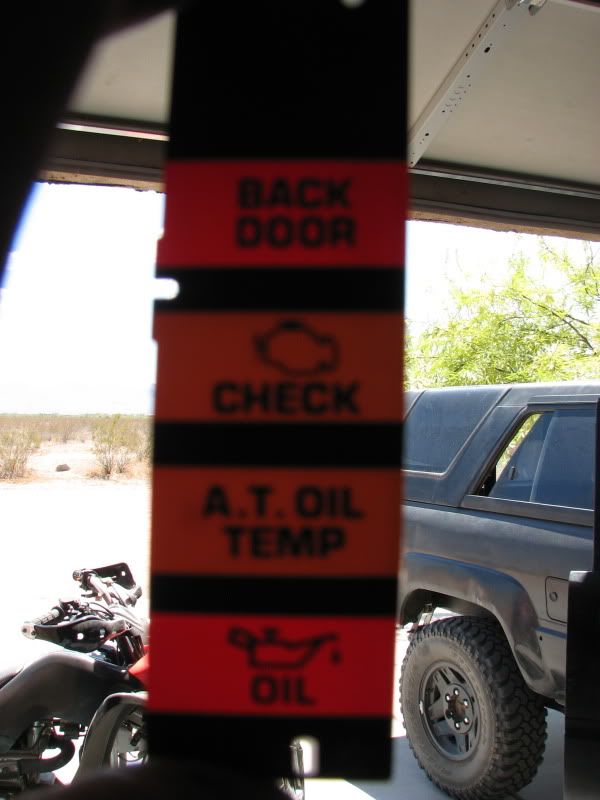
12.I chose a couple different colors and paints, I need to see which ones work, I'll post up night time pics tonight or tomorrow.
13.After painting screw them in where they belong. REMEMBER WHERE ALL OF THE CLEAR ONES AND COLORED ONES SHOULD BE. Colored should be in the middle four, standard non colors on the left and right, no need to paint them cause it wont make a difference.
14.Reassemble. The only thing that Ihad a little trouble with was the speedometer cable and the wires.
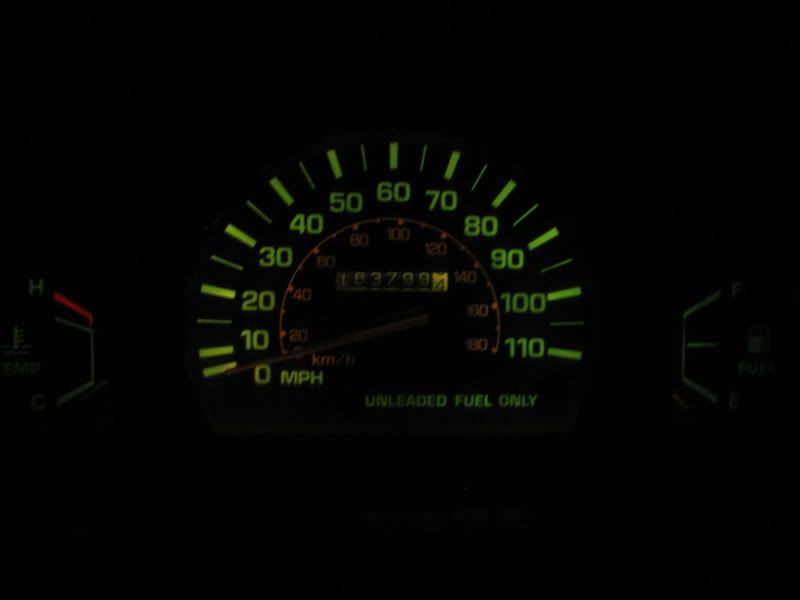
Picture time, pictures are in the order that i did them.
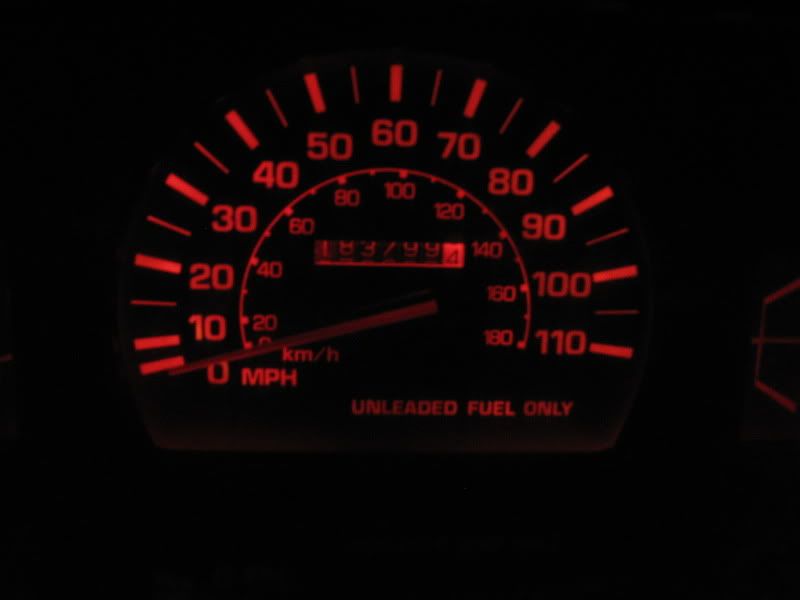
Nght time pictures will be taken tonight.
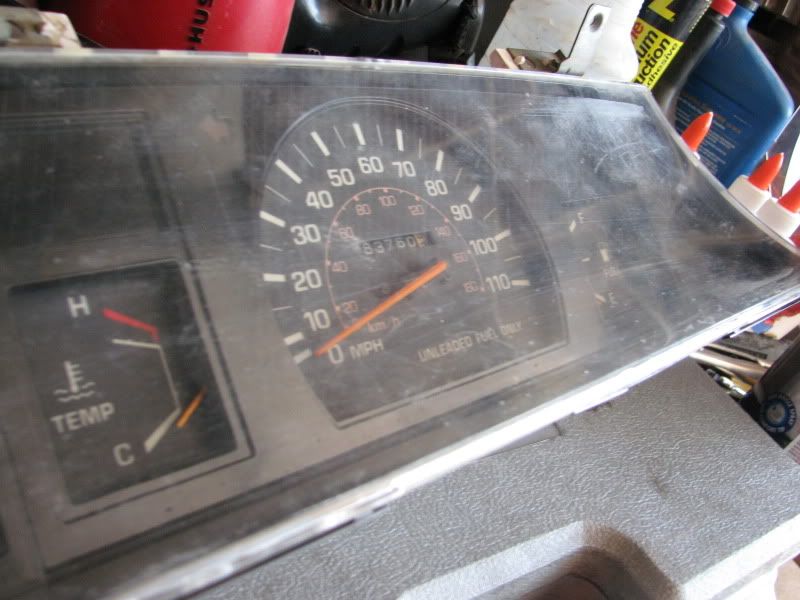
I put the orange ones in for the blinkers to tease you guys till tonight or tomorrow when i get the pictures


Enjoy
i'll do one on the inclinometer once Ifigure out where the plugs plug into.
you'll see what i did further down. I HAVE THE DLX CLUSTER.
here's the steps,
1.Remove top dash cap. Two screw underneath, two above displays, one on side, (on mine atleast)
2.Place dash cap somewhere safe, ex: workbench, or elsewhere. I like to fold down my back seats and set it there.
3.Remove cluster, three wires and one speedometere cable. You got one wire on your right side at a 45 degree angle, one in the middle that is horizontal, and the one on the left is at a 45 degree angle too. Speedometer cable has a clip you pull up and pull off at the same time.
4.So you got the cluster out now, make sure you have somewhere to put it when you work on it, workbench, countertop, coffee table, or dinner stand.
5.Unscrew the top metal pieces, screws are located on the back.
6.You DON'T need to pull off the clear piece. There is no need to, well unless you repaint like i did.
7.Unclip the plastic pieces, I believe there is fourteen total, with like seven on bottom and seven on top. Be gentle.
8.I popped out the green piecs for the blinkers to show the illumination.
9.Clip the two plastic pieces back together. DO NOT TURN THE TWO LITTLE SCREW ON YOUR SPEEDOMETER, YOU CANNOT ROLL YOUR OD OVER. THE SCREWS WILL MESS UP YOUR SPEEDOMETER.
10.The bulbs are on the back, They are a quarter turn on, and a quarter turn off. very simple.
11.I painted mine, this is wehre you would put in the ones you bought, im just cheap
Skip to step XXXXX if you bought some12.I chose a couple different colors and paints, I need to see which ones work, I'll post up night time pics tonight or tomorrow.
13.After painting screw them in where they belong. REMEMBER WHERE ALL OF THE CLEAR ONES AND COLORED ONES SHOULD BE. Colored should be in the middle four, standard non colors on the left and right, no need to paint them cause it wont make a difference.
14.Reassemble. The only thing that Ihad a little trouble with was the speedometer cable and the wires.
Picture time, pictures are in the order that i did them.
Nght time pictures will be taken tonight.
I put the orange ones in for the blinkers to tease you guys till tonight or tomorrow when i get the pictures
Enjoy
i'll do one on the inclinometer once Ifigure out where the plugs plug into.
 08-26-2009, 02:36 PM
#2
Contributing Member
I'm not sure if I should call you original, or just plane CHEAP 
lol, definately never seen it done like that before
good job man! would like to see some night pictures
I'm curious to see how the paint is going to hold up to the heat of the lights that stay on for long periods of time, like the running lights and what-not
one question though... why the black bulbs?
Last edited by iamsuperbleeder; 08-26-2009 at 02:39 PM.
08-26-2009, 02:41 PM
#3
Registered User
Thread Starter
Join Date: Sep 2007
Location: Arizona
Posts: 1,177
Likes: 0
Received 0 Likes
on
0 Posts
I'm not sure if I should call you original, or just plane CHEAP
lol, definately never seen it done like that before
good job man! would like to see some night pictures
I'm curious to see how the paint is going to hold up to the heat of the lights that stay on for long periods of time, like the running lights and what-not
one question though... why the black bulbs?
i figured i was testing it out, might as well see what does and doesnt work, the orange turned red so the black will be like a grey.
and i ran my blinker for a good two minutes and took the bulb out and checked it and it was fine.
08-26-2009, 02:47 PM
#4
Registered User
Otherwise looks good i like your idea
08-26-2009, 02:51 PM
#5
Registered User
Oh and i dont think the heat will be an issue, they dont get that hot.
If it is an issue, there is a paint called "Engine Enamel" which will withstand 500* temps (even air cooled engines want to look perty now and again)
I've also noticed it's very thin, takes many coats to get a nice solid finish. The transperency would probably work pretty well for a bulb
If it is an issue, there is a paint called "Engine Enamel" which will withstand 500* temps (even air cooled engines want to look perty now and again)
I've also noticed it's very thin, takes many coats to get a nice solid finish. The transperency would probably work pretty well for a bulb
08-26-2009, 02:56 PM
#6
Registered User
Thread Starter
Join Date: Sep 2007
Location: Arizona
Posts: 1,177
Likes: 0
Received 0 Likes
on
0 Posts
i orignally wanted a grey backlight
but i like the red,
matches all my other gizmos.
Trending Topics
08-26-2009, 03:05 PM
#9
Contributing Member
 08-26-2009, 03:17 PM
#12
Contributing Member

Thread
Thread Starter
Forum
Replies
Last Post
vanion2
99+ Tundra, 00+ Sequoia, 98+ Land Cruiser/LX470
2
07-29-2015 06:17 PM


