
1984-1989 4Runner (COMPLETE) Driver/Passener Seat Swap DIY (with oodles of photos)
 02-25-2010, 03:29 PM
#1
Registered User
Thread Starter
iTrader: (2)
Join Date: Dec 2009
Location: Pleasanton, CA - SF Bay Area
Posts: 2,159
Likes: 0
Received 7 Likes
on
5 Posts
1984-1989 4Runner (COMPLETE) Driver/Passener Seat Swap DIY (with oodles of photos)
OK guys.
So, like most of you, my driver’s seat was in disrepair. The seat actually had broken years ago so I scored a pair of (non SR5) used seats to replace mine and slapped a seat cover on it since the side bolster was falling to pieces. The passenger SR5 seat remained in place, in mint condition. With a LONG road trip coming up (CA to OR and back) next week, some recent back injuries, and general discont, I decided it was time to do something about it…what I wanted to do was simple:
1) Remove the back and butt cushions from the SR5 passenger seat and install them in the driver’s seat
2) Not destroy anything (except the crappy old cushions on my used driver’s seat)
3) Install the second used passenger seat that’s been sitting in my garage for 4 years now!
I came across some threads recently showing how to swap the bottom seat from driver to passenger (since passenger seats are generally in better shape), but they omitted the swap of the upper part as well, and that didn’t sit right with me! So, here’s the complete DIY guide with a TON of photos to help you along the way….YOU CAN DO IT (IF I CAN)!
Tools needed:
12 mm crescent wrench
12mm socket(and wrench)
13mm socket (and wrench)
Needle nose pliers
Philips screwdriver
Time:
Took me 3 hours (but taking lots of photos). I’m sure most of you guys are faster than me….
The Job:
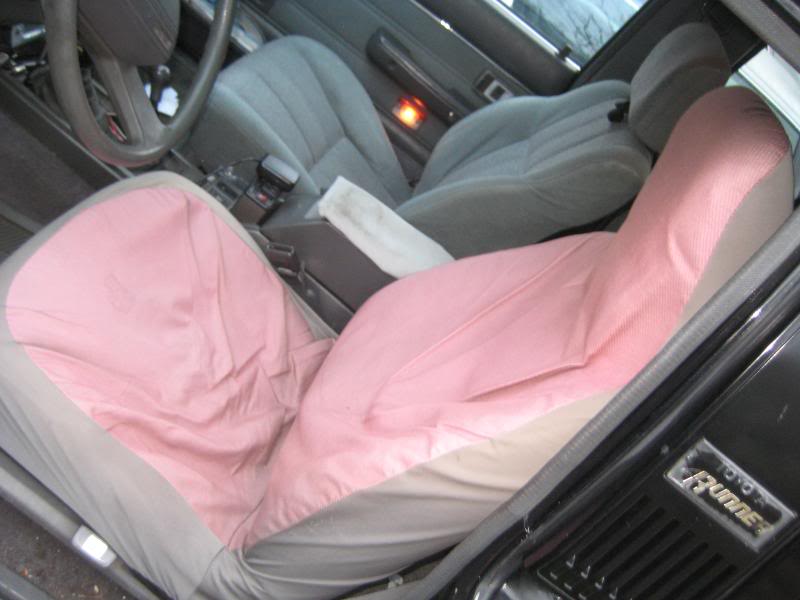
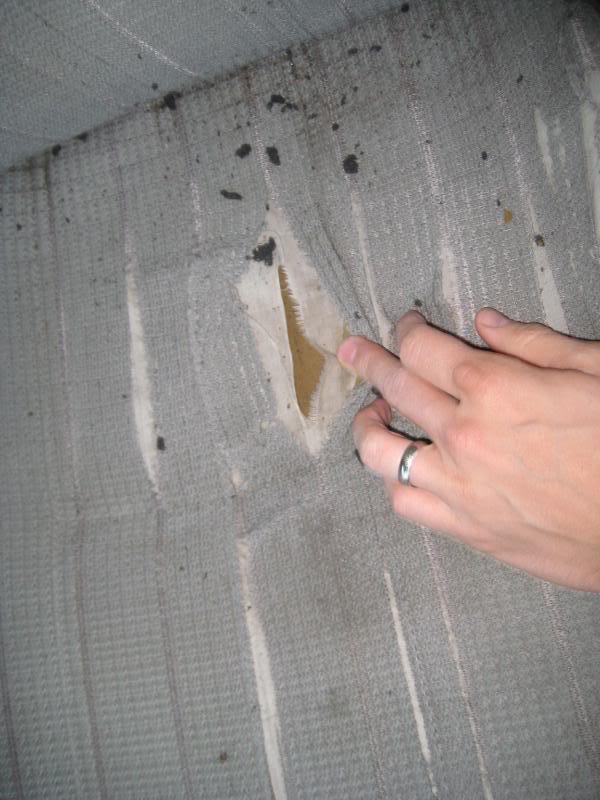
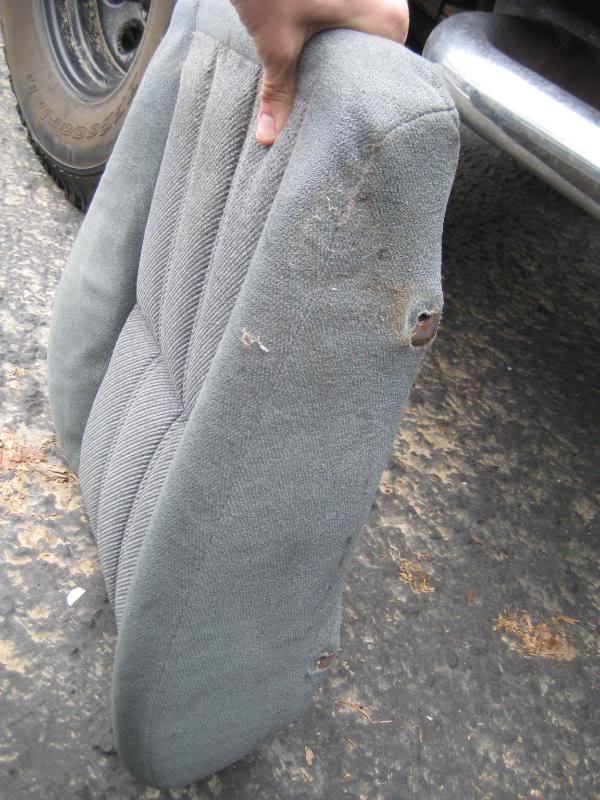
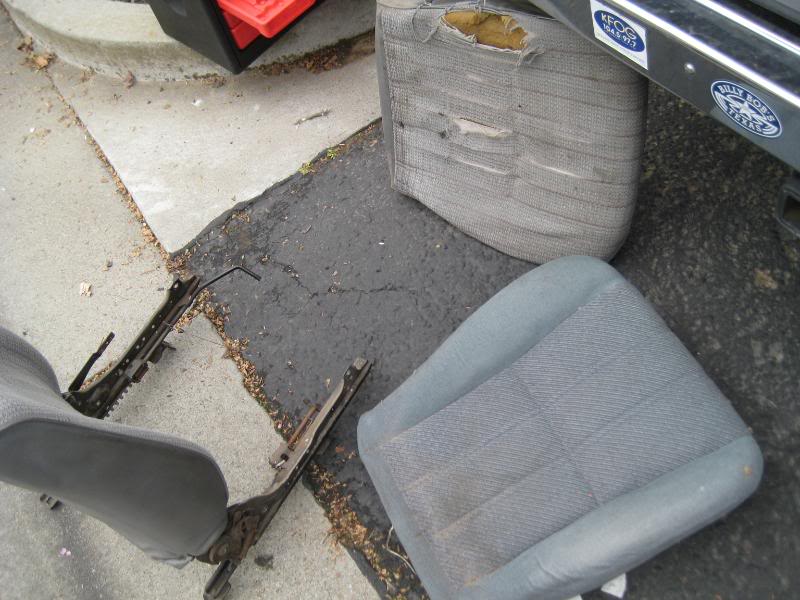
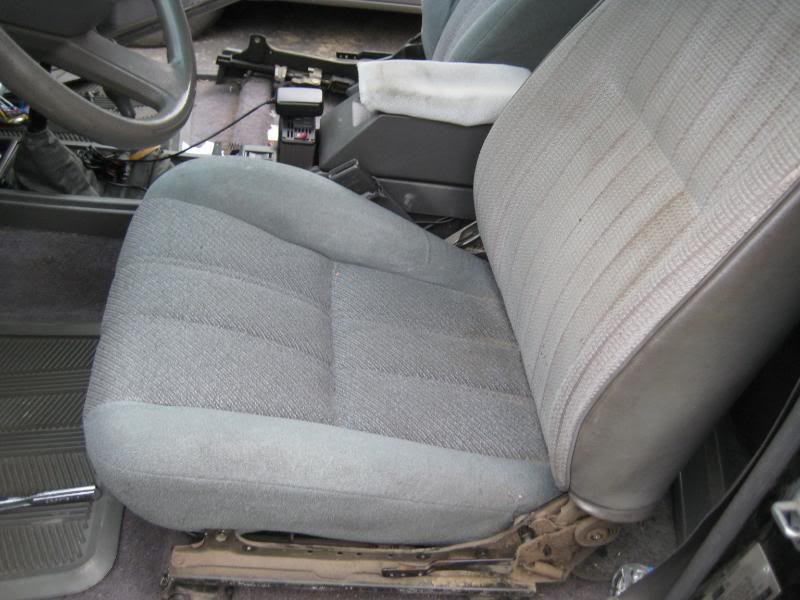
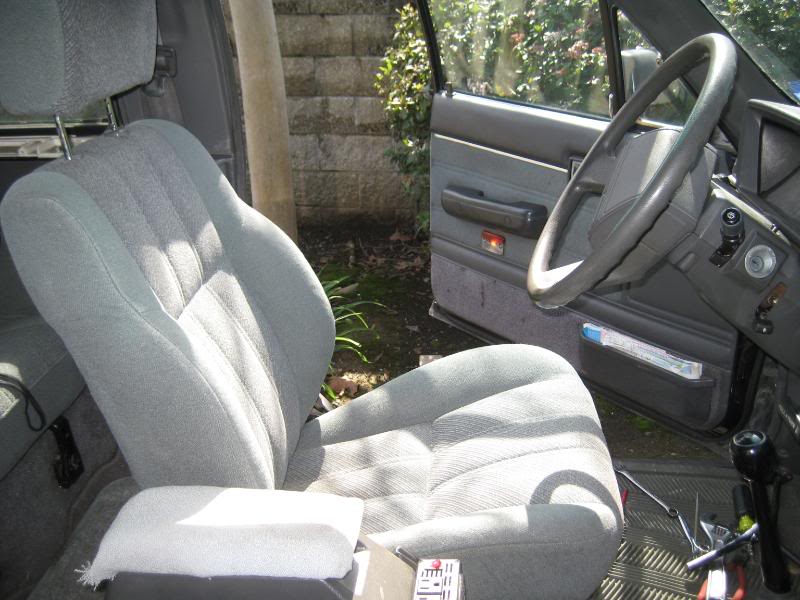
Here’s my old driver’s seat with awful cover:
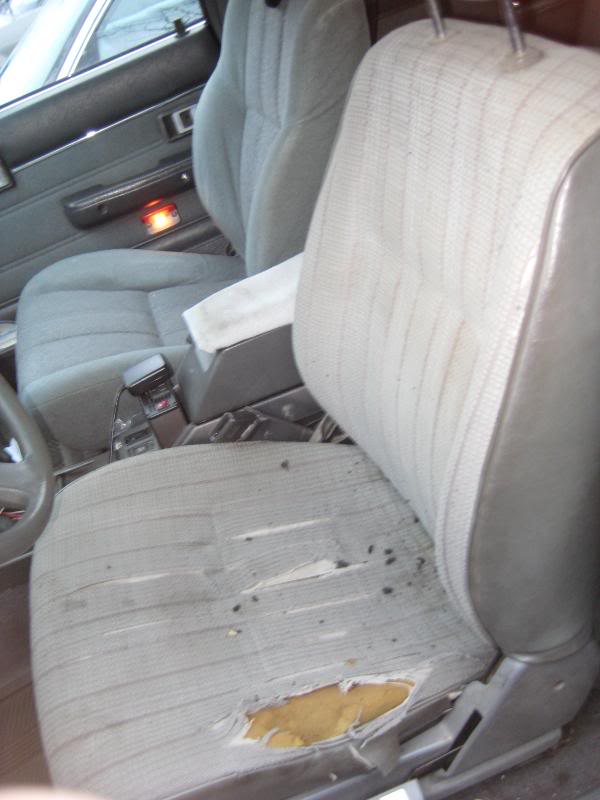
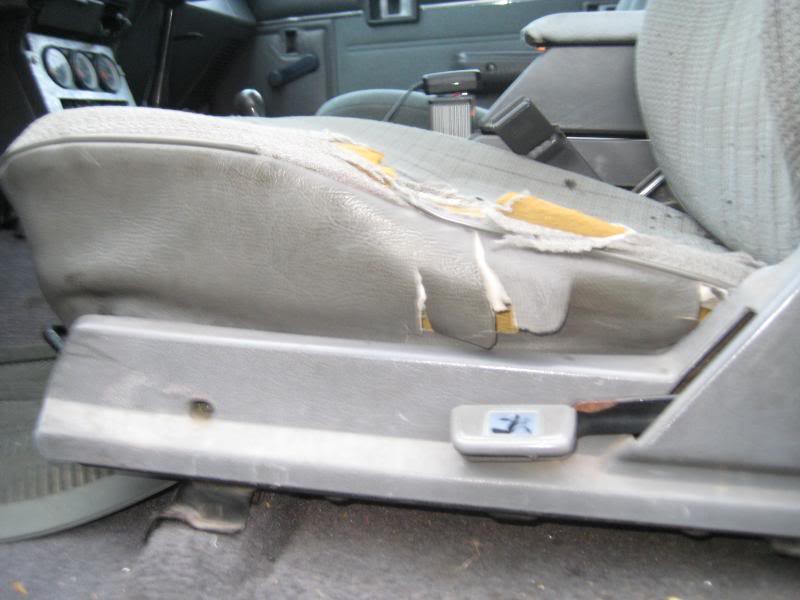
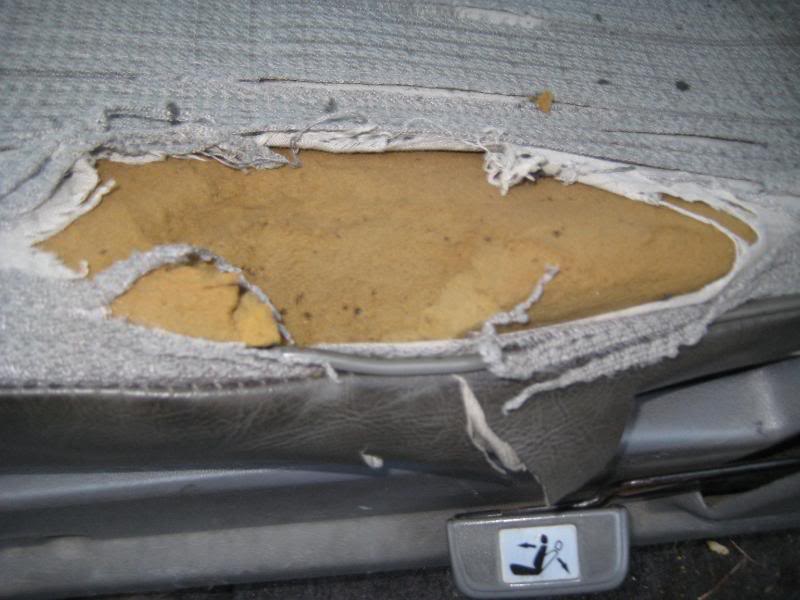
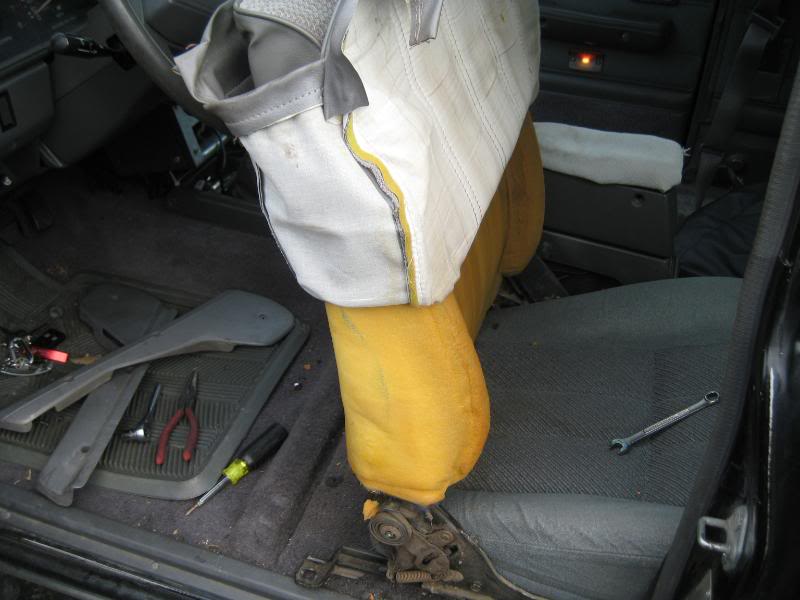
And without the cover (Yikes that’s awful!):
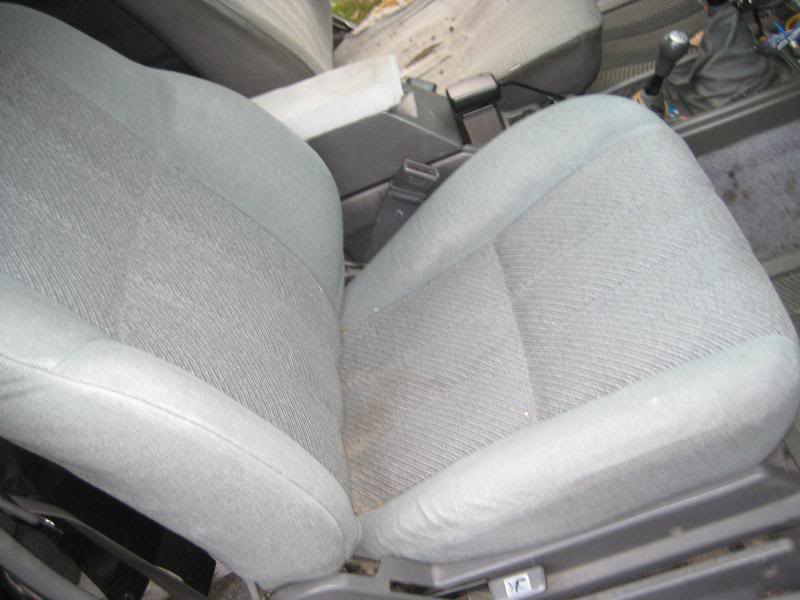
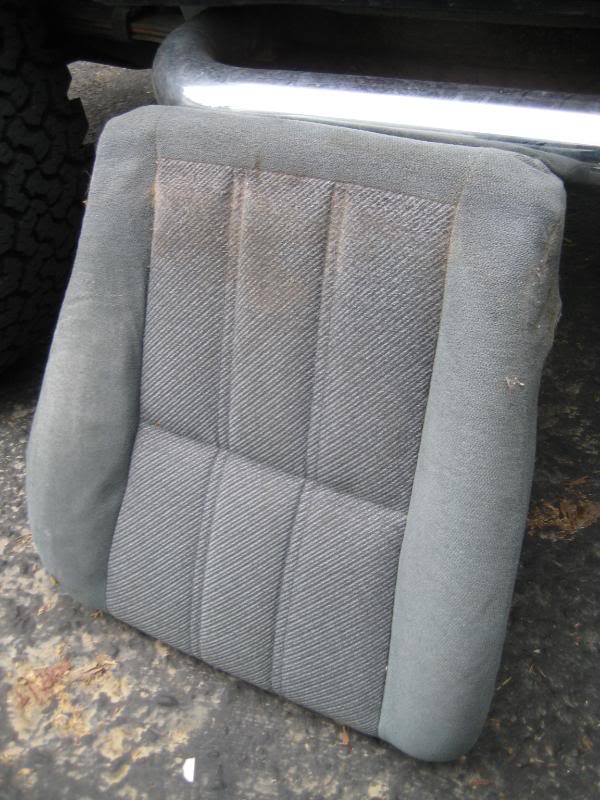
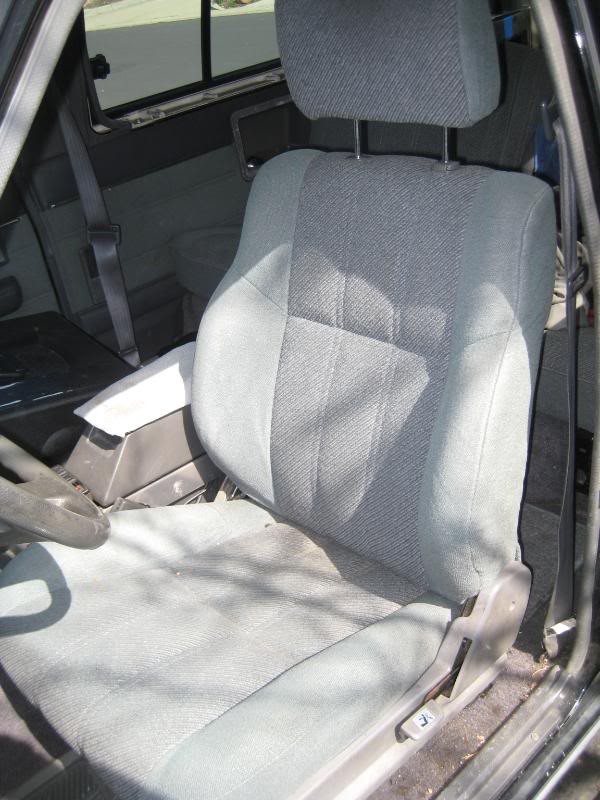
The almost mint condition passenger side SR5 seat ready for extraction:
Remove the trim on the sides of the seats. There are 4 (maybe 3) tiny Philips screws. Note where the short ones go so you install correctly later.
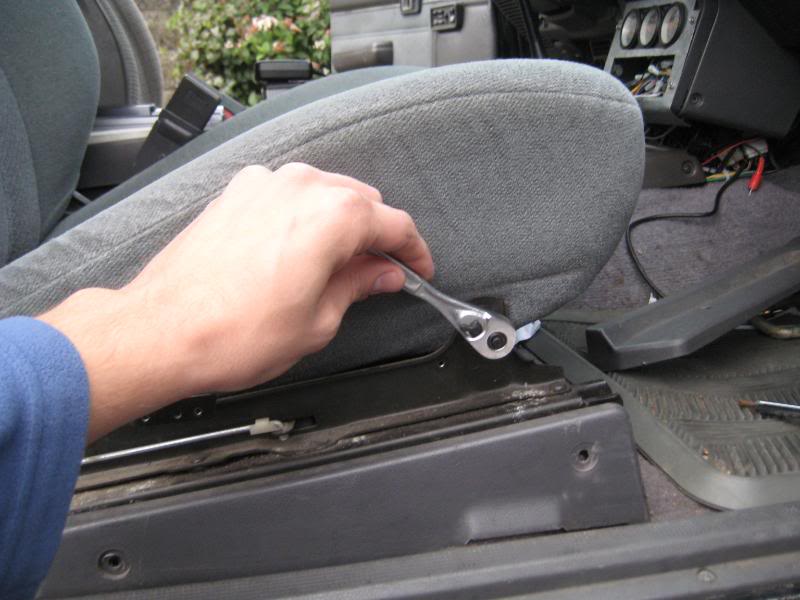
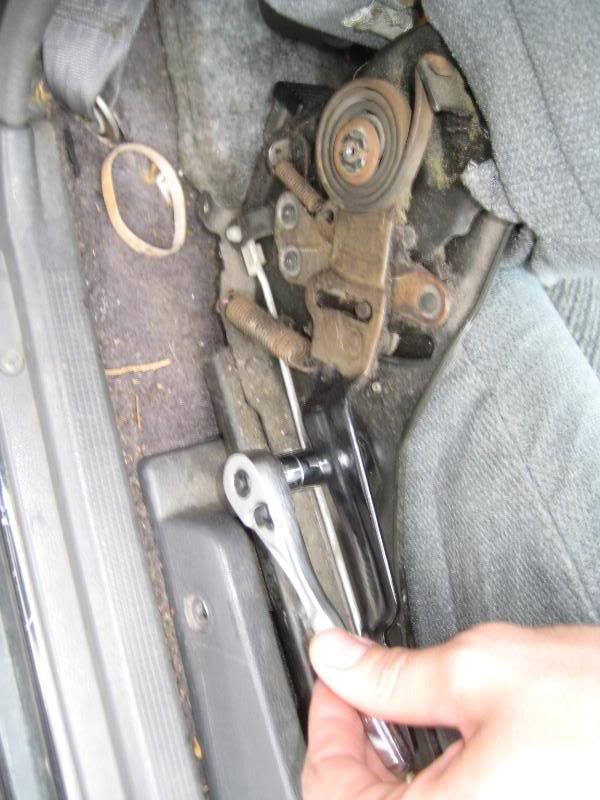
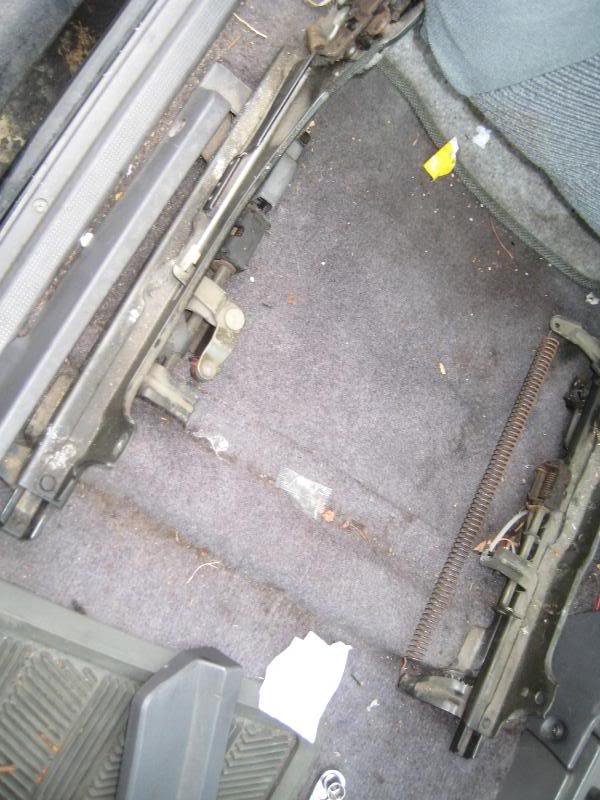
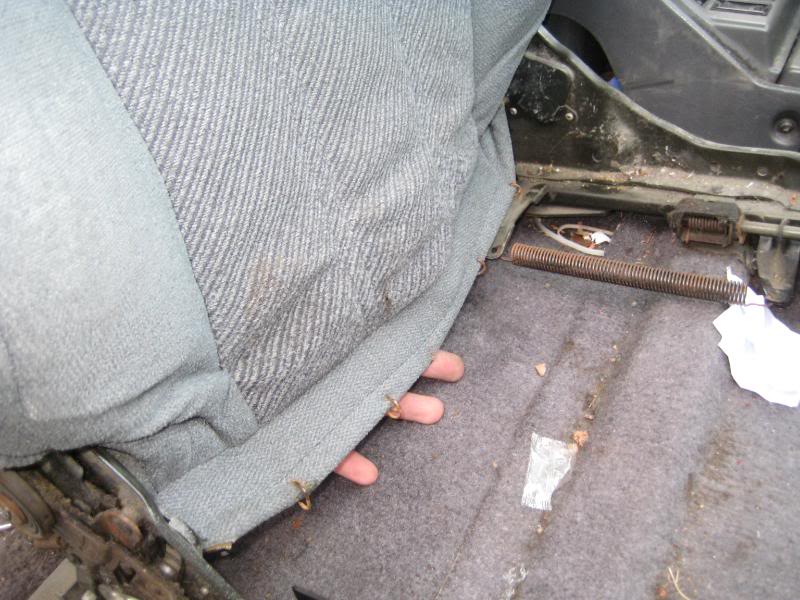
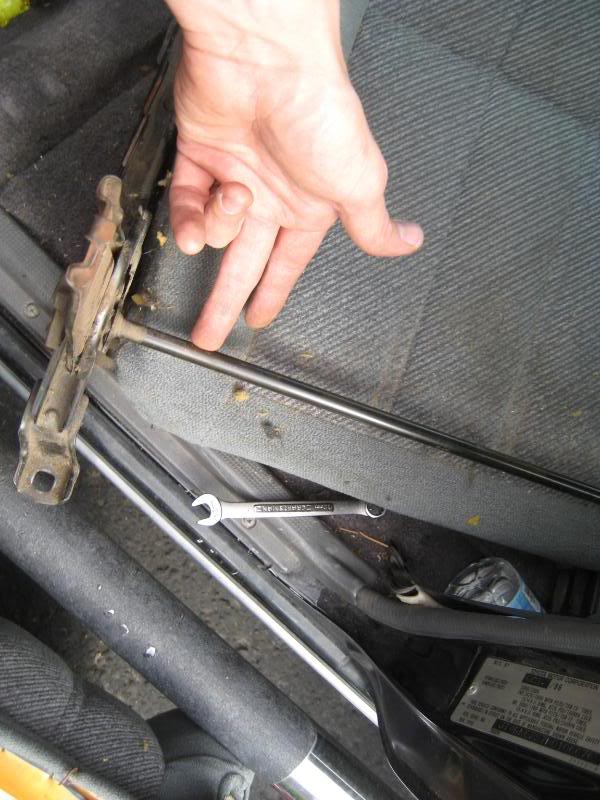
Use the 13mm socket to remove the 4 bolts (2 on each side) of the seat. In my case, there was no trim on the inside of the passenger seat so I didn’t have to remove it for this step. However, you’ll likely have to remove your seat to get the trim off – BE CAREFUL not to trigger the seat release mechanism (slider) or mess with the wire that goes across the bottom – you could hurt your fingers:
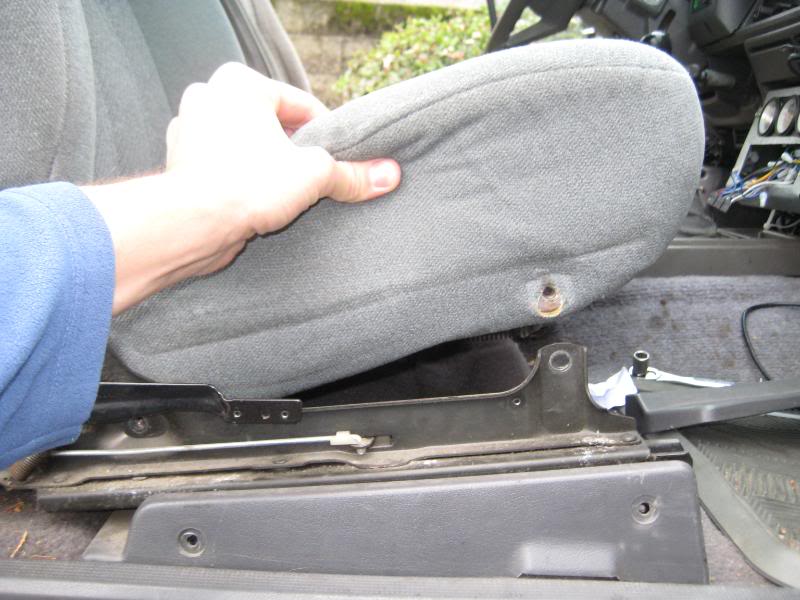
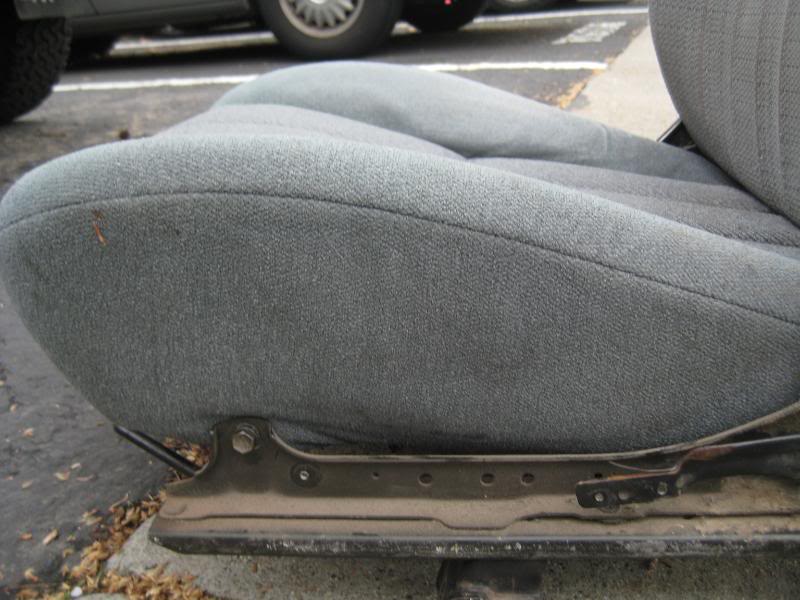
After the 4 bolts are out, the seat bottom slides out nice and easy:
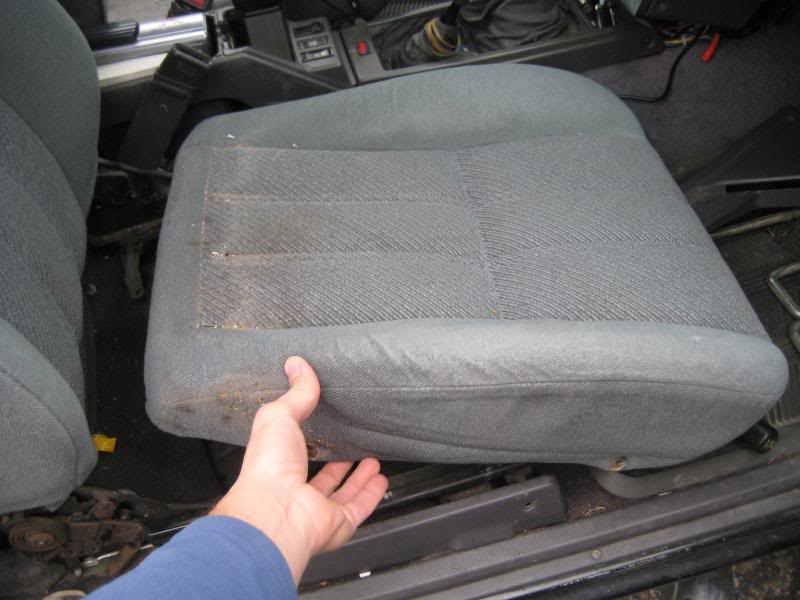
Nice looking seat bottom:
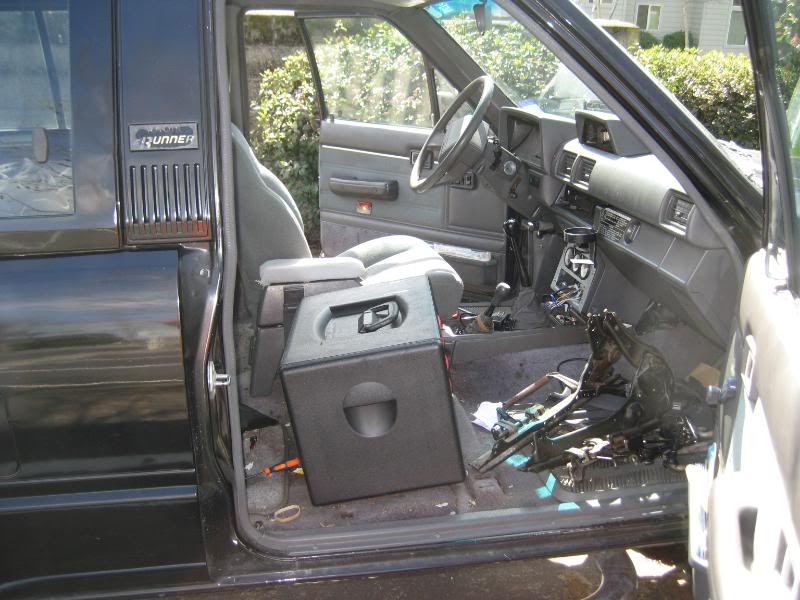
Driver’s seat now removed (it had the inside trim so I had to take it out to remove the 4 13mm bolts):
Bolts removed:
Cushions OUT and ready for the swap:
New bottom with the old back on the driver’s seat:
Button up the four 13mm bolts on both seats to secure the bottoms:
YOU’VE SUCCESSFULLY SWAPPED THE SEAT BOTTOMS, BUT NOW COMES THE HARD PART!
TAKE A DEEP BREATH…IT’S GOING TO TAKE SOME PATIENCE FOR THIS PART….
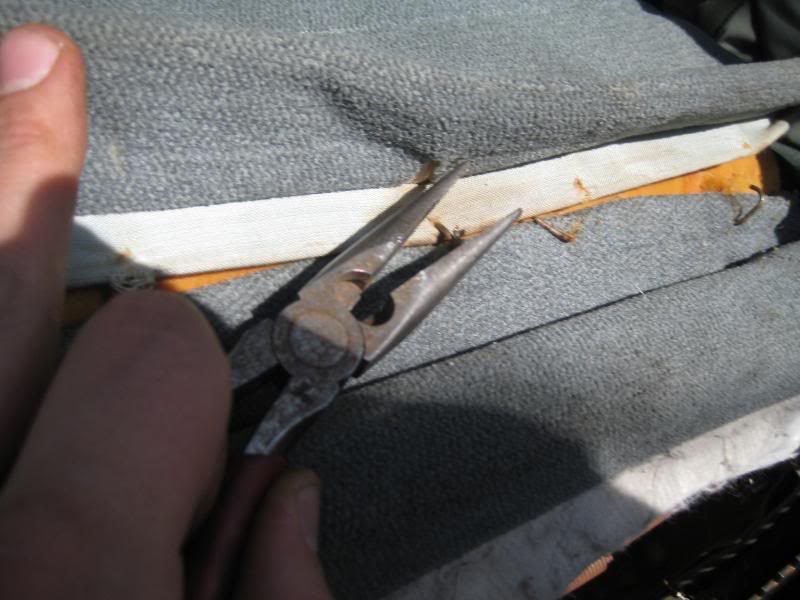
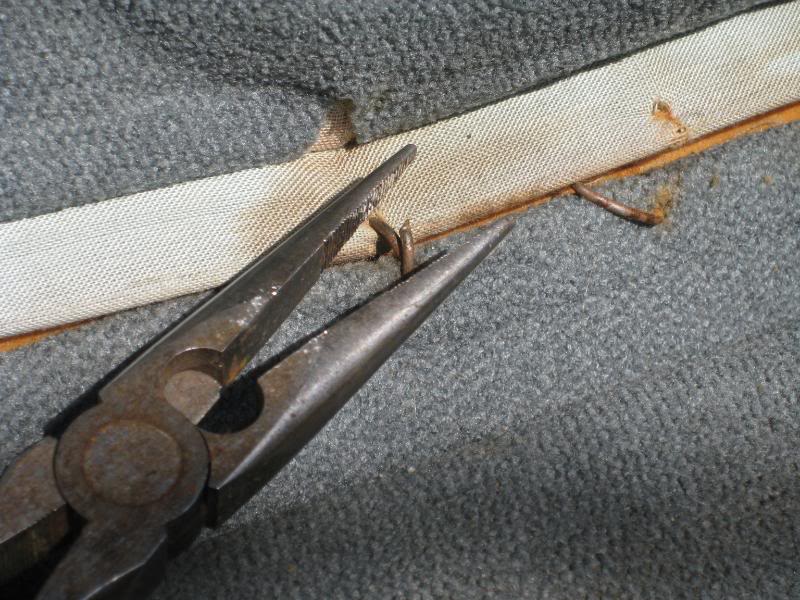
On the back of the seat bottom there are about 5 brass hooks that look like bent nails/staples; these hold the fabric on the back of the seat to the bottom of the seat:
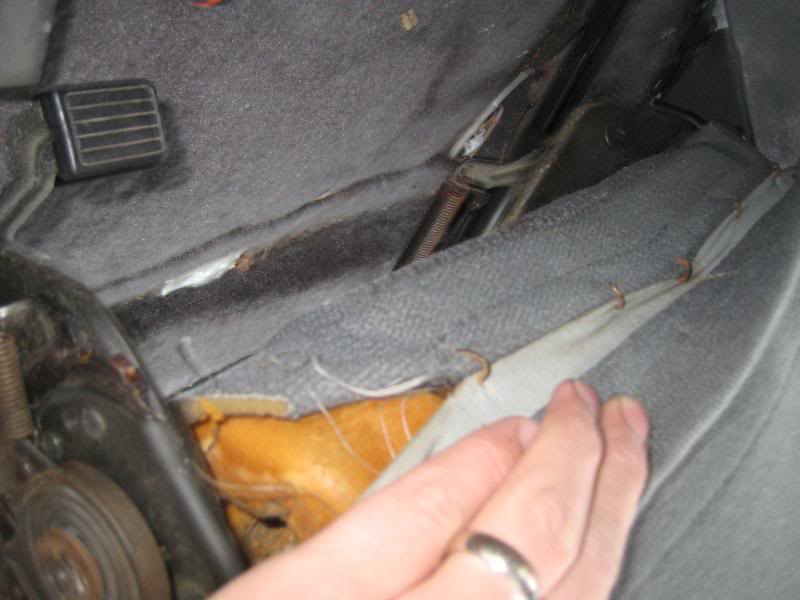
Use your needle nose pliers to (gently) undo them all. Leave them in the fabric as best you can for later use:
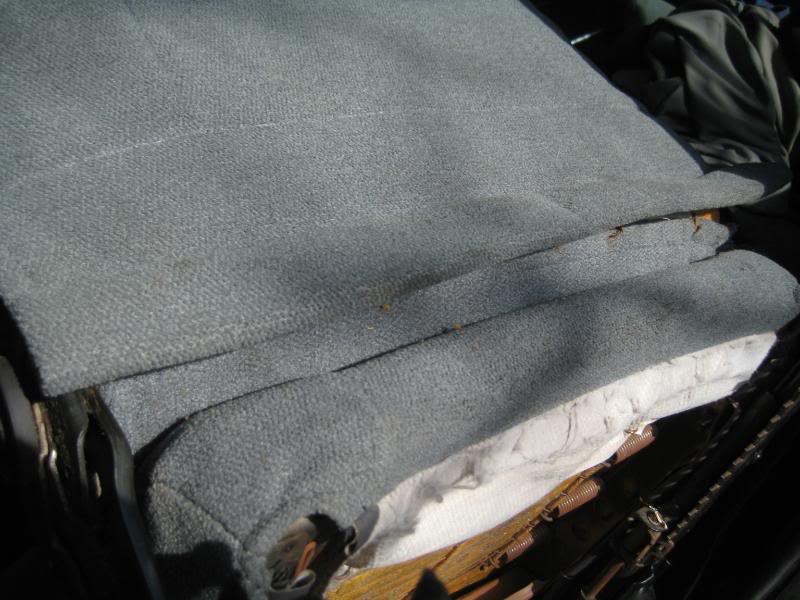
Pull up the fabric from the back…and from the front:
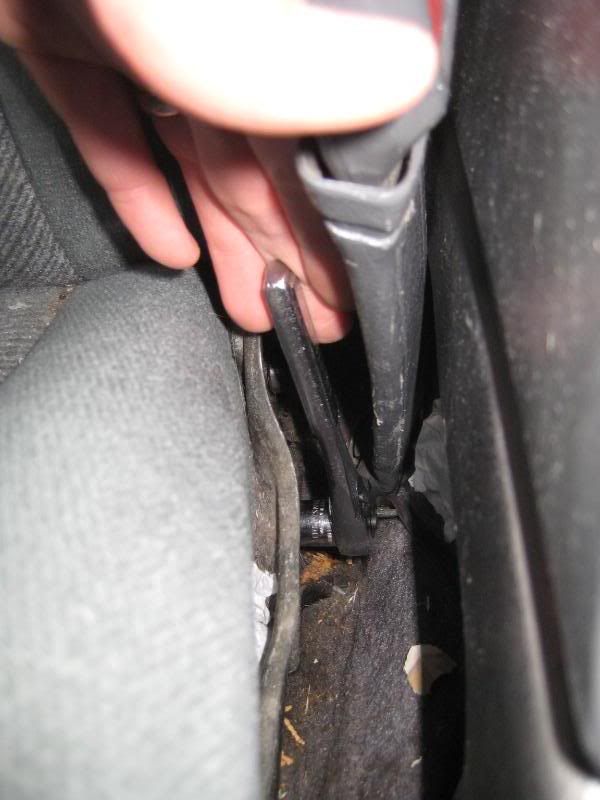
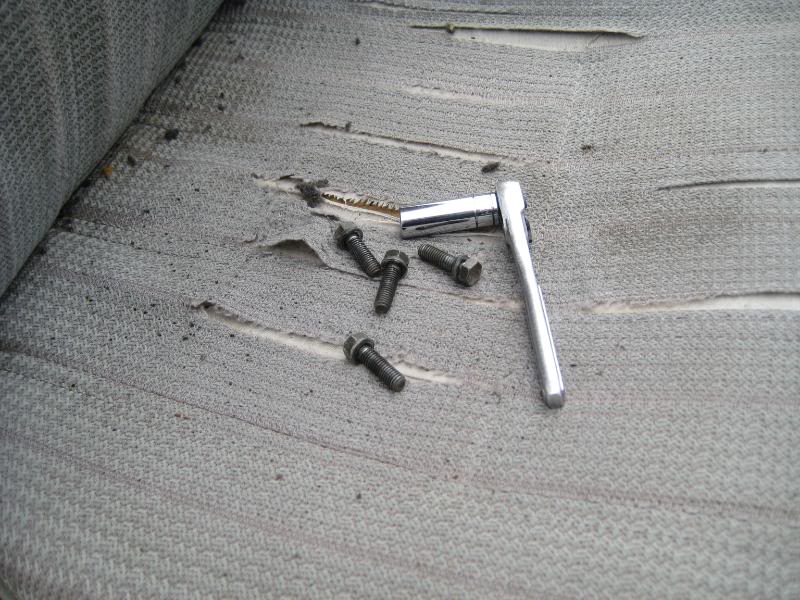
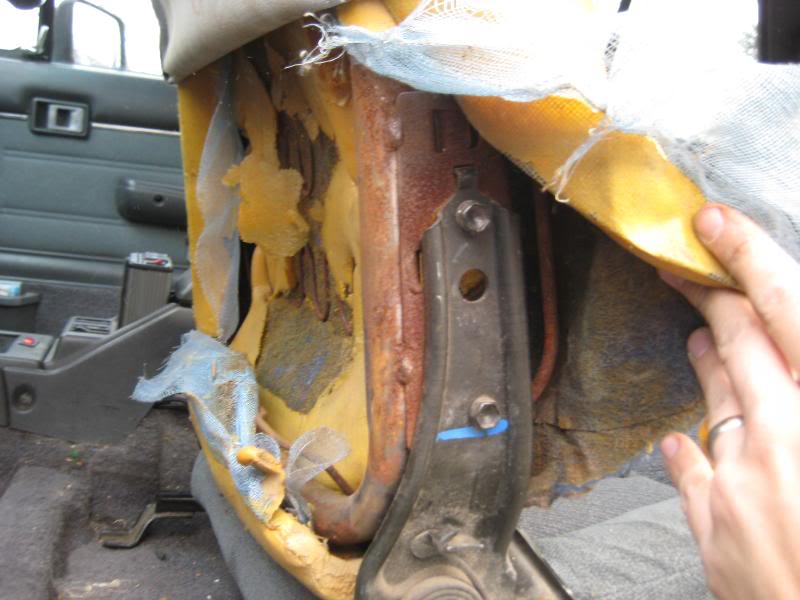
On each side of the seat back there are two 12mm bolts that hold the back cushion to the seat hardware frame – the one on the bottom is easy to get to, but the top one is WAY up under the upholstery and requires you to peel back the cloth skin to get access (this was a lot easier on the non-SR5 seat, since it wasn’t cloth):
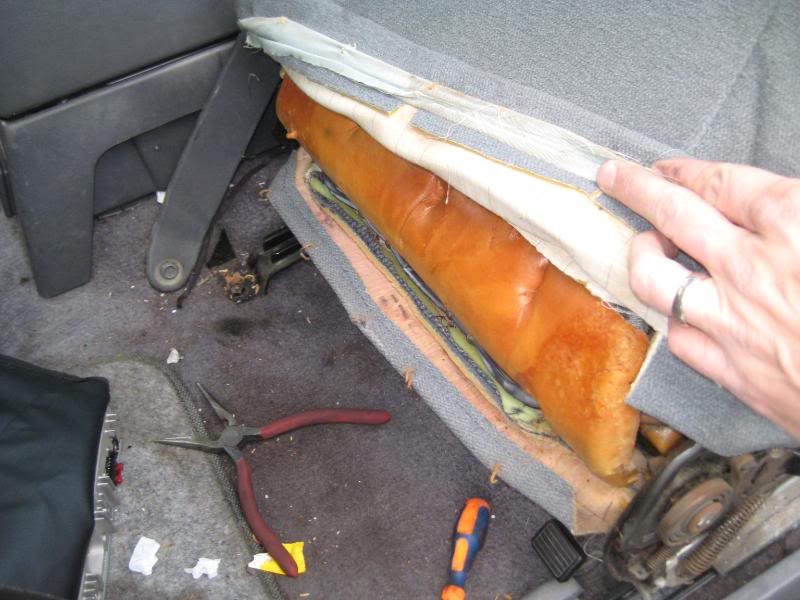
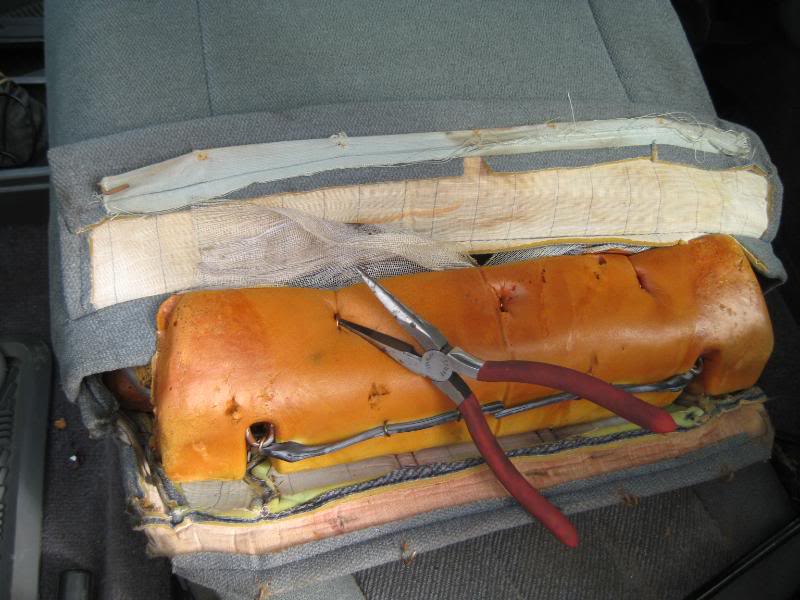
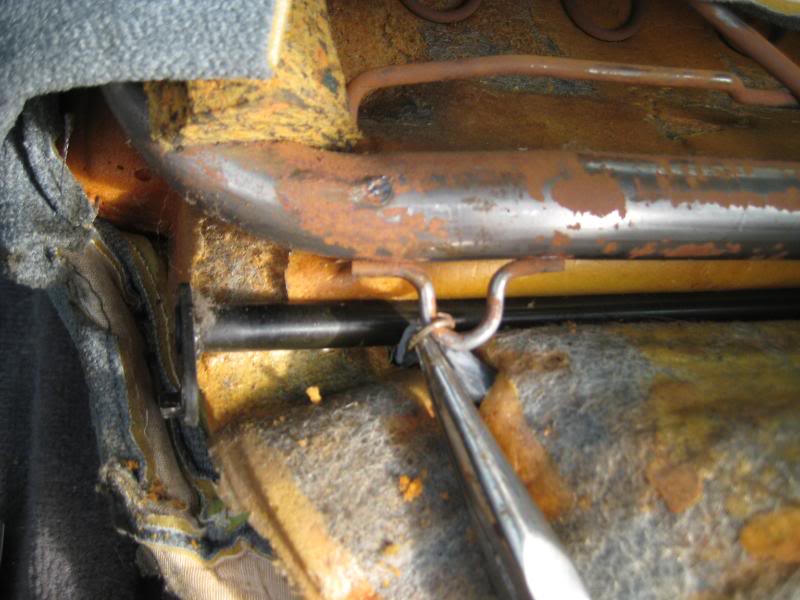
On the SR5 seats (this may be different for other seats) there are 3 more brass wire ties that hold the yellow foam layer on (remove these and save for later). In this same picture you can see that there are 2 “eyes” that a black rubber strip get hooked to (just below the pliers in the photo below). Remove these as well and save for later:
With this hardware out of the way, it will be easier for you to pull up the sides of the upholstery to reveal both 12mm bolts on either side (be gentle!):
(non SR5 seat)
(SR5 seat)
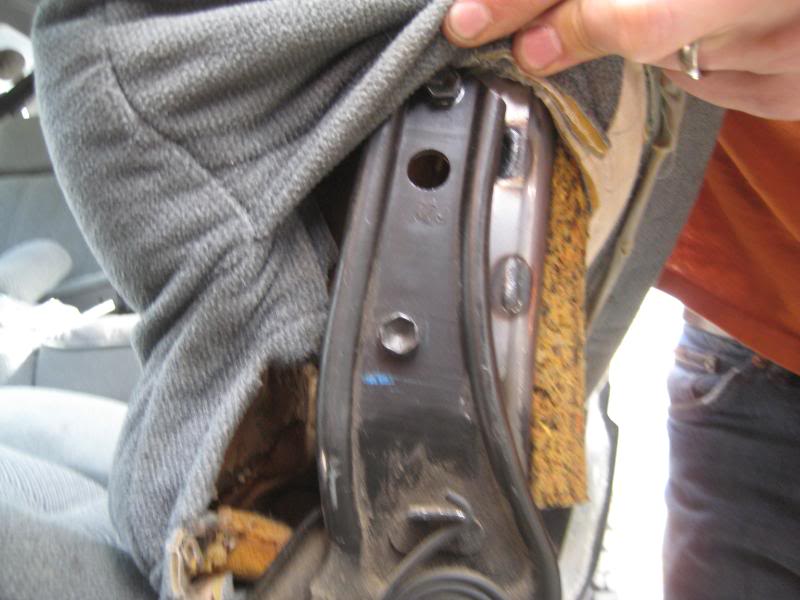

Once you’ve removed the 4 12mm bolts on the side of the seat back, it lifts out. Be careful of the black metal bar at the bottom of the seat, where the seat hinges; once you remove the rigid seat back from the 2 side rails (where the 2 pairs of 12mm bolts were), the structure loses rigidity and the metal bar can slip out of place….be sure to note its position and check it again when putting back together:
Swap in the new seat back(s), bolt everything up (start with the top bolts first on the side rails, get everything finger tight, then torque all 4), put the trim on, and use the needle nose pliers to fasten the upholstery back in place on the rear side of the seat(s):
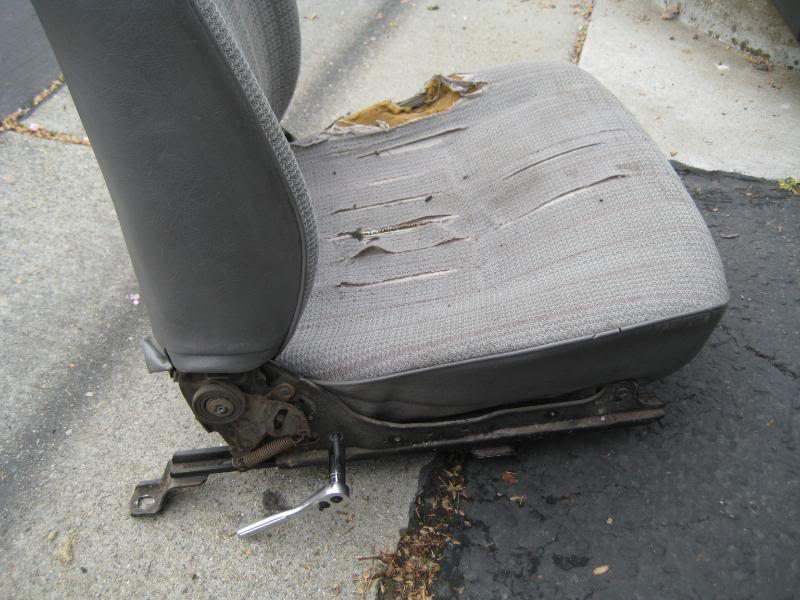
Check seat for functionality. Make sure rails are aligned on bottom (be careful!). Bolt in place (note that for some reason, and I’ve read this before, the inner front floor bolt always seems to strip out. You may want to chase the threads first if you have a kit, or just get some smaller bolt/washer/nut combo to replace it?
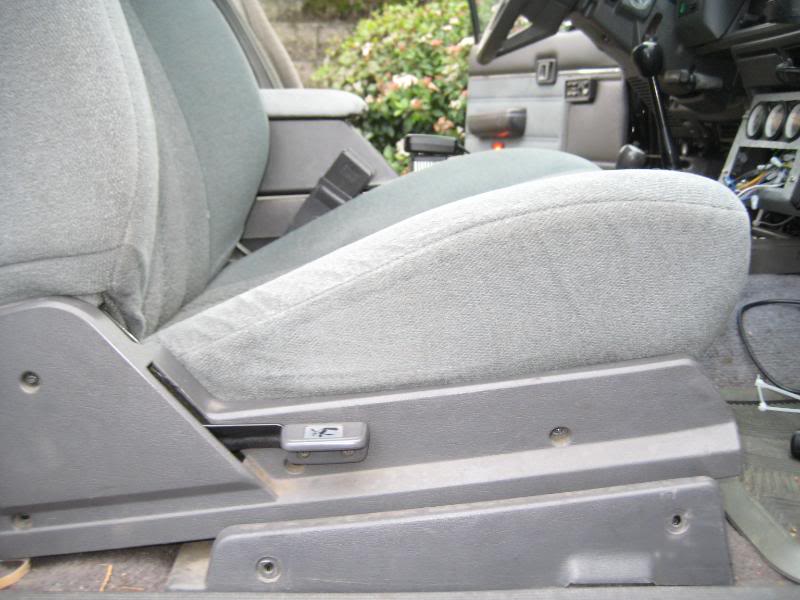
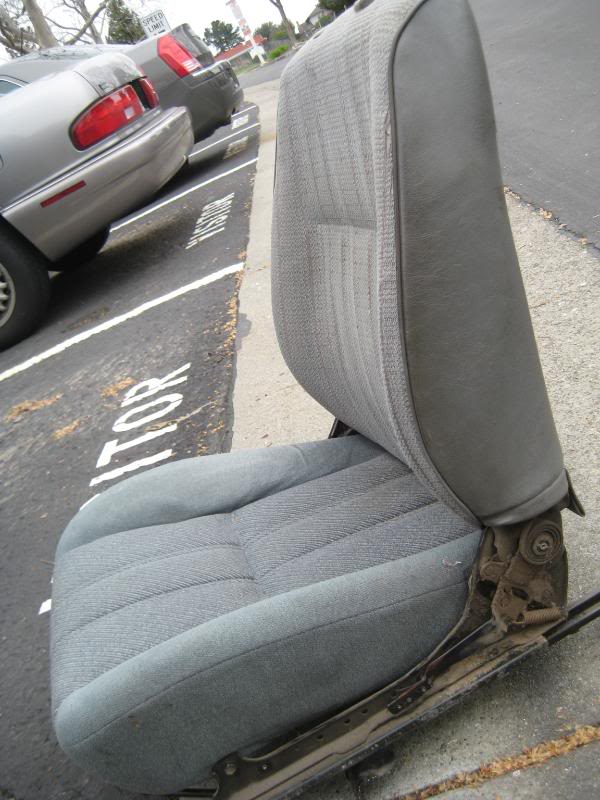
Enjoy your cushy new ride and great looking seat:
Hope this helps – it really was not hard to do. I’m very glad I tried it and my back thanks me!
Good luck guys
Phil
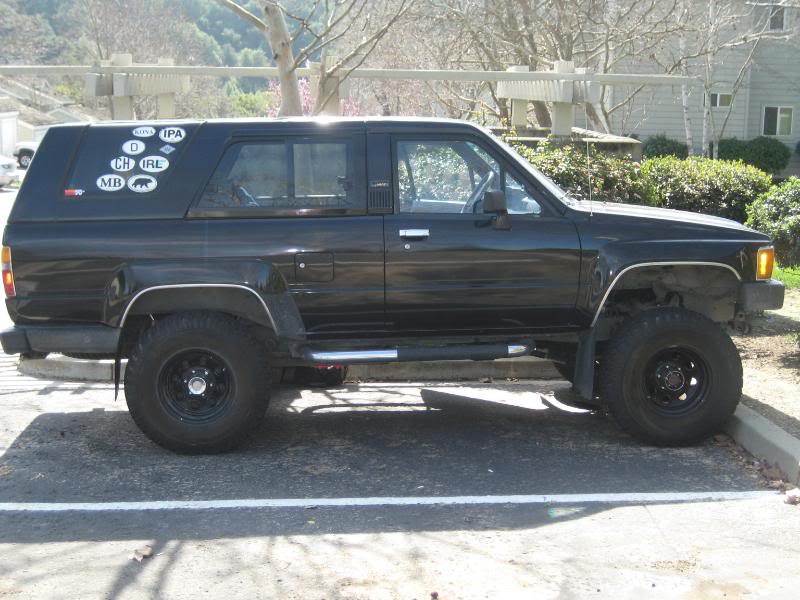
PS, here's a profile shot of my truck...next up for me is the ZUK mod, which I'll do a similar, truck porn photo montage for as well

Last edited by Philbert; 02-25-2010 at 03:30 PM. Reason: spelling error


Trending Topics
03-29-2010, 08:21 PM
#8
Contributing Member
Nice work man , I just removed the lower seat cover from a good seat at the pick n pull this weekend . But now I wish i would have just got the whole seat cushion instead..Less work..
Ohh By the way nice truck ...
Ohh By the way nice truck ...
 05-26-2010, 01:54 PM
#11
Registered User
Thread Starter
iTrader: (2)
Join Date: Dec 2009
Location: Pleasanton, CA - SF Bay Area
Posts: 2,159
Likes: 0
Received 7 Likes
on
5 Posts
Thanks!
well, the crappy seats I had in there were a pair I bought from a guy who was building a rock crawler a few years ago...they were in bad shape but I needed a fix for my broken driver seat. The passenger seat (SR5) never left the truck...this one was near mint and what I used to swap over to the drivers side.....
if your seat mechanics are fine and the cushions are worn, all you need to do is swap cushions, like I did.

 08-30-2011, 02:57 PM
#15
Registered User
Join Date: Aug 2010
Location: Oregon, USA
Posts: 2,027
Likes: 0
Received 0 Likes
on
0 Posts
I just swapped the bottoms on mine last night and I LOVE it. My only issue now is the driver's side has lumbar adjustments. I'll probably just try to source a passenger SR5 seat like you did and then swap the foam and fabric onto the lumbar frame. If anyone has done this feel free to chime in! 
08-30-2011, 03:48 PM
#16
Registered User
Thread Starter
iTrader: (2)
Join Date: Dec 2009
Location: Pleasanton, CA - SF Bay Area
Posts: 2,159
Likes: 0
Received 7 Likes
on
5 Posts
bmcel - that was one of the things I just "got over" (that I would no longer have lumbar support). It's been fine for me thus far, but totally understand if it's something you want to carry over. Good luck...if you're able to figure it out, please update us all on this thread, with your photos!
Phil
Phil
08-30-2011, 04:00 PM
#17
Registered User
Join Date: Aug 2010
Location: Oregon, USA
Posts: 2,027
Likes: 0
Received 0 Likes
on
0 Posts
Ya I'm really having a hard time with losing the lumbar but it will only be temporary. The fabric on the outer edge of the driver seat back is about to give at the seam (already repaired once at 146k miles and held up great until about 250k) so I want to swap it to the passenger side before it actually rips.
I'll report back once I find an SR5 passenger seat (probably gonna take some time). I'm not very good about taking pictures while I go, but I haven't seen or heard of anyone swapping passenger fabric/foam to a lumbar frame before, so in this case I think I will.
I'll report back once I find an SR5 passenger seat (probably gonna take some time). I'm not very good about taking pictures while I go, but I haven't seen or heard of anyone swapping passenger fabric/foam to a lumbar frame before, so in this case I think I will.
08-30-2011, 05:00 PM
#18
Registered User
Nice writeup! This will definitely help a lot. Any idea how hard it would be to switch just the seat covers themselves? My red ones are mint, grey ones are trashed. Not a fan of the red . What part of P-town are you from? I grew up in little mexico, right by Hopyard and Black Avenue. If I ever get rich i'm moving back there! AWESOME runner, by the way.
. What part of P-town are you from? I grew up in little mexico, right by Hopyard and Black Avenue. If I ever get rich i'm moving back there! AWESOME runner, by the way.
08-30-2011, 09:29 PM
#19
Registered User
Thread Starter
iTrader: (2)
Join Date: Dec 2009
Location: Pleasanton, CA - SF Bay Area
Posts: 2,159
Likes: 0
Received 7 Likes
on
5 Posts
Nice writeup! This will definitely help a lot. Any idea how hard it would be to switch just the seat covers themselves? My red ones are mint, grey ones are trashed. Not a fan of the red . What part of P-town are you from? I grew up in little mexico, right by Hopyard and Black Avenue. If I ever get rich i'm moving back there! AWESOME runner, by the way.
. What part of P-town are you from? I grew up in little mexico, right by Hopyard and Black Avenue. If I ever get rich i'm moving back there! AWESOME runner, by the way.Thanks!
You may be able to - if you undo all the metal rings I used the needle nose on, and slowly peel it back?
We live in "Pleasanton Heights" near the St. Augustine church, about a ten minute walk to downtown - love it here
We're actually going to Tucson for a wedding this weekend - not looking forward to the heat
 08-30-2011, 09:31 PM
#20
Registered User
Thread Starter
iTrader: (2)
Join Date: Dec 2009
Location: Pleasanton, CA - SF Bay Area
Posts: 2,159
Likes: 0
Received 7 Likes
on
5 Posts
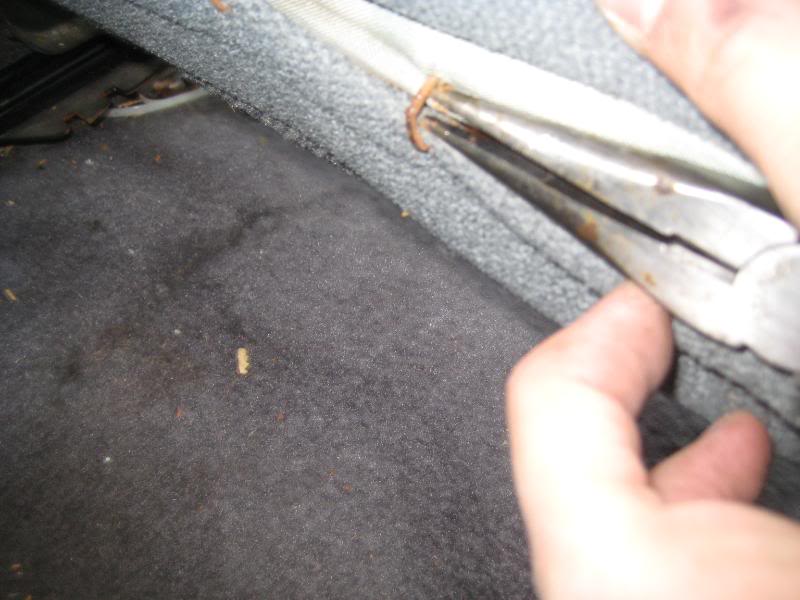
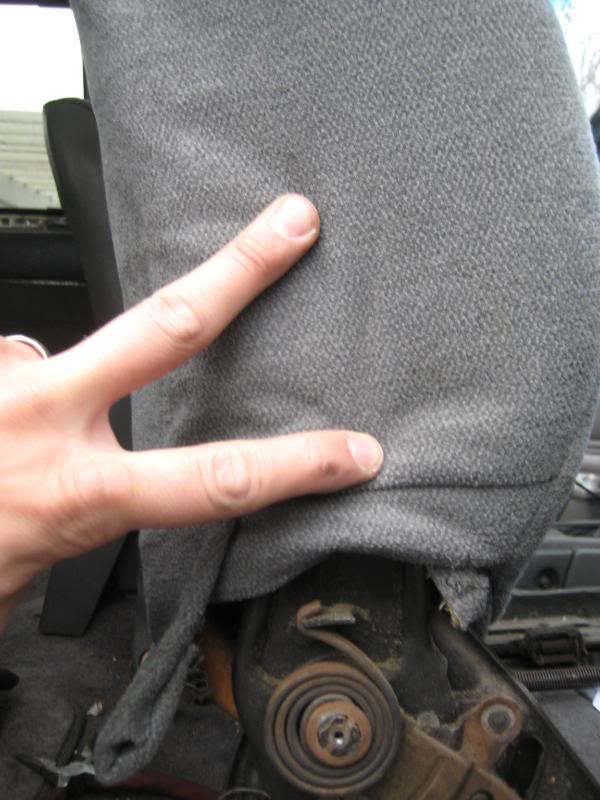
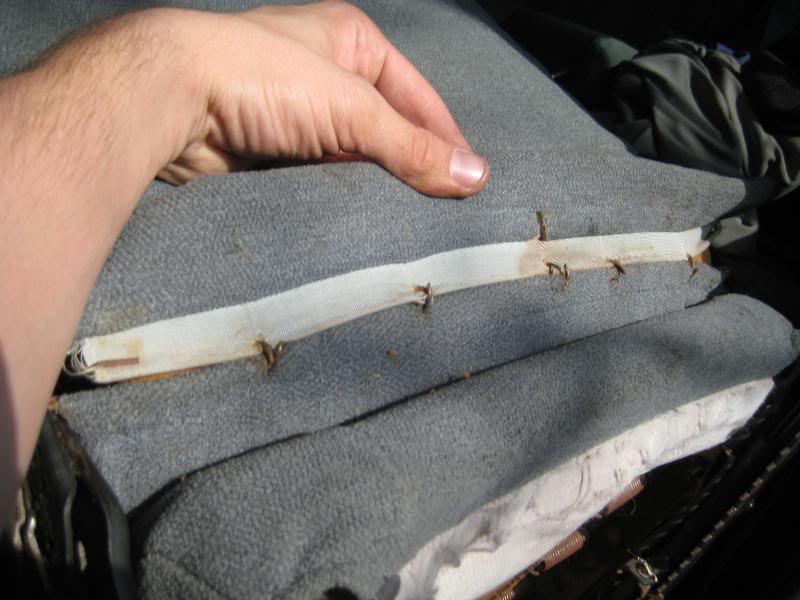
Inferno - peel it back like this:

I didn't do it, but imagine you could do something similar with the bottoms....only one way to find out
Good luck!
I didn't do it, but imagine you could do something similar with the bottoms....only one way to find out
Good luck!


