My 22R Rebuild - KawaZX636
 11-17-2012, 09:08 PM
#1
My 22R Rebuild - KawaZX636
I figured that I'd document the Engine rebuild for my 1983 Pickup in the event that it may help somebody else out with theirs.
Here's the truck that this particular 22R heart beats in:
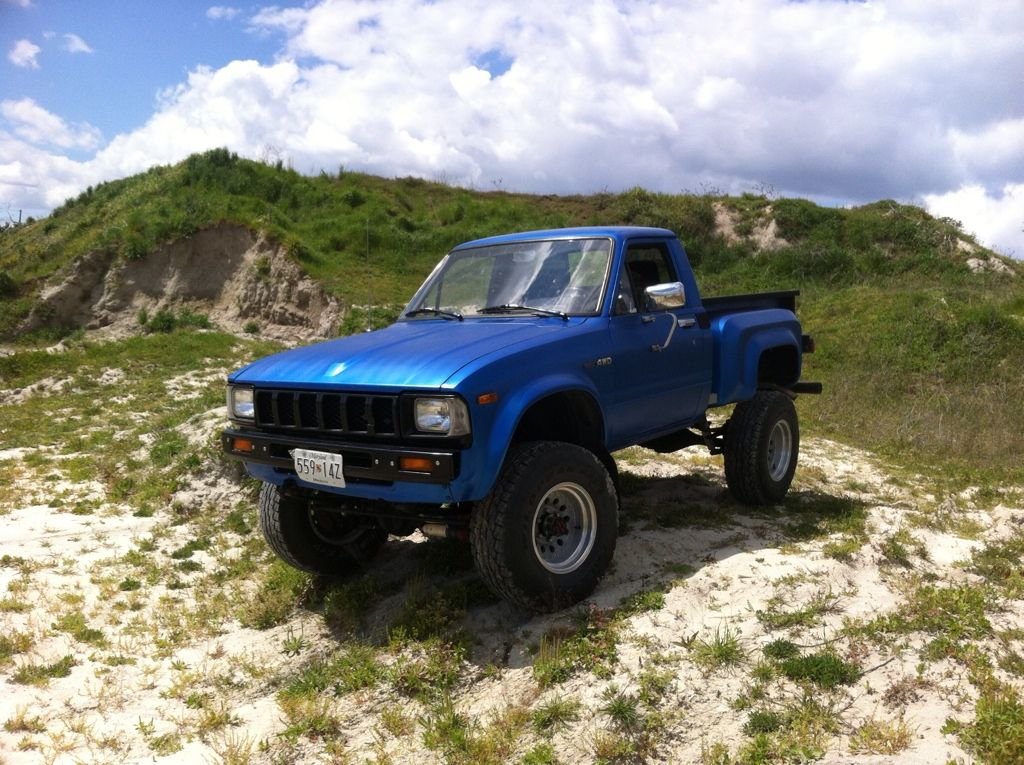
I bought it a little under a year ago from an indiot that knew close to nothing about mechanics. I managed to rescue the truck just in time before he did too much damage. When I bought it, it ran like crap. It was getting about 6 mpg, the carb was completely out of tune, wouldn't pull 4th or 5th gear, topped out at 40mph and the timing was so far off that I'm surprised that a valve or pistion hadn't been smashed! I immediately bought a weber, installed a new exhaust from the head back, desmogged and some typical tune up work. I had it running rather well getting about 21 mpg and hitting a top speed around 80 mph. The only problem I couldn't solve was my oil consumption. I was blowing through about a quart of oil every 150 miles. Valve seals were shot and oil was simply blowing out through the exhaust. I figured if I had the head off of it, I might as well go all the way with a rebuild. At approximately 133,000 miles, I yanked the engine for a rebuild.
Here's the truck that this particular 22R heart beats in:
I bought it a little under a year ago from an indiot that knew close to nothing about mechanics. I managed to rescue the truck just in time before he did too much damage. When I bought it, it ran like crap. It was getting about 6 mpg, the carb was completely out of tune, wouldn't pull 4th or 5th gear, topped out at 40mph and the timing was so far off that I'm surprised that a valve or pistion hadn't been smashed! I immediately bought a weber, installed a new exhaust from the head back, desmogged and some typical tune up work. I had it running rather well getting about 21 mpg and hitting a top speed around 80 mph. The only problem I couldn't solve was my oil consumption. I was blowing through about a quart of oil every 150 miles. Valve seals were shot and oil was simply blowing out through the exhaust. I figured if I had the head off of it, I might as well go all the way with a rebuild. At approximately 133,000 miles, I yanked the engine for a rebuild.
 11-17-2012, 09:21 PM
#2
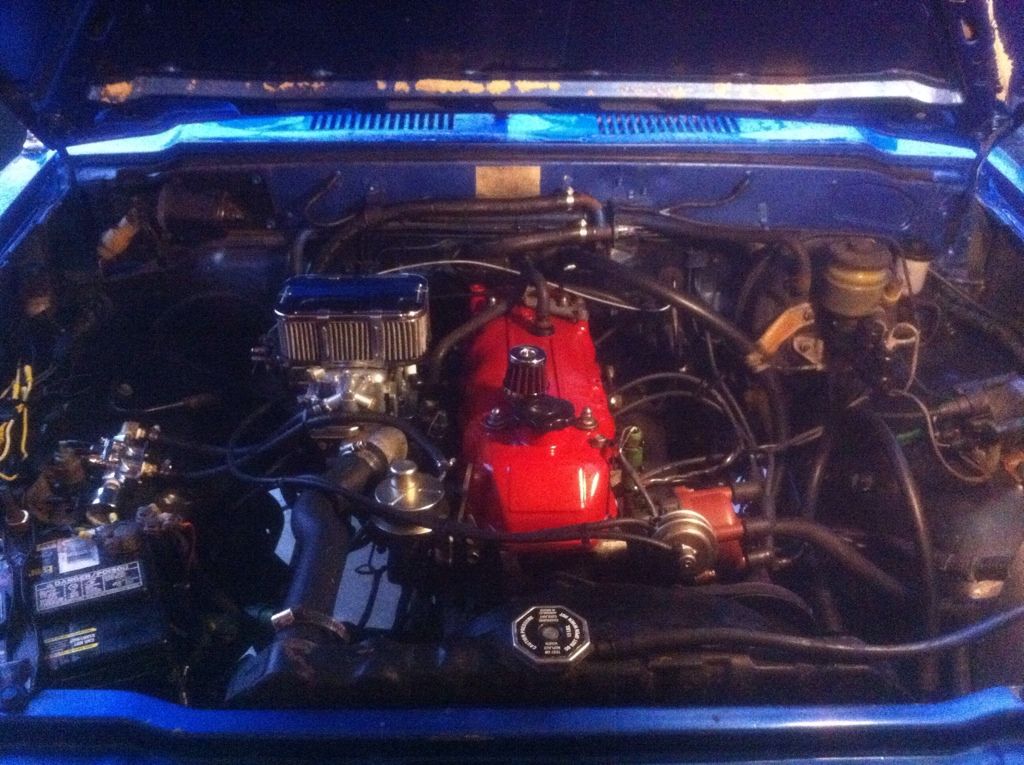
This is what the motor looked like around when I first bought it....ugly:

Then desmogged and a little dress up here and there:
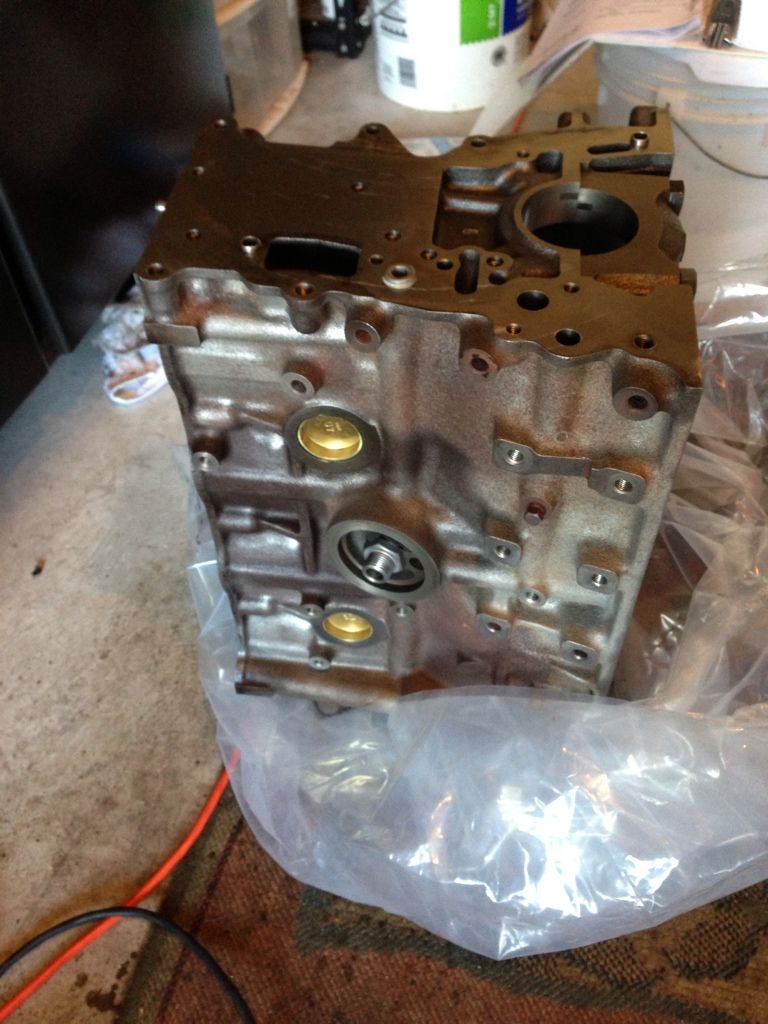
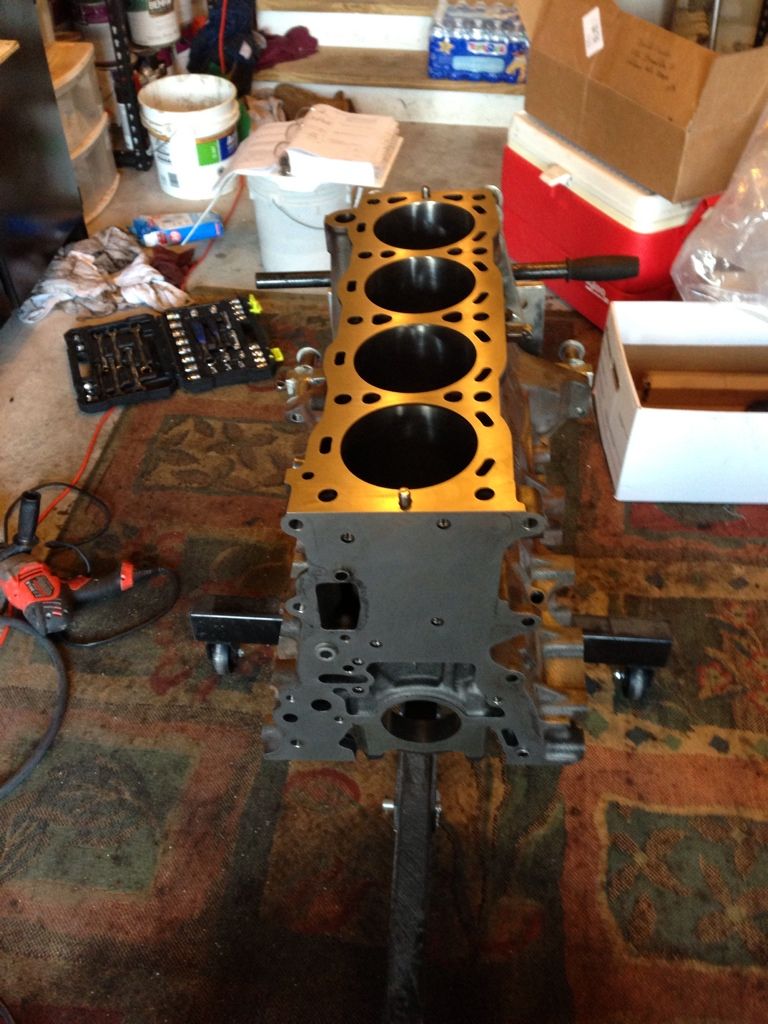
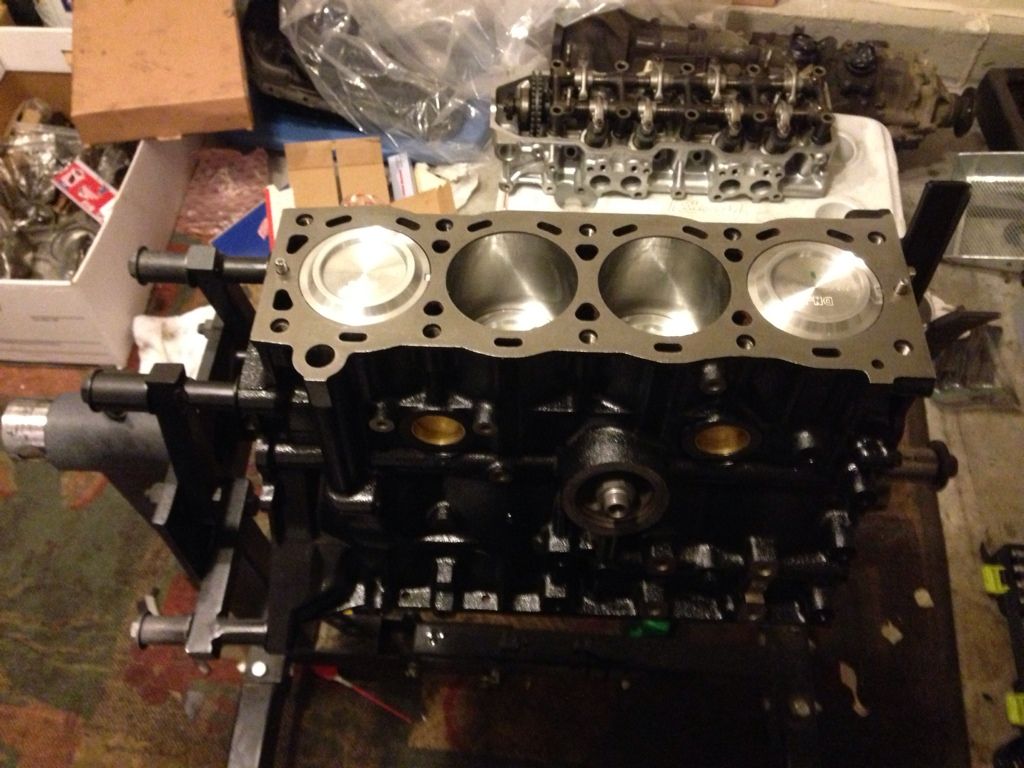
Here's the block before I media blasted it and shipped it off to the machine shop:

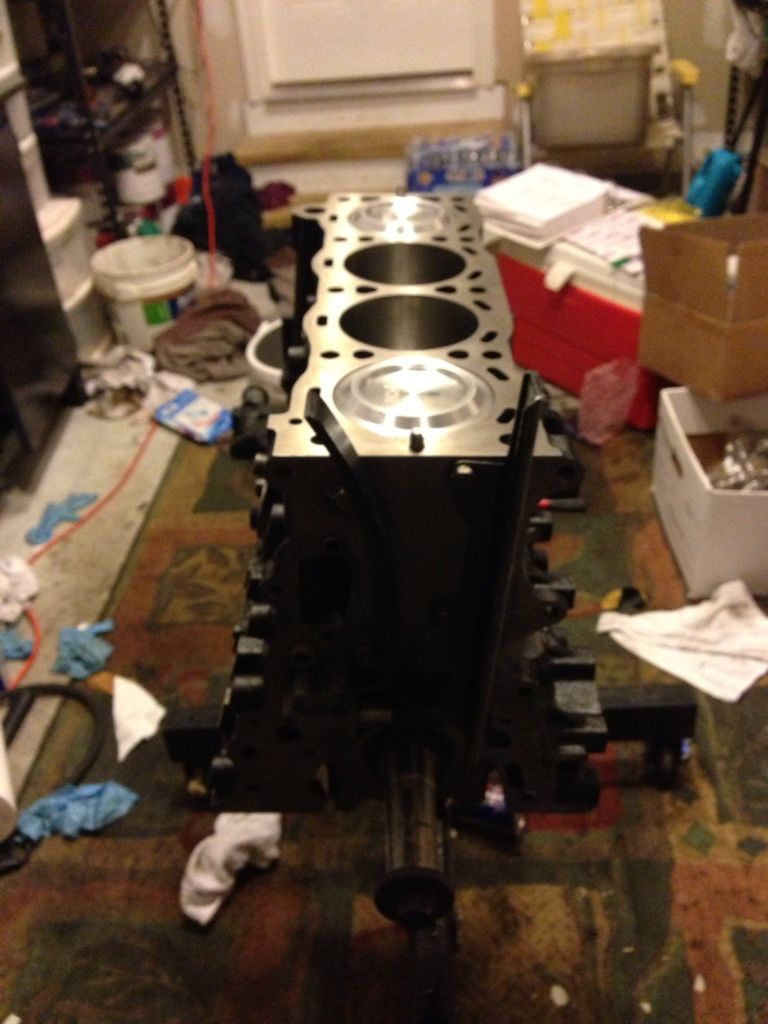
I got the block back from the machine shop looking shiny and new. Amazingly, it only had 0.006" of wear which is within the FSM wear tolerance of 0.008" by I decided to have it bored out 0.020, honed and decked with the new timing cover I bought:
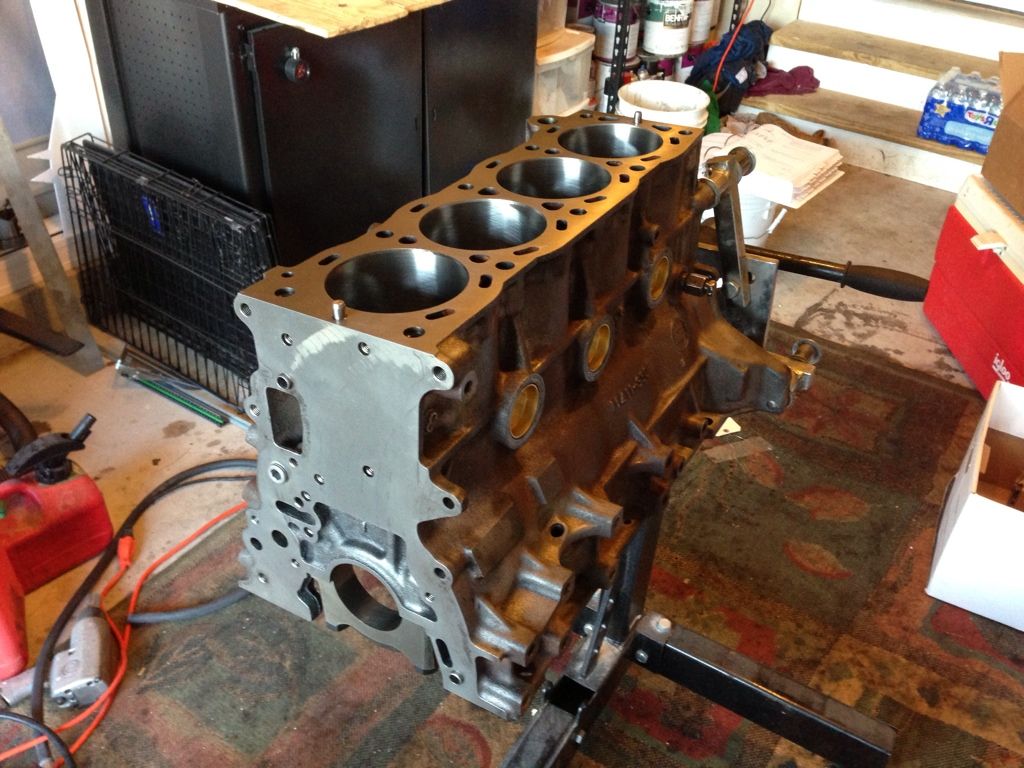
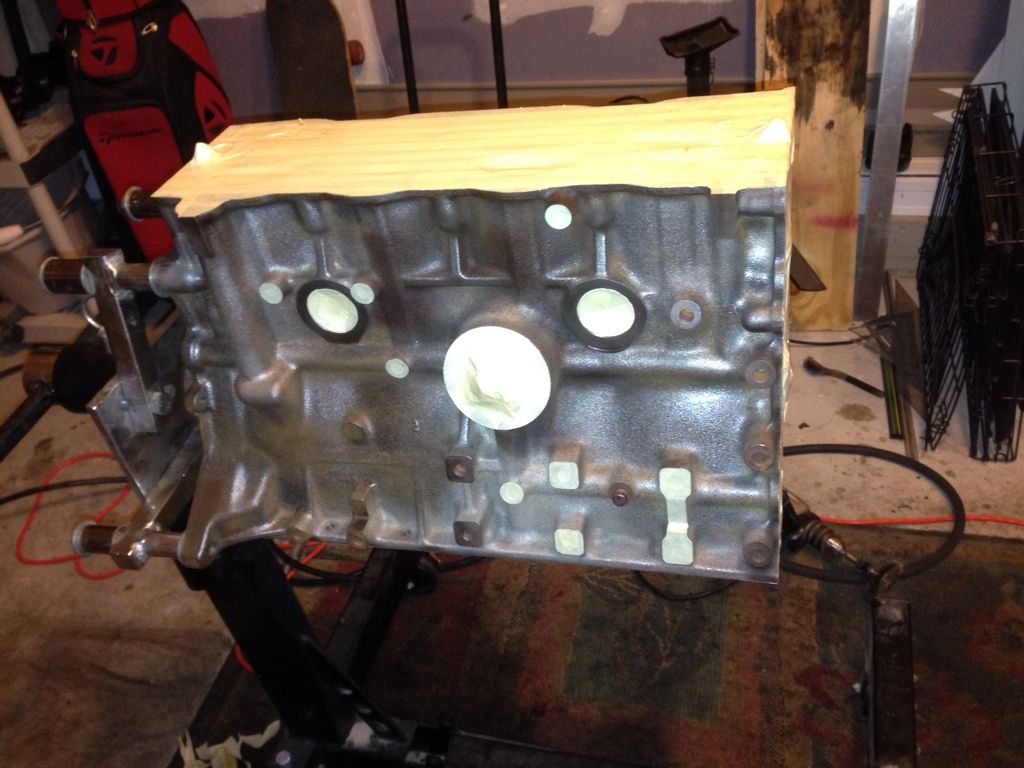
Of course bare metal doesn't stay pretty forever so I masked it off and painted the block semi-gloss black with high temp paint:


Look at that pretty honing job!!
Then desmogged and a little dress up here and there:
Here's the block before I media blasted it and shipped it off to the machine shop:
I got the block back from the machine shop looking shiny and new. Amazingly, it only had 0.006" of wear which is within the FSM wear tolerance of 0.008" by I decided to have it bored out 0.020, honed and decked with the new timing cover I bought:
Of course bare metal doesn't stay pretty forever so I masked it off and painted the block semi-gloss black with high temp paint:
Look at that pretty honing job!!
Last edited by kawazx636; 11-19-2012 at 11:10 AM. Reason: photo link
 11-17-2012, 09:37 PM
#5
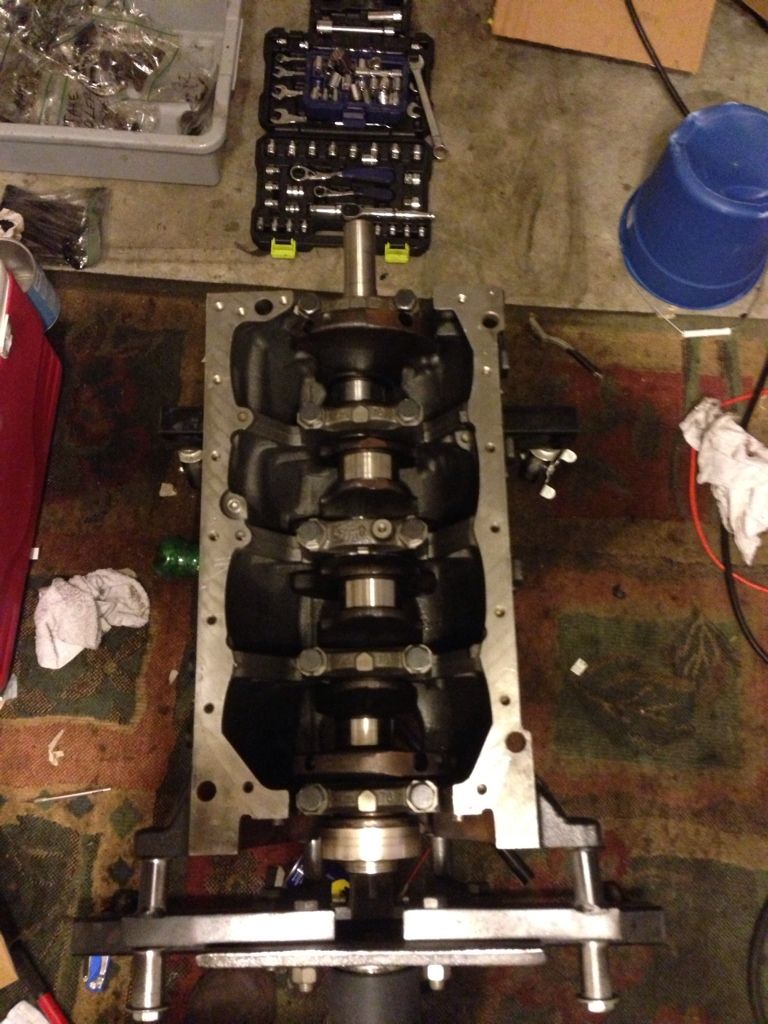
Rod and crankshaft all measured within standard tolerance specs! Hardly any wear in over 130,000 miles! These motors are well built beasts!
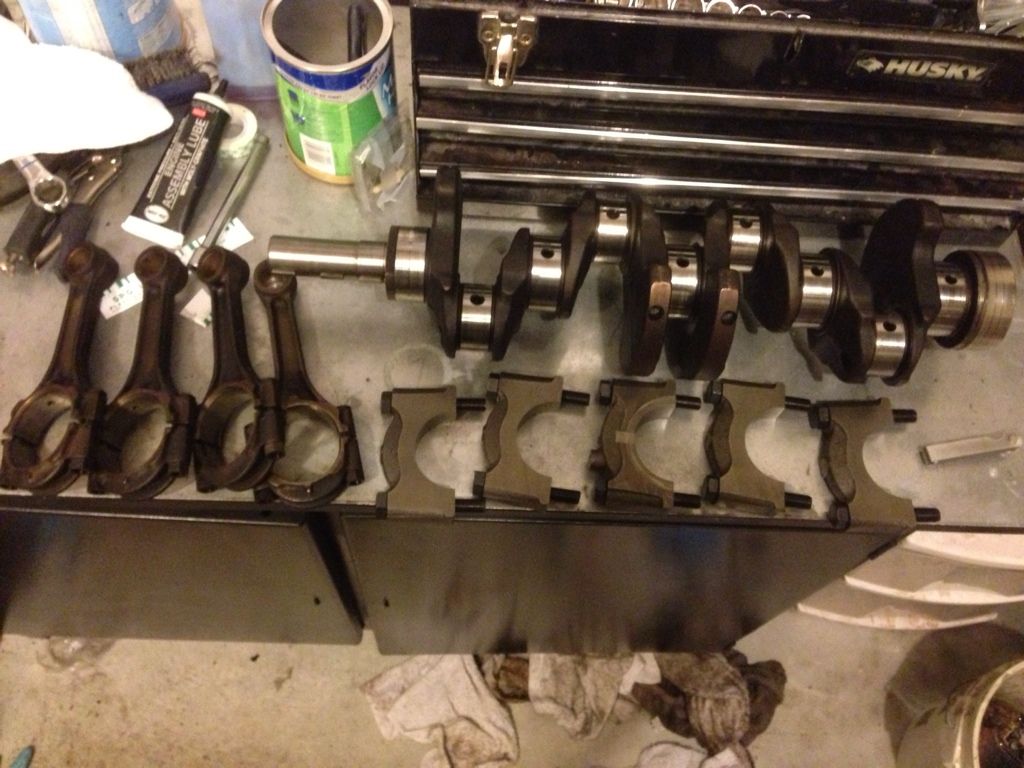
This is where I currently sit on the rebuild. I need to run down to my friend's shop in the morning to press out my old wristpin bushings and set the new ones. Hopefully I will have the long block reassembled within the next day if I have the time.
This is where I currently sit on the rebuild. I need to run down to my friend's shop in the morning to press out my old wristpin bushings and set the new ones. Hopefully I will have the long block reassembled within the next day if I have the time.
11-30-2012, 06:13 PM
#6
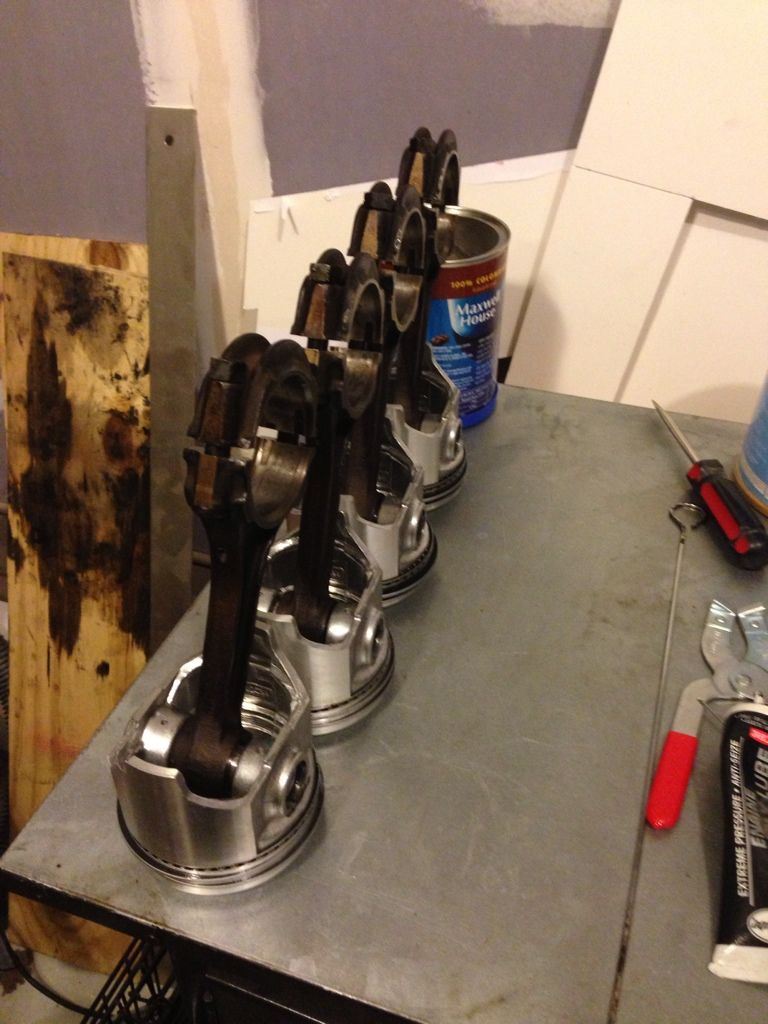
Finally got some time to update this build thread. Last weekend I pressed in the new wrist pin bushings in my rods and dropped them by the machine shop to get honed. Gapped and installed the rings on the pistons.
Assemble rods:
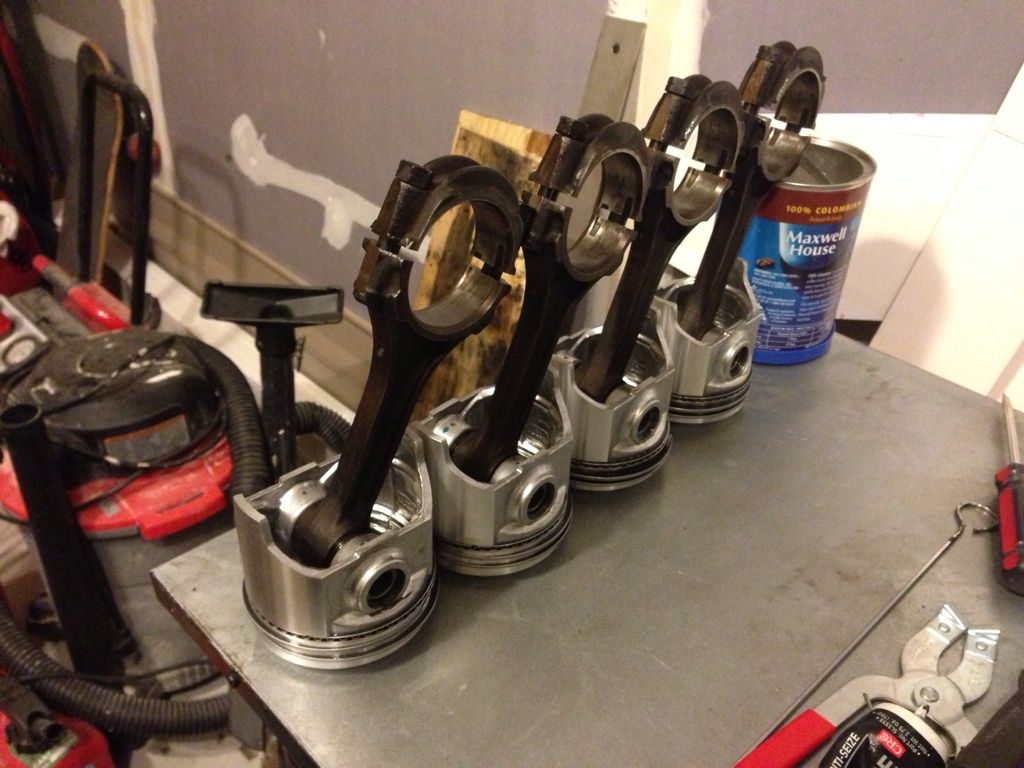
I forgot to get the caps and rods honed so they went back to the machine shop and they were able to hone them fully assembled.
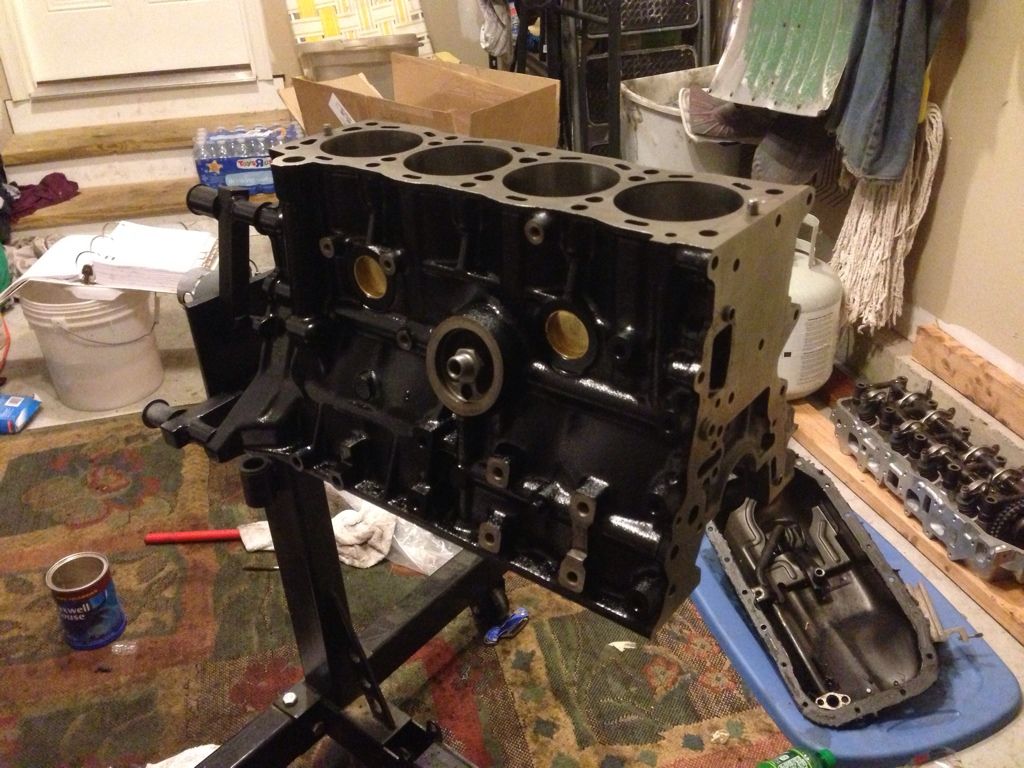
Installed the crankshaft - wear tolerance was perfectly within factory specs with standard bearings:

Installed the pistons - my good ring compressor went MIA so I borrowed my friend's P.O.S. ring compressor which was a pain in the ass, but it got the job done. If you're doing a rebuild, a good ring compressor makes all the difference. Usually I can drop all 4 pistons in a 4 banger in about 5 minutes. It took me nearly a hour with this crap autocraft compressor!
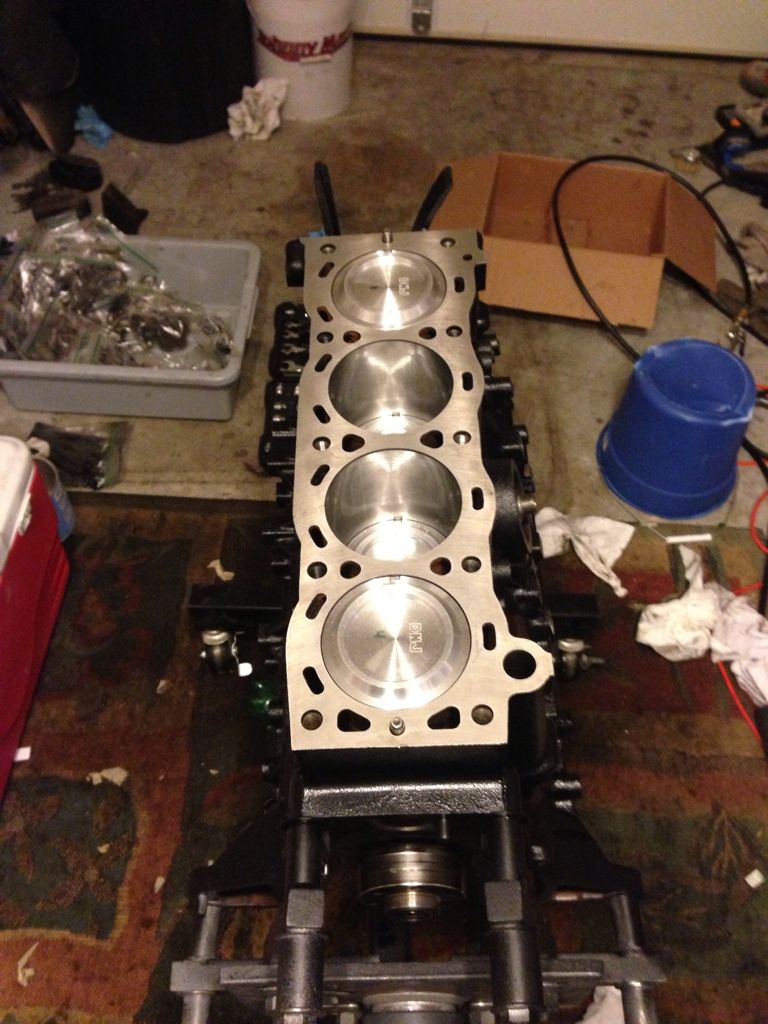
I marked the top of the pistons with a sharpie during assembly so I didn't mismatch the rods on the crankshaft. Techincally, it doesn't matter if you have new bearings, but just playing it safe.
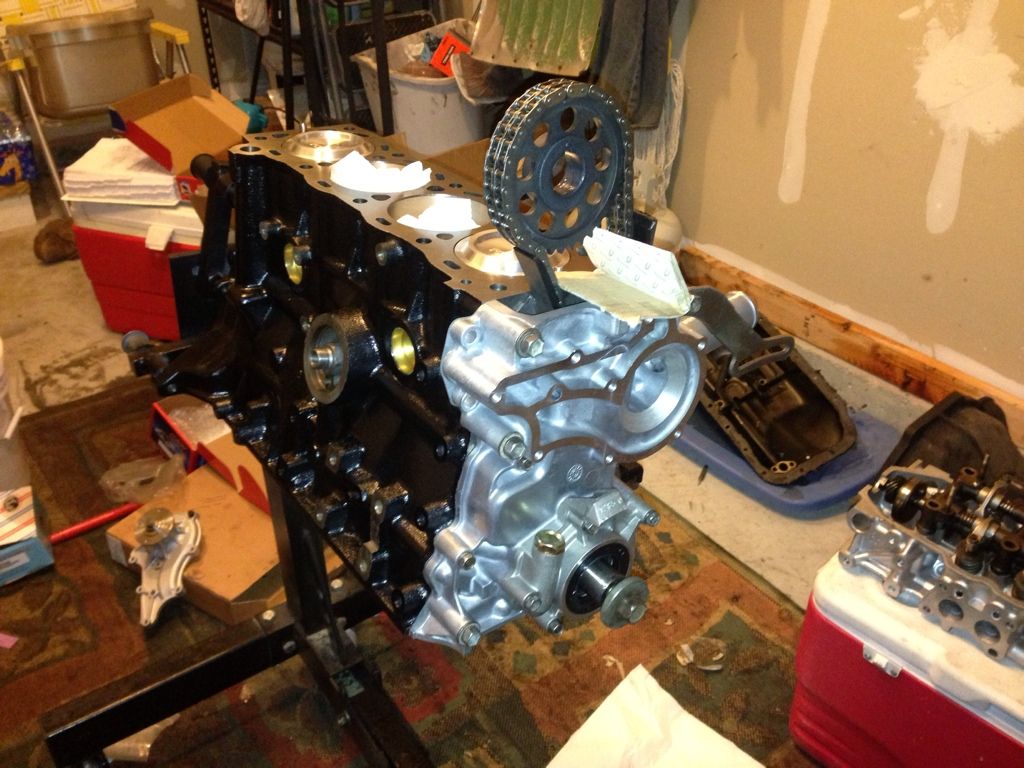
Installed the timing chain guides (metal of course):
Installed the new timing chain cover, timing chain (dual row), cam and oil pump. Nice and shiny!! I used a folder up piece of cardboard to hold the timing chain tight so it doesn't skip a tooth at the crankshaft and throw off my timing.
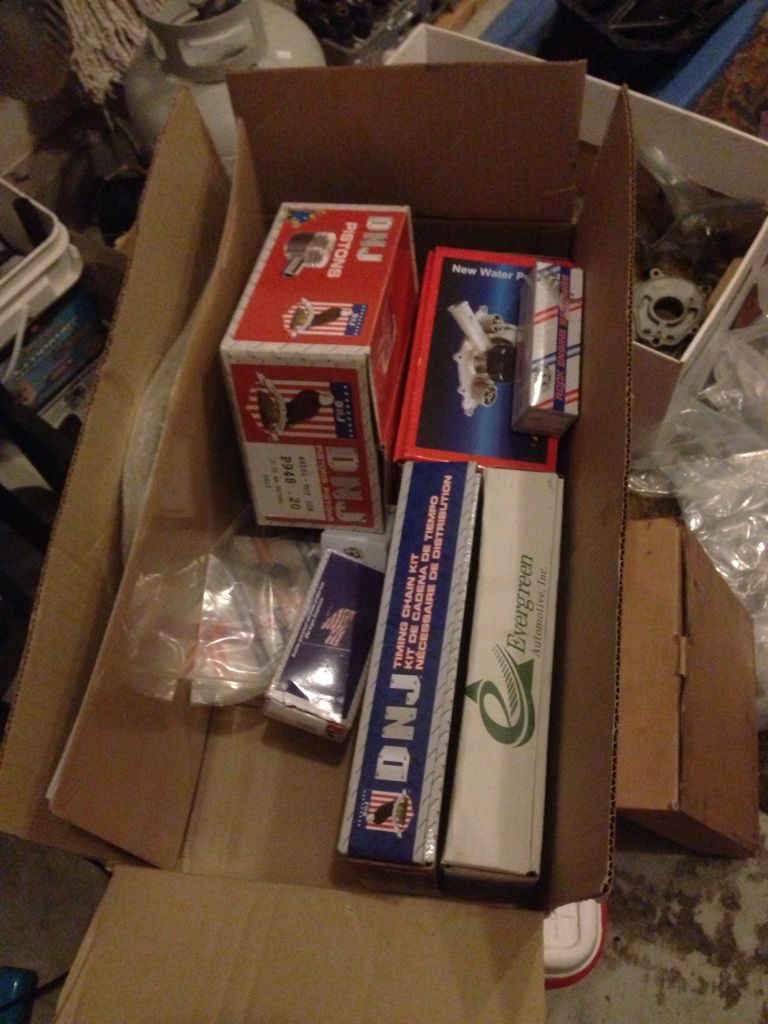
That's it for right now. I'm waiting for the following parts to come in from LCE:
1-Timing cover hardware kit (old ones are just not shiny enough for me)
2-Pro Water block plate kit (officially eliminates ALL smog equipment)
3-EGR crossover block plate kit (back of the head)
4-Spiral weber adapter (HP and solve the leaks with the BS weber adapter plates)
5-Intake manifold water block plate kit (goes under the intake manifold to eliminate excess hoses)
6-Intake manifold plug kit (more smog equipment elimination)
7-Billet wire loom kit (looks completely bad ass!)
8-Flex Fan with billet spacer (Eliminates the fan clutch, adds HP and looks much better)
9-Head bolt set
The parts should be in on Monday, but I'm hoping that UPS gets their ass in gear and delivers them tomorrow. For now I think I'll just work on cleaning and painting some parts. I might even straighten up my garage a bit!
More updates to come!
Assemble rods:
I forgot to get the caps and rods honed so they went back to the machine shop and they were able to hone them fully assembled.
Installed the crankshaft - wear tolerance was perfectly within factory specs with standard bearings:
Installed the pistons - my good ring compressor went MIA so I borrowed my friend's P.O.S. ring compressor which was a pain in the ass, but it got the job done. If you're doing a rebuild, a good ring compressor makes all the difference. Usually I can drop all 4 pistons in a 4 banger in about 5 minutes. It took me nearly a hour with this crap autocraft compressor!
I marked the top of the pistons with a sharpie during assembly so I didn't mismatch the rods on the crankshaft. Techincally, it doesn't matter if you have new bearings, but just playing it safe.
Installed the timing chain guides (metal of course):
Installed the new timing chain cover, timing chain (dual row), cam and oil pump. Nice and shiny!! I used a folder up piece of cardboard to hold the timing chain tight so it doesn't skip a tooth at the crankshaft and throw off my timing.
That's it for right now. I'm waiting for the following parts to come in from LCE:
1-Timing cover hardware kit (old ones are just not shiny enough for me)
2-Pro Water block plate kit (officially eliminates ALL smog equipment)
3-EGR crossover block plate kit (back of the head)
4-Spiral weber adapter (HP and solve the leaks with the BS weber adapter plates)
5-Intake manifold water block plate kit (goes under the intake manifold to eliminate excess hoses)
6-Intake manifold plug kit (more smog equipment elimination)
7-Billet wire loom kit (looks completely bad ass!)
8-Flex Fan with billet spacer (Eliminates the fan clutch, adds HP and looks much better)
9-Head bolt set
The parts should be in on Monday, but I'm hoping that UPS gets their ass in gear and delivers them tomorrow. For now I think I'll just work on cleaning and painting some parts. I might even straighten up my garage a bit!
More updates to come!
Trending Topics
 12-05-2012, 01:08 PM
#10
Got to back to work last night!
Installed the new water pump and replaced all the old grimy and rounded timing cover, oil pump and water pump bolts with new ones in the LCE timing cover bolt kit. Great $20 investment on bolts that you can't find at the typical hardware store!
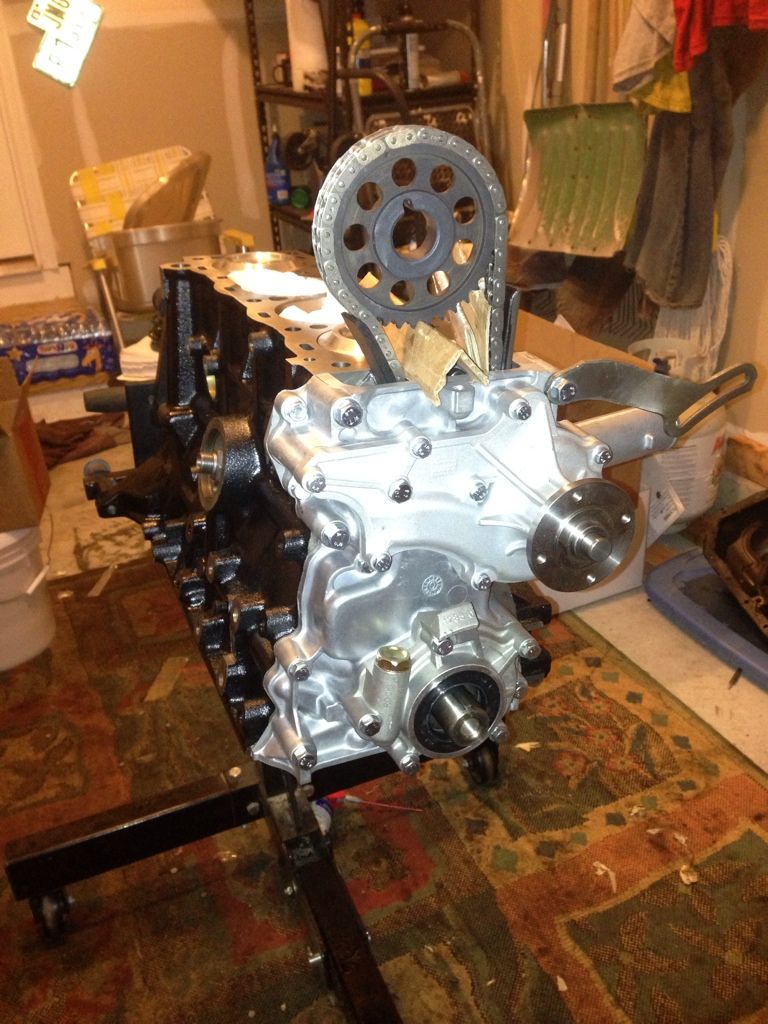
Installed the water block off plates (LCE Pro water block plate kit - $19.95) on the rear of the driver and passenger side of the timing cover. OFFICIALLY, no more smog equipment!
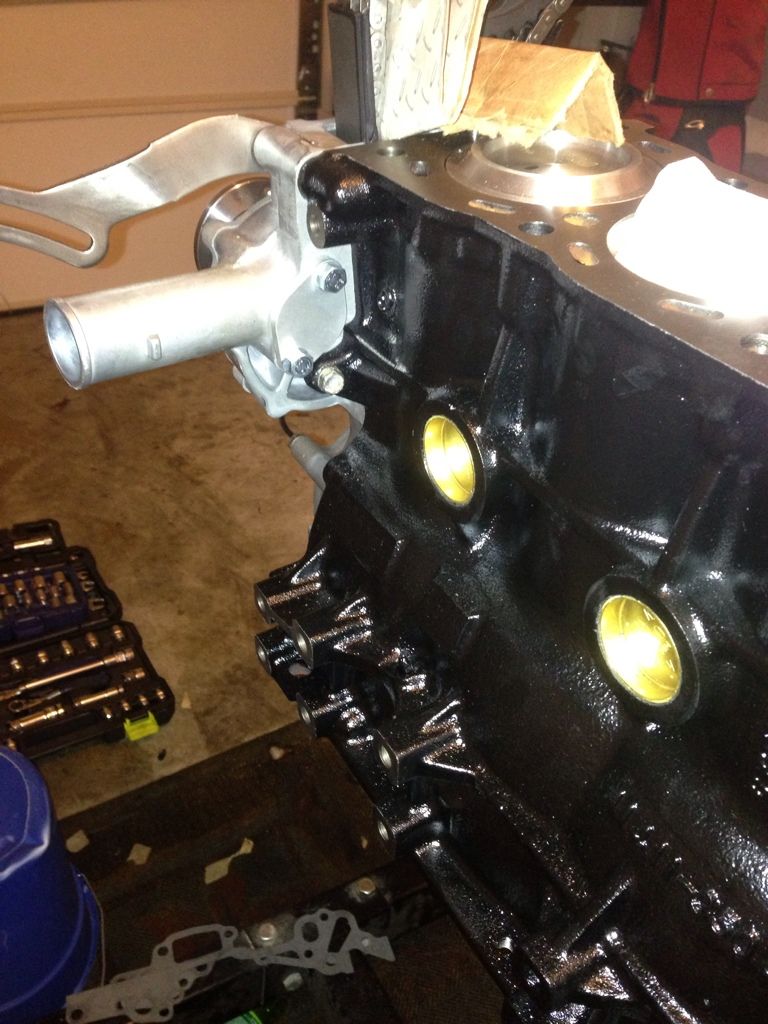

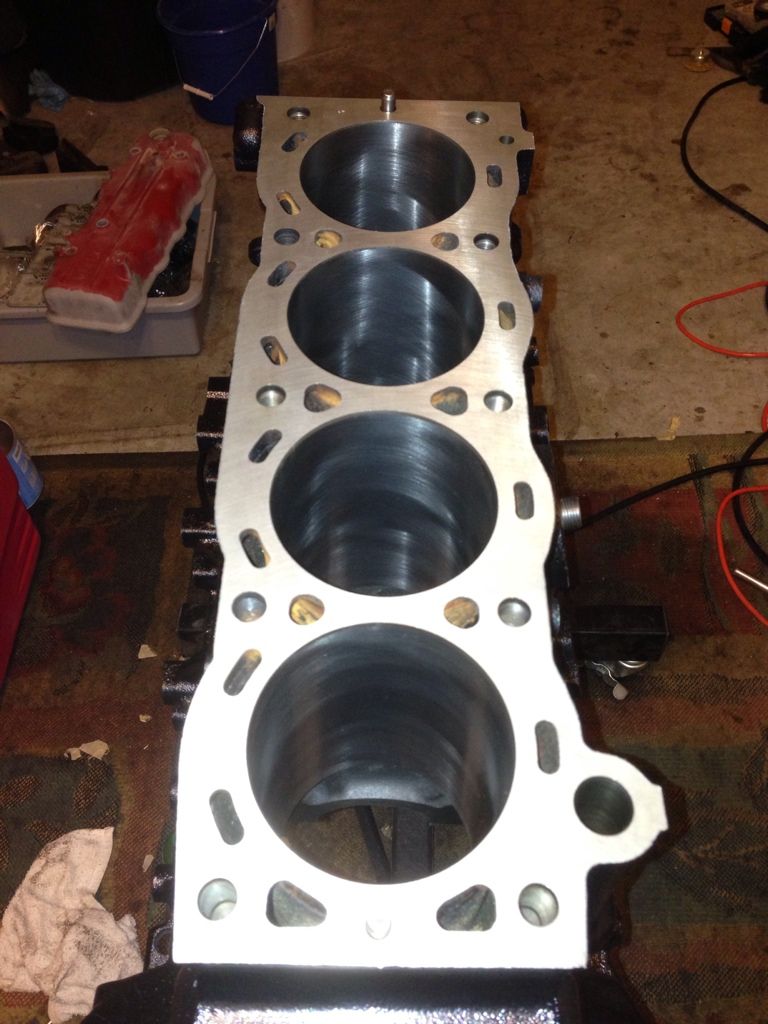
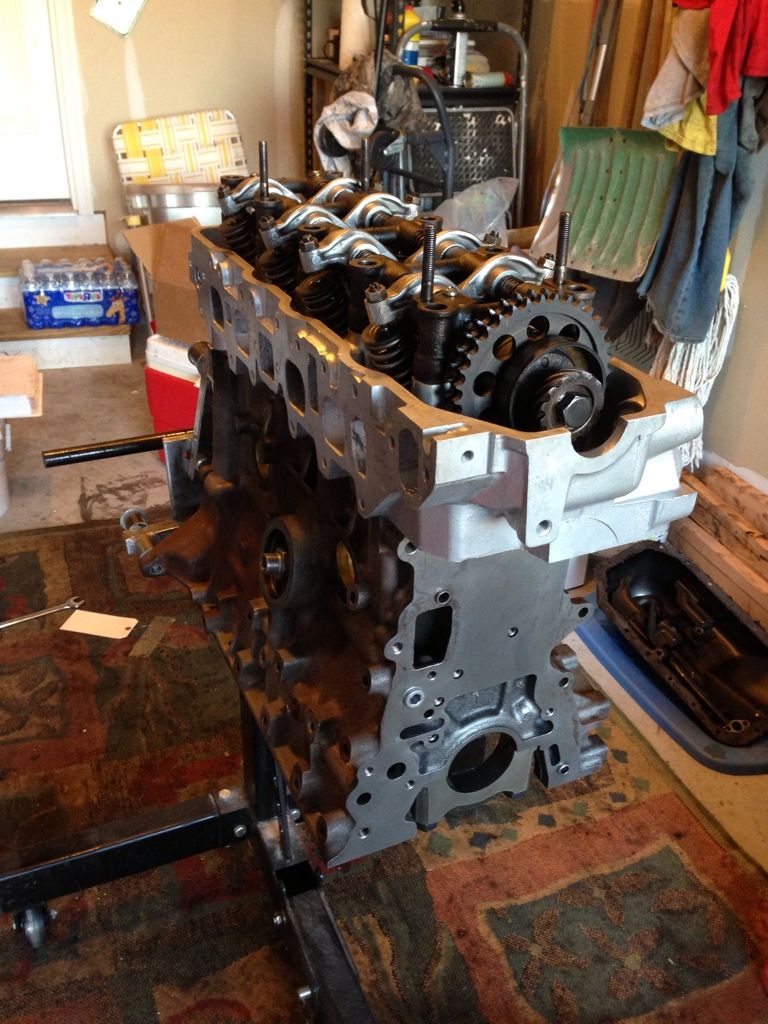
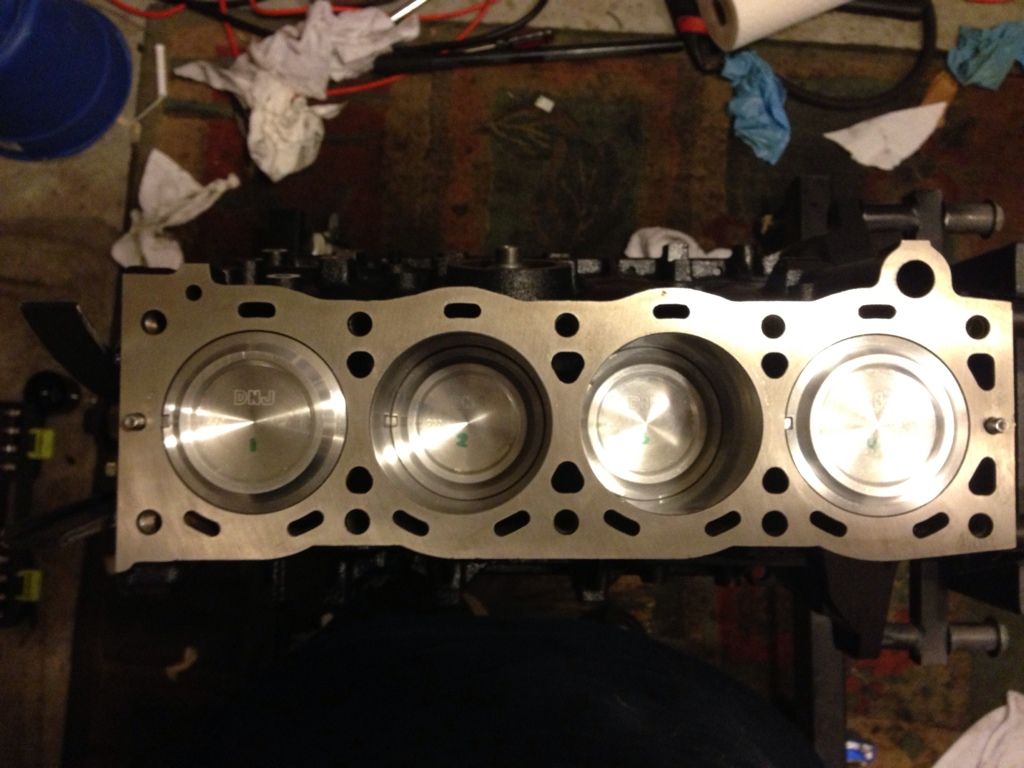
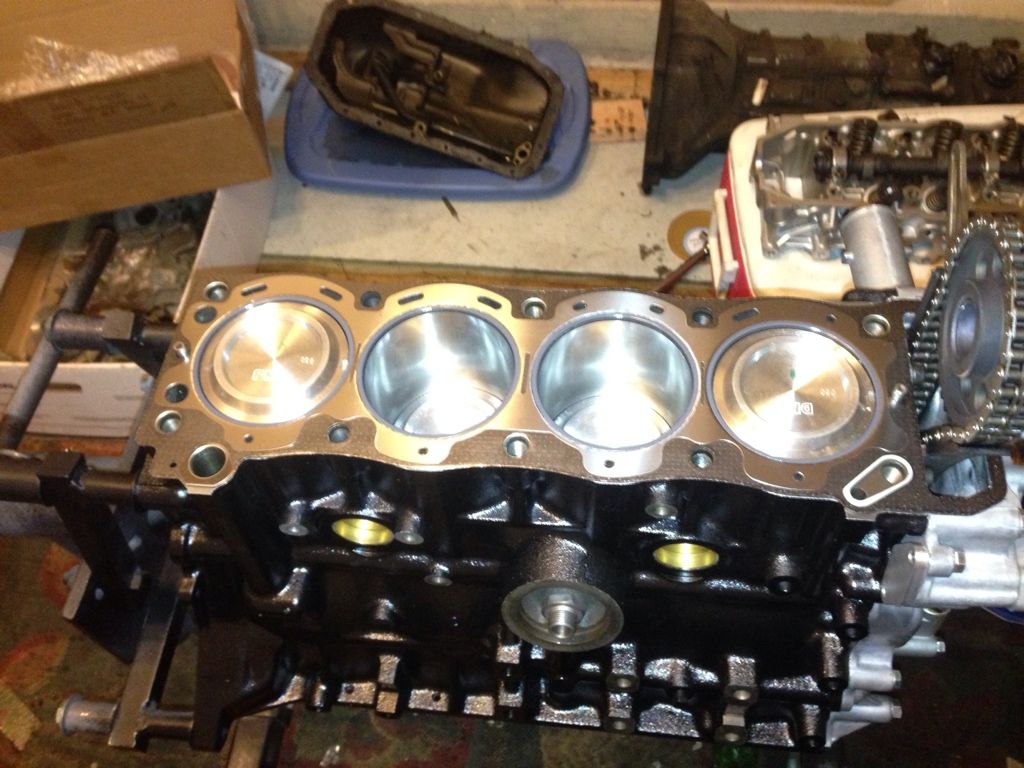
Installed the head gasket from Engnbldr - this is one of the best head gaskets that I've ever seen! Money shot right here, look at those shiny cylinder walls! My local machine shop did an excellent job (AccuBuilt in Salisbury, MD)
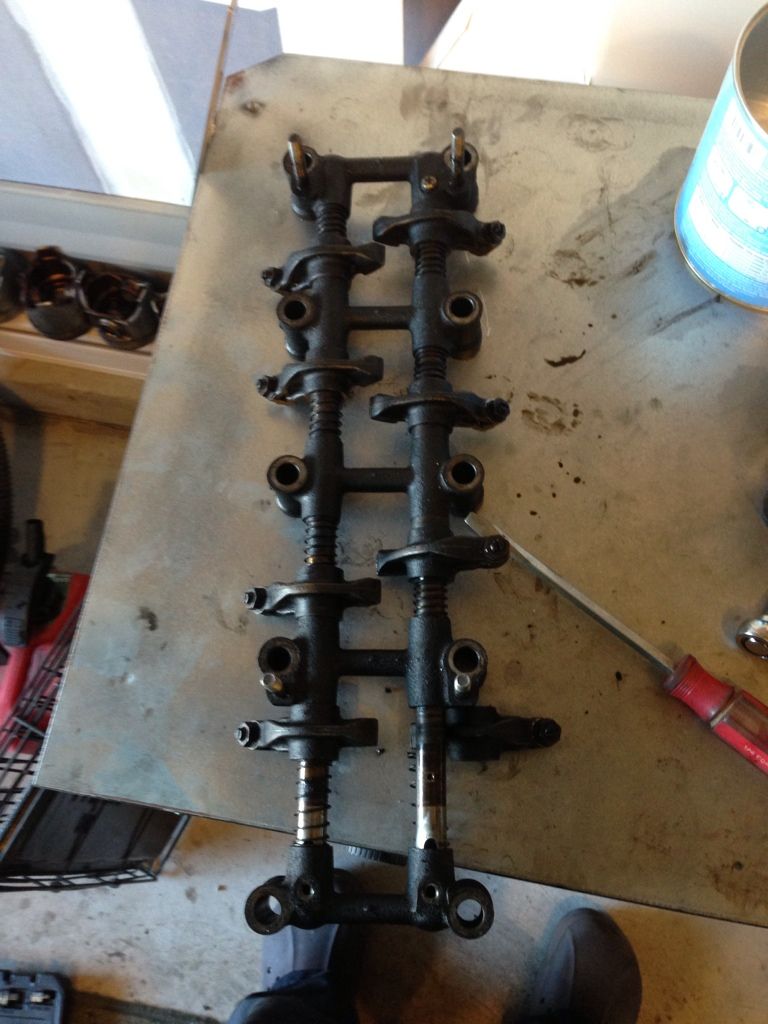
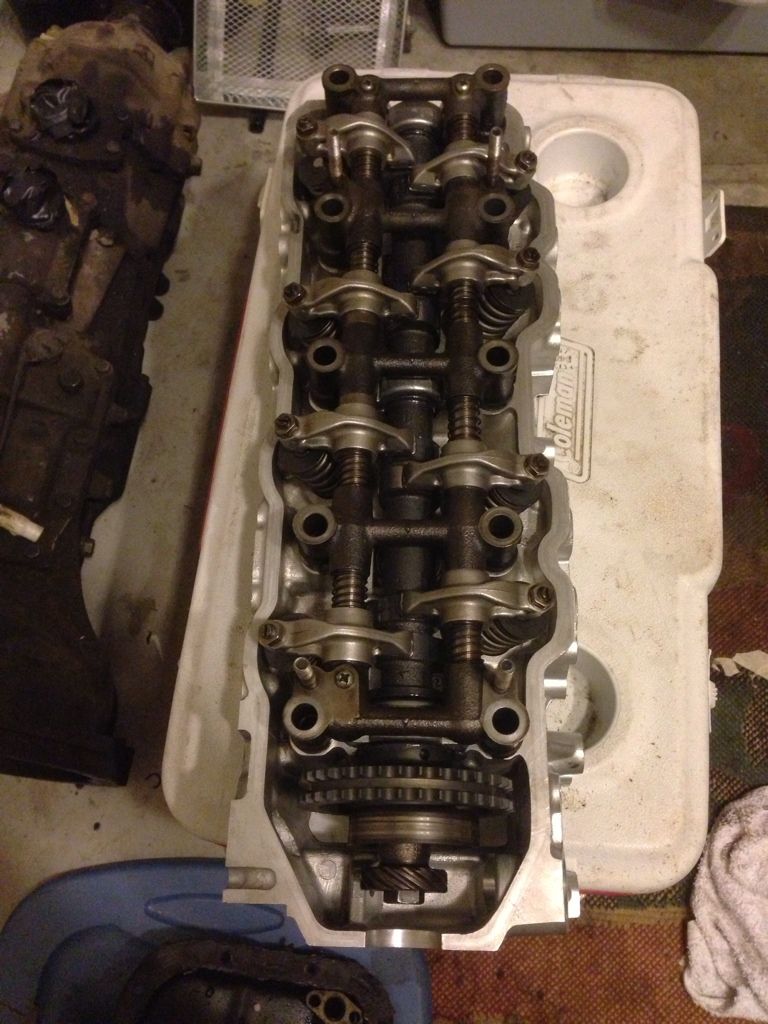
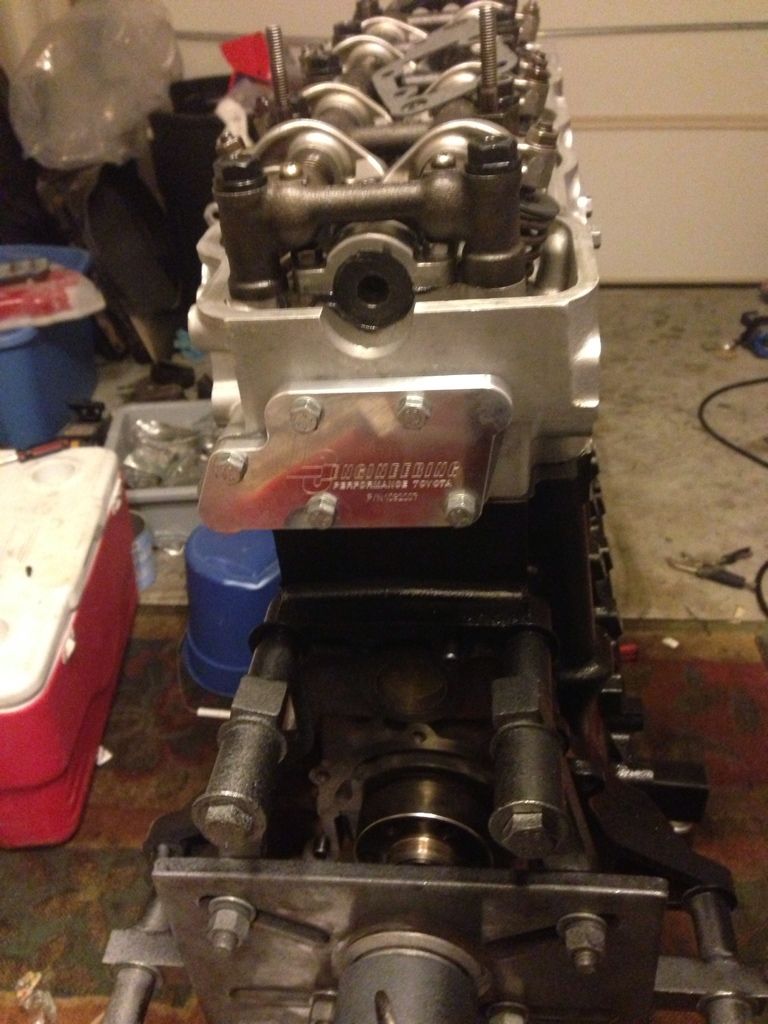
And now for the head, camshaft and rockers:
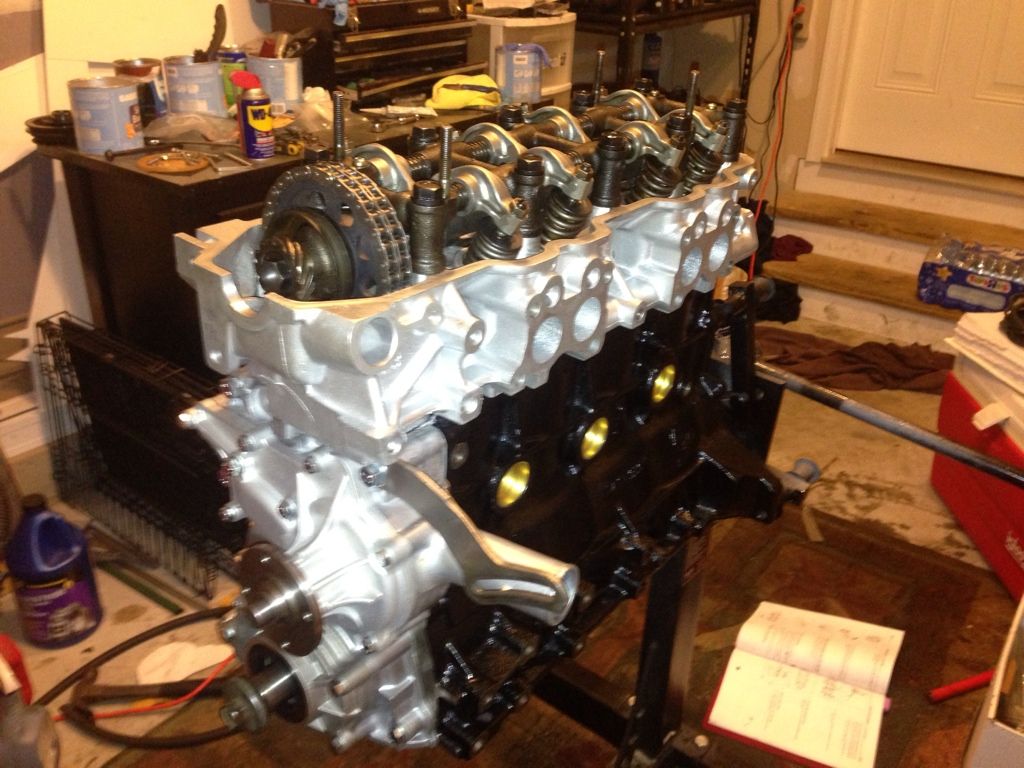

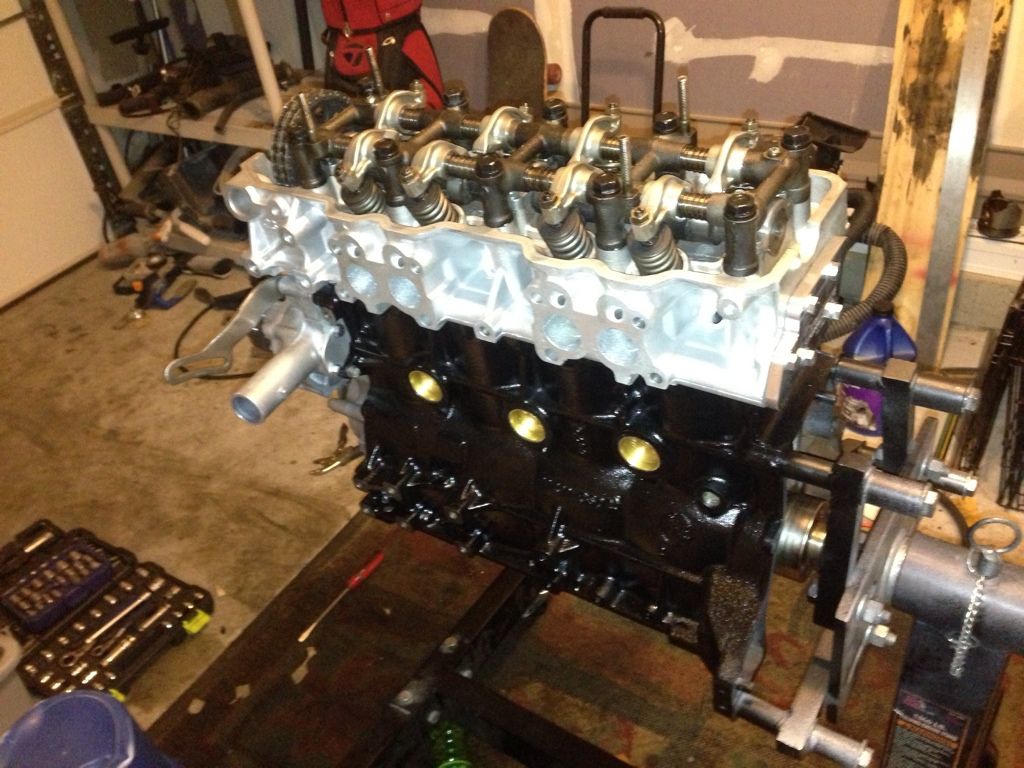
Still need to lash the valves, but the motor turned really nice after the head was installed! Also installed the LCE EGR crossover block plate. Again, YAY for no smog!!
Unfortunately I have some parts to clean now. Got to finish up the manifold clean up, valve cover clean and paint, pulley clean and paint and some over odds and ins.
Installed the new water pump and replaced all the old grimy and rounded timing cover, oil pump and water pump bolts with new ones in the LCE timing cover bolt kit. Great $20 investment on bolts that you can't find at the typical hardware store!
Installed the water block off plates (LCE Pro water block plate kit - $19.95) on the rear of the driver and passenger side of the timing cover. OFFICIALLY, no more smog equipment!
Installed the head gasket from Engnbldr - this is one of the best head gaskets that I've ever seen! Money shot right here, look at those shiny cylinder walls! My local machine shop did an excellent job (AccuBuilt in Salisbury, MD)
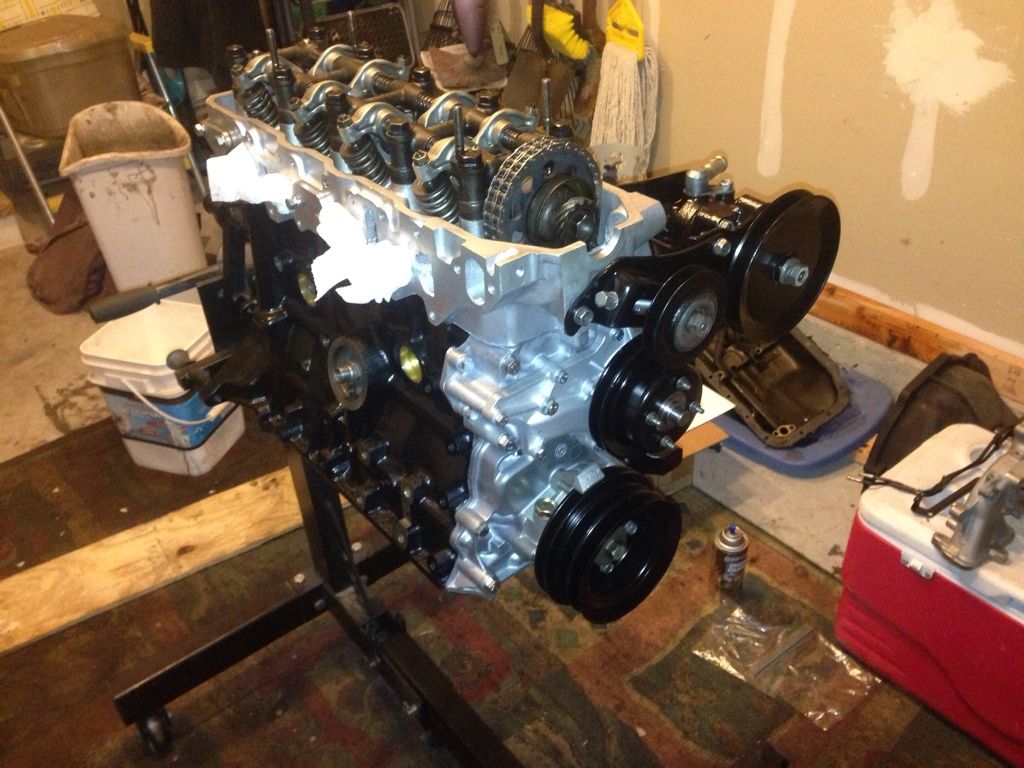
And now for the head, camshaft and rockers:
Still need to lash the valves, but the motor turned really nice after the head was installed! Also installed the LCE EGR crossover block plate. Again, YAY for no smog!!
Unfortunately I have some parts to clean now. Got to finish up the manifold clean up, valve cover clean and paint, pulley clean and paint and some over odds and ins.
12-12-2012, 05:20 AM
#13
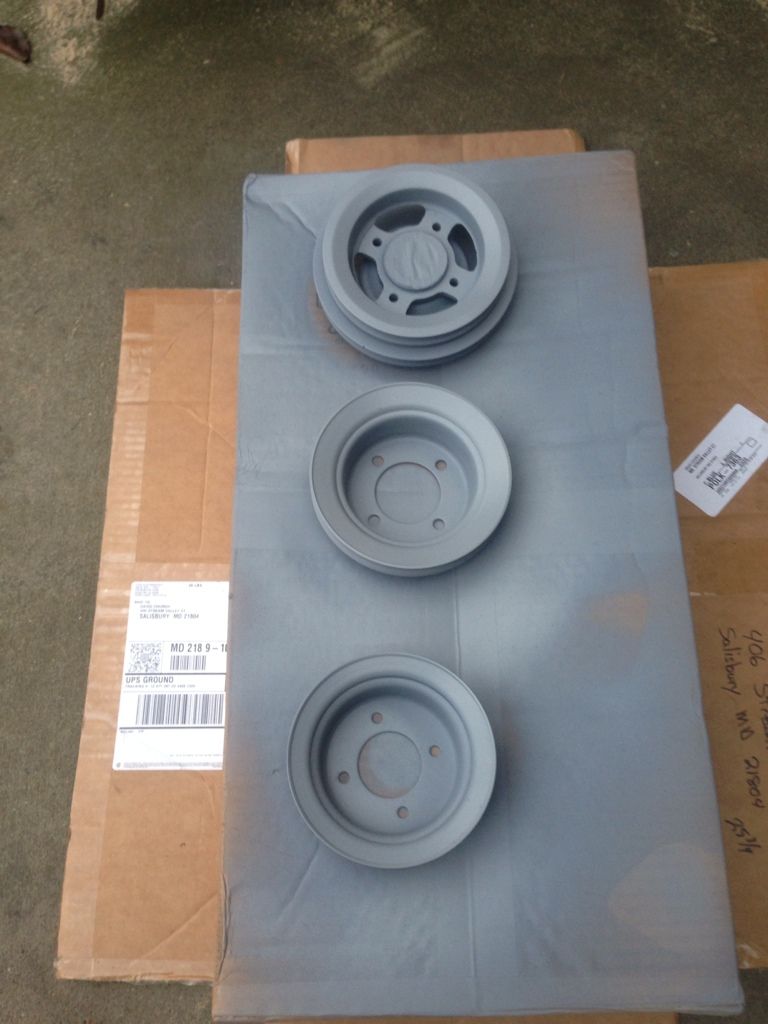
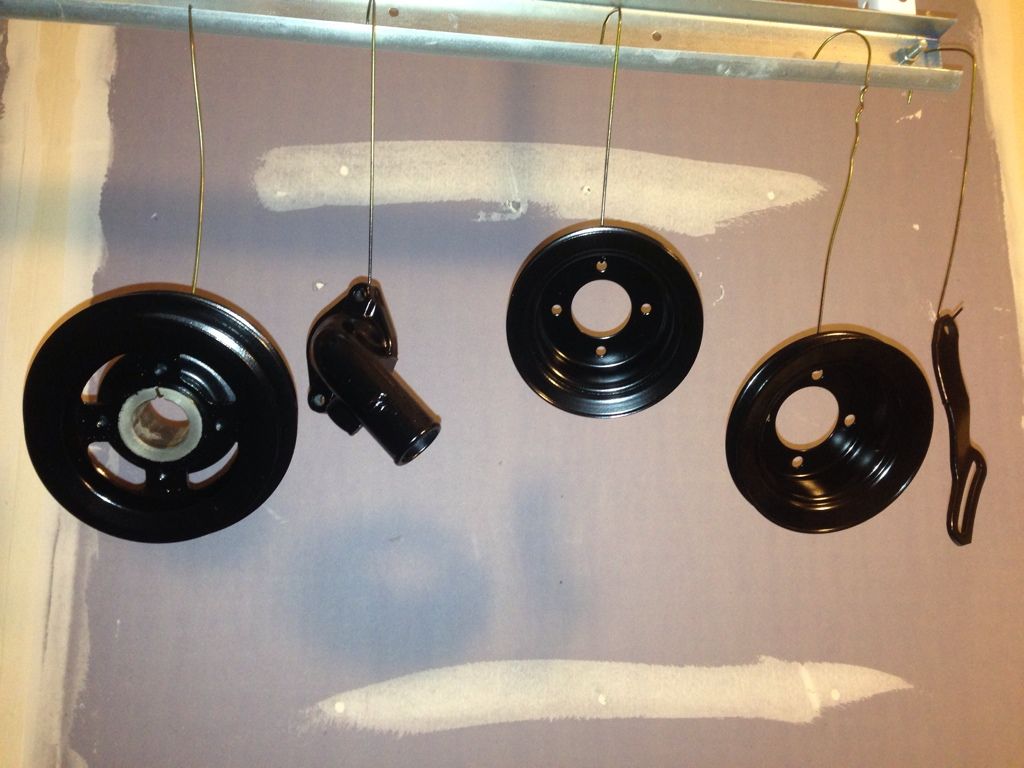
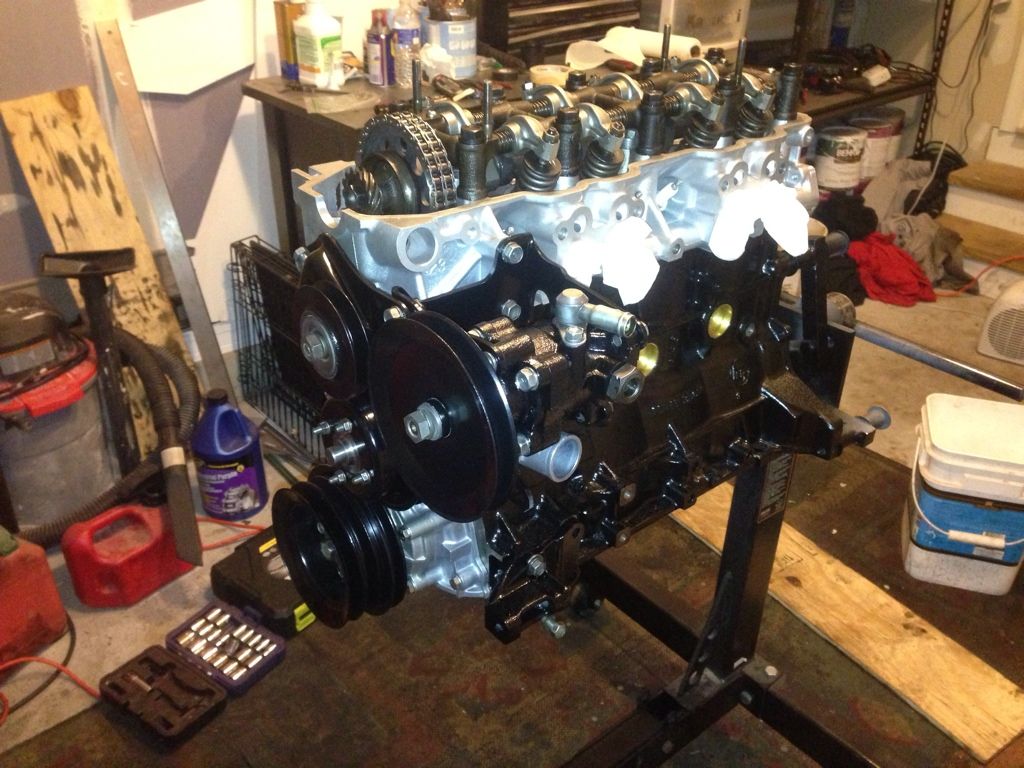
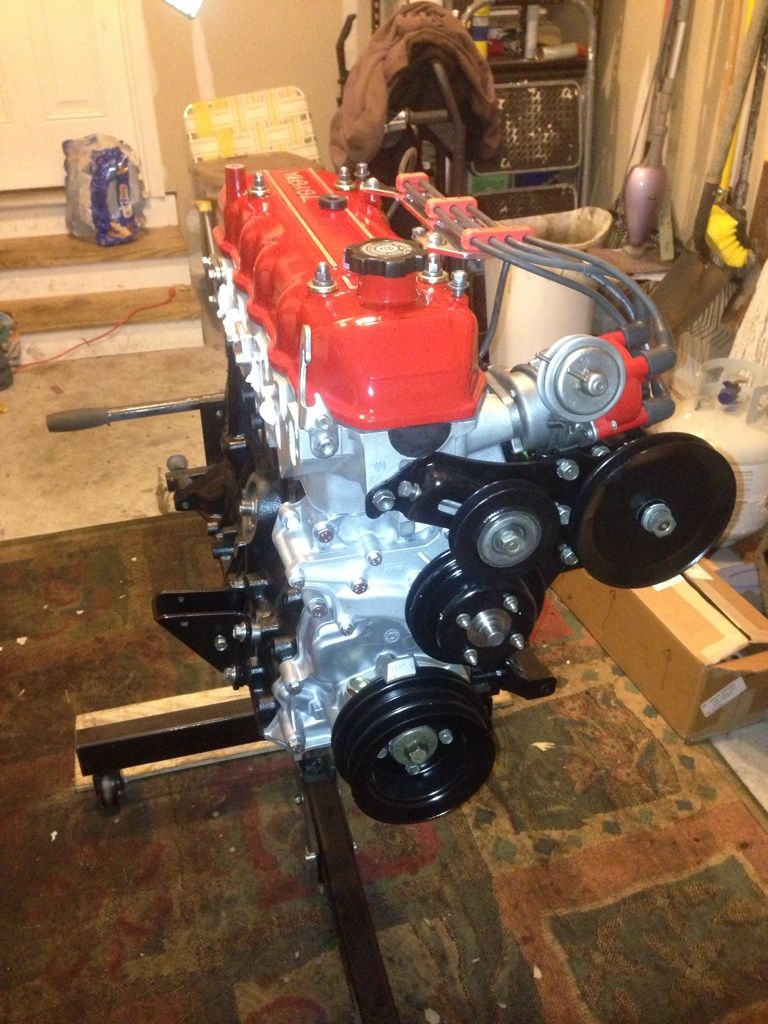
I got the crankshaft pulley, water pump pulley, drive pulley, upper alternator bracket and thermostat housing primed and painted using high temp semi gloss black.
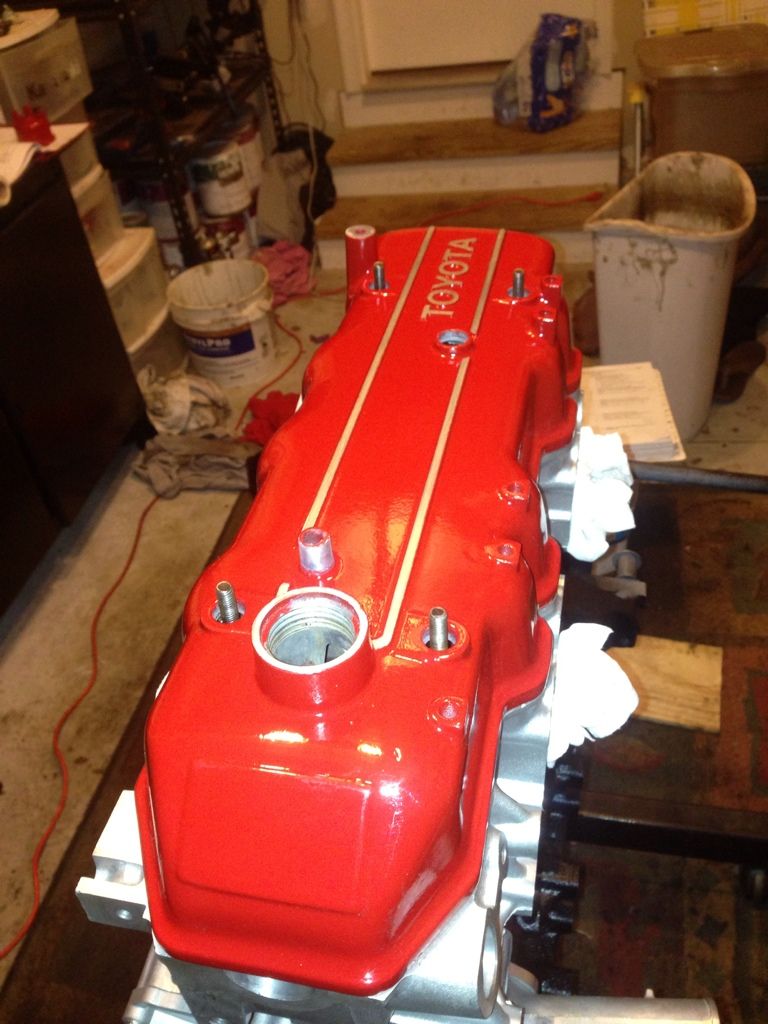
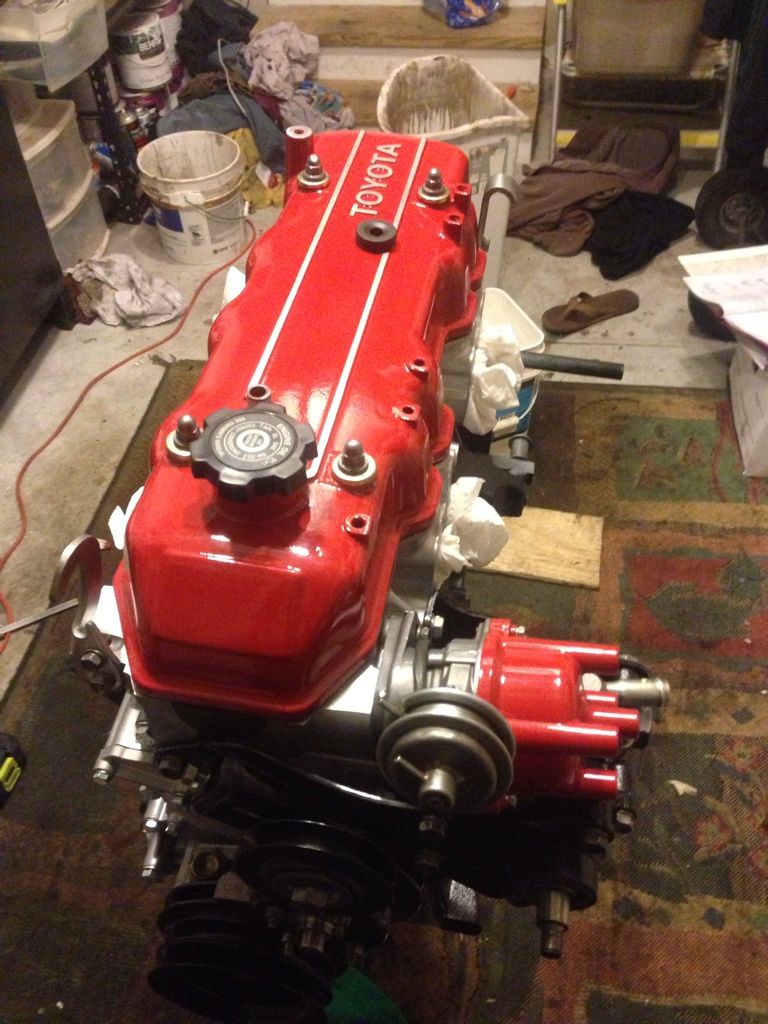
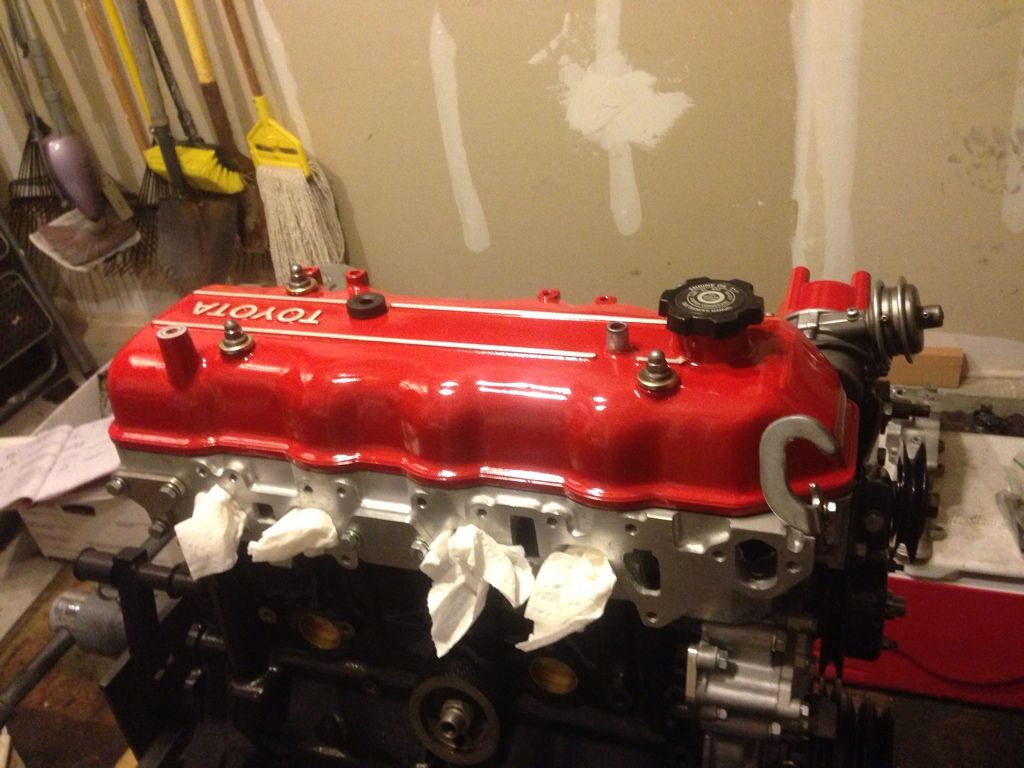
Cleaned up, primed and painted the valve cover with high temp gloss red
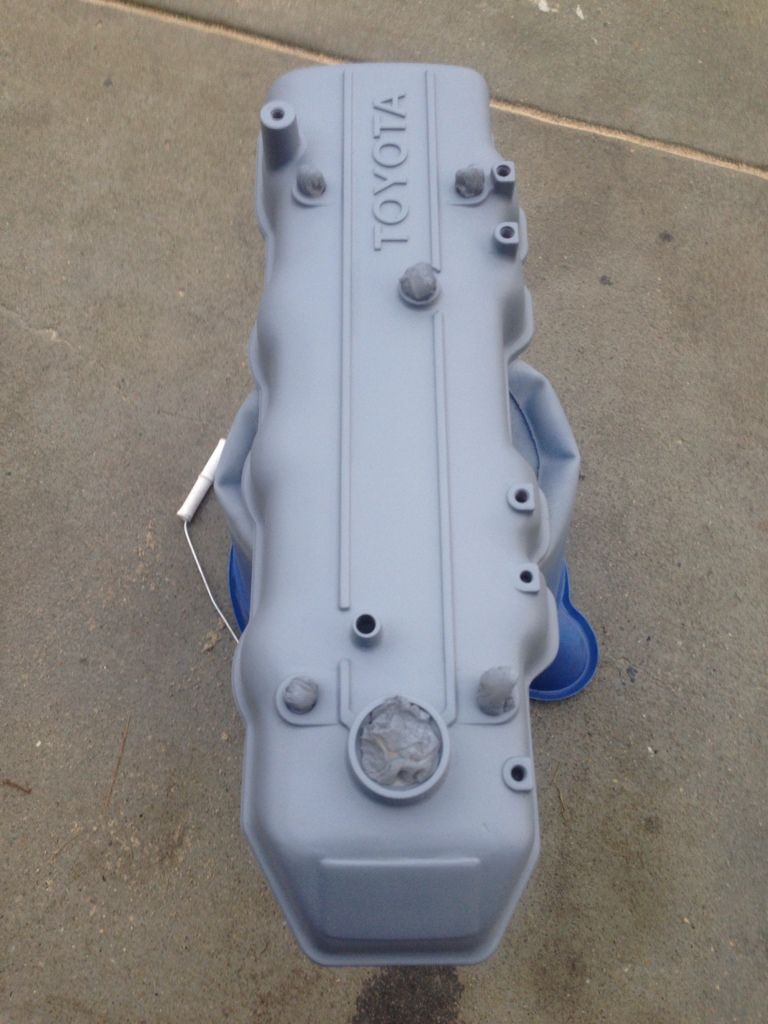


I'll probably go back with a sanding block to removed the paint on the reliefed "TOYOTA" and lines going down the top of the valve cover to exposed the brushed aluminum underneath. Followed by a coat of clear.
I'm debating on weather or not to paint my intake manifold. Right now I have it cleaned up fairly well and it looks good, but cast parts tend to attract grease and grim. I like the manifold in the raw aluminum look, but I may go with the same semi-gloss black as the block and pulleys - Any thoughts on this or pictures of a painted intake manifold??
Cleaned up, primed and painted the valve cover with high temp gloss red
I'll probably go back with a sanding block to removed the paint on the reliefed "TOYOTA" and lines going down the top of the valve cover to exposed the brushed aluminum underneath. Followed by a coat of clear.
I'm debating on weather or not to paint my intake manifold. Right now I have it cleaned up fairly well and it looks good, but cast parts tend to attract grease and grim. I like the manifold in the raw aluminum look, but I may go with the same semi-gloss black as the block and pulleys - Any thoughts on this or pictures of a painted intake manifold??
12-12-2012, 06:01 AM
#14
Registered User
Nice looking rebuild. I miss the days when mine looked nice and oil/grease free. Going to be a very nice looking truck. You'll have to give us a good write up on the spiral adaptor, too many people out there fighting with the redline 2 piece. curious how it works for you.
I'd leave the intake raw. I've seen them painted and they look okay. Or you can spend hours on it and polish it! Looking foreward to pics of that nice looking engine sitting in your truck.
I'd leave the intake raw. I've seen them painted and they look okay. Or you can spend hours on it and polish it! Looking foreward to pics of that nice looking engine sitting in your truck.
12-12-2012, 06:43 AM
#15
I'll let you know about the spiral adapter-I haven't heard anything negative about it. I figured it's only a $50 upgrade to keep the headaches from coming and adds some HP.
I don't go mudding a lot so hopefully my engine bay stays clean. You better believe that I'll be under there with a rag often to clean up dirt and grime! I use my Pickup for a daily driver since my Tundra eats up fuel. But I do go on the beach and take it hunting a lot. I've always wanted one of these so once my truck gets built up, it won't see much abuse.
I'm leaning towards leaving the intake raw, but possibly clear coating it. Do you know of any good and durable clear coat paint for protection?
12-12-2012, 11:41 AM
#16
Lookin good. I just finished my rebuild on Monday and fired it up today. I wish I gave myself more time to work the aluminum a little cleaner to brighten it up, but I'm happy with how it went. Good luck and keep at it. Only issue I had was the new o-ring for the distributor was a tad too thick and was hell stabbing back in.
12-14-2012, 07:35 PM
#17
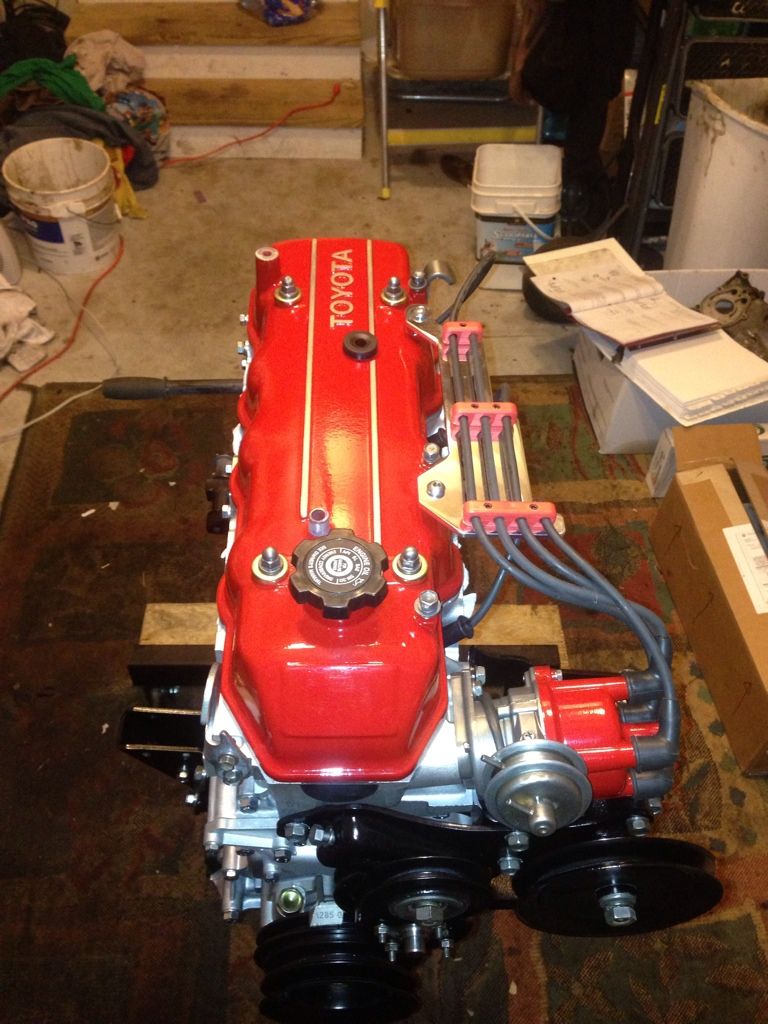
I finished up the valve cover today. Went ahead with the bare aluminum on the raised Toyota and lines on the valve cover. Shot a few coats of high temp clear coat and it turned out fairly well.


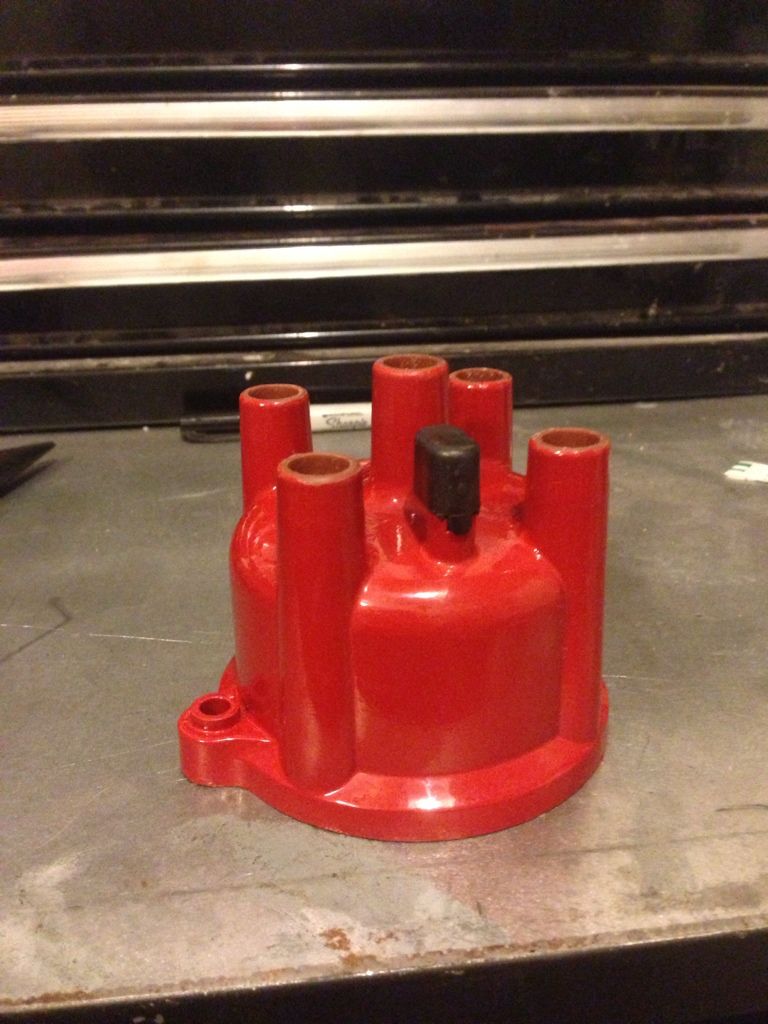
Shot the distributor cap with matching red and clear coat.
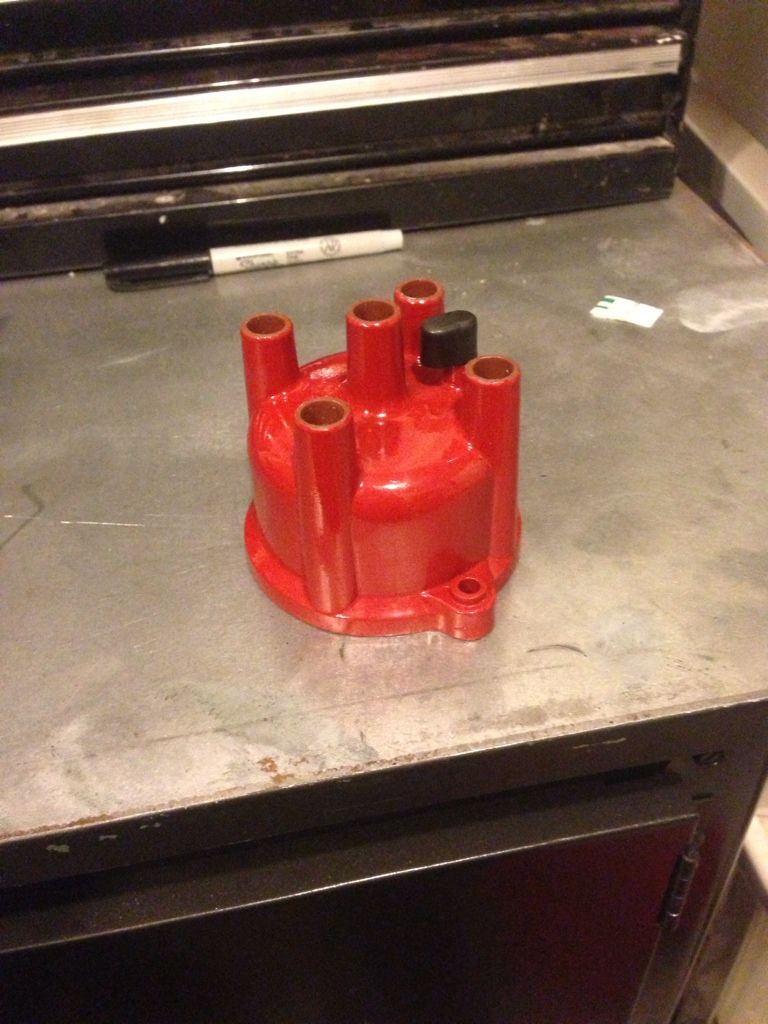
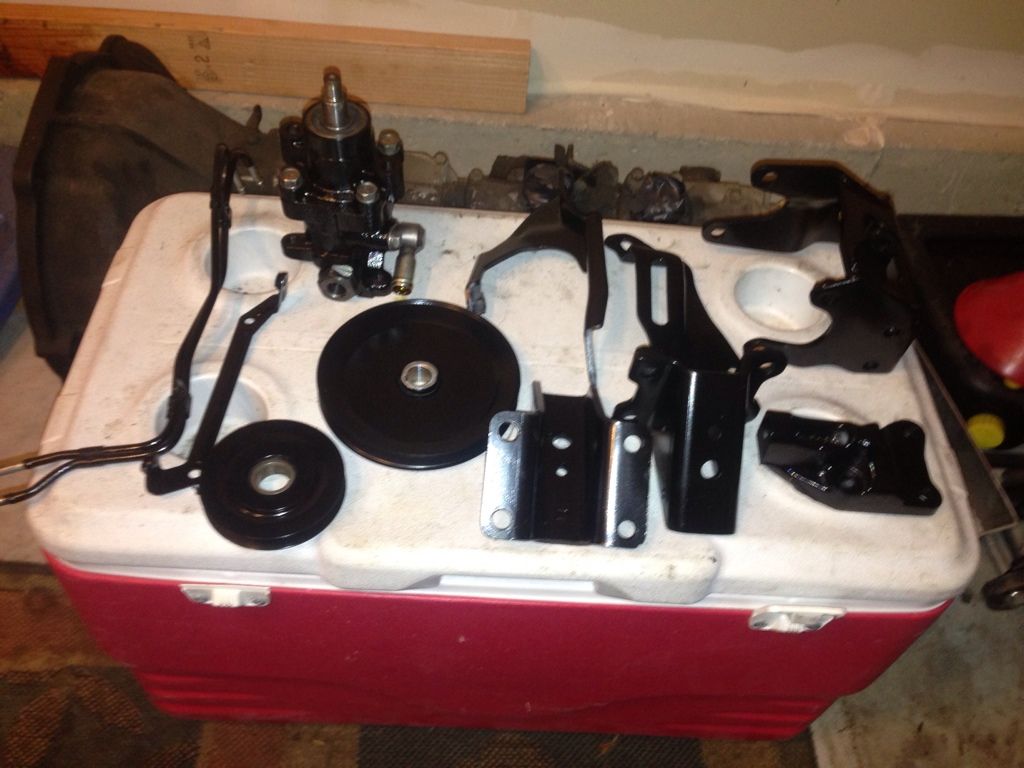
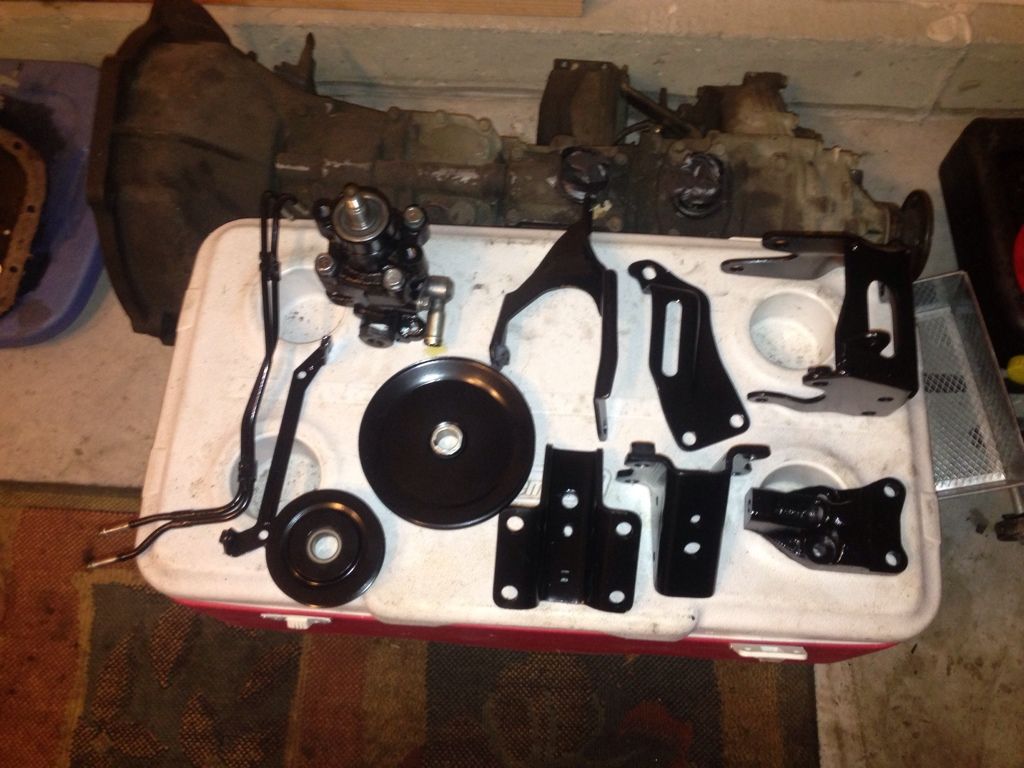
Cleaned up, primed and painted the power steering pump, PS bracket, PS pulley, upper motor mount, alternator bracket, idler pulley, idler bracket and under manifold fuel lines.
Shot the distributor cap with matching red and clear coat.
Cleaned up, primed and painted the power steering pump, PS bracket, PS pulley, upper motor mount, alternator bracket, idler pulley, idler bracket and under manifold fuel lines.
12-14-2012, 08:00 PM
#18
Mounted up all the drive accessories and brackets tonight. Missing one bolt some how, but I'll find one in my box-o-yota parts.
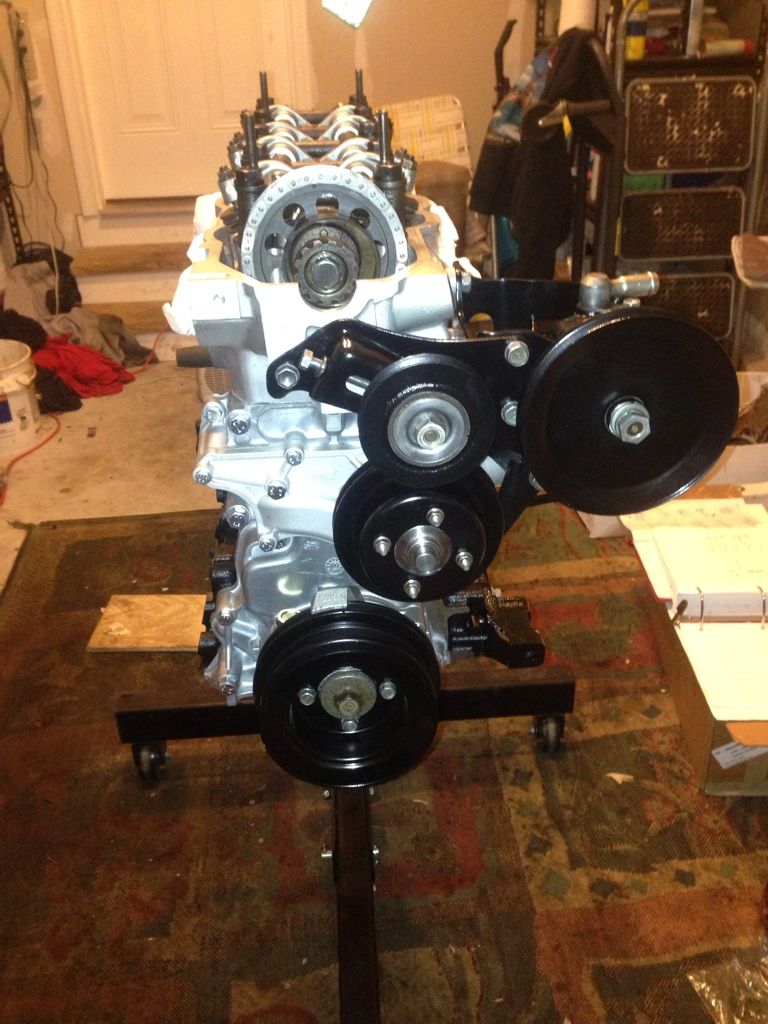
I was able to clean up my alternator fairly well, but I think I'll run out grab a new one since everything else is basically new or super clean.
Also lashed all the valves tonight - 0.30mm on the exhaust side and 0.20mm on the intake side. I'll bolt the valve cover on once the paint completely cures. Up next will be the intake manifold. I have a plug kit from LCE for all the smog sensors, but I have some treads that I need to chase first before I bolt it on.
12-15-2012, 07:29 AM
#19
Lookin awesome man. Your making good progress it seems. I'm kinda sad now that mines done and driving around now. I wanna go back and do it all over again reading your build. Props again on the cleanly-ness. And diggin the bare aluminum raised lines on the Valve cover. I went with it as well, but have not cleared it. Maybe i'll try it out.
12-20-2012, 08:48 AM
#20
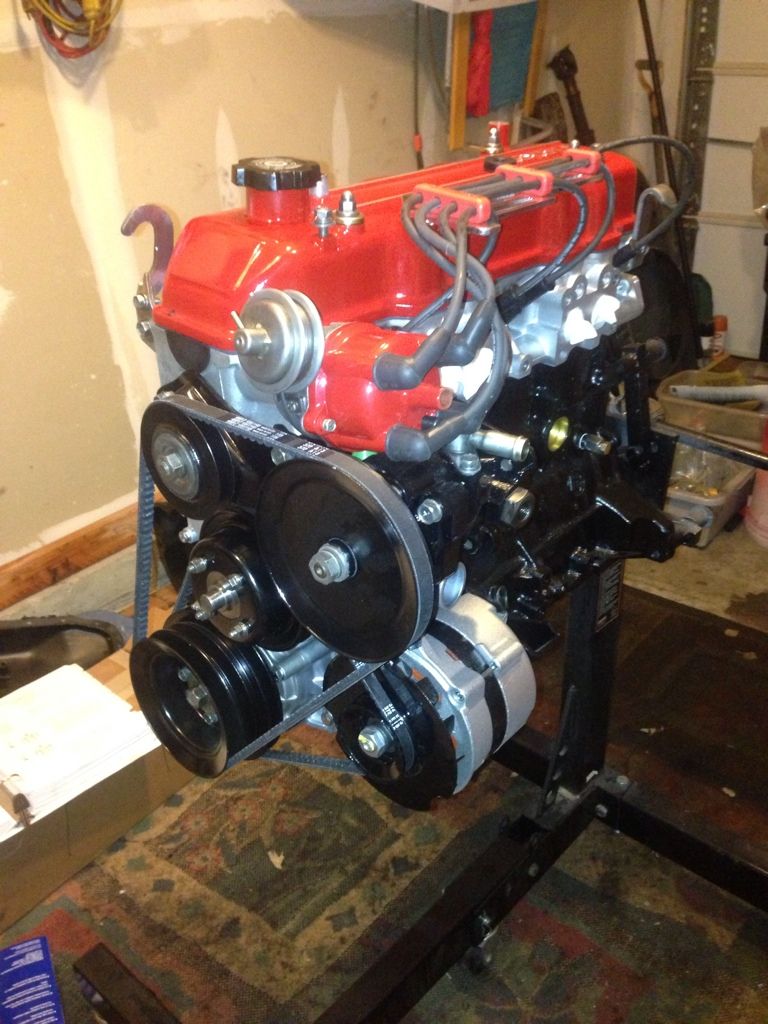
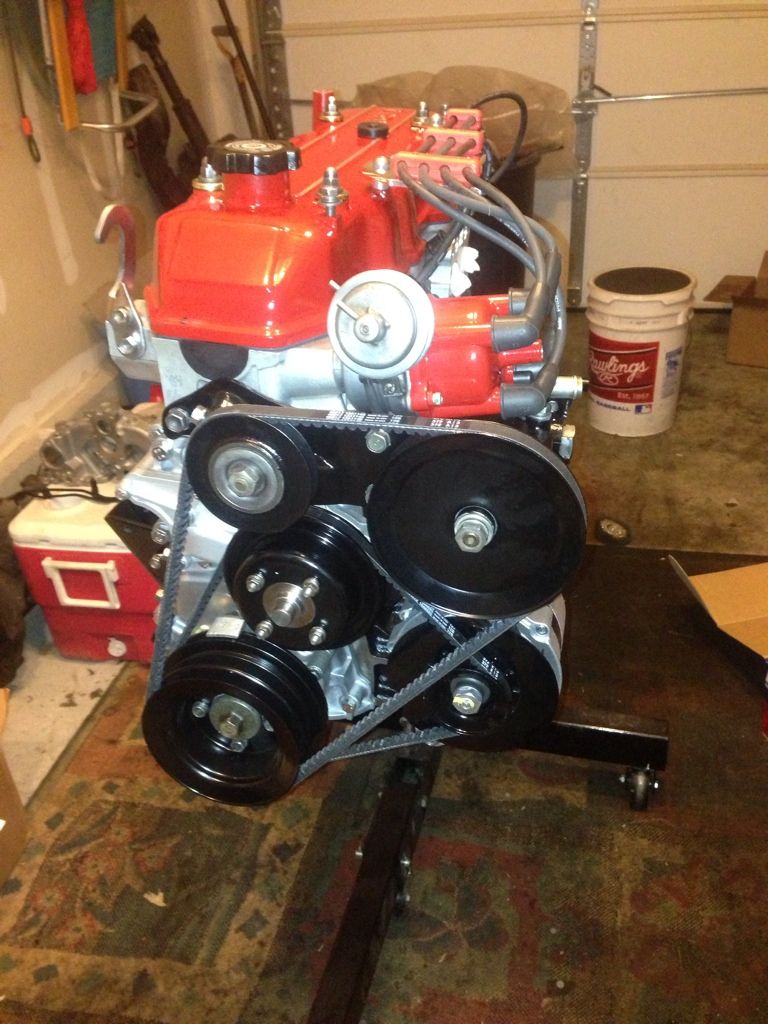
Installed the valve cover and distributor. I am very please with the way it turned out - looks bright and pops off the black and raw aluminum really well. Also bolted on the motor mount brackets to the block.

Also mounted the LCE billet wire loom and ran the spark plug wires. This wire loom is an excellent investment - not only for looks but also keeps your wires from falling down on or near the headers.
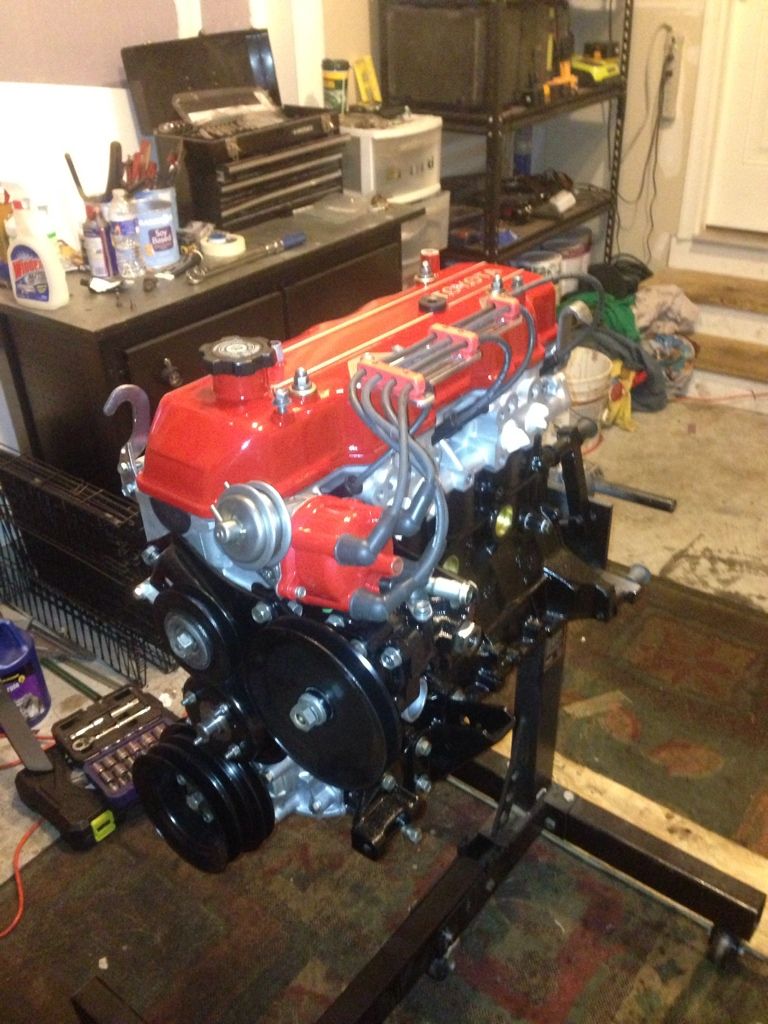
New alternator came in yesterday as well. Installed new Power steering belt and alternator/water pump belt.
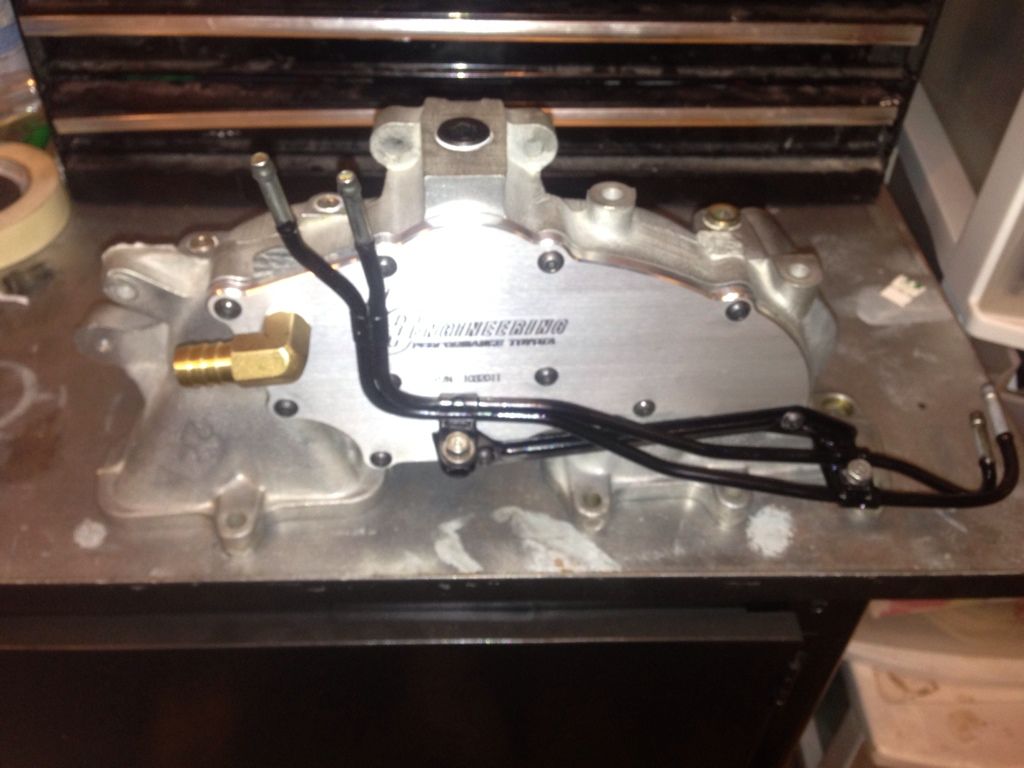
Begin working on putting the intake manifold back together until my 9 month old son decided to wake up and interrupt me (more teeth coming in!). Managed to get the LCE water block off plate installed - another anti smog part. Also plugged all the holes where smog sensors used to be (might need to unplug one for the manifold vacuum advance on the distributor). The EPA is really going to love me when I'm done! I installed the heater hose barb instead of the plug although I am considering going without heat or possibly trying to switch over to an electric unit. I'm not even sure if they make electric heater cores. I retained the factory fuel hard lines since it keeps the fuel lines rather orderly and out of the way under the hood.
I went to install the thermostat and housing as well, but one of the original bolts was chewed up. I had to go back and chase the thread and I'll head to the hardware store today to grab some new bolts.
Intake manifold should be bolted on tonight (if my son decides to sleep and my wife isn't grumpy). I'll probably get all new bolts and studs for that as well.
Quick question for you all out there: What cooling fans are you all running out there? I'm definitely not going to go electric and I've done this much to the engine so far so I figured I'd do a little bit of a fan upgrade. The original fan can be cleaned up, but certainly won't be a sparkly as the rest of the motor and the fan clutch will need to be replaced because it will be damn near impossible to clean up. I was thinking that I might just go with a 15" stainless flex fan with a 3" spacer off the fan pulley. Has anybody out there used any of the flex fans? Anything brand/design to stay away from? Pros, Cons?
As always, more to come.
Also mounted the LCE billet wire loom and ran the spark plug wires. This wire loom is an excellent investment - not only for looks but also keeps your wires from falling down on or near the headers.
New alternator came in yesterday as well. Installed new Power steering belt and alternator/water pump belt.
Begin working on putting the intake manifold back together until my 9 month old son decided to wake up and interrupt me (more teeth coming in!). Managed to get the LCE water block off plate installed - another anti smog part. Also plugged all the holes where smog sensors used to be (might need to unplug one for the manifold vacuum advance on the distributor). The EPA is really going to love me when I'm done! I installed the heater hose barb instead of the plug although I am considering going without heat or possibly trying to switch over to an electric unit. I'm not even sure if they make electric heater cores. I retained the factory fuel hard lines since it keeps the fuel lines rather orderly and out of the way under the hood.
I went to install the thermostat and housing as well, but one of the original bolts was chewed up. I had to go back and chase the thread and I'll head to the hardware store today to grab some new bolts.
Intake manifold should be bolted on tonight (if my son decides to sleep and my wife isn't grumpy). I'll probably get all new bolts and studs for that as well.
Quick question for you all out there: What cooling fans are you all running out there? I'm definitely not going to go electric and I've done this much to the engine so far so I figured I'd do a little bit of a fan upgrade. The original fan can be cleaned up, but certainly won't be a sparkly as the rest of the motor and the fan clutch will need to be replaced because it will be damn near impossible to clean up. I was thinking that I might just go with a 15" stainless flex fan with a 3" spacer off the fan pulley. Has anybody out there used any of the flex fans? Anything brand/design to stay away from? Pros, Cons?
As always, more to come.


