When you click on links to various merchants on this site and make a purchase, this can result in this site earning a commission. Affiliate programs and affiliations include, but are not limited to, the eBay Partner Network.
A lot of thought/ideas crossed through my hollow gourd, viewing internet, mags, books, etc., never did find any good ideas, so that is the reason for this thread. . Since my dash was pretty well chopped up and with the pocketbook thickness was a constant battle, it took me a while to gather parts to start this project. This is also posted in my build thread, but thought it wouldn't be picked up by the search engines. So here goes
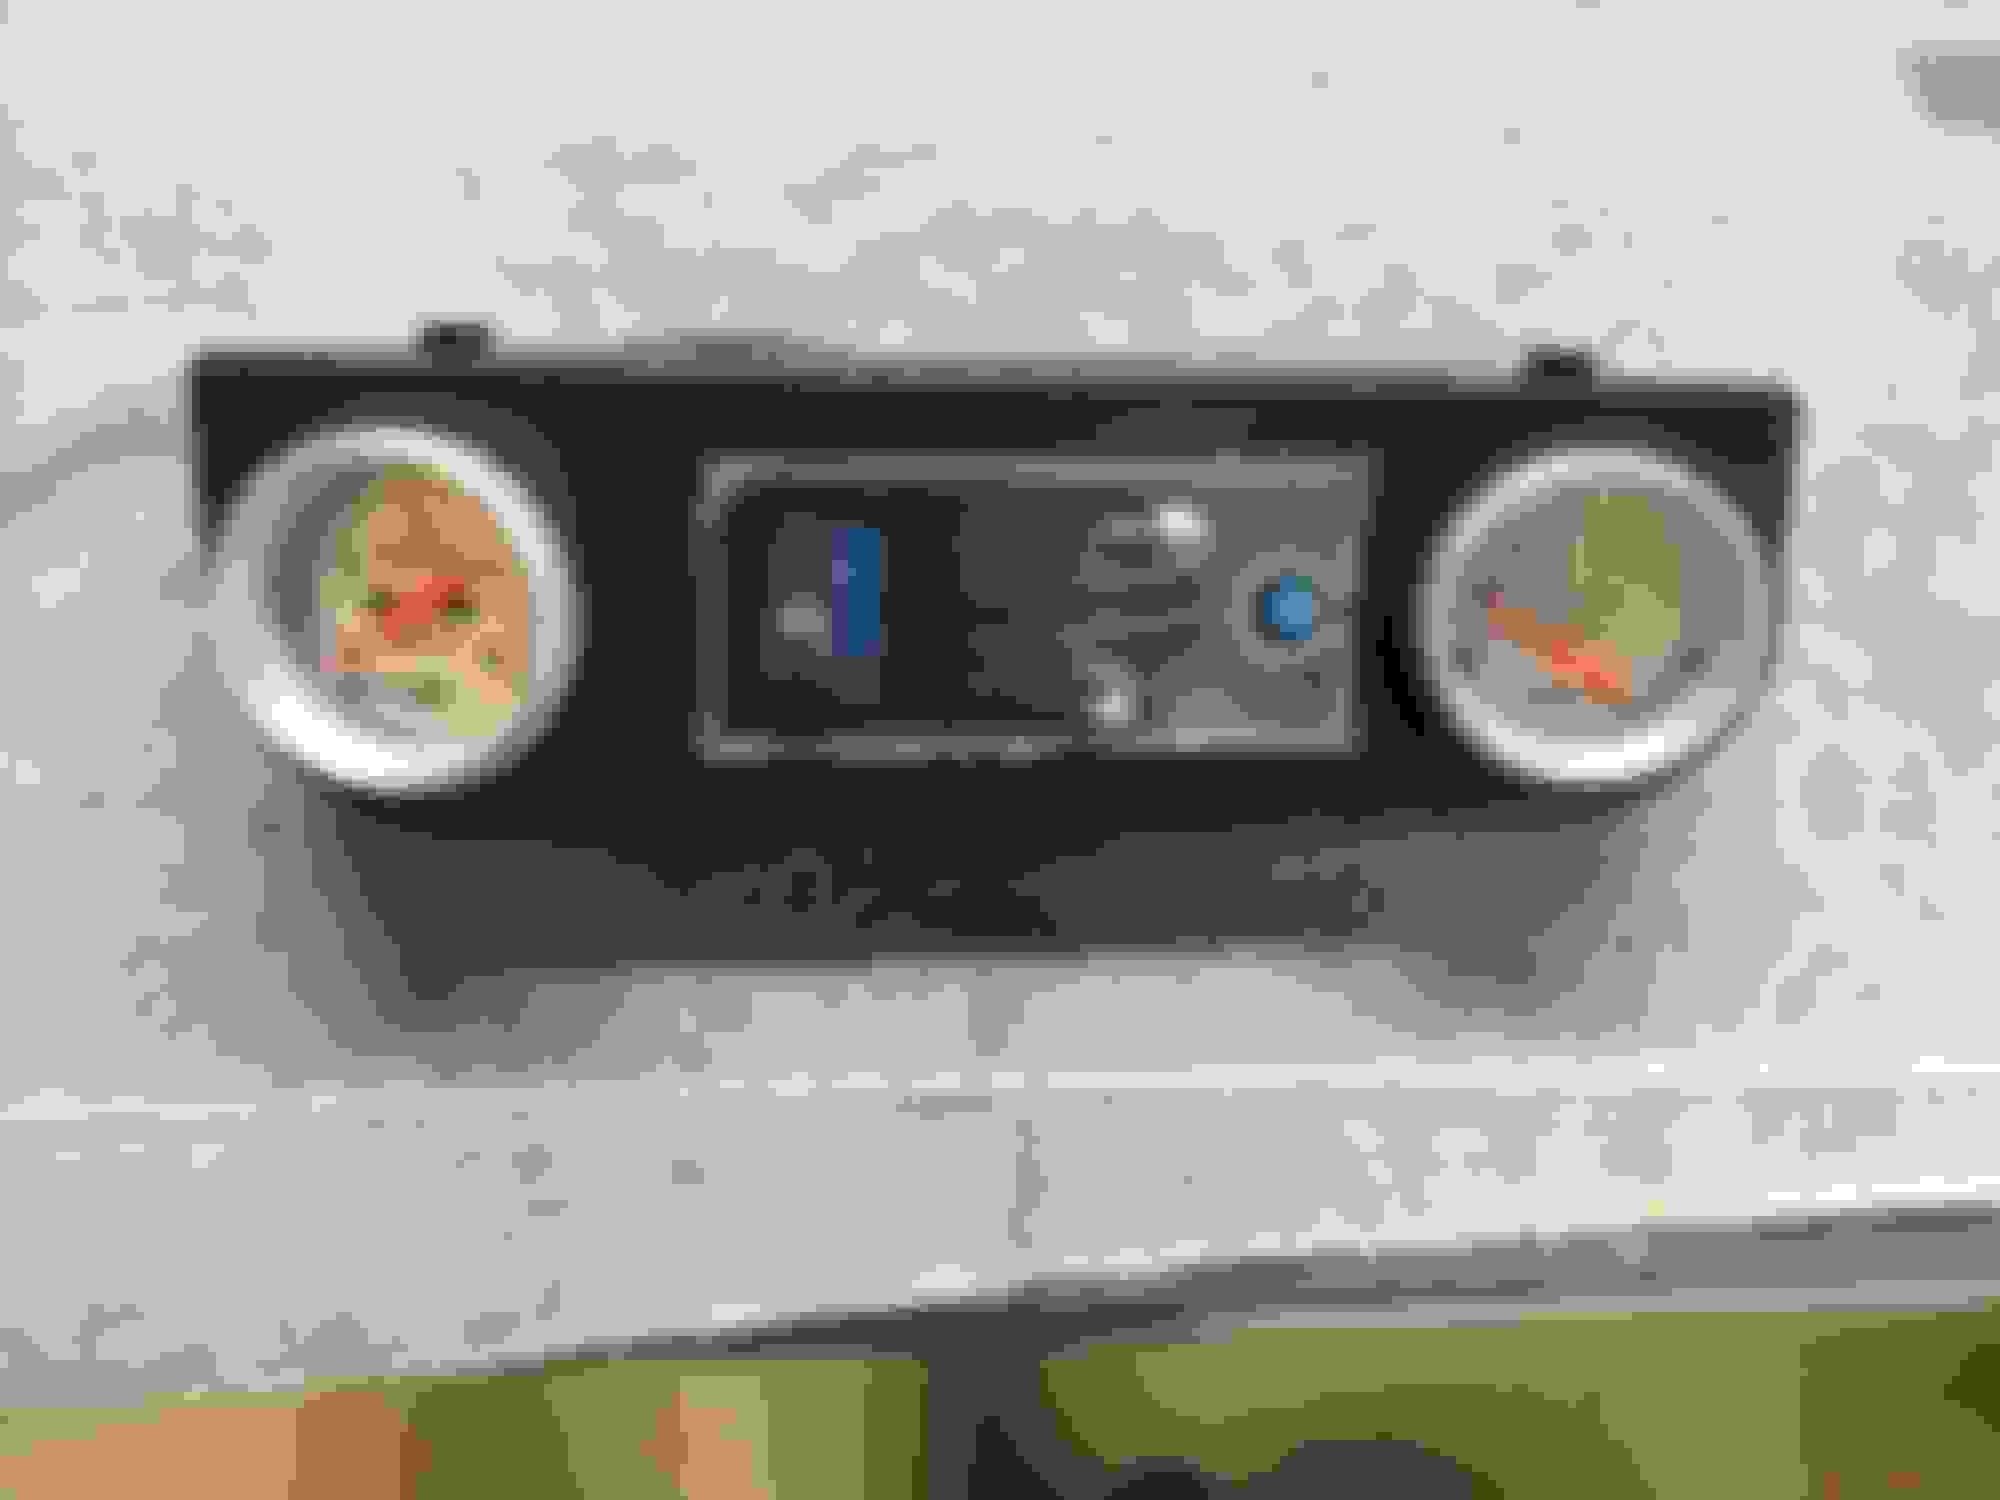
Started with gutting an 83 instrument cluster, with a dremel. Using the front bezel, traced and cut template out in paper.
After everything was a go, transferred the template to 16 ga. mild steel from Tractor Supply. Decided on the gauge layout.
Cut out and filed to fit inside of the bezel. In looking from the back side, decided to use 4mm flat screws (drilled and countersunk, welded) to mount the new plate. Using hole saw in my drill press to get the gauge holes opened up.
Painted the cluster housing with SEM Color Coat, covered the bezel with Carbon Fiber auto wrap from Ebay. Installed the gauges and started the wiring process. I installed 6 LED light to be used for warning lights, when I get there. Will not be using the clear plastic over the gauges. This is how it sets.
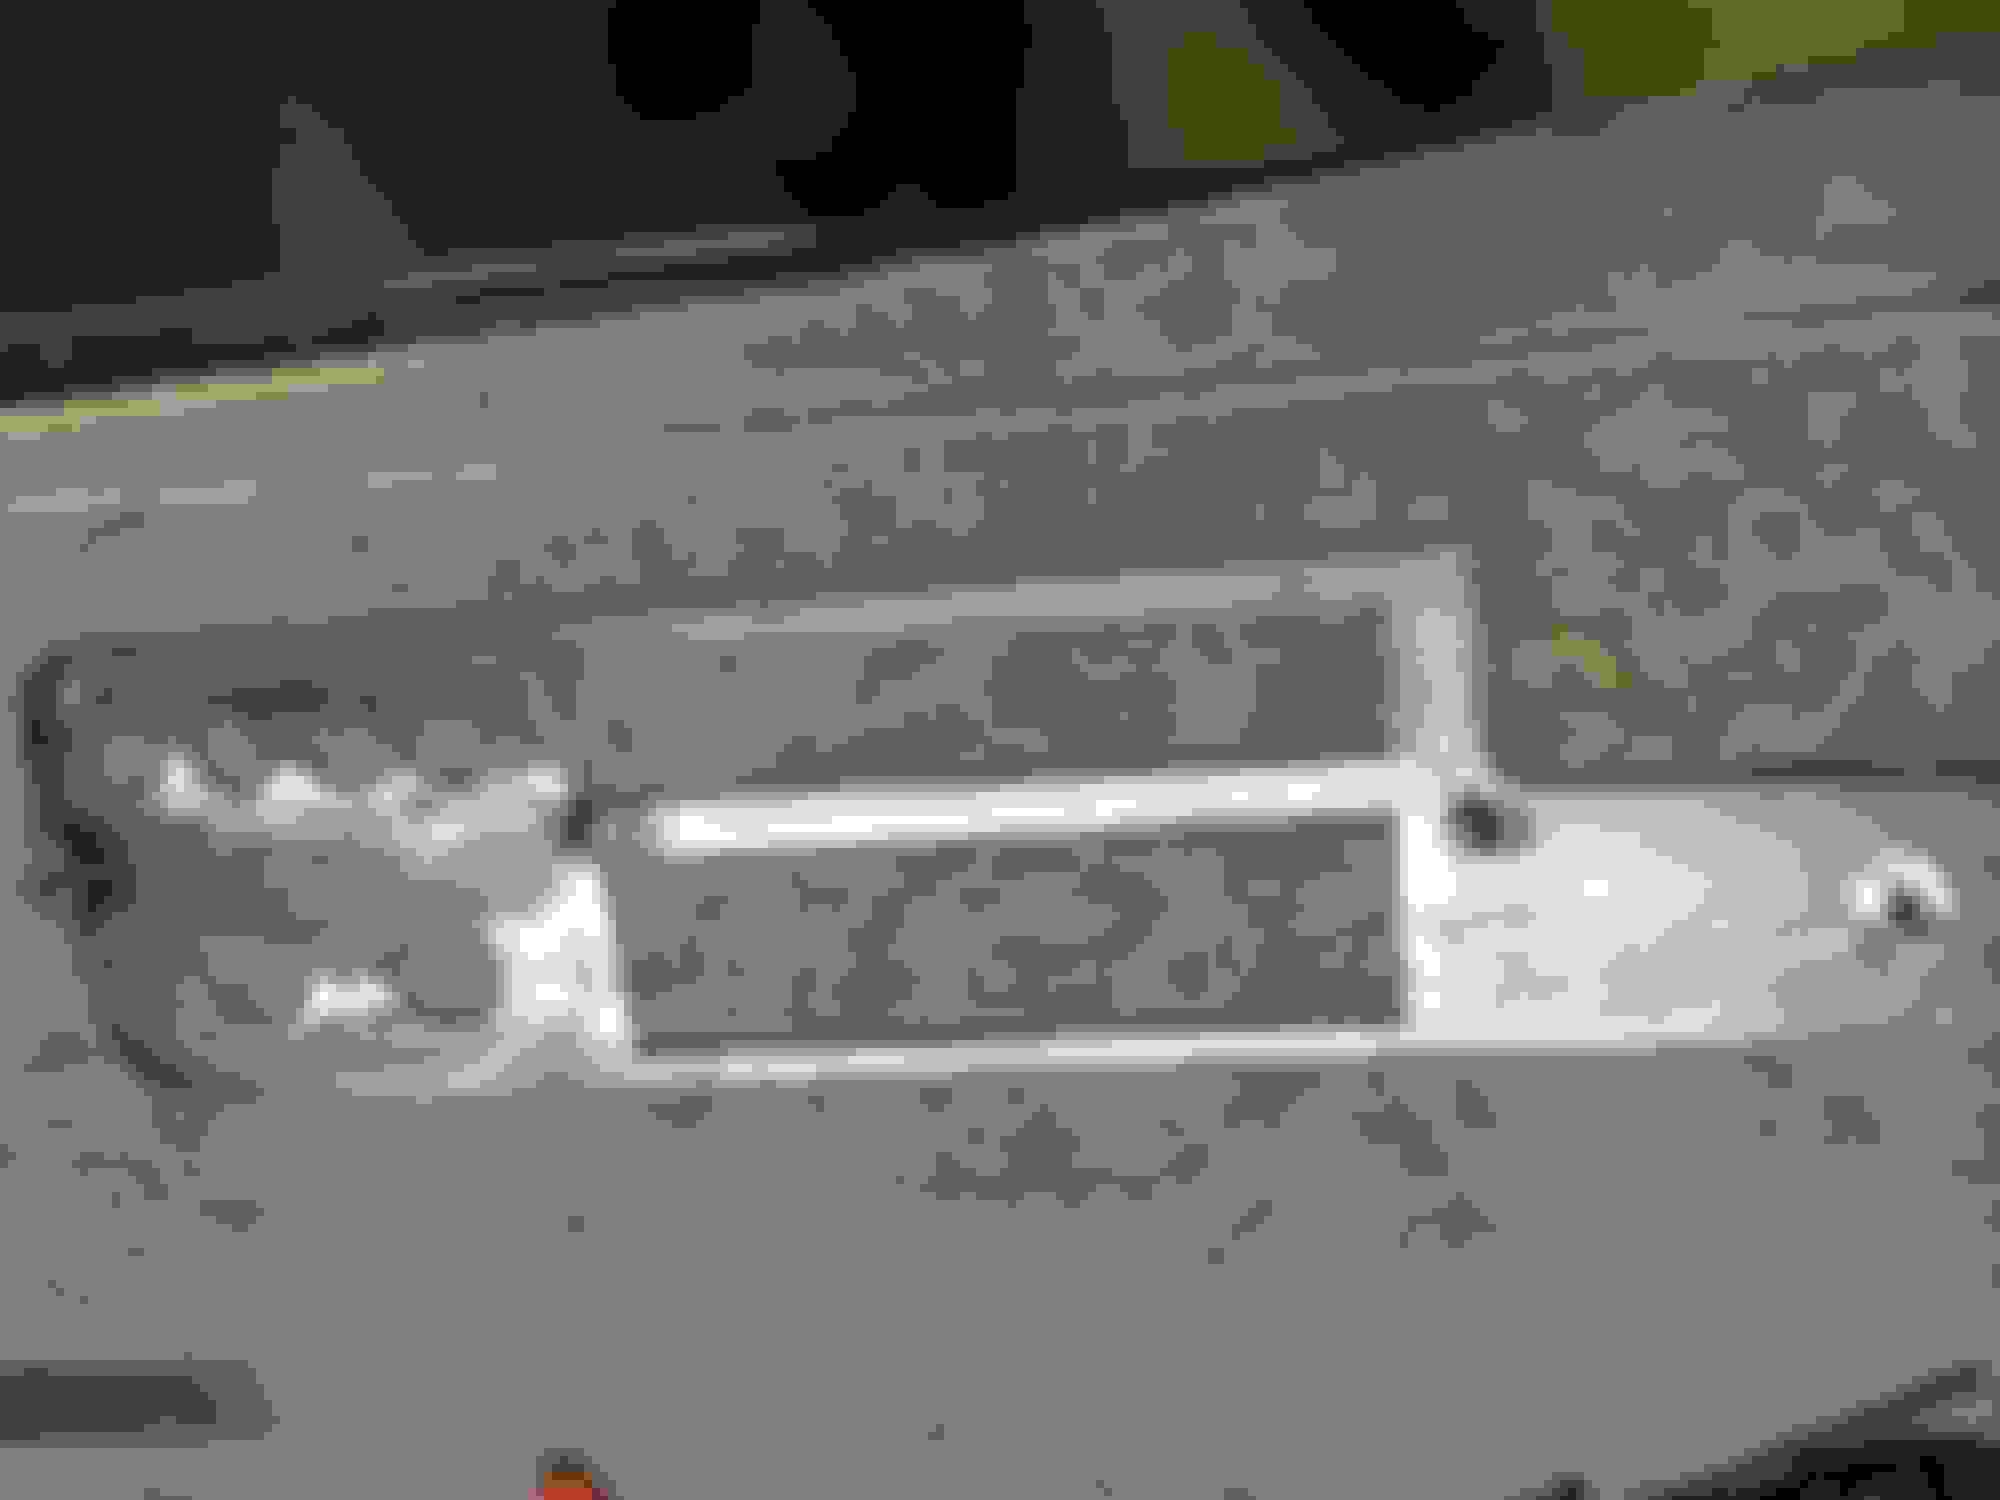
Now for the heater/radio bezel. Started with this chopped up plastic
Cut and filed the 16 ga. plate until it fit.
Again using the 4mm screws, welded them in, cutting opening for the single DIN radio, A/C vent, switches and 12v power sockets
Covered with the Carbon fiber wrap, installed accessories
In finishing up the dash, I decided not to use the original center venting pod and stock gauge pod. Bought a A/C electronic control/vent pod and instead of using the supplied ball vents, I mounted my fuel level and volt gauges in it.
Also for the stock outboard vents, I bought new chrome ball vents. Had to use the Dremel and remove some of the plastic on the back, but installs nicely. Matches the center vent
So anywho, this is the final overall look I was going for.
Now for the time being, will continue the dash wiring done with matching plug for easy disconnect.
Anyways, I finished my gauge wiring last night and this is what I came up with. Both the pods are ready for hookup to the main harness when the time comes. for the wiring, I used 18 ga. high temp GXL wiring and Molex 4 and 9 circuit connectors
I had to do some cutting on my metal dash to install the single DIN radio, A/C vent and gauge POD. I trimmed with a cutoff wheel in a die grinder, seems that it didn't hurt the strength of the panel.
Cut out part of the left side of the radio bezel opening and squaring it off
My new gauge POD is longer that the old vent, so to get it centered on the lower section, I cut the round over, formed and re-welded it. A little Bondo helped in getting the right profile
Nicely done. This is similar to how I'm currently going about reconstructing my entire dash in my 1980. Given my rough measurements, though, I thought I could get more gauges into the instrument panel (with the same sizes that you use) than what you have there -- it looks like you could barely cram in two 3.375" and 2.125"s as we see here.
Awesome job. I would like to do something like this but I just can not bring myself to cut up my dash. I gotta figure out how to get a single din deck in there eventually though.
Awesome job. I would like to do something like this but I just can not bring myself to cut up my dash. I gotta figure out how to get a single din deck in there eventually though.
If not going with a single DIN unit, you might look at the Retro Sound units. Dave (KawaZX636) used one in his build. Didn't look too close at their site, but don't think they make a CD unit if you want that feature. I used a mechless single DIN unit because of the minimum depth and really don't use CD anymore.
A few pics to finish up this mod. I decided to paint the dash a Silver metallic, so the overall truck color scheme will be silver metallic with black accents. I finished the dash pad mod, by spraying it with Duplicolor bed liner over the fiberglass fill, black primer base coat. After that dried, sprayed Duplicolor flat black. Funny thing happened after I sprayed the flat black, it created the texture you see in pic. Before, the bed liner was more of a stipple effect. Kinda like the look.
Still waiting for new dash light dimmer for the gauges and received a LED dimmer switch for my LED idiot lights.
Guess this will be the last post on the this thread, hope it might be of inspiration to others to experiment, design and execute your own ideas into our loved Toy trucks. Take care.....
Nice detail work! Were you able to find molex that matched any of the original plugs new/used or did you replace both sides? If a match and you have the part #s handy that might help someone down the road. Took me hours of searching thousands of connectors to find a match for a 12v Sensaphone unit recently. But...saved a ton of $$ over factory branded batteries...
Nice detail work! Were you able to find molex that matched any of the original plugs new/used or did you replace both sides? If a match and you have the part #s handy that might help someone down the road. Took me hours of searching thousands of connectors to find a match for a 12v Sensaphone unit recently. But...saved a ton of $$ over factory branded batteries...
When I was researching installing aftermarket gauges and wiring them, most of the posts showed using Molex connectors. I'm only using them for lighting. They are cheap, good for 12v install, IIRC up to 20 amps, easy to install. Only set back is buying a crimper for that style of pins, but can be done with needle nose pliers. Since I'm planning on buying/installing an aftermarket wiring harness, I plan on using WeatherPack connectors for the other power connections.
Here is a link to the Toyota master connector catalog with part numbers. If one is needed, just match up the number of pins and profile. On the subject, here is a good read. http://www.google.com/url?sa=t&rct=j...96783405,d.eXY
I'm totally floored with your skills! That's a really nice looking finished product!
Are you ducting the air from the OEM plenum into the new mid-vents position, or running an aftermarket system?
Last edited by RobotMoose; 07-05-2015 at 06:02 AM.
Thanks for the complements. It takes a lot of time to really get to the point of what your mind saw, then as a finished product. Over a year in my case, but that's OK, as I had a few guitars in the shop for repairs/refinish during that period.
I'm going to be installing an aftermarket a/c and heater unit from Old Air Products. It uses only inside recirculating air, so I might just close off the outside air plenum or match up the unit intake to it. Here in Texas, you usually will have either the heat or A/C on full blast, no in between. I'm planning on smoothing the cowl, so really the only outside air will be coming in thru the little slots in the back of the wheel well. The new unit has 4-2" outlets on top of it, so I'll be running one each to the outboard dash vents, and 2 to the center vent.
Please post up details when you get around to doing the AC. I've been thinking about doing something like this myself because you really can't find stock first gen AC parts and I hate having to let the old girl sit just because it's "too hot out". Seeing somone else do it takes some of the guess work out of it.
That dash is looking sharp.
You gotta be kidding me, Dave. With your awesome fab skills, you would be done in one night and powder coated to boot
Yeah, one night if I didn't have a wife, a newborn and a 3 year old running my life! Right now that would be more like a month's worth of work, plus I'm trying to enjoy my truck as much as I can so I don't want to have any down time with it right now. Perhaps this winter I might dress up the dash a bit...
 06-12-2015, 09:33 AM