Painting A Rusted High-Lift Jack
 09-14-2010, 09:36 PM
#1
Painting A Rusted High-Lift Jack
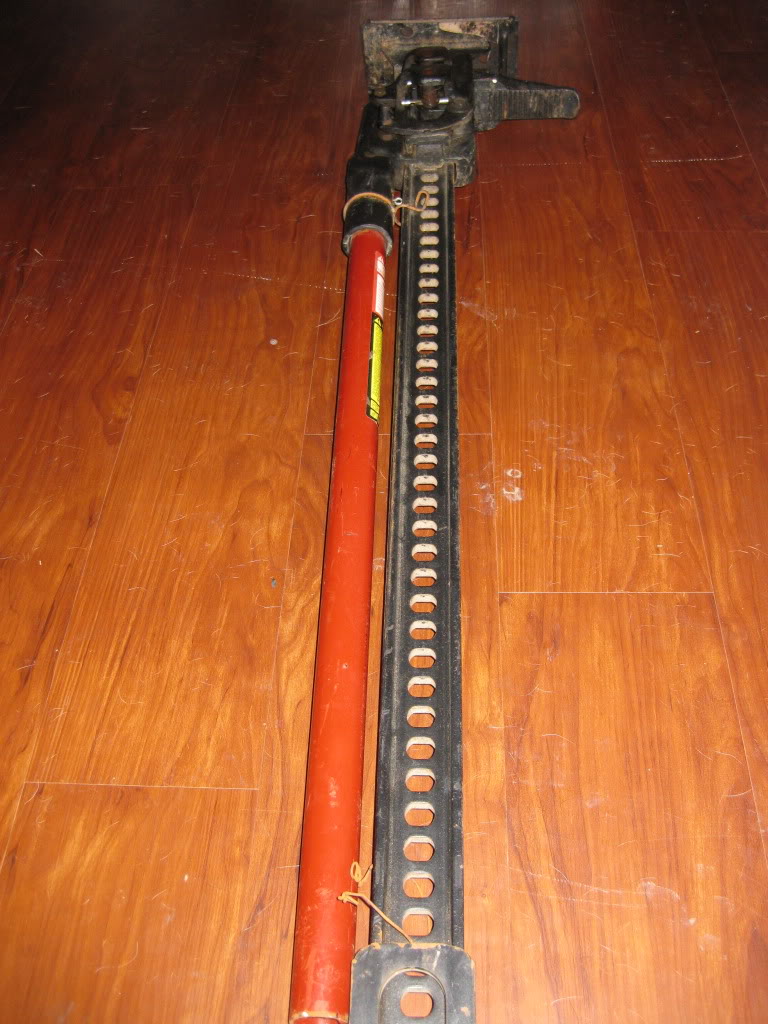
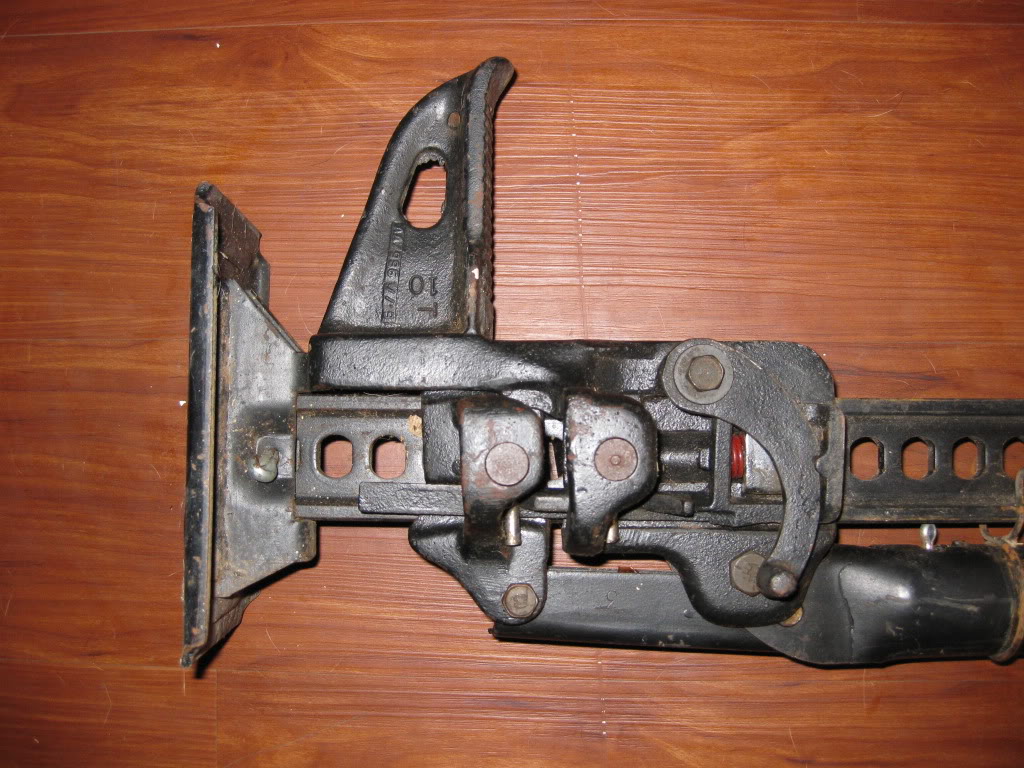
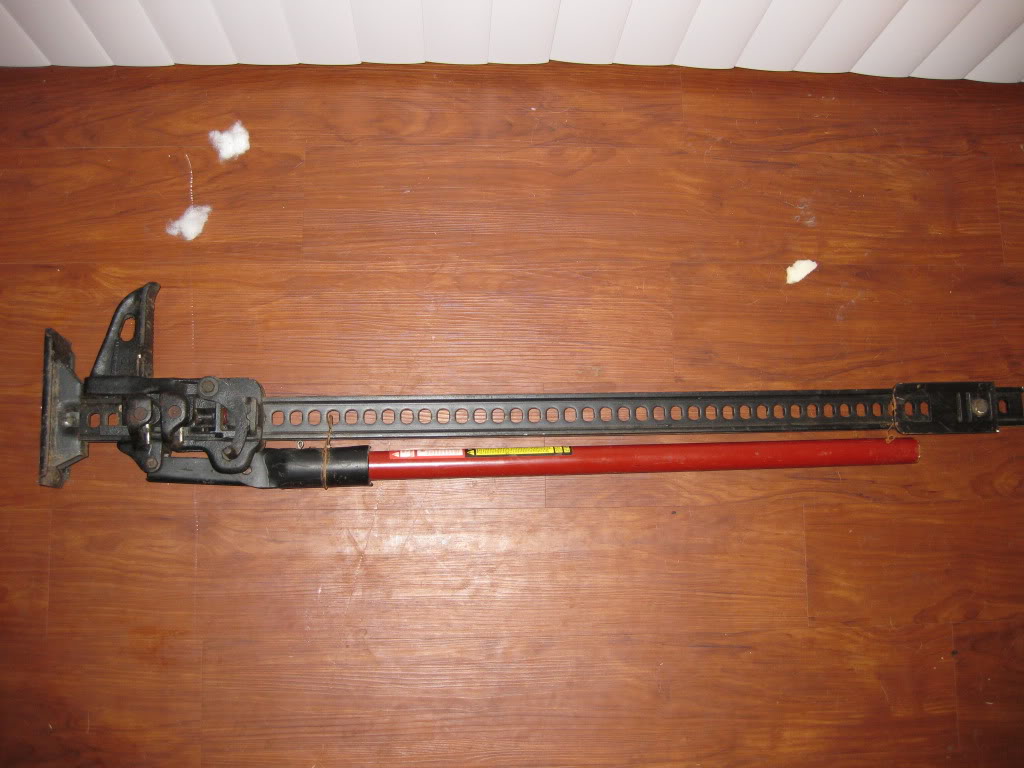
So a little bit of background information...I have been looking around for a used High-Lift Jack on Craigslist for the last couple of months because I really didn't feel like paying $80-$100 for a new one. My patience finally paid off and I was finally able to find one for $40. The only drawback is that it is an older model and some of the paint is chipping away and beginning to rust. Also, it hadn't been used in a while because it was sitting in a storage facility for the last couple of years. I made sure that the jack worked before I bought it which it does but its just not looking too good. So, I decided to clean and paint the jack to protect it from further rust damage and make it look like new again. Here is what I am starting with:


 LOL i'm sure someone will find it helpful!
09-14-2010, 09:52 PM
LOL i'm sure someone will find it helpful!
09-14-2010, 09:52 PM
#6
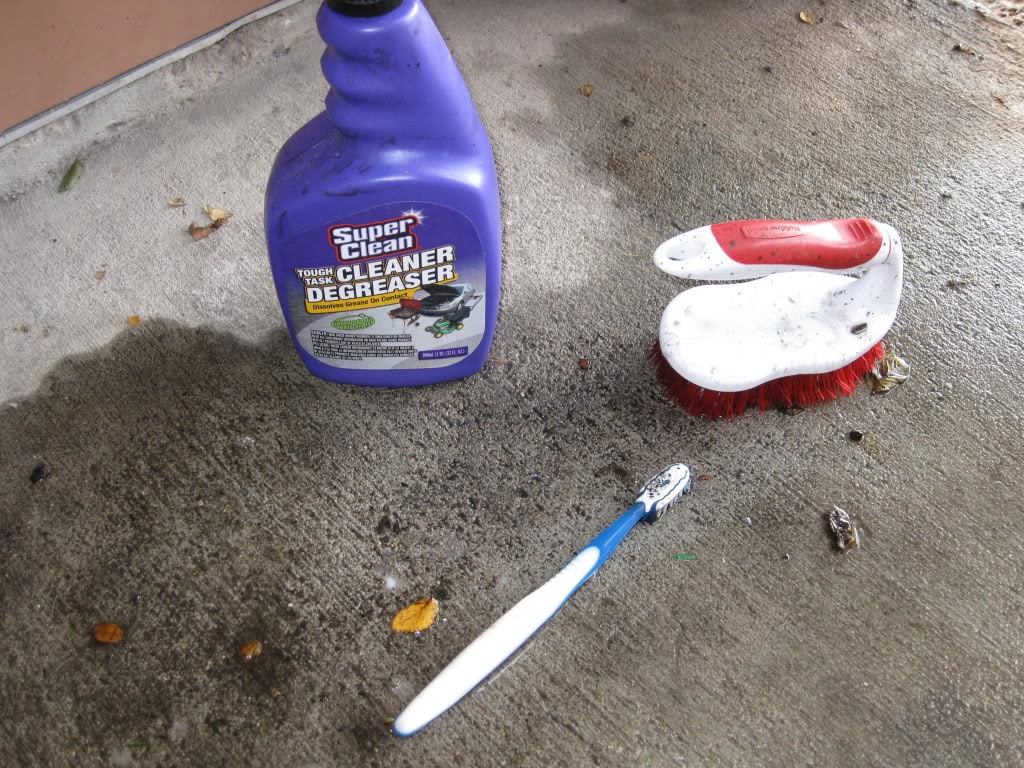
I started by disassembling the jack so I can thoroughly clean all of the pieces. After I completely disassembled the jack I used some cleaner/degreaser to thoroughly clean each part. I sprayed the degreaser on and let it sit for about 15 minutes then I sprayed it again. After another 15 minutes or so I hit the parts with the scrub brush and toothbrush to get all the dirt, grease, and grime off of them. After I was satisfied I rinsed them really well and set them out to dry.
Just waiting for the parts to dry...

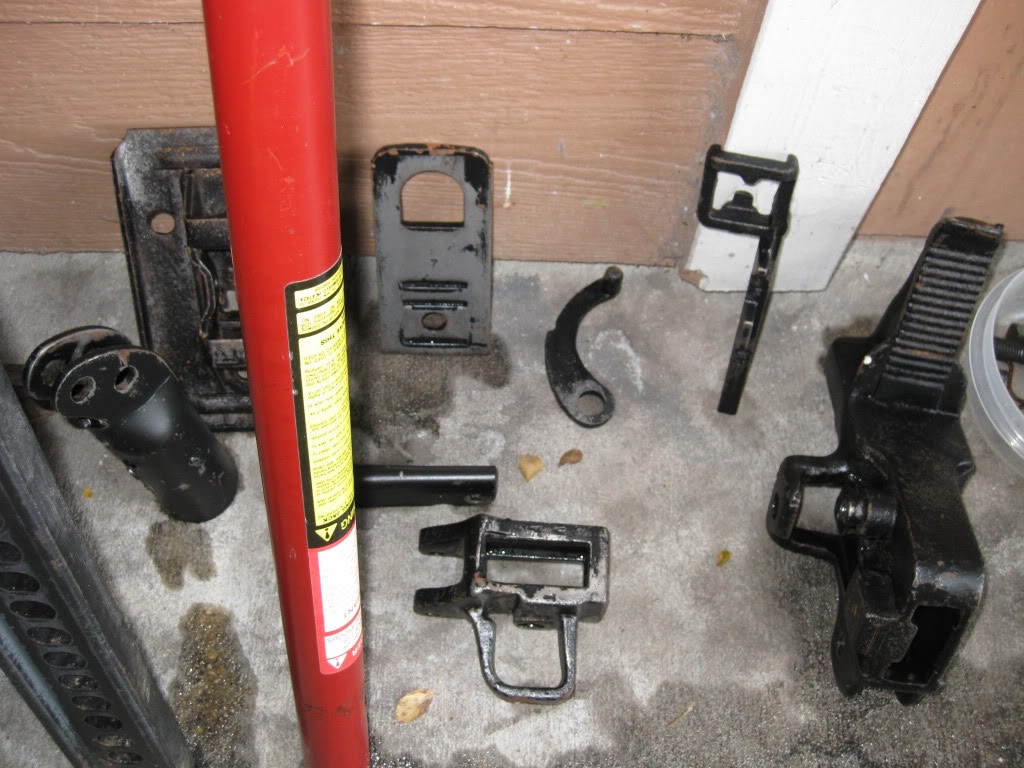
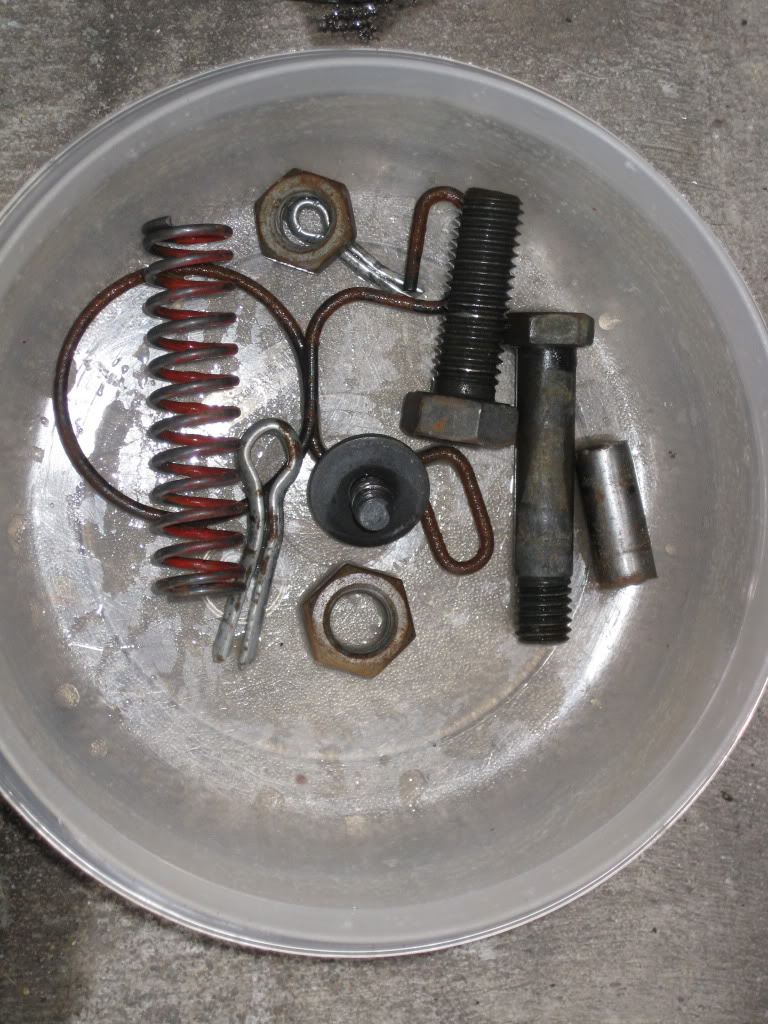
I found that using a toothbrush works best to get into small places and just a regular scrub brush works well for everything else
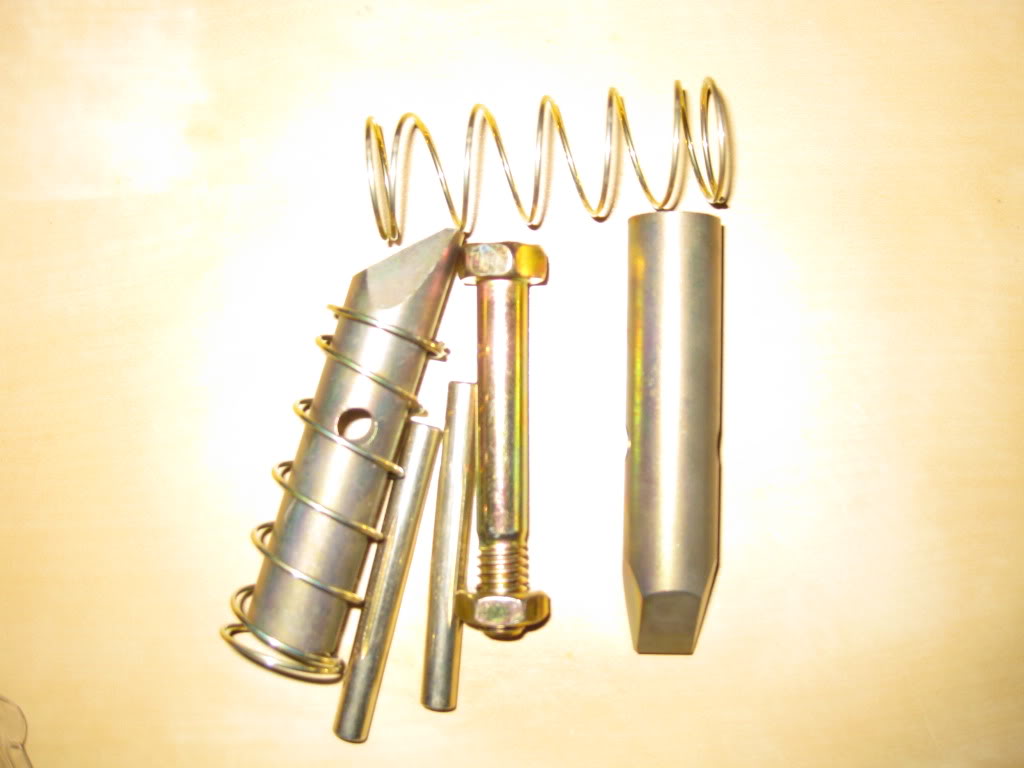
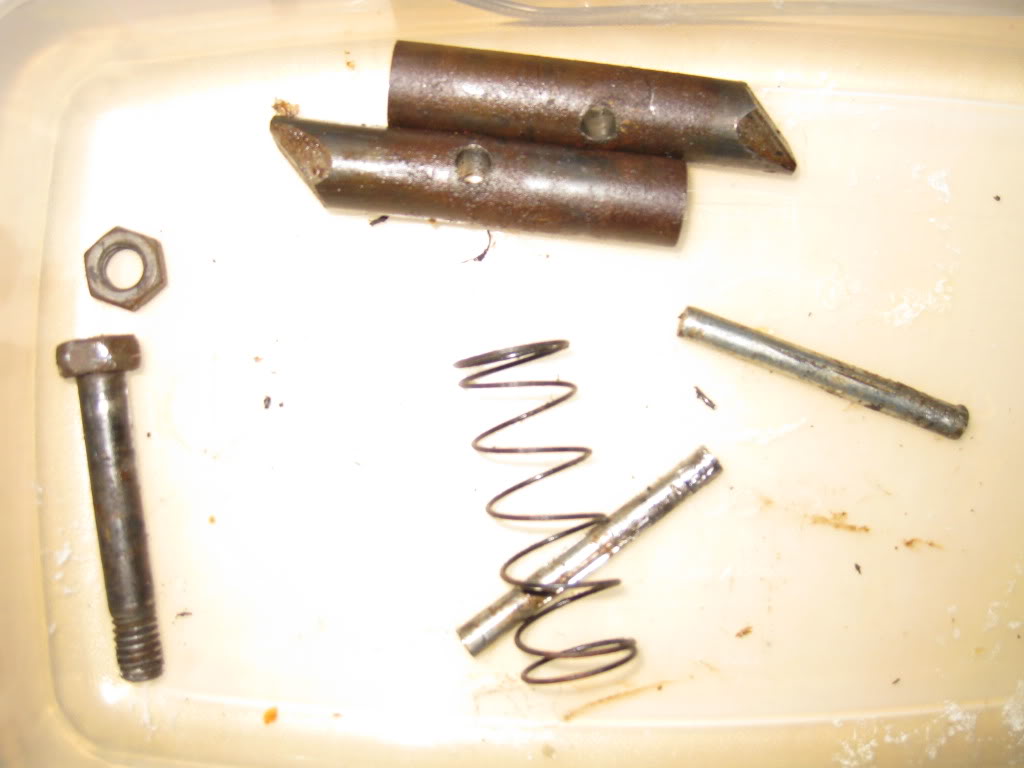
I also picked up a Fix-It-Kit to replace the climbing pins, climbing pin springs, cross pins, and the shear bolt/nut because the old one were pretty much shot.
NEW:
OLD:
That was all I was able to get done today but more to come in the next couple days!!
Just waiting for the parts to dry...
I found that using a toothbrush works best to get into small places and just a regular scrub brush works well for everything else
I also picked up a Fix-It-Kit to replace the climbing pins, climbing pin springs, cross pins, and the shear bolt/nut because the old one were pretty much shot.
NEW:
OLD:
That was all I was able to get done today but more to come in the next couple days!!
Last edited by 4ever4running; 09-30-2010 at 09:22 AM.
Trending Topics
 09-14-2010, 10:07 PM
#9
Very good point! To answer your question, no I don't have any solid lifting points...yet. I am actually planning on heading to KrawlTex in the next couple of weeks to have them fab me up some sliders. I'm just saving up the last little bit of money. Lets just hope that I don't need to use the High-Lift until then...Any suggestions on lifting points if I do have to use it?
09-14-2010, 11:58 PM
#11
Very good point! To answer your question, no I don't have any solid lifting points...yet. I am actually planning on heading to KrawlTex in the next couple of weeks to have them fab me up some sliders. I'm just saving up the last little bit of money. Lets just hope that I don't need to use the High-Lift until then...Any suggestions on lifting points if I do have to use it?

The lift Mate allows you to lift by your wheels, but won't help you change a flat..
http://www.hi-lift.com/accessories/lift-mate.html
High lift can also be used as a come along..though it is a pain in the butt.
this is a good write up by Bill Burke:
http://www.4x4now.com/bb0997.htm
09-15-2010, 01:29 AM
#12
Registered User
Join Date: Mar 2006
Location: Lake Stevens, Washington
Posts: 586
Likes: 0
Received 0 Likes
on
0 Posts
Dude, that thing looks waaaayyy better than mine.
Was thinking bout hittin it with some rustoleum before winter.
Would like to see how yours turns out!
Was thinking bout hittin it with some rustoleum before winter.
Would like to see how yours turns out!
09-19-2010, 04:11 PM
#13
Registered User

Join Date: Jun 2010
Location: Tampa Fl
Posts: 22
Likes: 0
Received 0 Likes
on
0 Posts
Just to add to your post, call up HiLift, and they will send you free of charge the safety and ID decals for the handle and the lifting point (whatever the hell it is called).
09-21-2010, 07:32 AM
#14
By the way, I am just about finished with everything. I will have a description and pics up asap.
09-29-2010, 09:19 PM
#15
Sorry its been a while but life has been pretty crazy and I just haven't had time to update the thread....
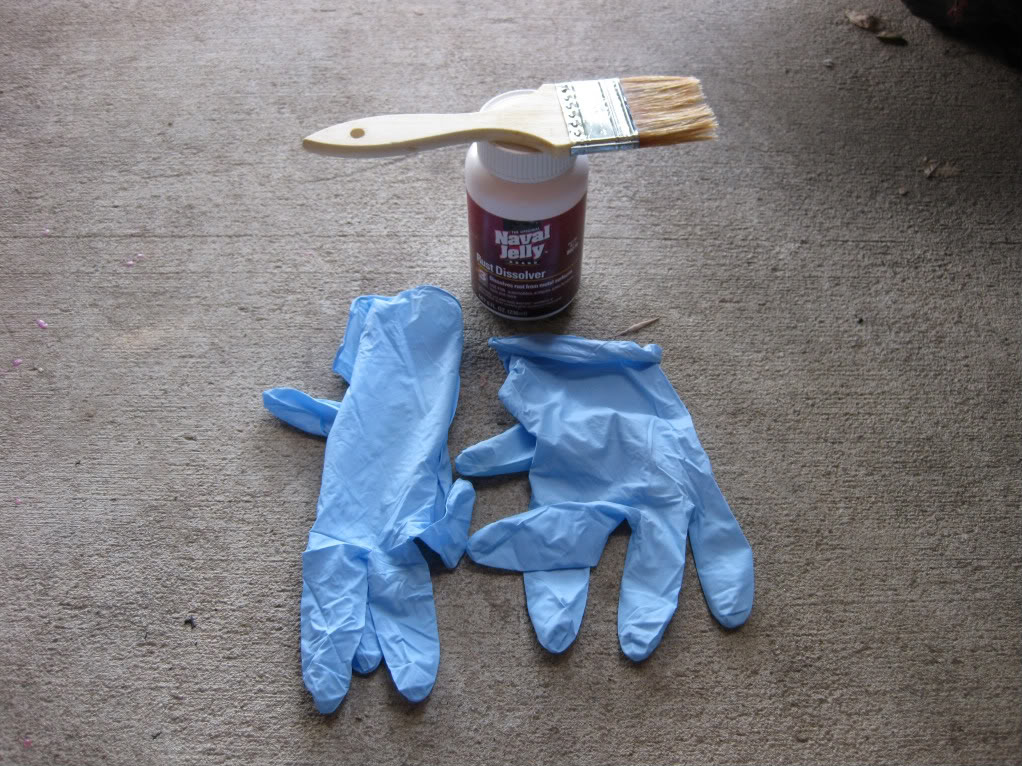
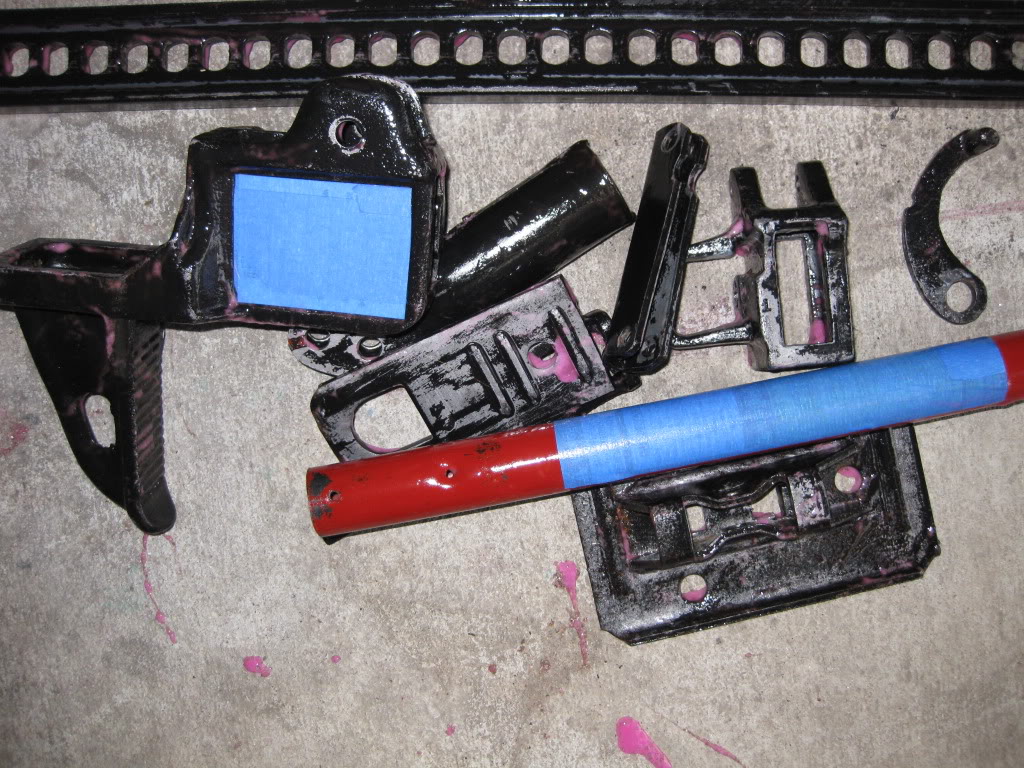
Anyway, after allowing all the parts to dry thoroughly, I used some scotch blue painters tape and taped over the labels. Then I used a cheap paintbrush to apply some Naval Jelly to all the parts. *NOTE* be sure to use protective gloves when applying the Naval Jelly because it will burn your skin!
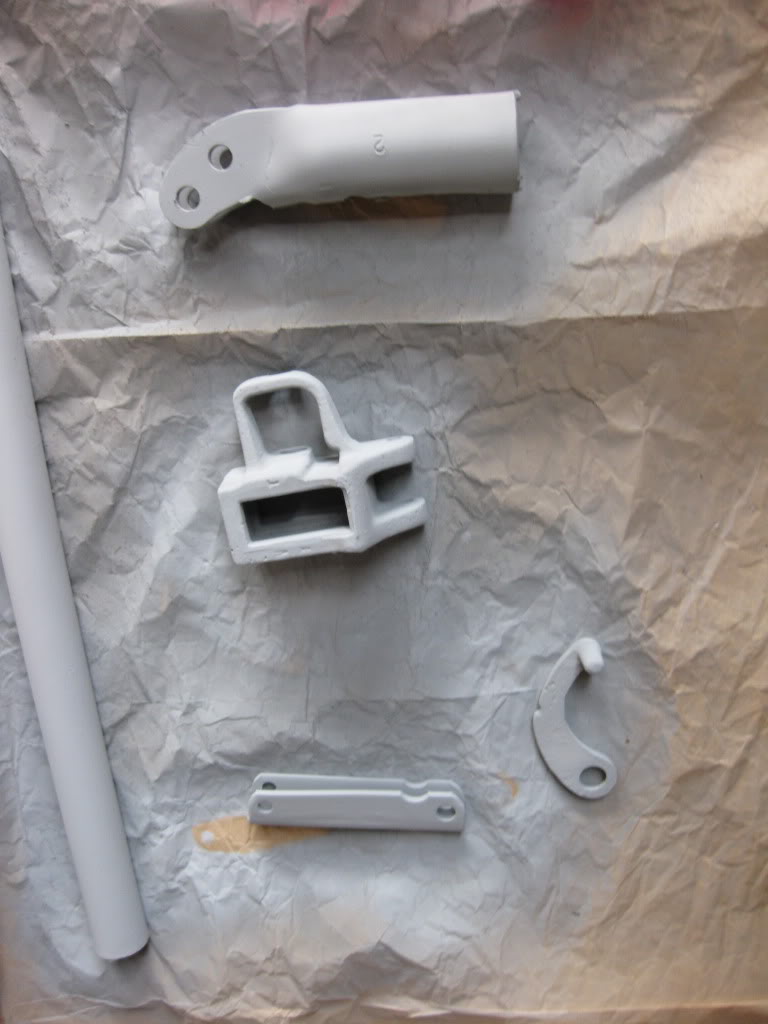
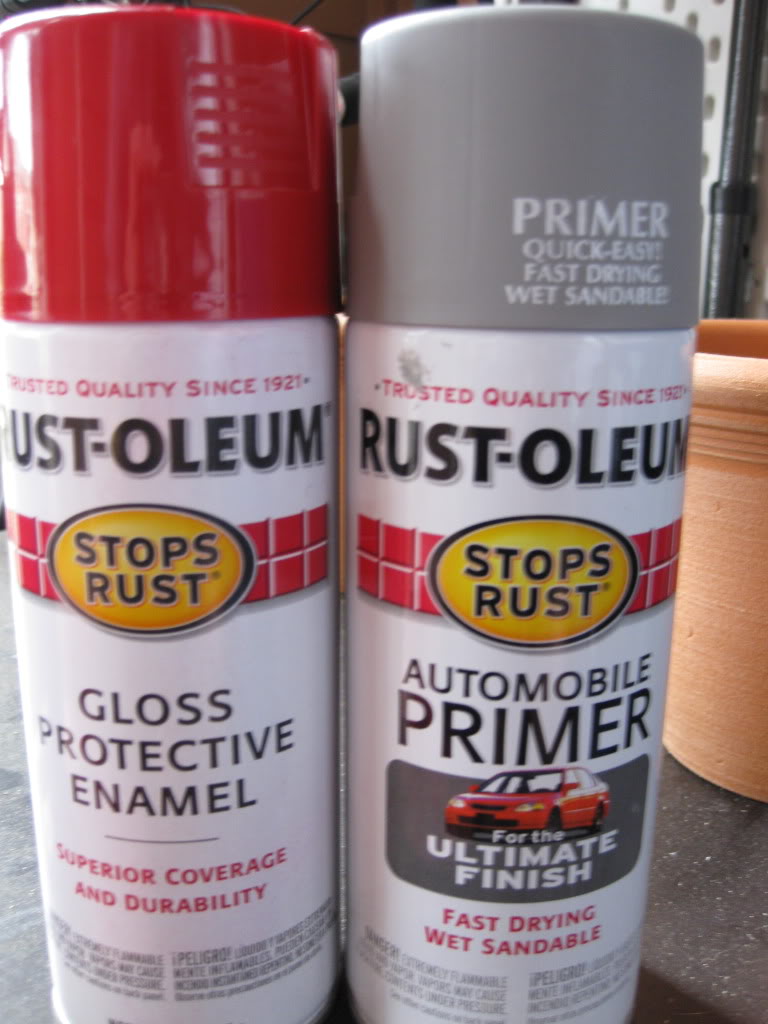
After letting the Naval Jelly work its magic for about 15 minutes, I rinsed all the parts off and let them dry thoroughly. Then it was time for primer. I used Rustoleum Automotive Primer and applied it in 2 light coats about 10-15 minutes apart.
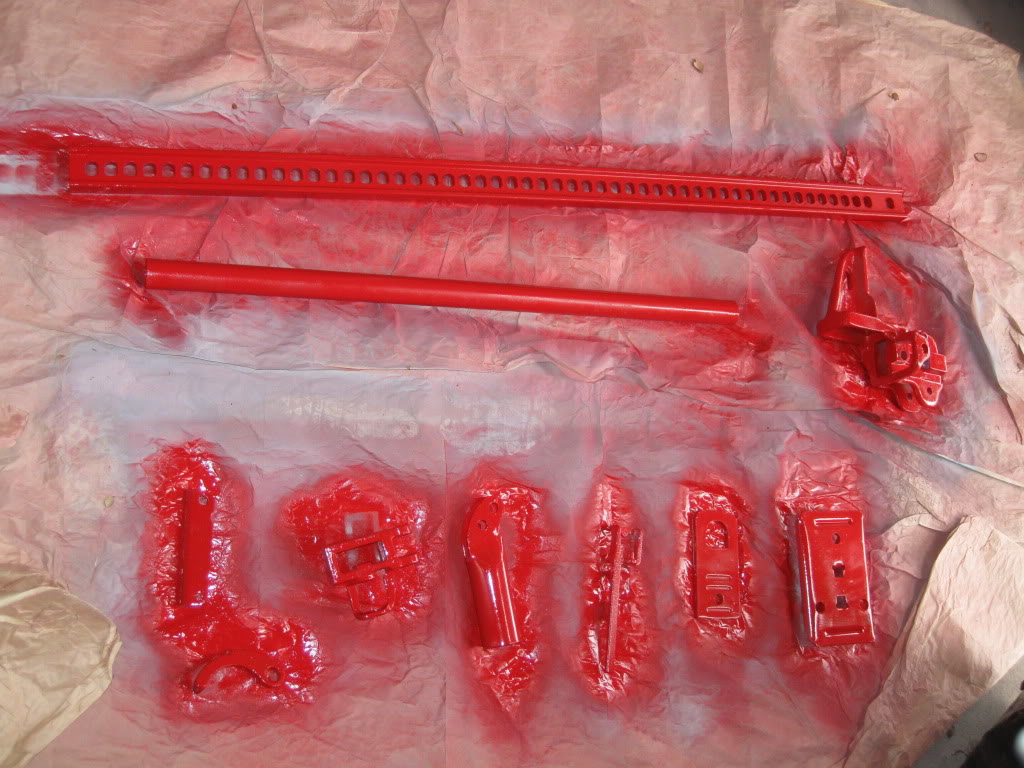
After letting the primer dry overnight, it was time to start painting...I used red Rustoleum Protective Enamel and applied it in 3 light coats

Here is a pic of the paints I used
Anyway, after allowing all the parts to dry thoroughly, I used some scotch blue painters tape and taped over the labels. Then I used a cheap paintbrush to apply some Naval Jelly to all the parts. *NOTE* be sure to use protective gloves when applying the Naval Jelly because it will burn your skin!
After letting the Naval Jelly work its magic for about 15 minutes, I rinsed all the parts off and let them dry thoroughly. Then it was time for primer. I used Rustoleum Automotive Primer and applied it in 2 light coats about 10-15 minutes apart.
After letting the primer dry overnight, it was time to start painting...I used red Rustoleum Protective Enamel and applied it in 3 light coats
Here is a pic of the paints I used
09-29-2010, 09:27 PM
#16
After letting the parts dry and set for 24 hours I was finally able to reassemble the jack. As I mentioned before, I picked up a Fix-it-kit with all new climbing components.

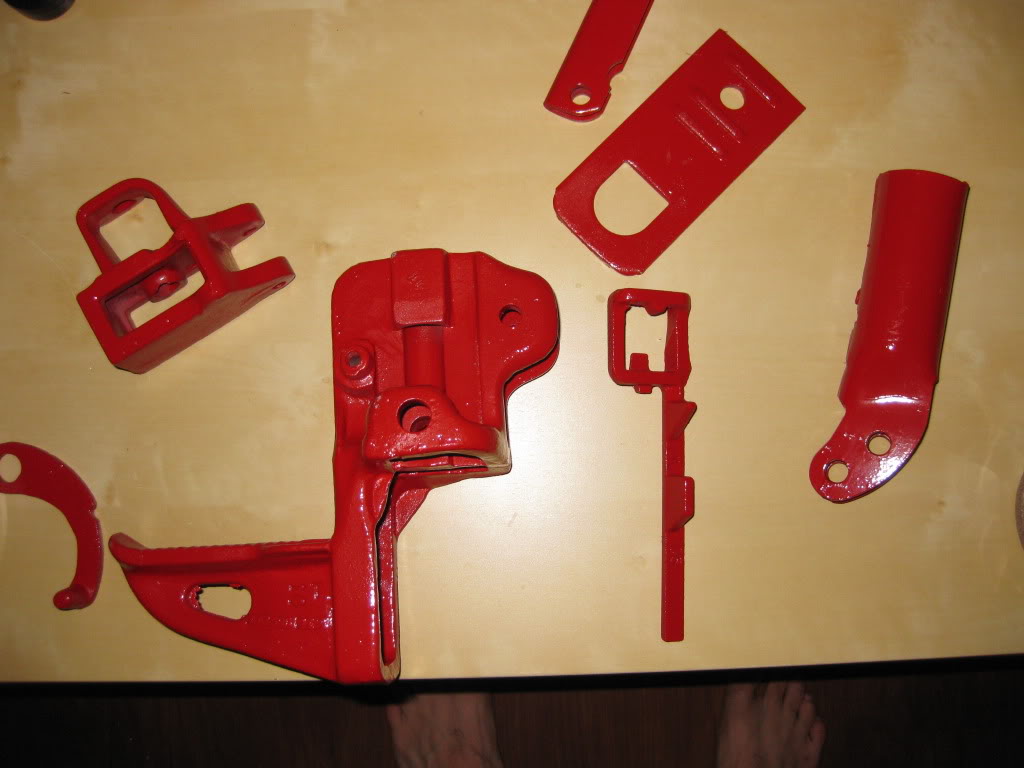
And the finished product!!
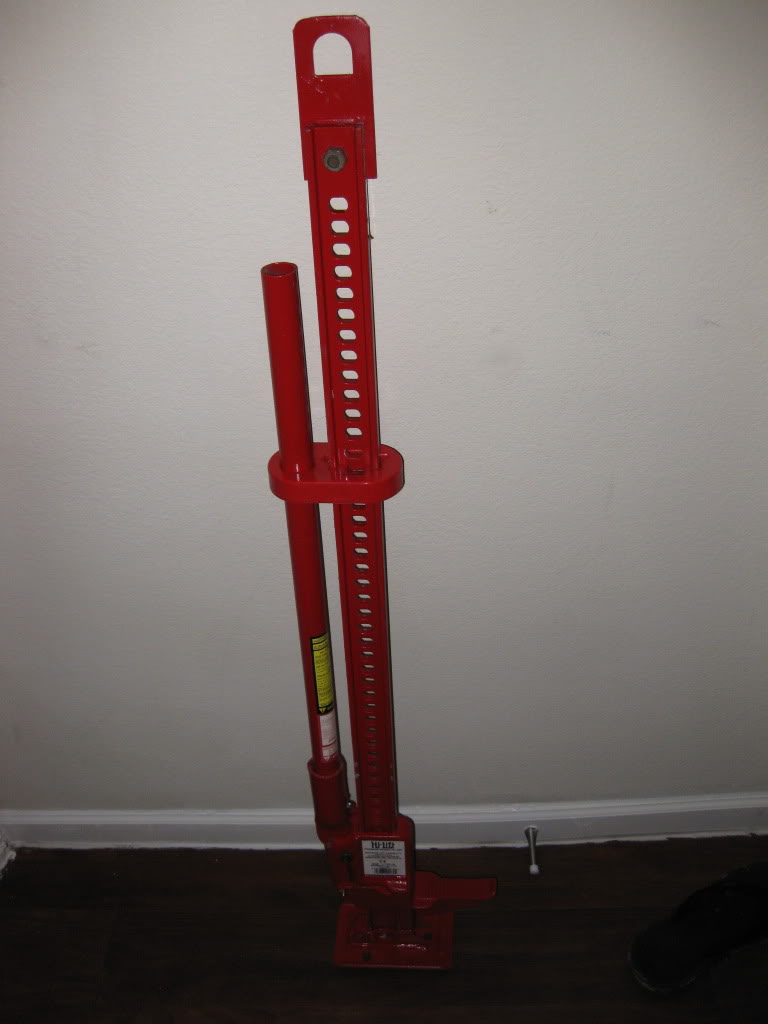
Overall I think it looks great and I am really happy with the results! I'm not sure if you can tell in the pics but some of the new paint was rubbed off during assembly. The only thing that might have prevented this is clearcoat, so it might be something to consider if you plan on doing this project. After some silicone lubricant the jack works like new! I didn't have any problems with the climbing pins getting stuck due to the extra thickness added by the paint.
And the finished product!!
Overall I think it looks great and I am really happy with the results! I'm not sure if you can tell in the pics but some of the new paint was rubbed off during assembly. The only thing that might have prevented this is clearcoat, so it might be something to consider if you plan on doing this project. After some silicone lubricant the jack works like new! I didn't have any problems with the climbing pins getting stuck due to the extra thickness added by the paint.

Thread
Thread Starter
Forum
Replies
Last Post
Jcrawl94
84-85 Trucks & 4Runners (Build-Up Section)
10
10-24-2015 04:34 PM
JookUpVandetti
86-95 Trucks & 4Runners
6
09-11-2015 09:41 AM


